Welcome to the Colour Creations Instahop. You can follow us on Instagram starting @craftwithkate. Each week we will showcase the Stampin’ Up! colours in alphabetical order.
Week 31 – Melon Mambo
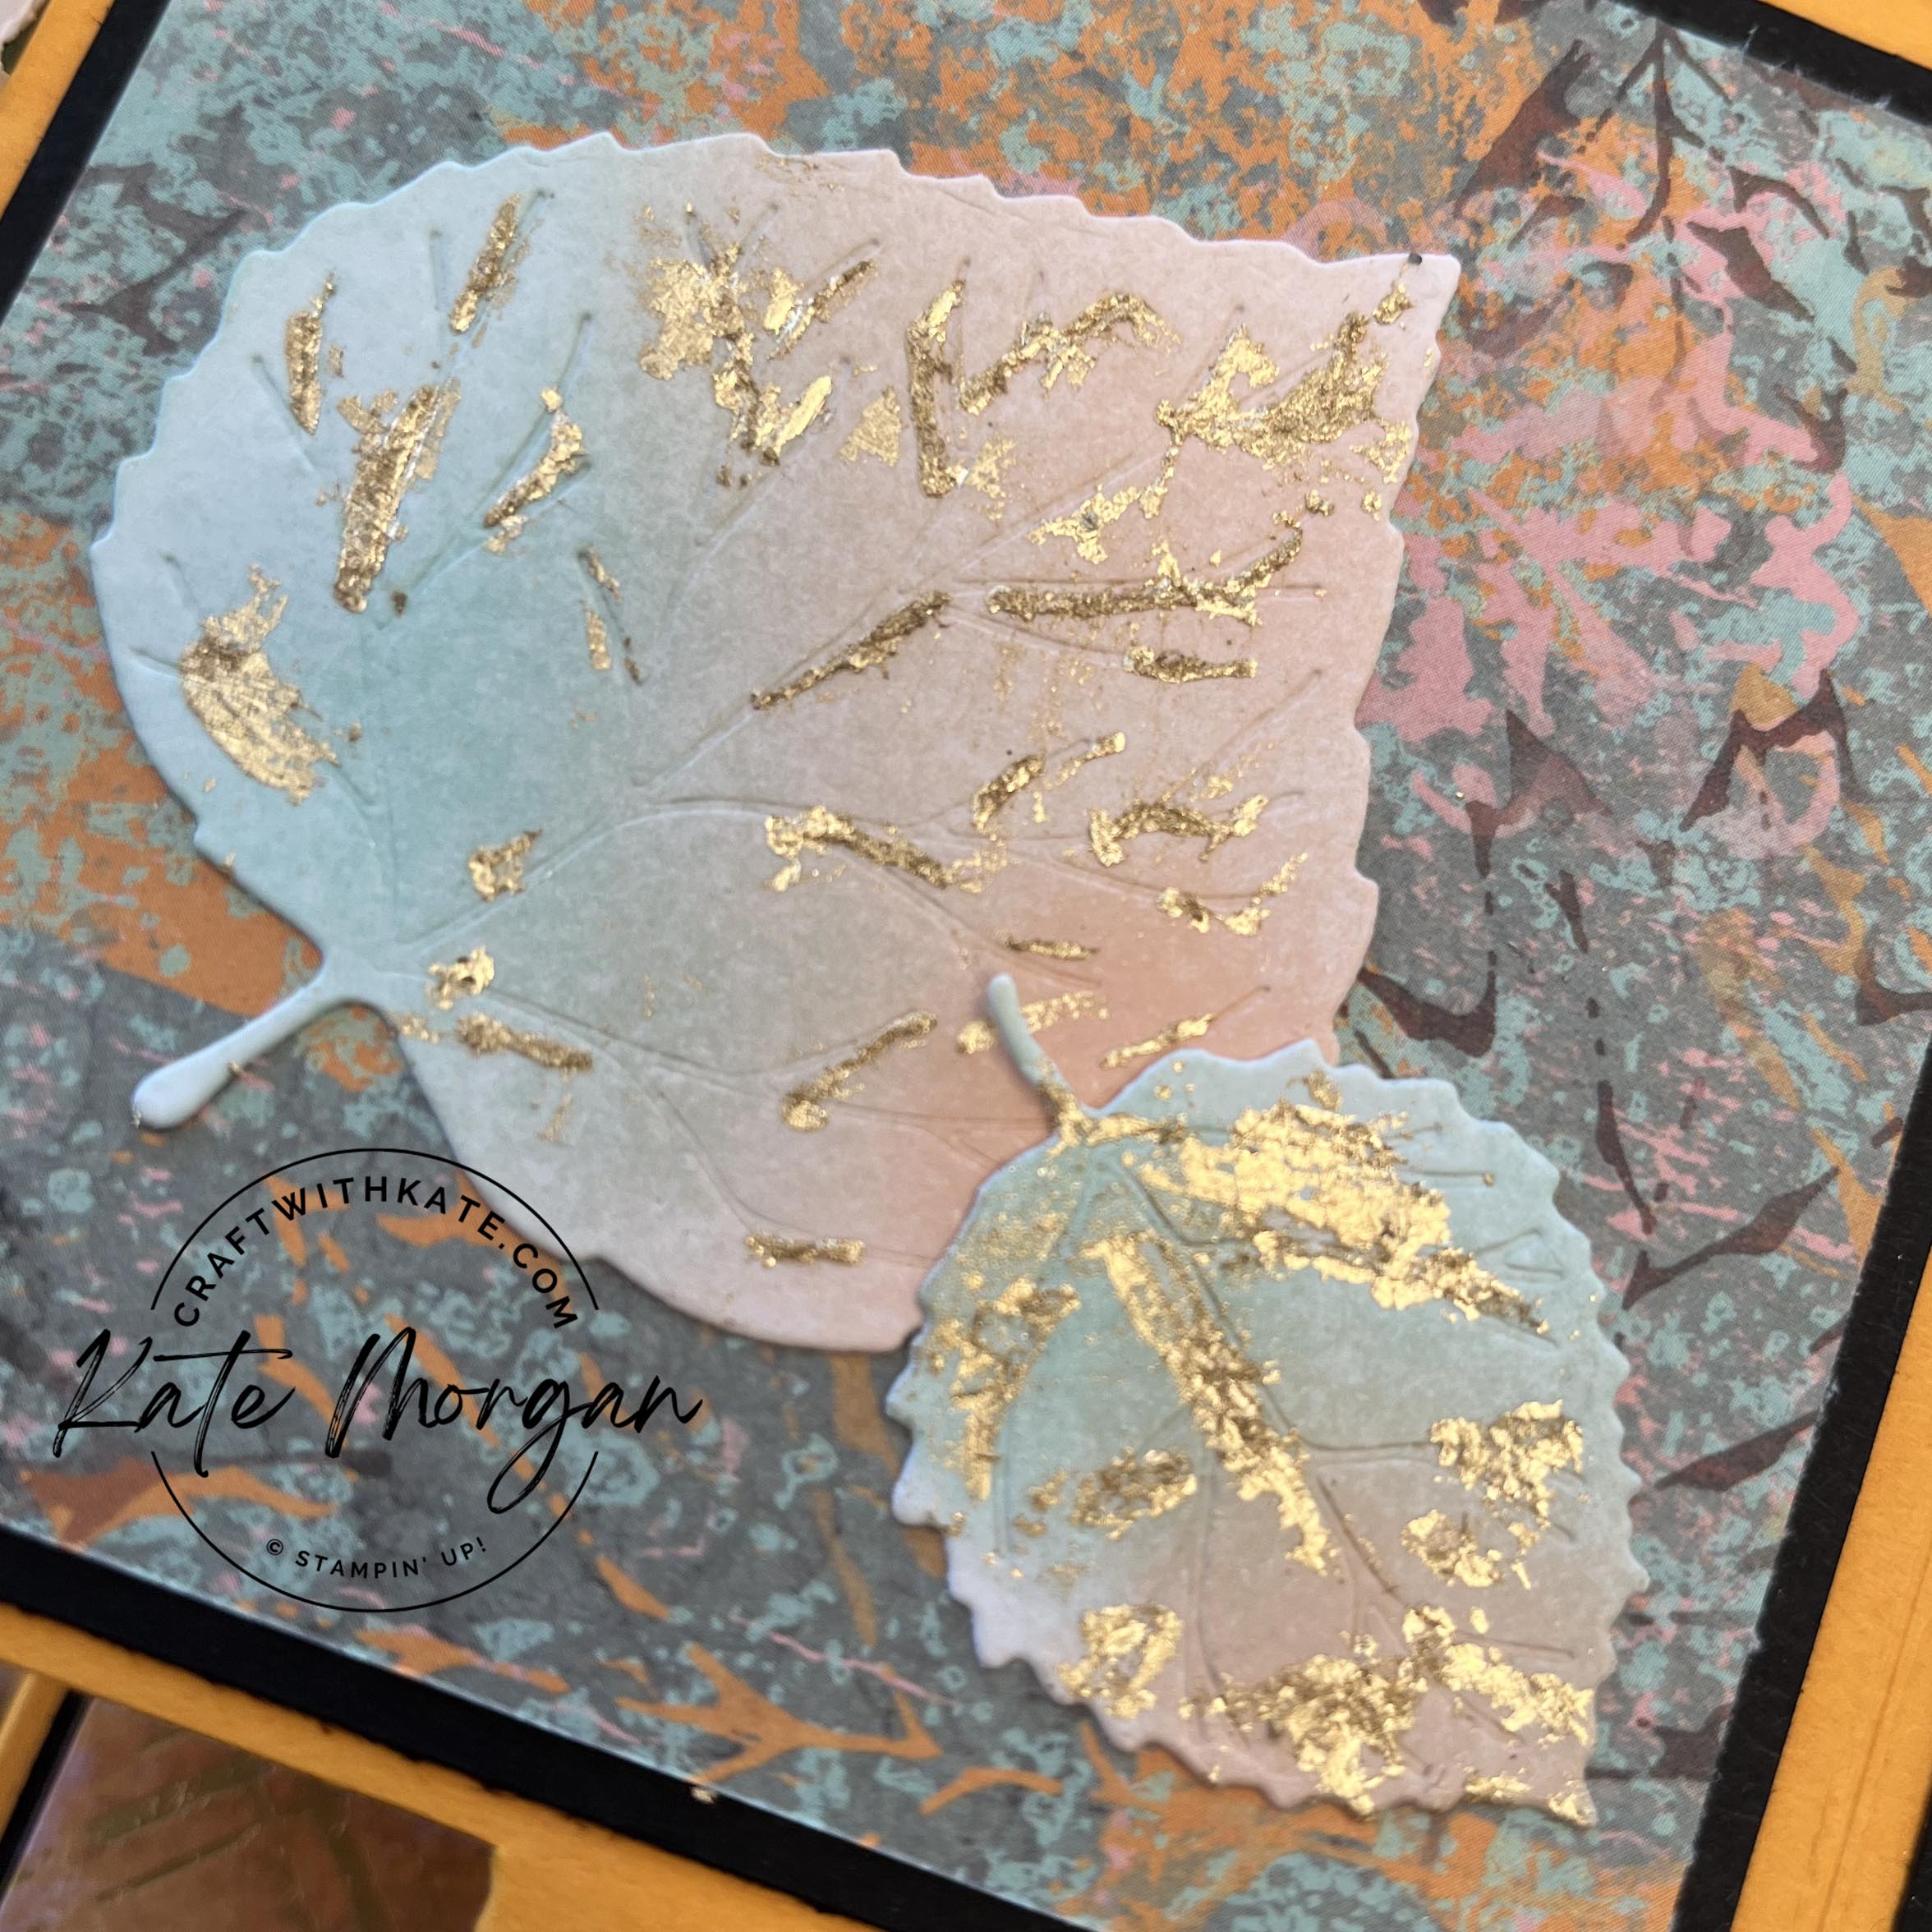
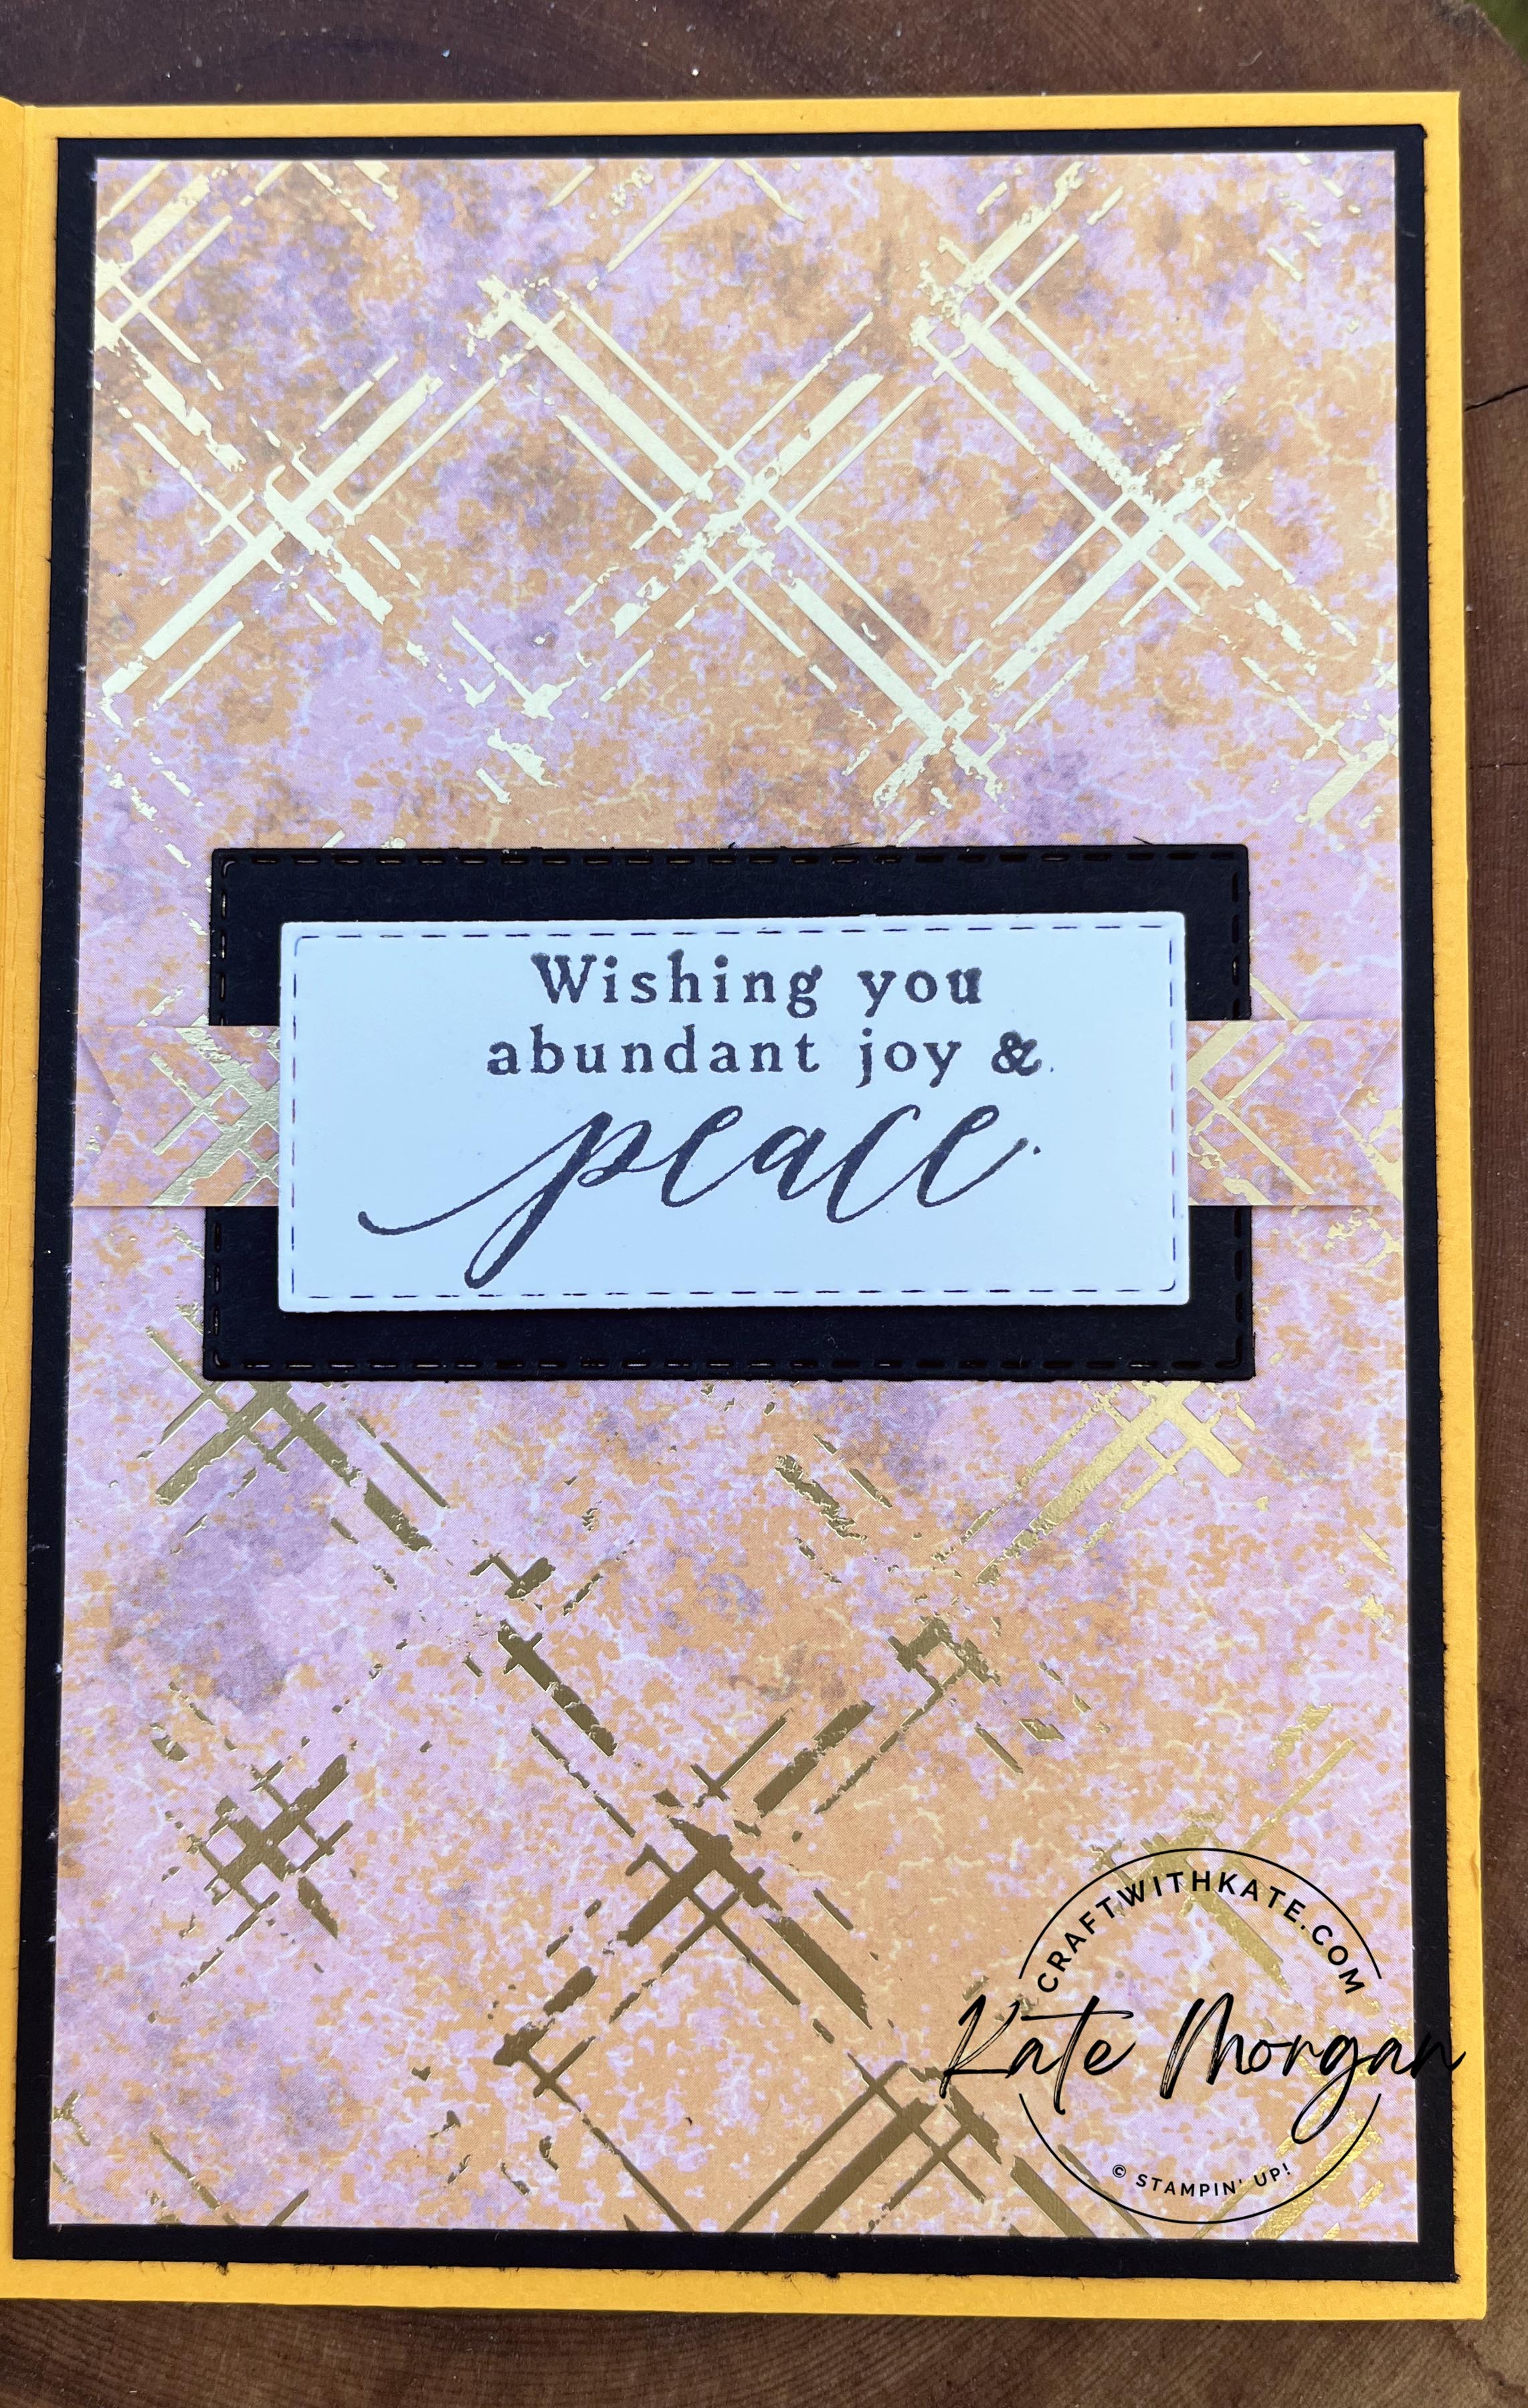
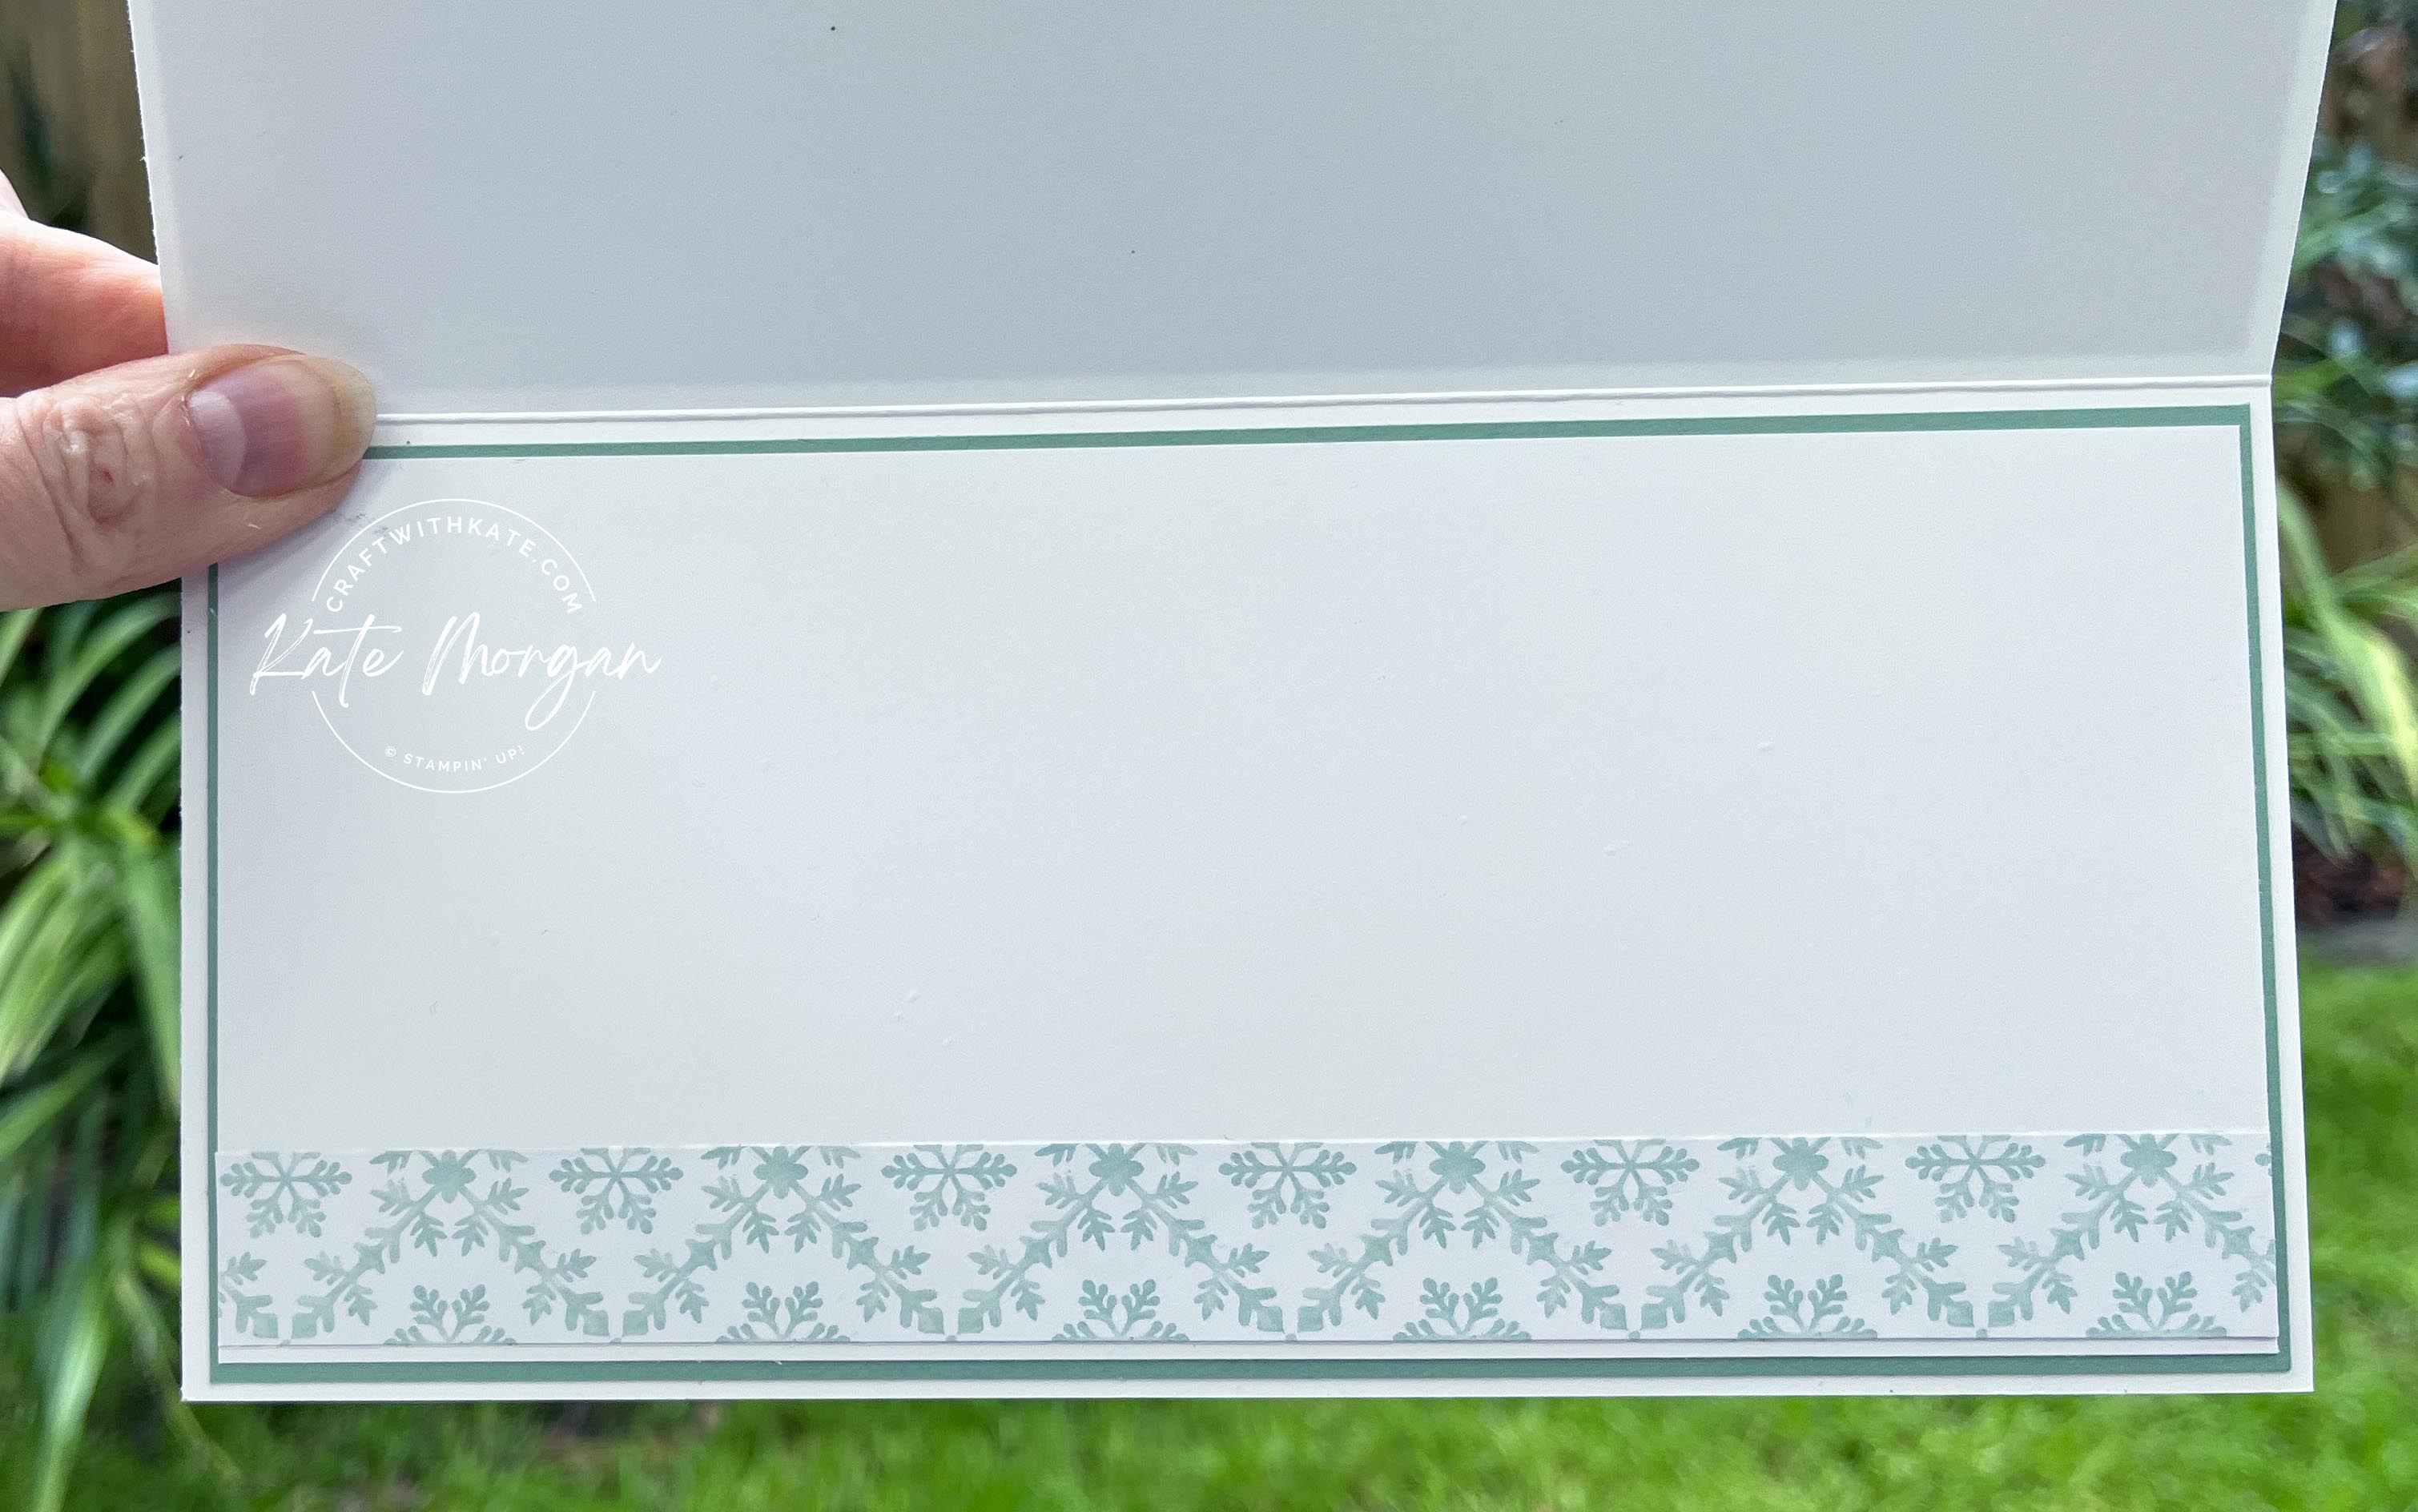
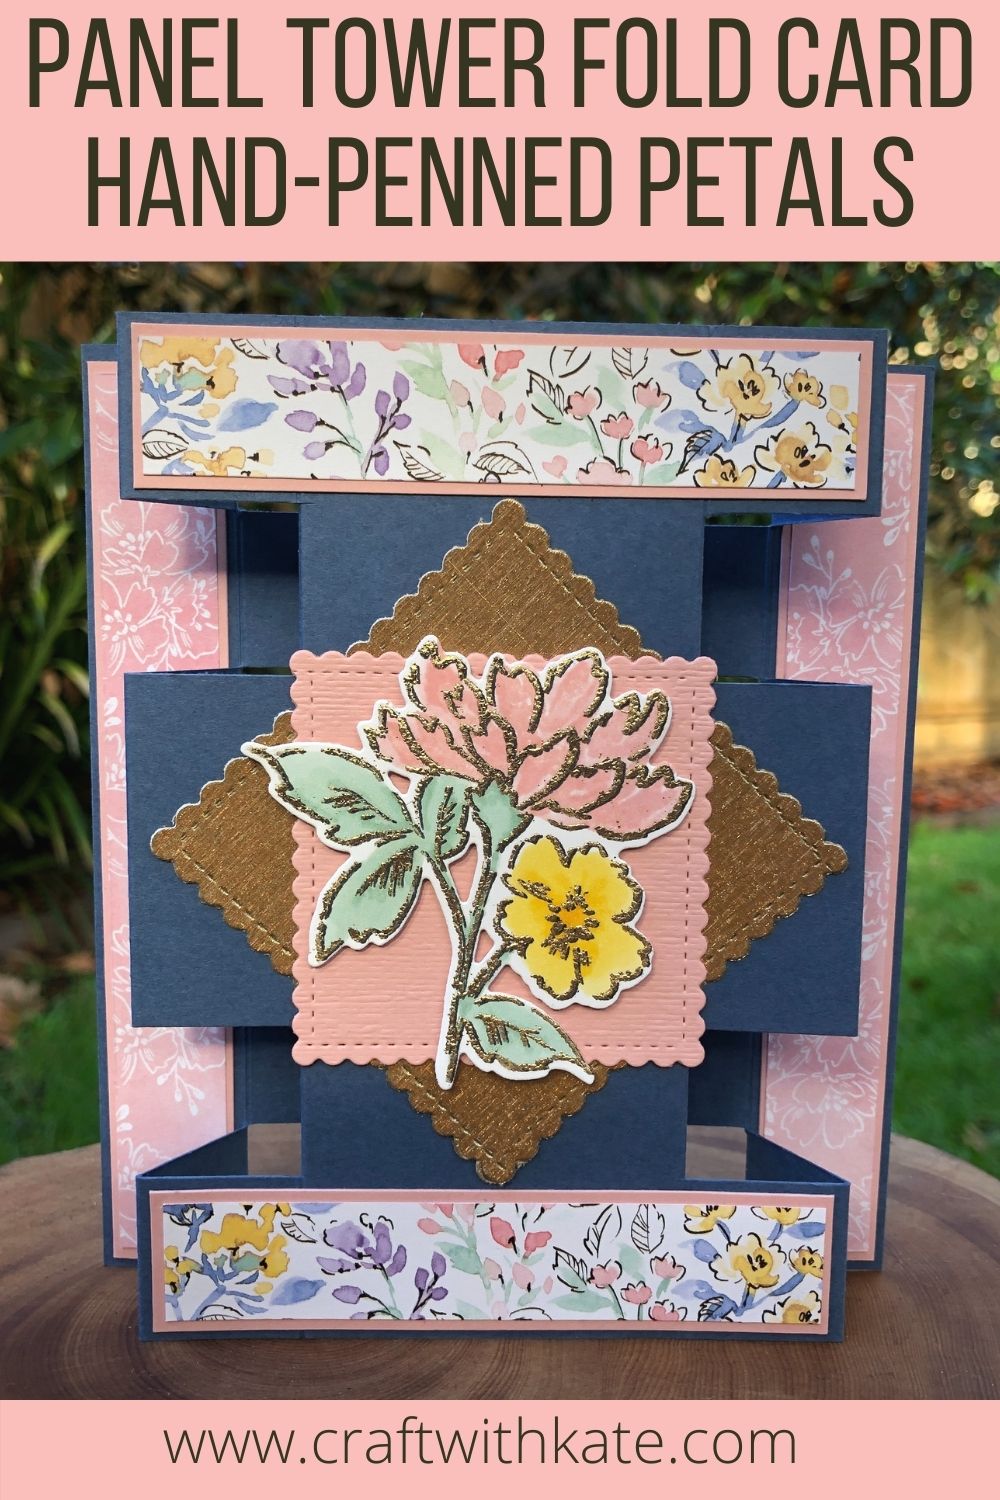
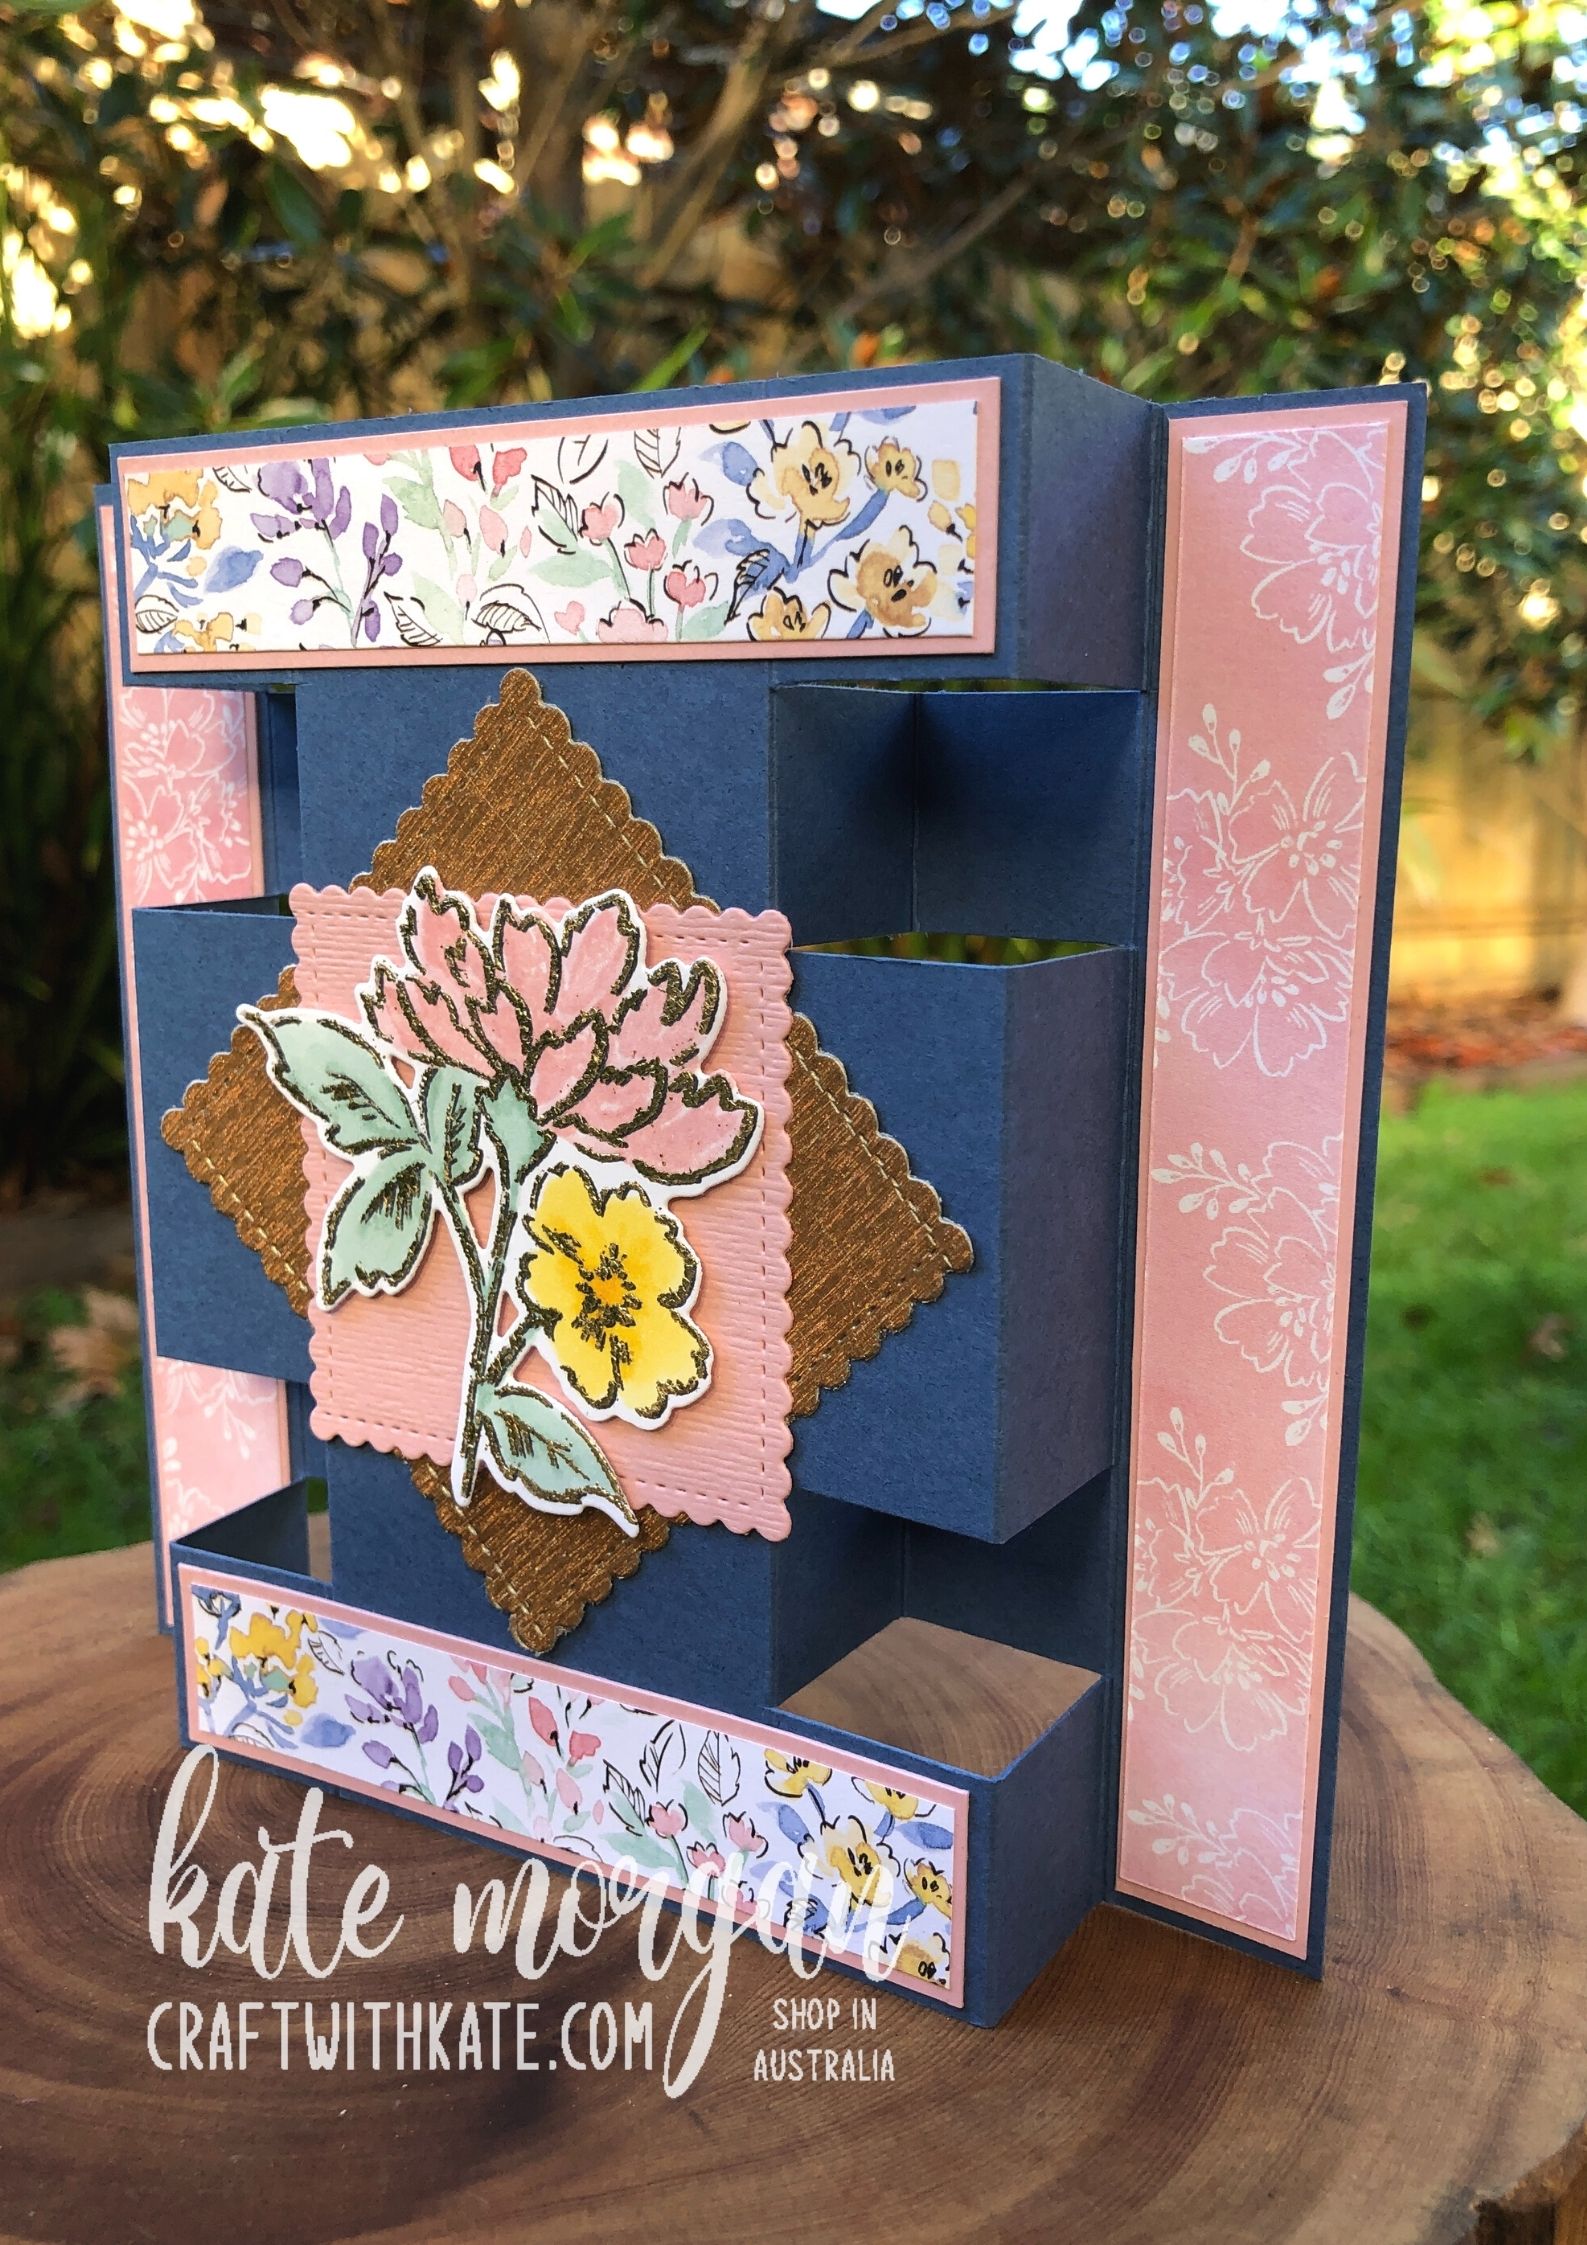
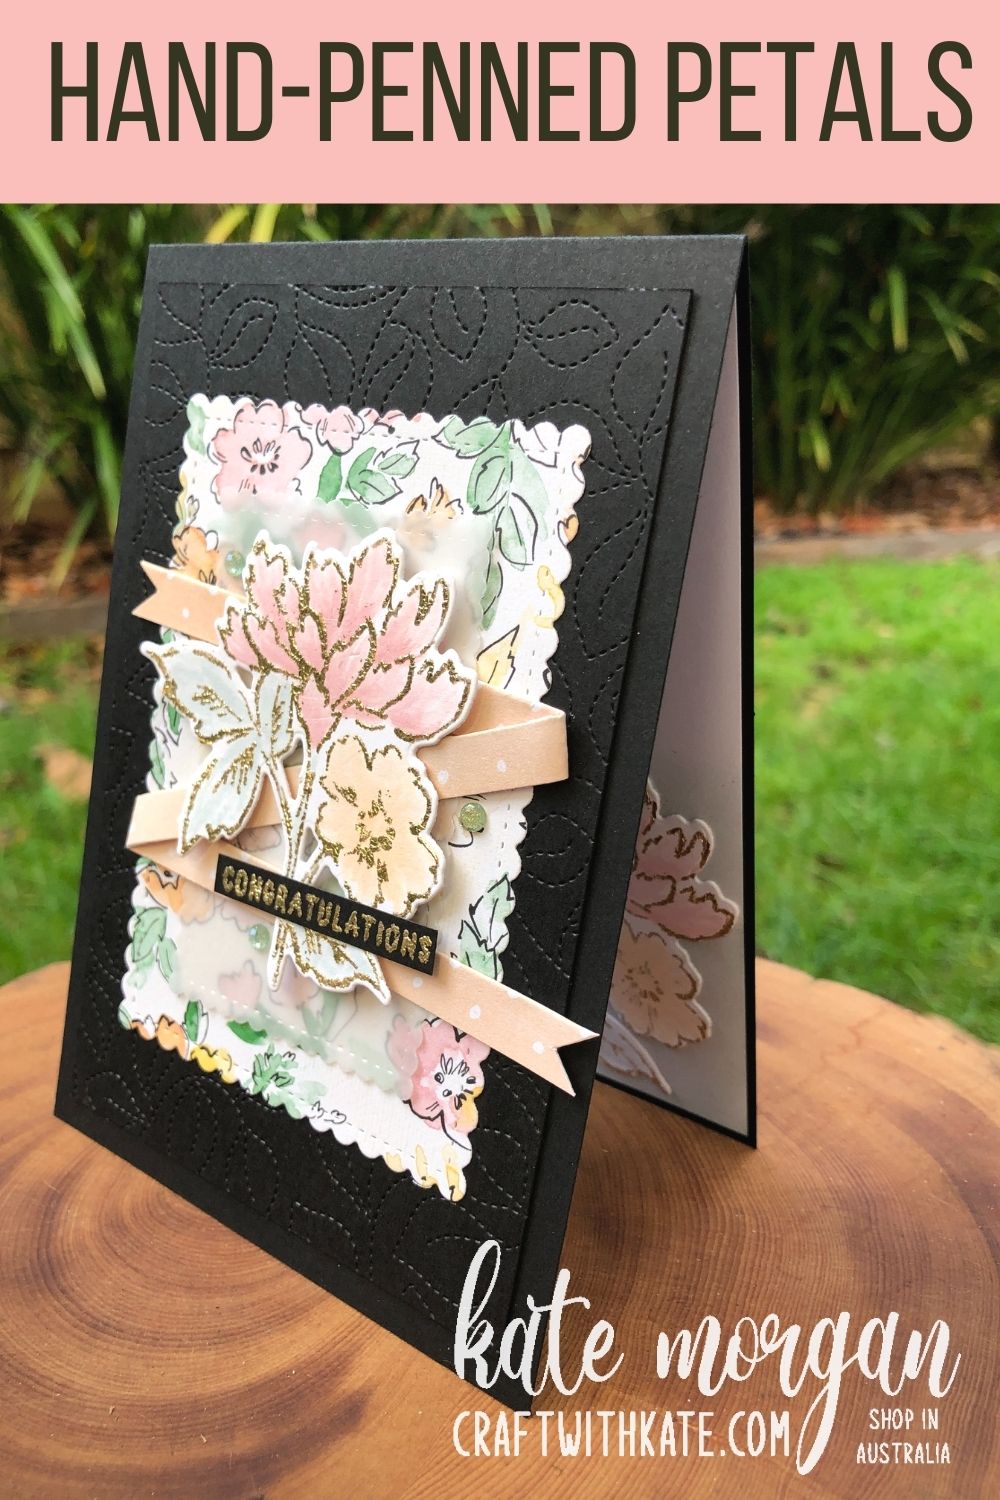
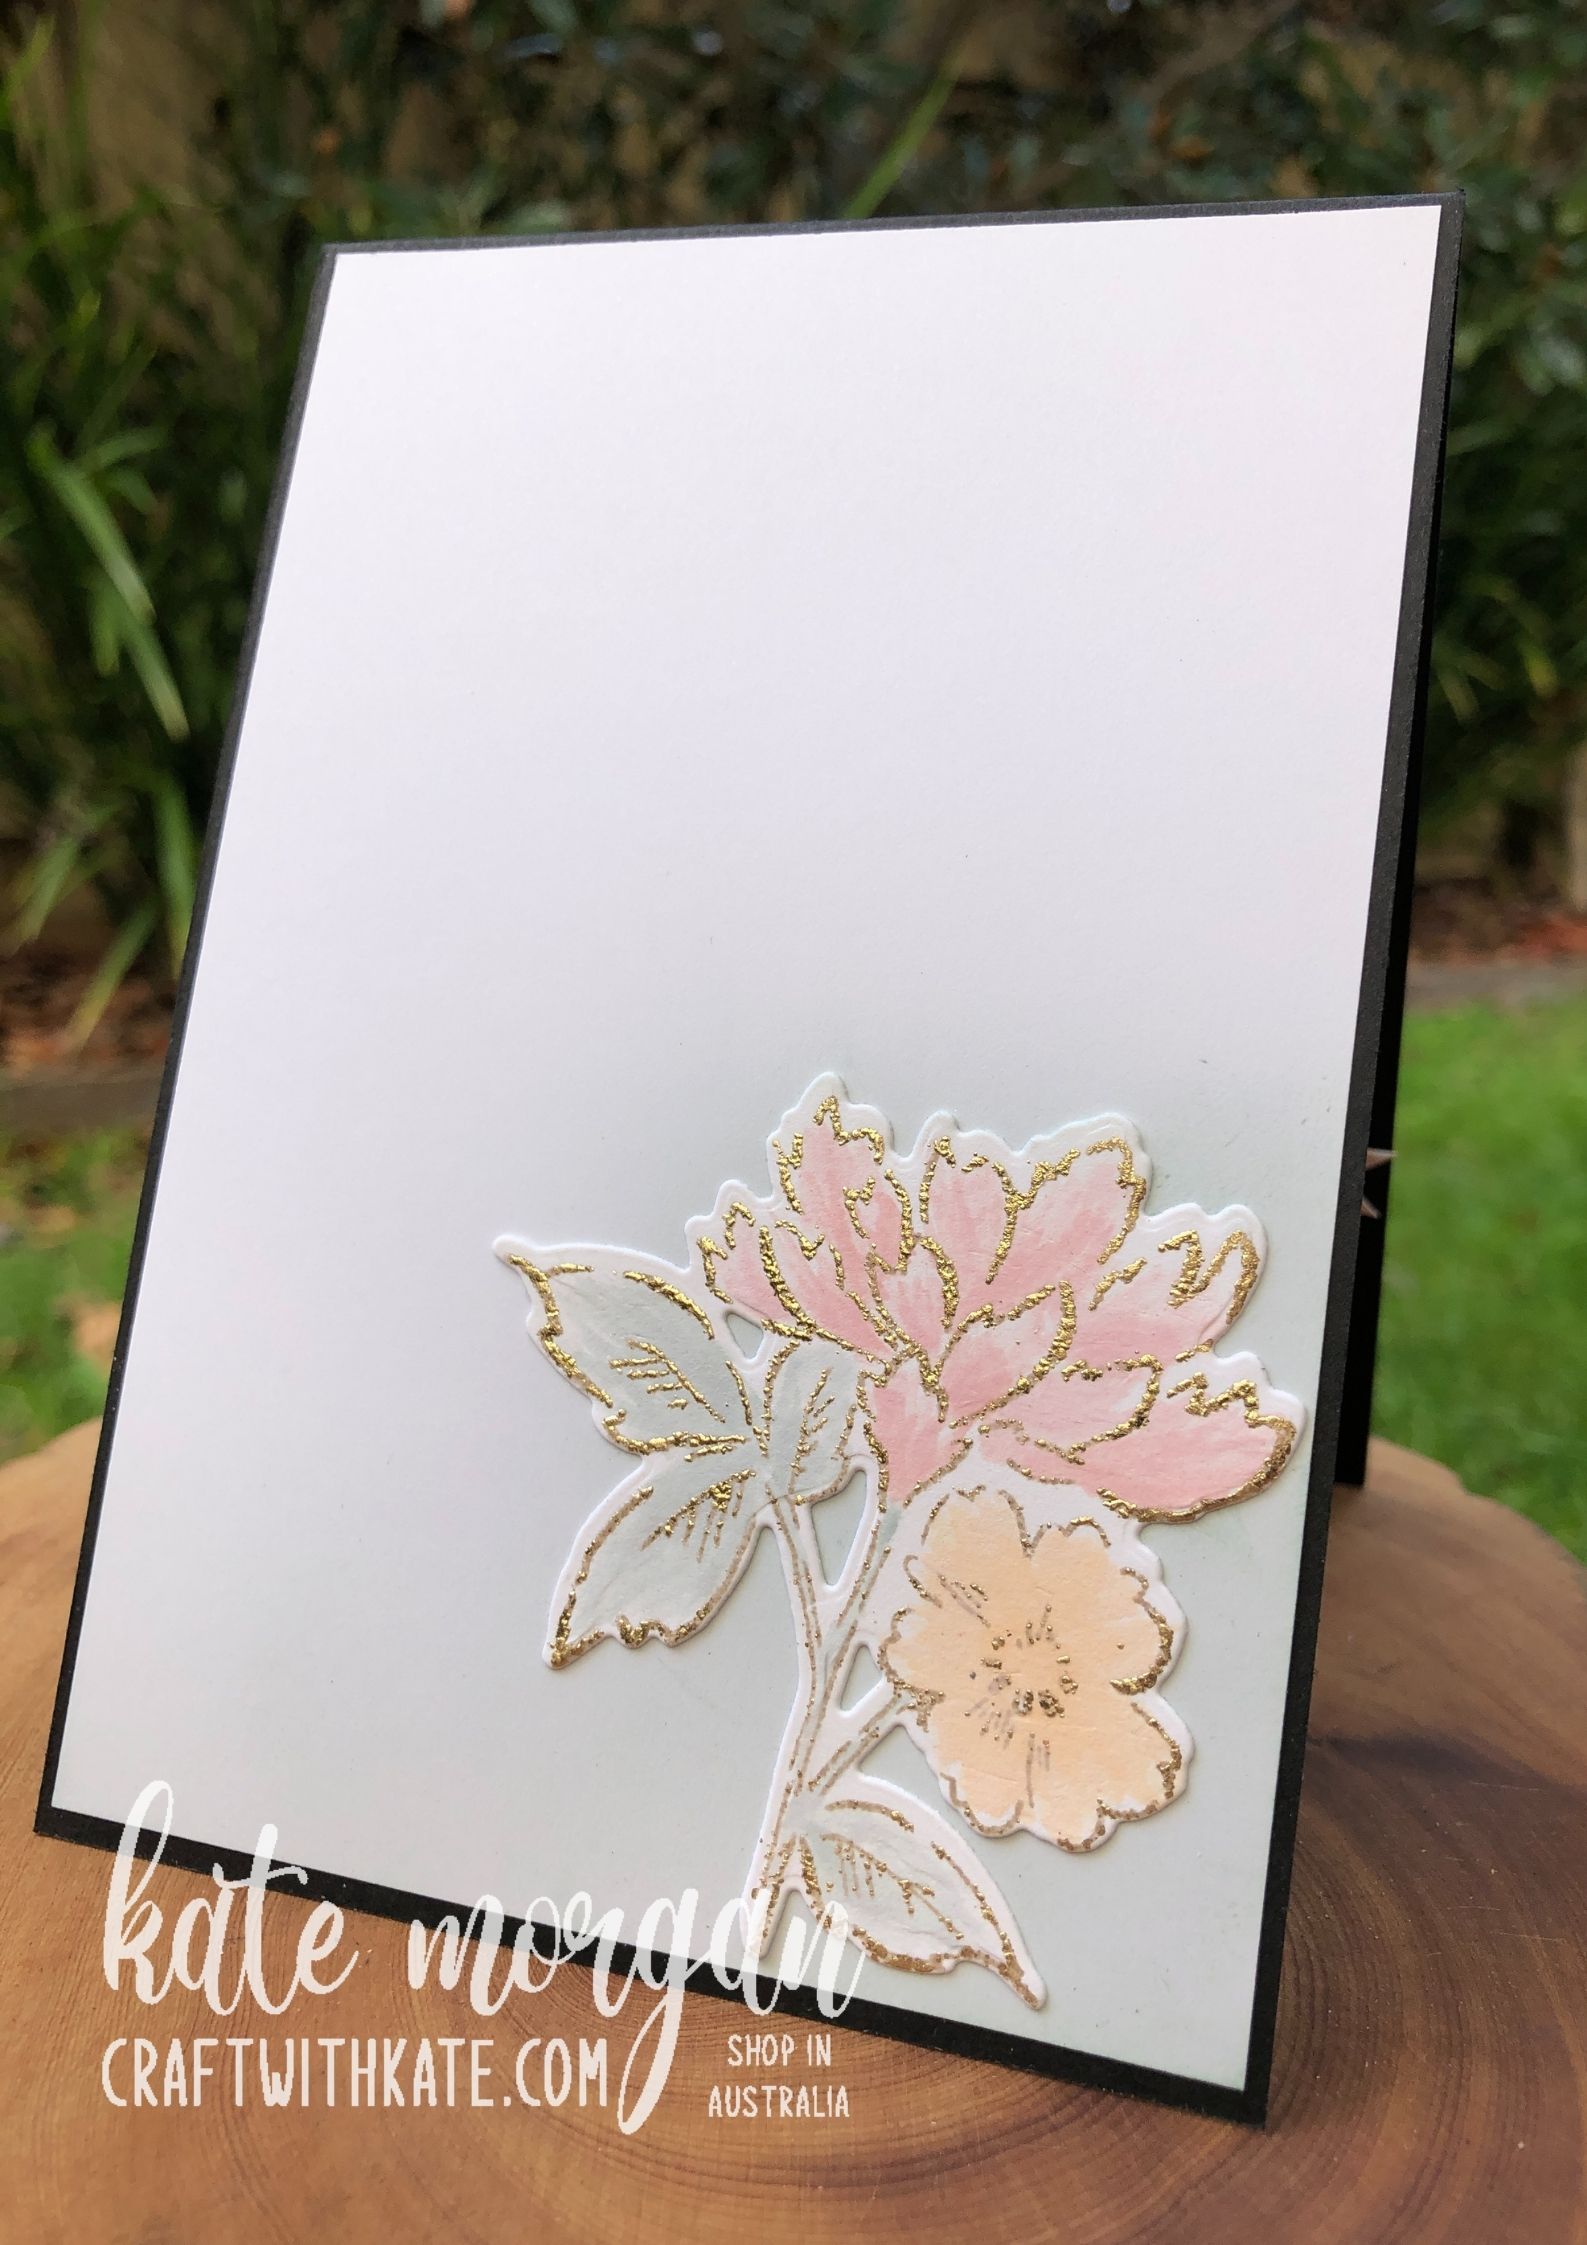
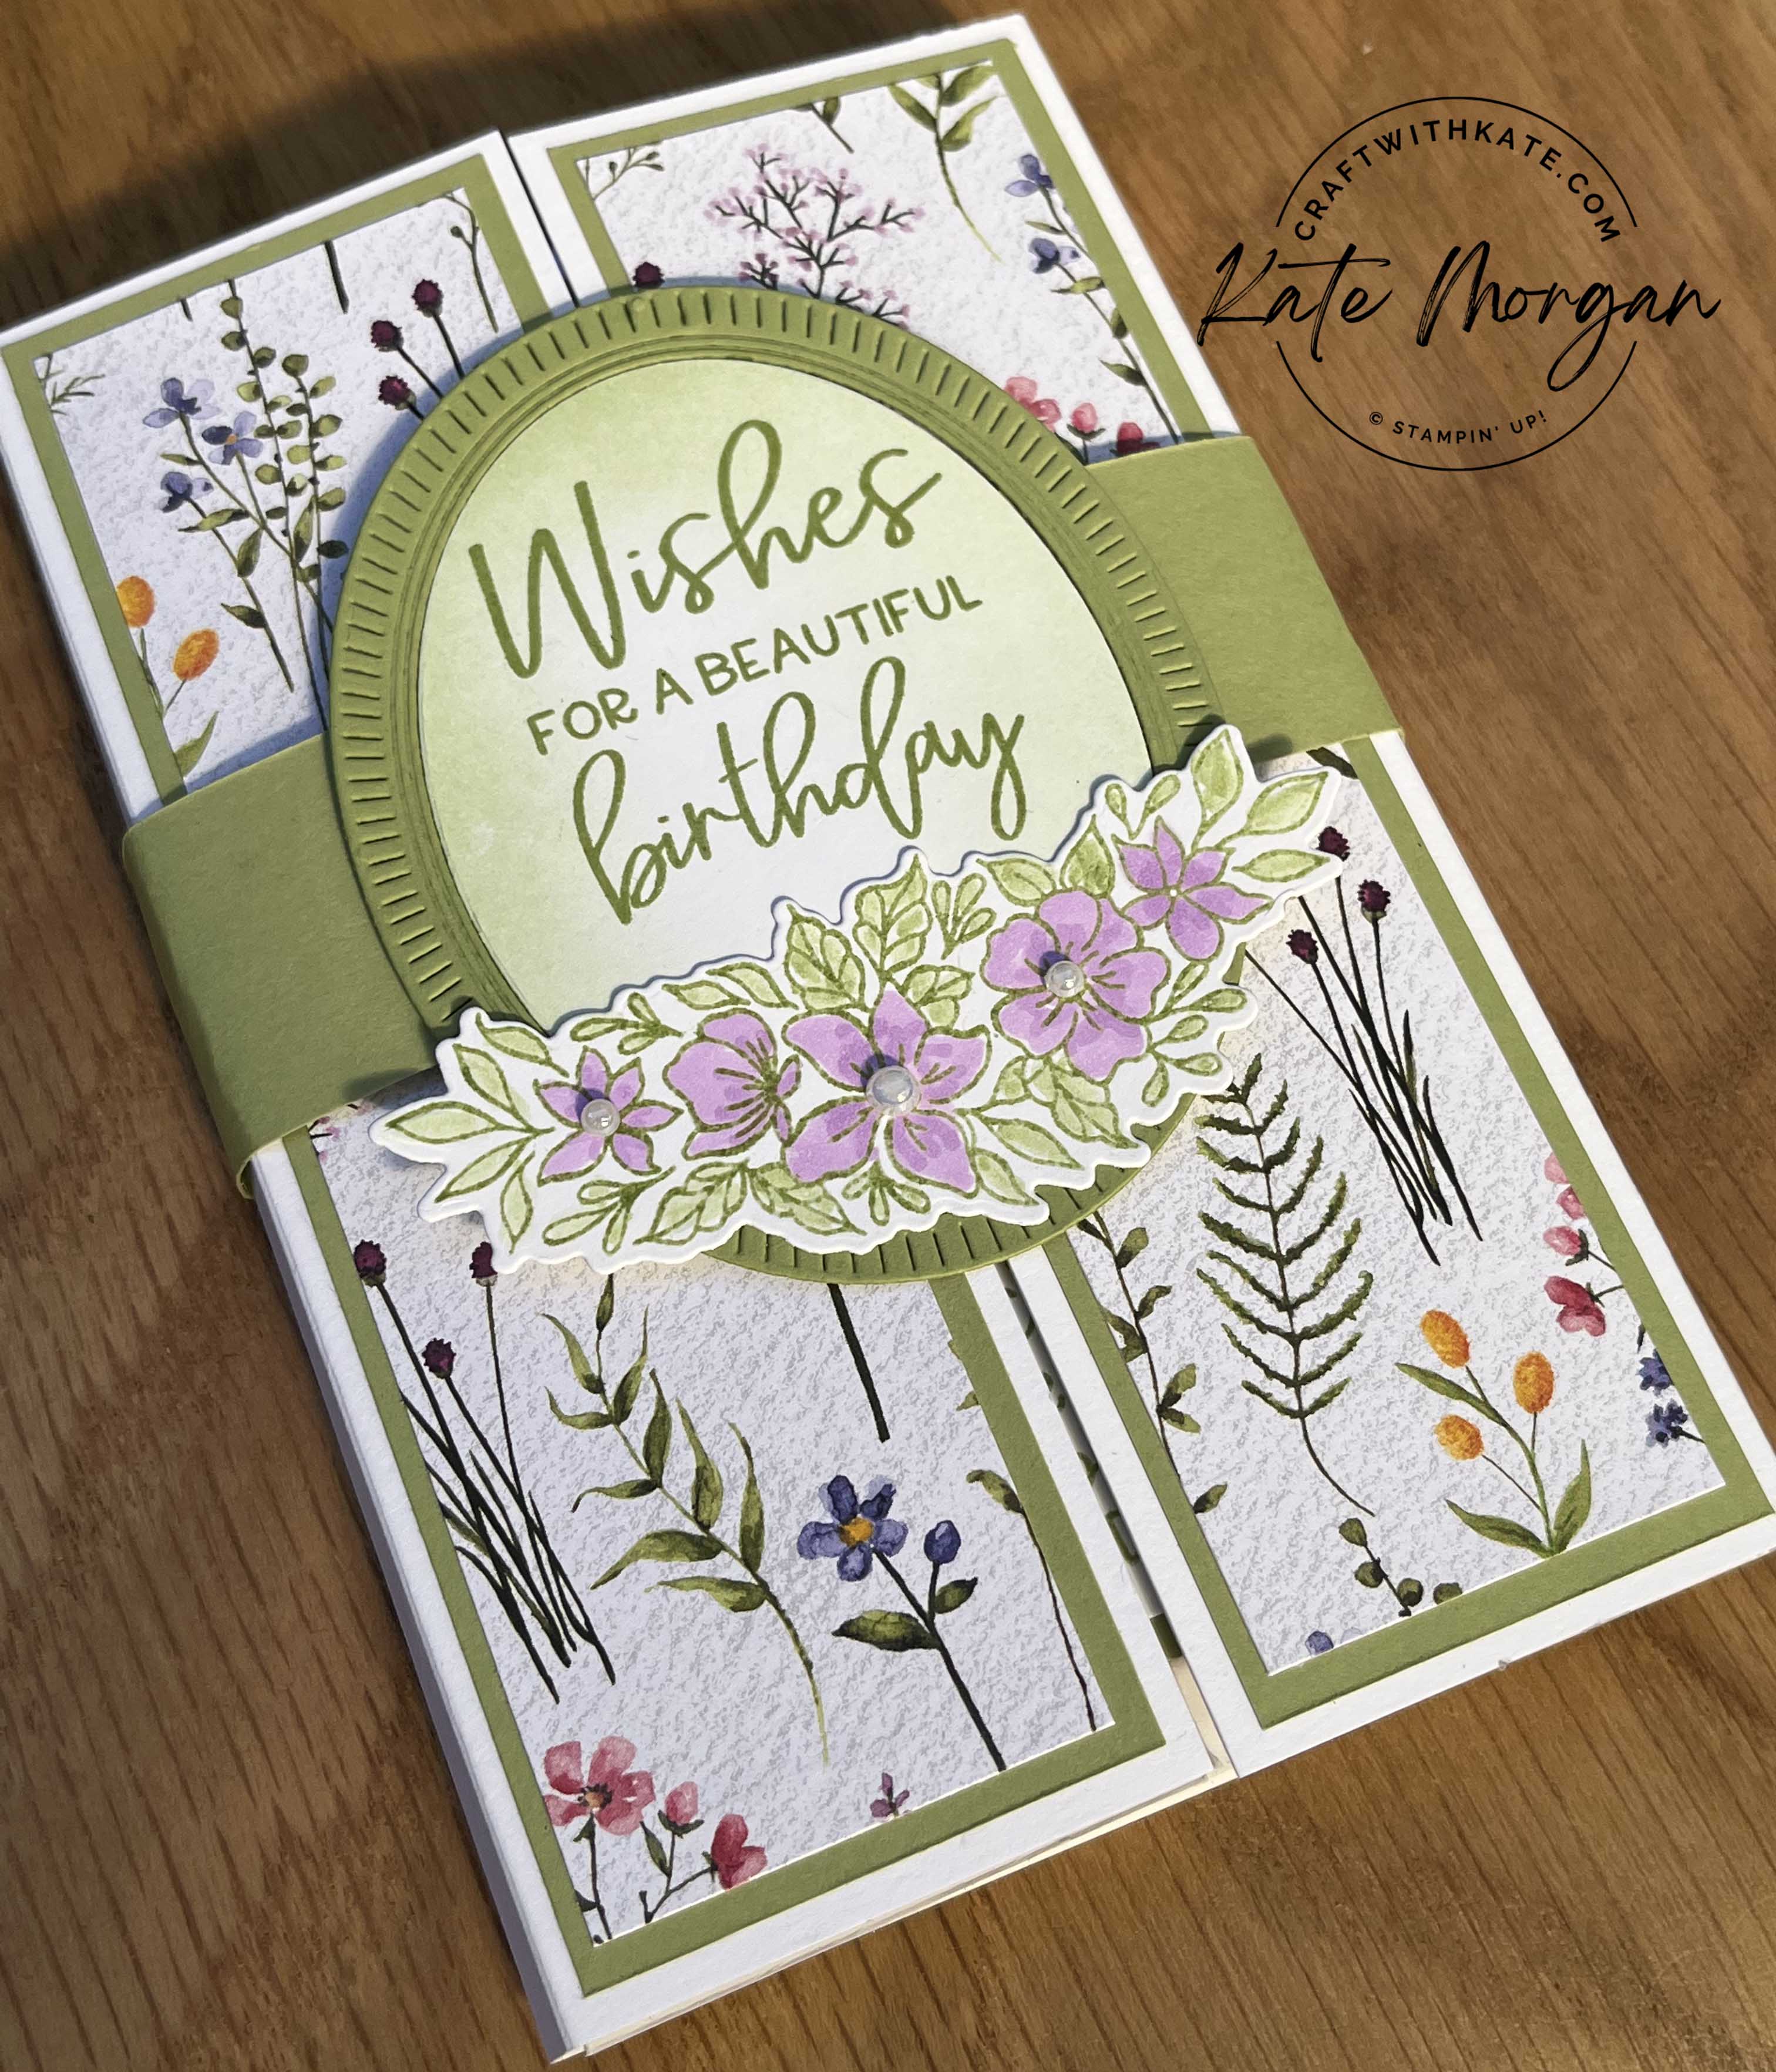
These handmade cards feature the Extraordinary Flora Washi Tape and coordinating Extraordinary Flora die. The Everyday Arches dies also feature, but I’ll explain how shortly.
The Washi Tape is big, bright, and beautiful! It is 3¼” (8.3cm) wide and features a gorgeous pattern of watercolour florals and botanical images. The design alternates from pink and purple variations of the same pattern. I added the washi tape to some Basic White card then die cut them.
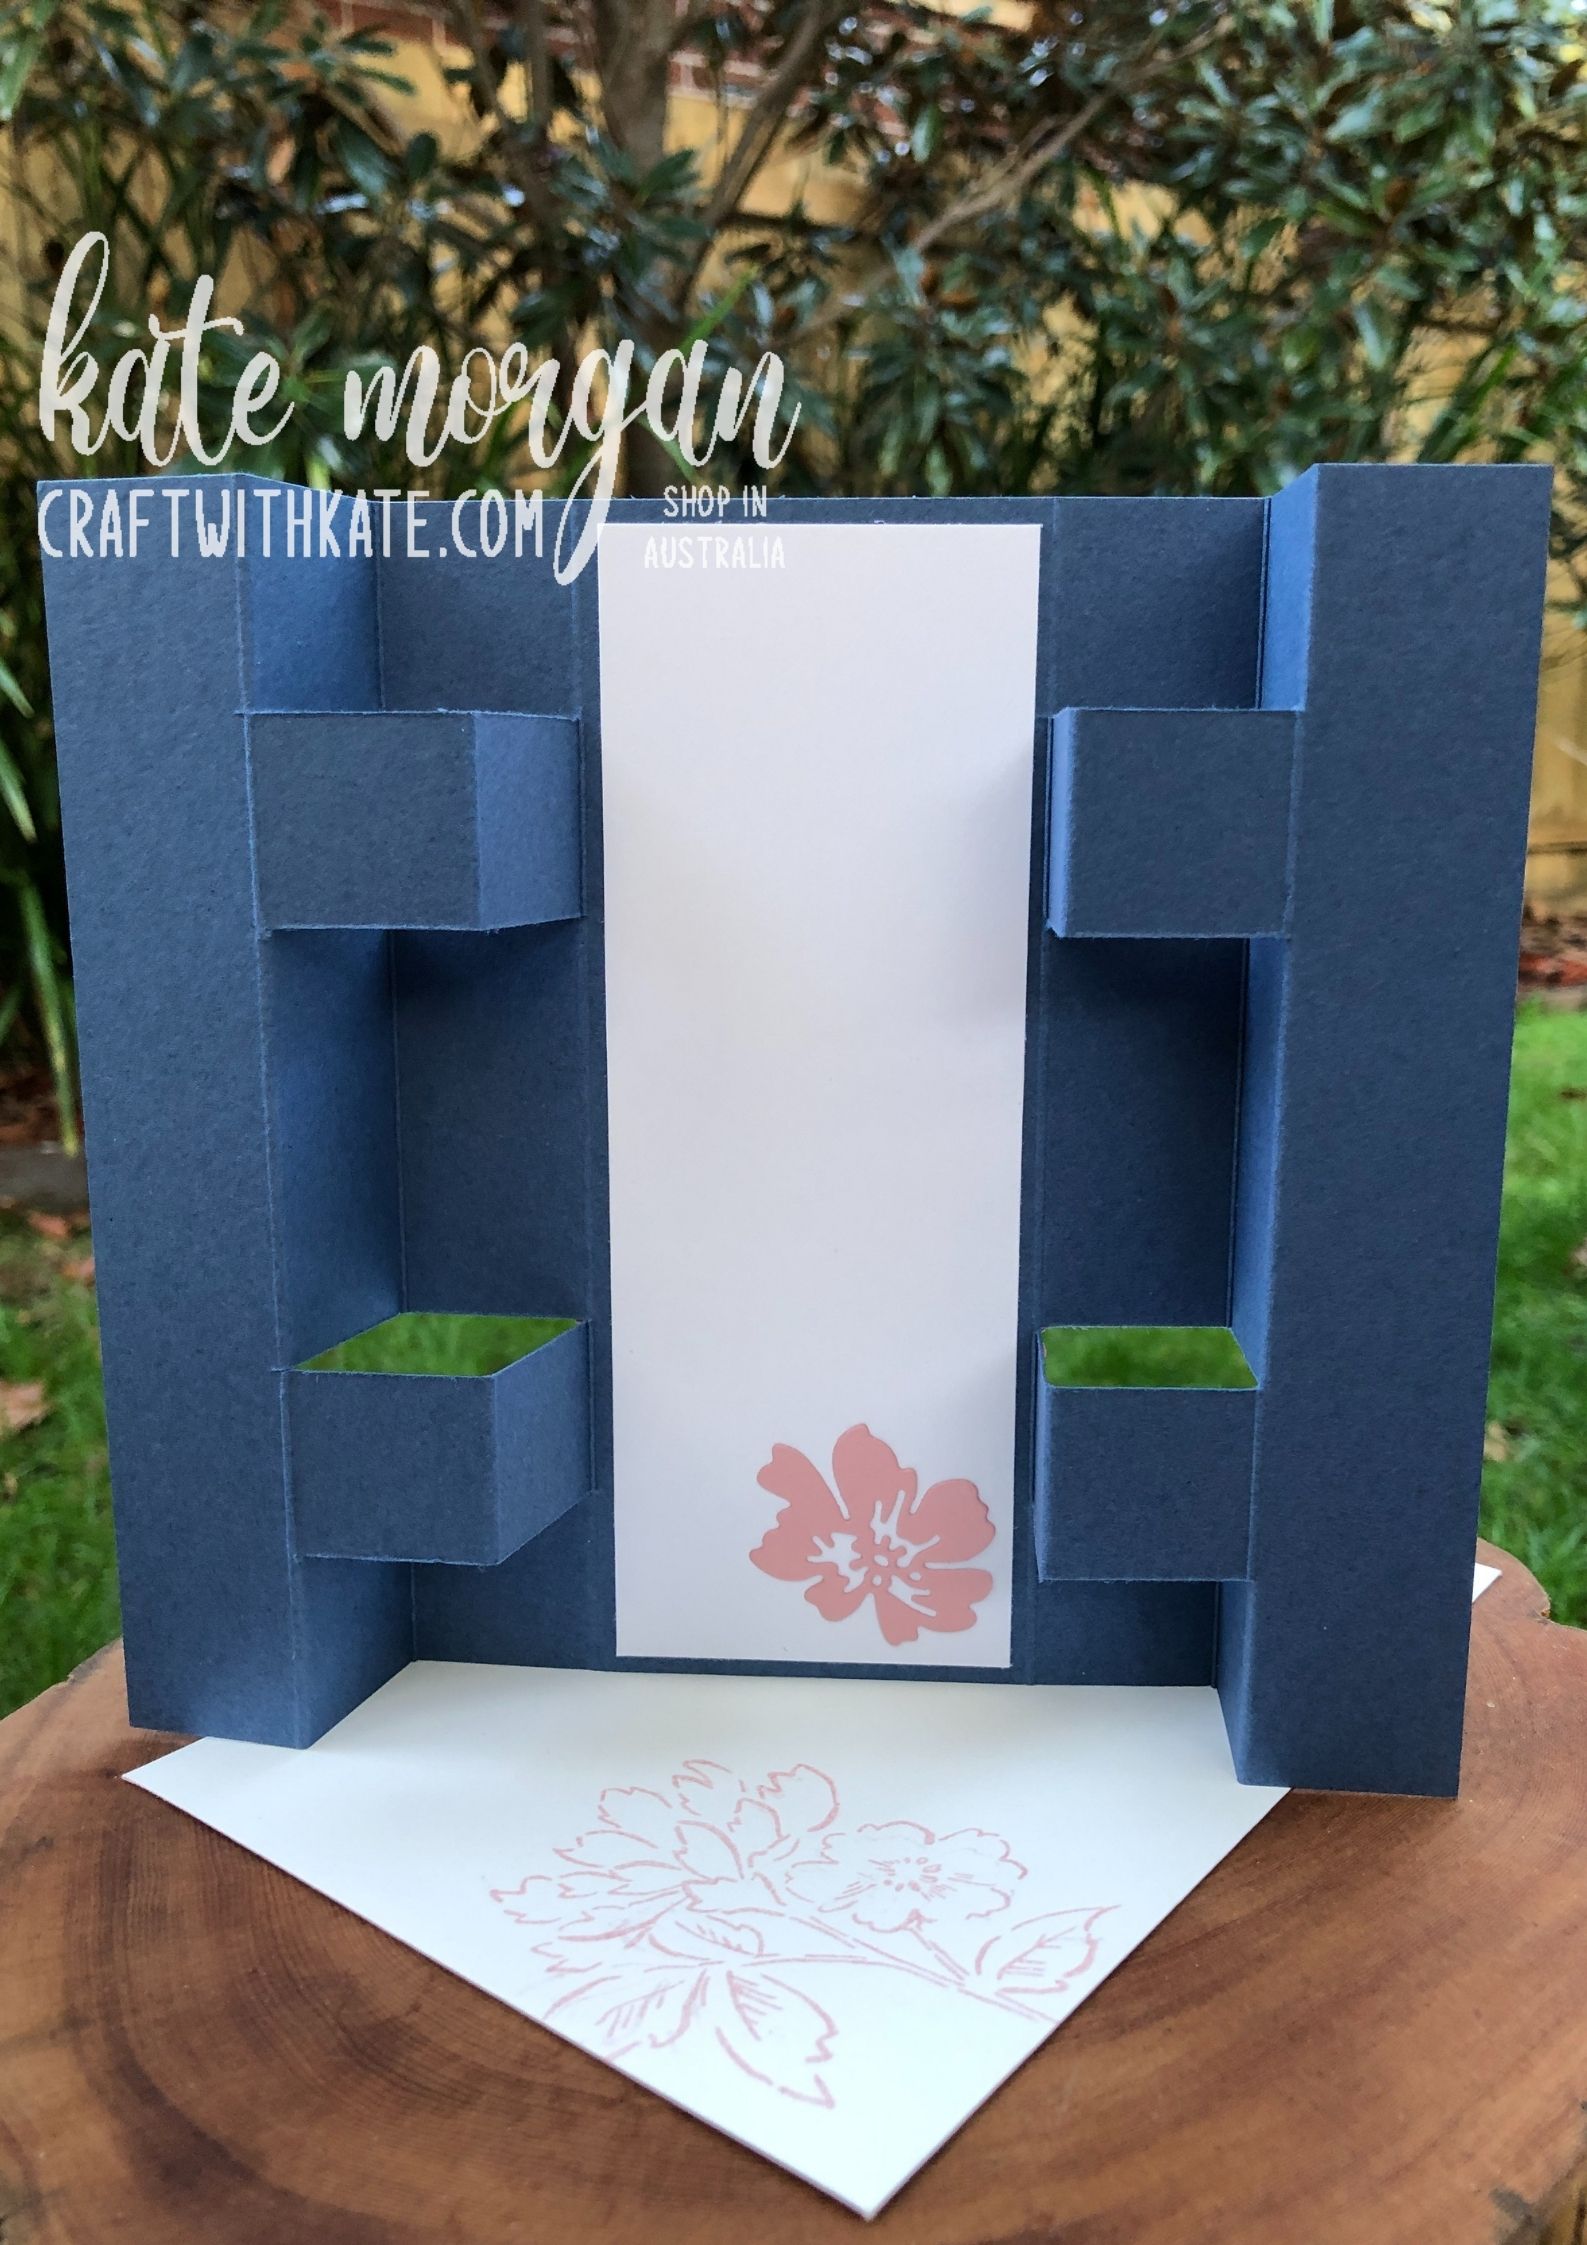
My Thick Basic White card bases have a layer of Melon Mambo added. The next layer is Basic White and I placed it onto my Simply Scored with one of the Everyday Arches dies sitting on top. Carefully holding the die in place, use the smaller tip of the stylis and score the lines to the width of the die.

I adhered this layer to the card then arranged the washi tape die cut pieces, some glued and some on Mini Dimensionals.
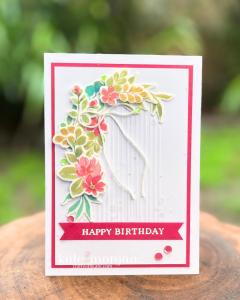
The sentiment [Beautiful Butterflies stamp set] on card 1 was stamped on Melon Mambo card in Versamark ink, White Wow emboss powder added and melted with my Heat Tool. The ends were cut using the Three Banner Punch. Card 2s sentiment is from the Banner Sayings stamp set and punched with the Three Banner Punch.
White Baker’s Twine bows and Adhesive-backed Shiny Sequins & Iridescent Pearls were added.

Thanks for dropping by. I hope you join me next Wednesday for Misty Moonlight inspiration.
Product List @stampinupofficial
Stamps: Banner Sayings*, Beautiful Butterflies
Dies: Extraordinary Flora, Everyday Arches
Ink: Melon Mambo, Versamark
Paper: Basic White, Melon Mambo, Basic White C6 Envelopes
Other: Extraordinaray Flora Washi Tape, Three Banner Punch*, Wink of Stella, Simply Scored, White Baker’s Twine, Iridescent Pearls Basic Jewels, Adhesive-backed Shiny Sequins, Acrylic Blocks, Paper Snips, Bone Folder, Paper Trimmer, Multipurpose Glue, Mini Stampin’ Dimensionals, Glue Dots, Tear & Tape, Stampin’ Cut & Emboss Machine, Take Your Pick Tool, Simply Shammy, Heat Tool.
*can be purchased together as a bundle to save 10%

Don’t forget to Follow My Blog to receive blog updates and all the latest news and specials!

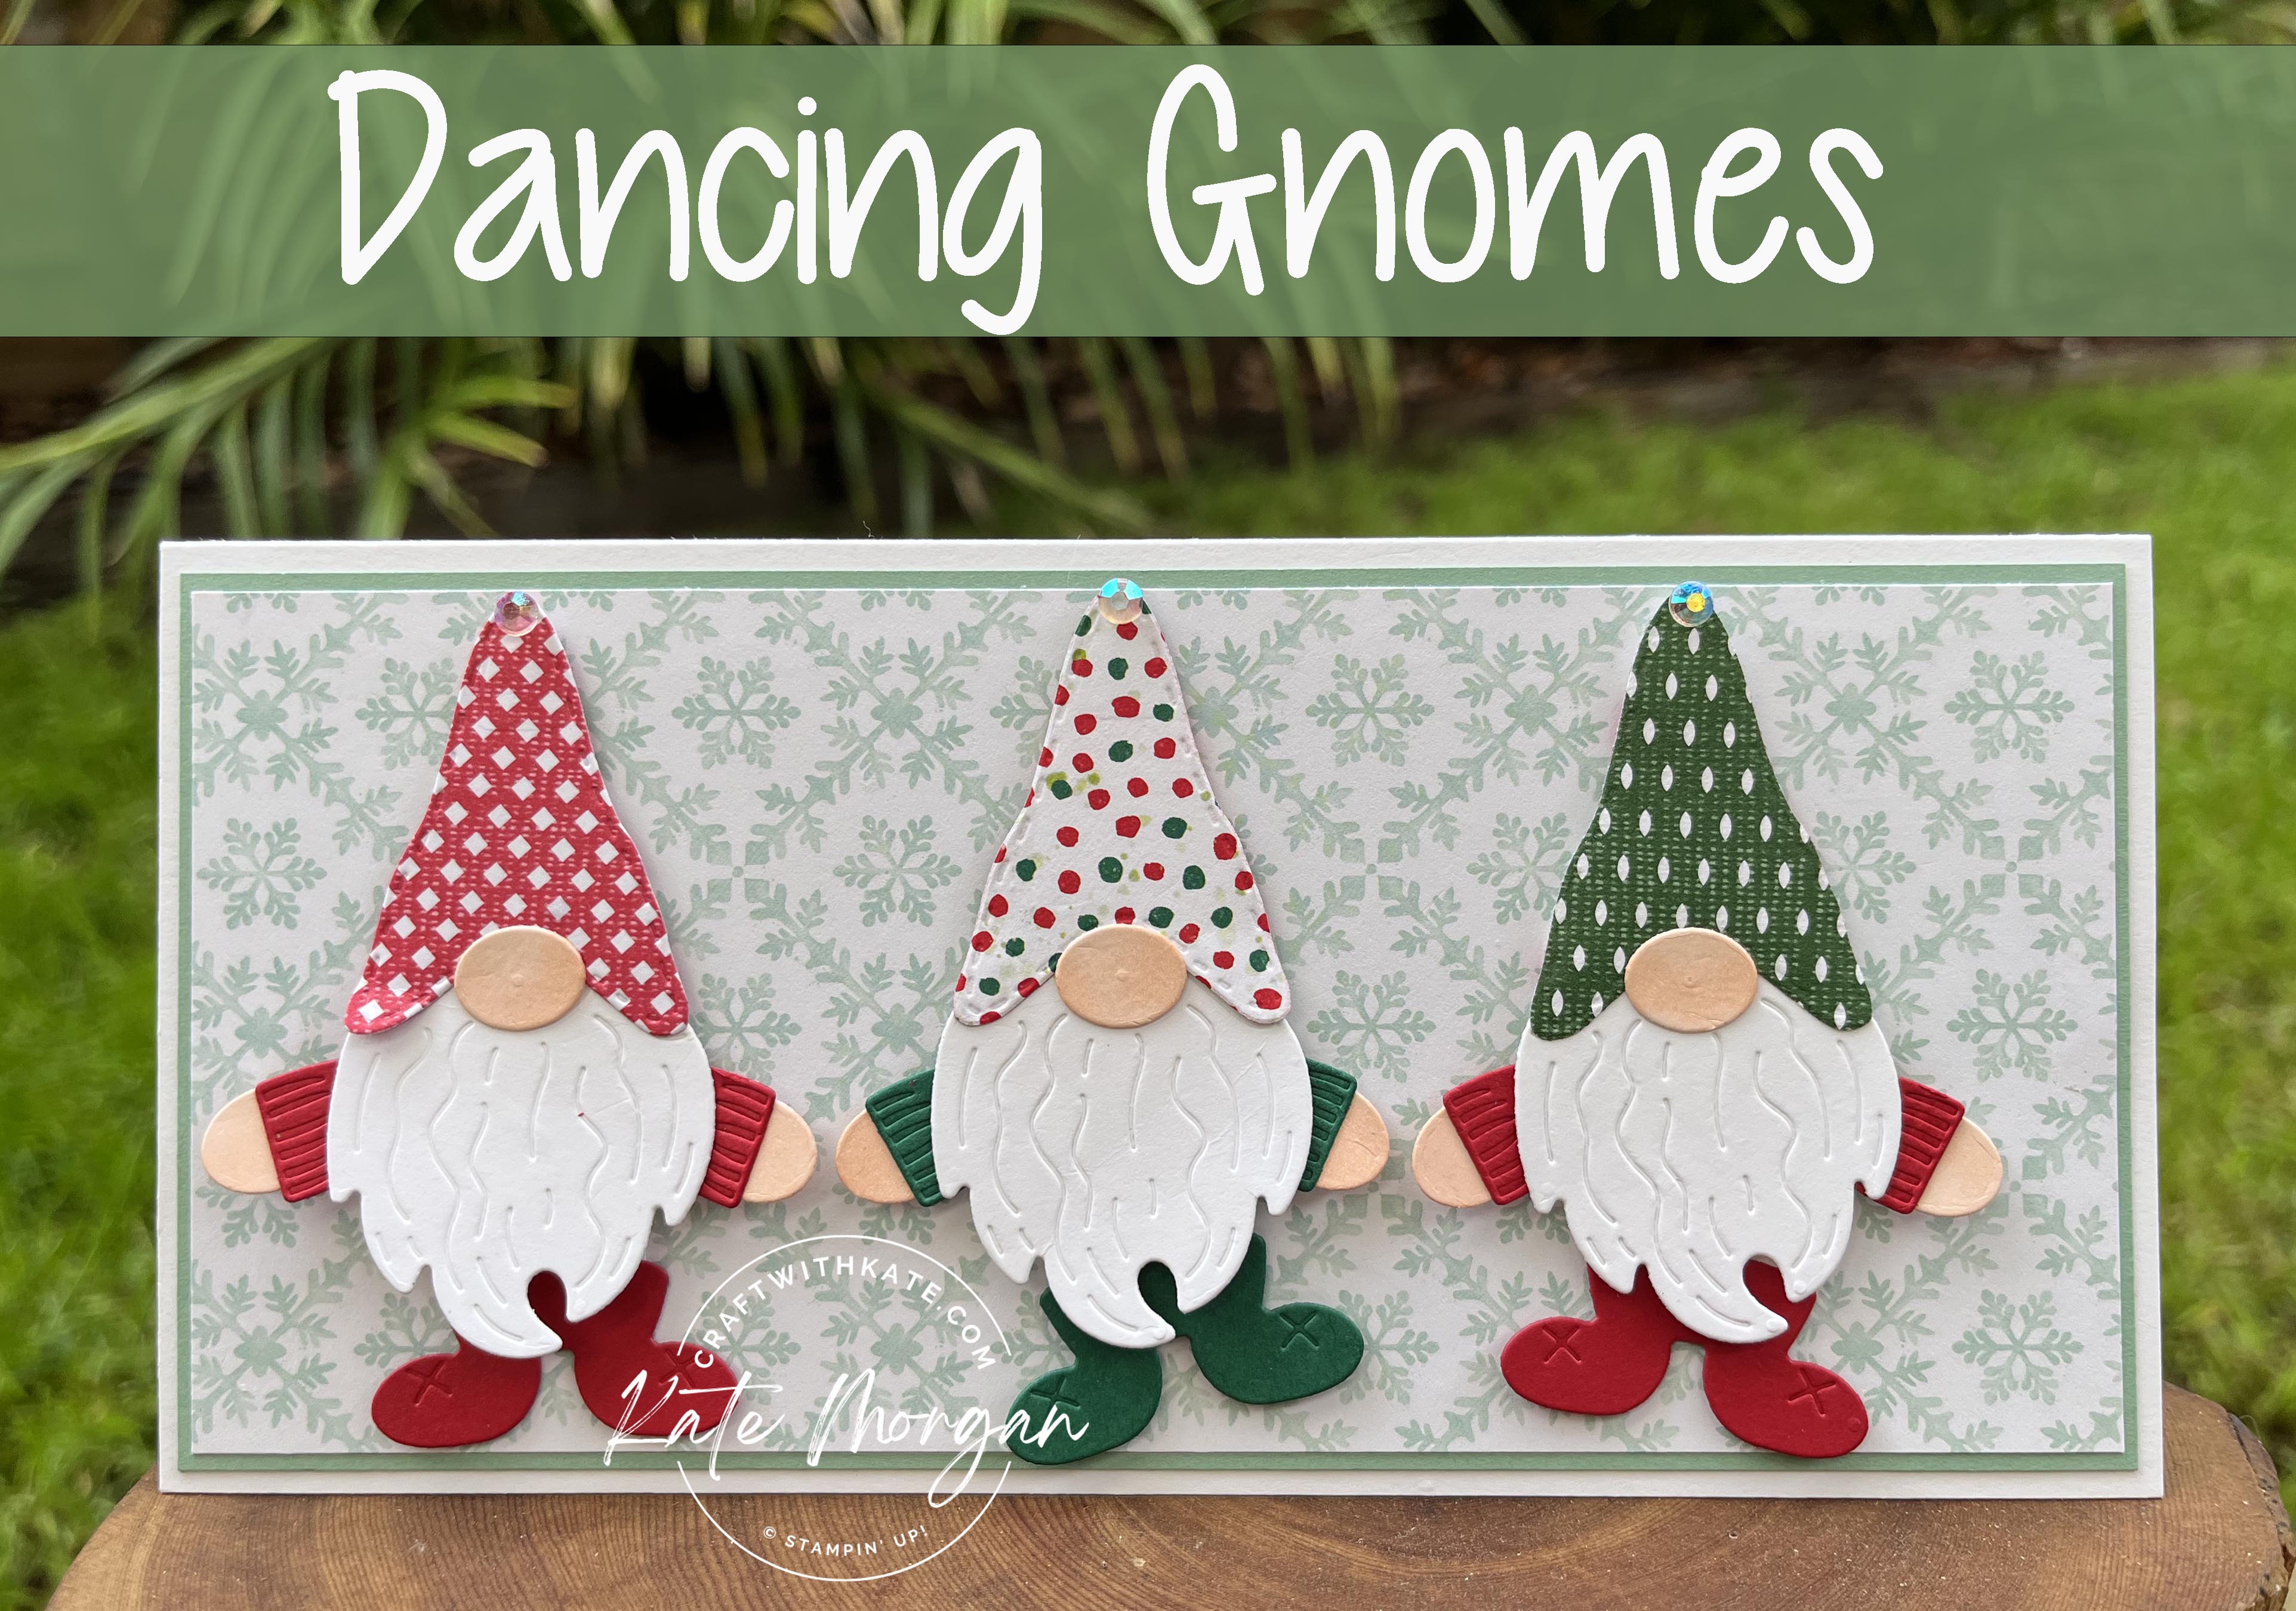
 Each Monday, some of the Art With Heart team are joining the Heart of Christmas Blog Hop to bring you creative inspiration showcasing our September-December Mini catalogue and Annual catalogue Christmas products.


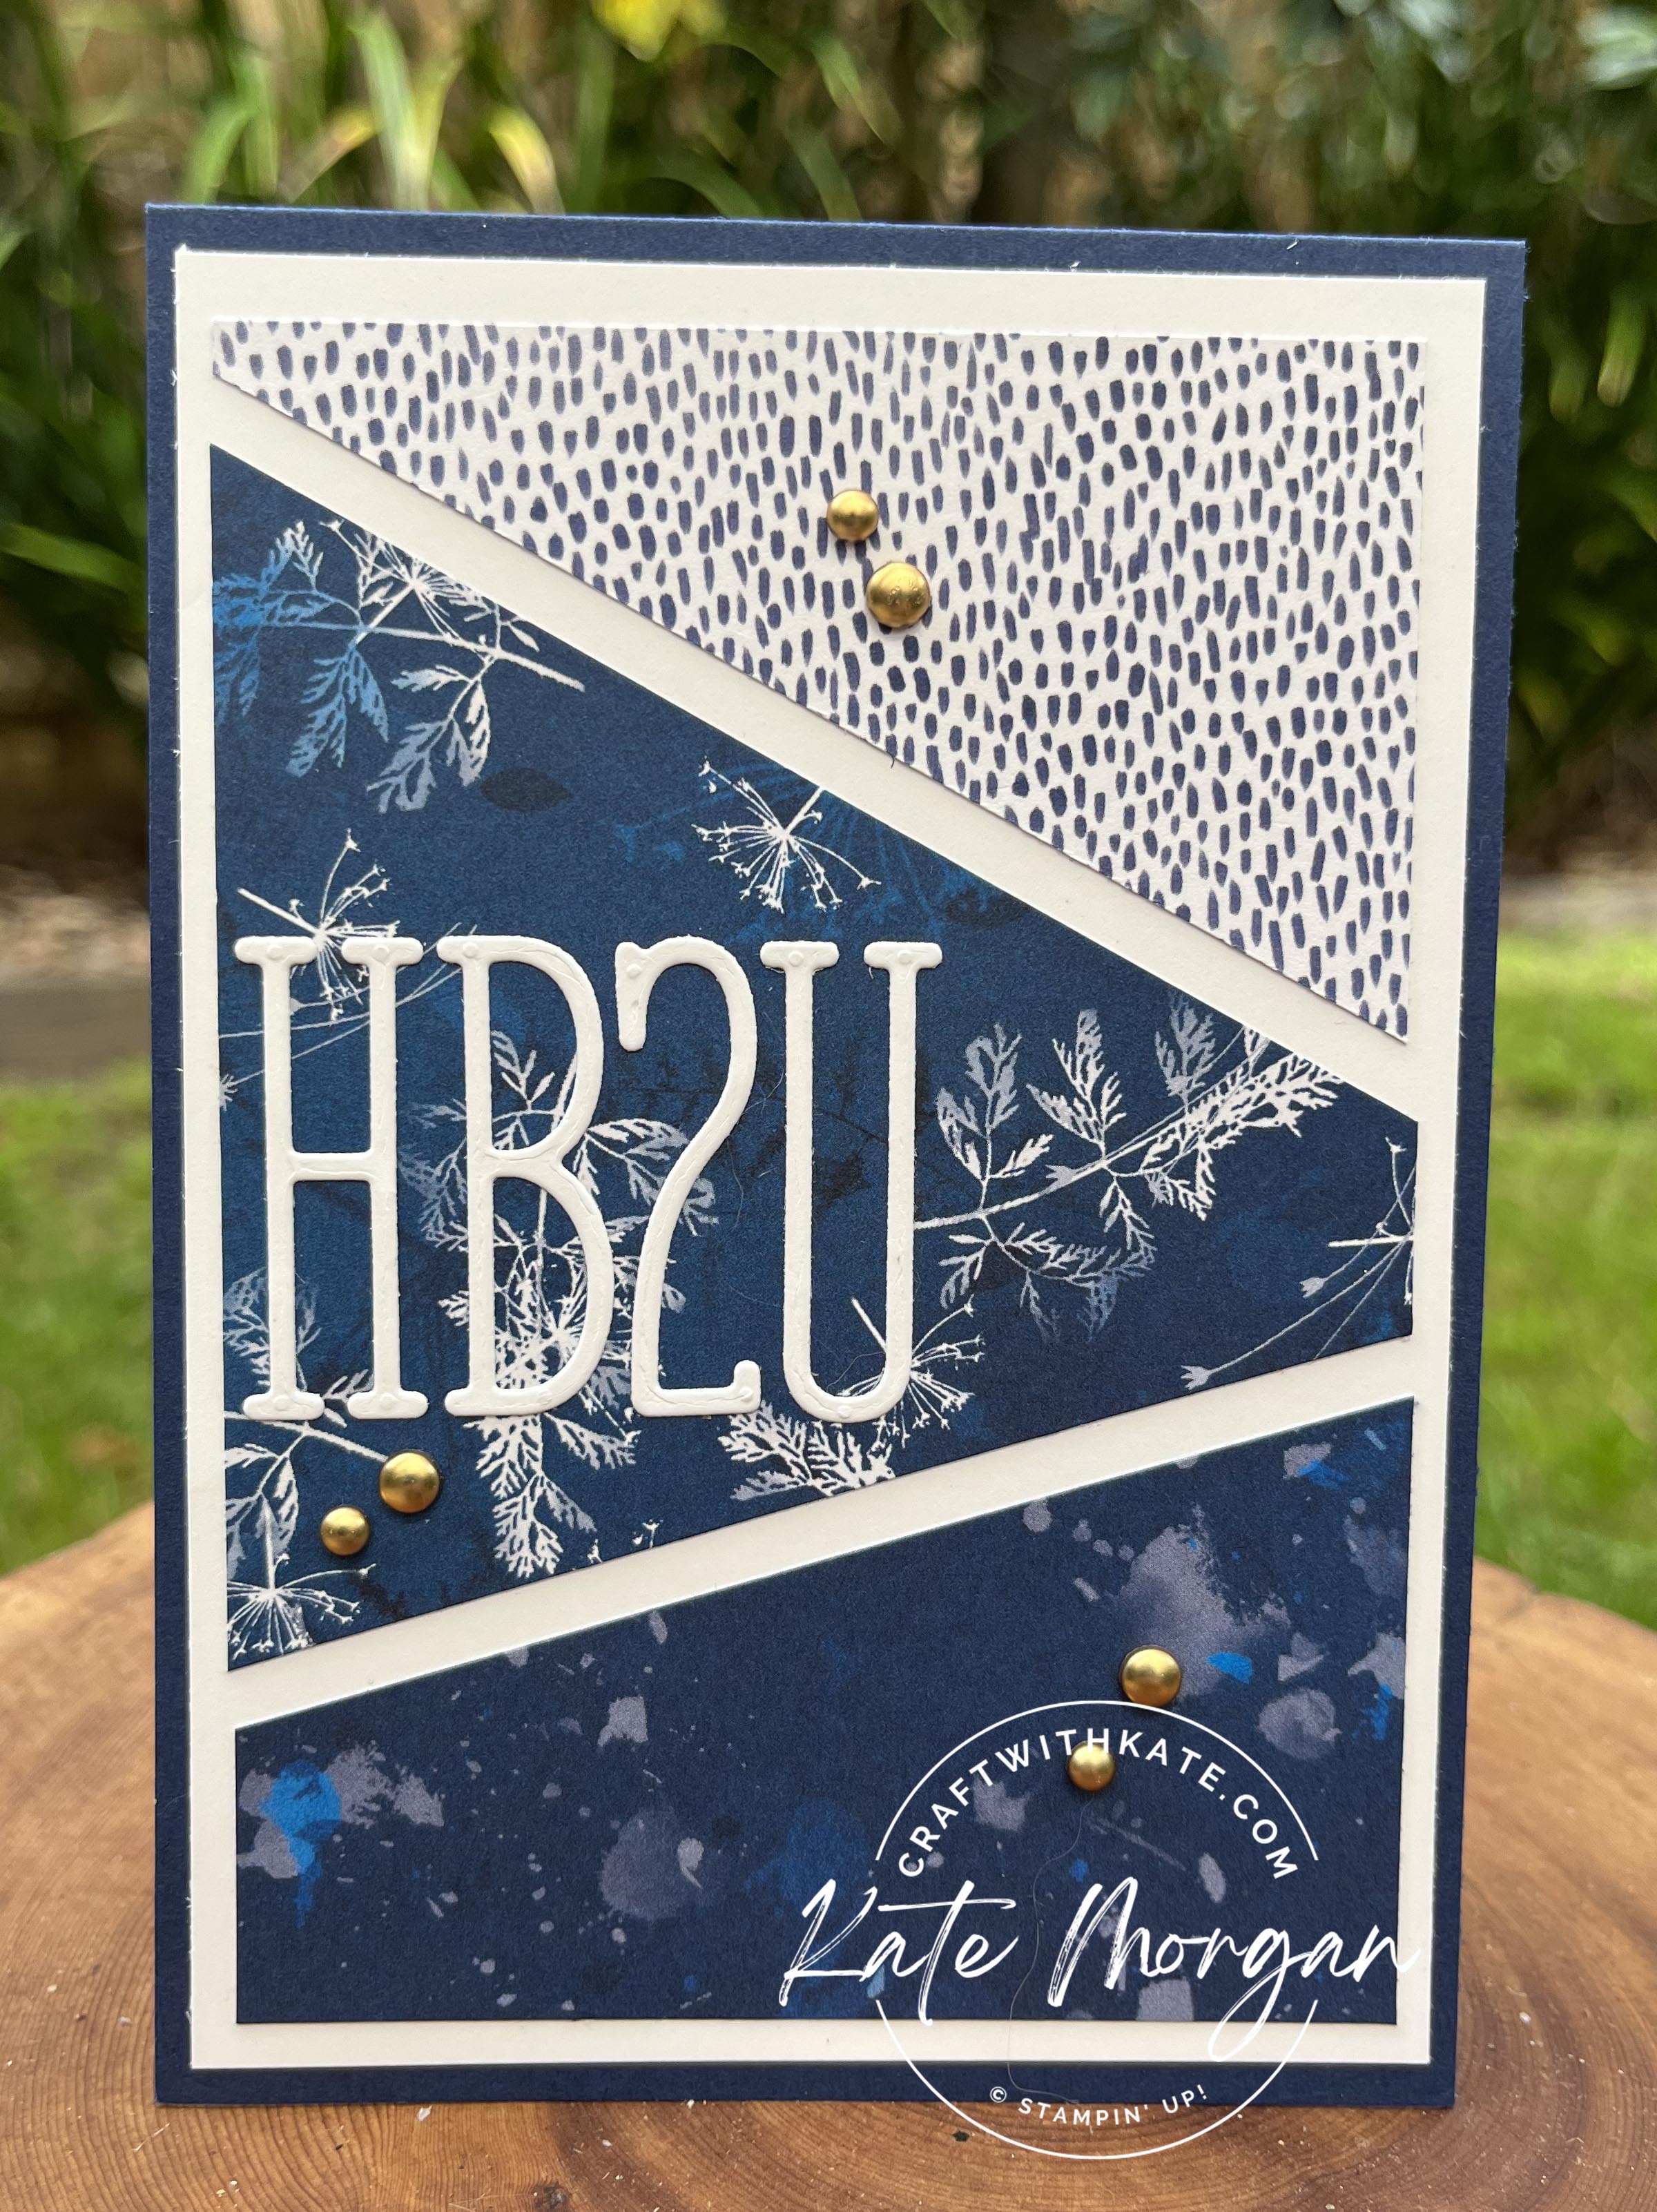
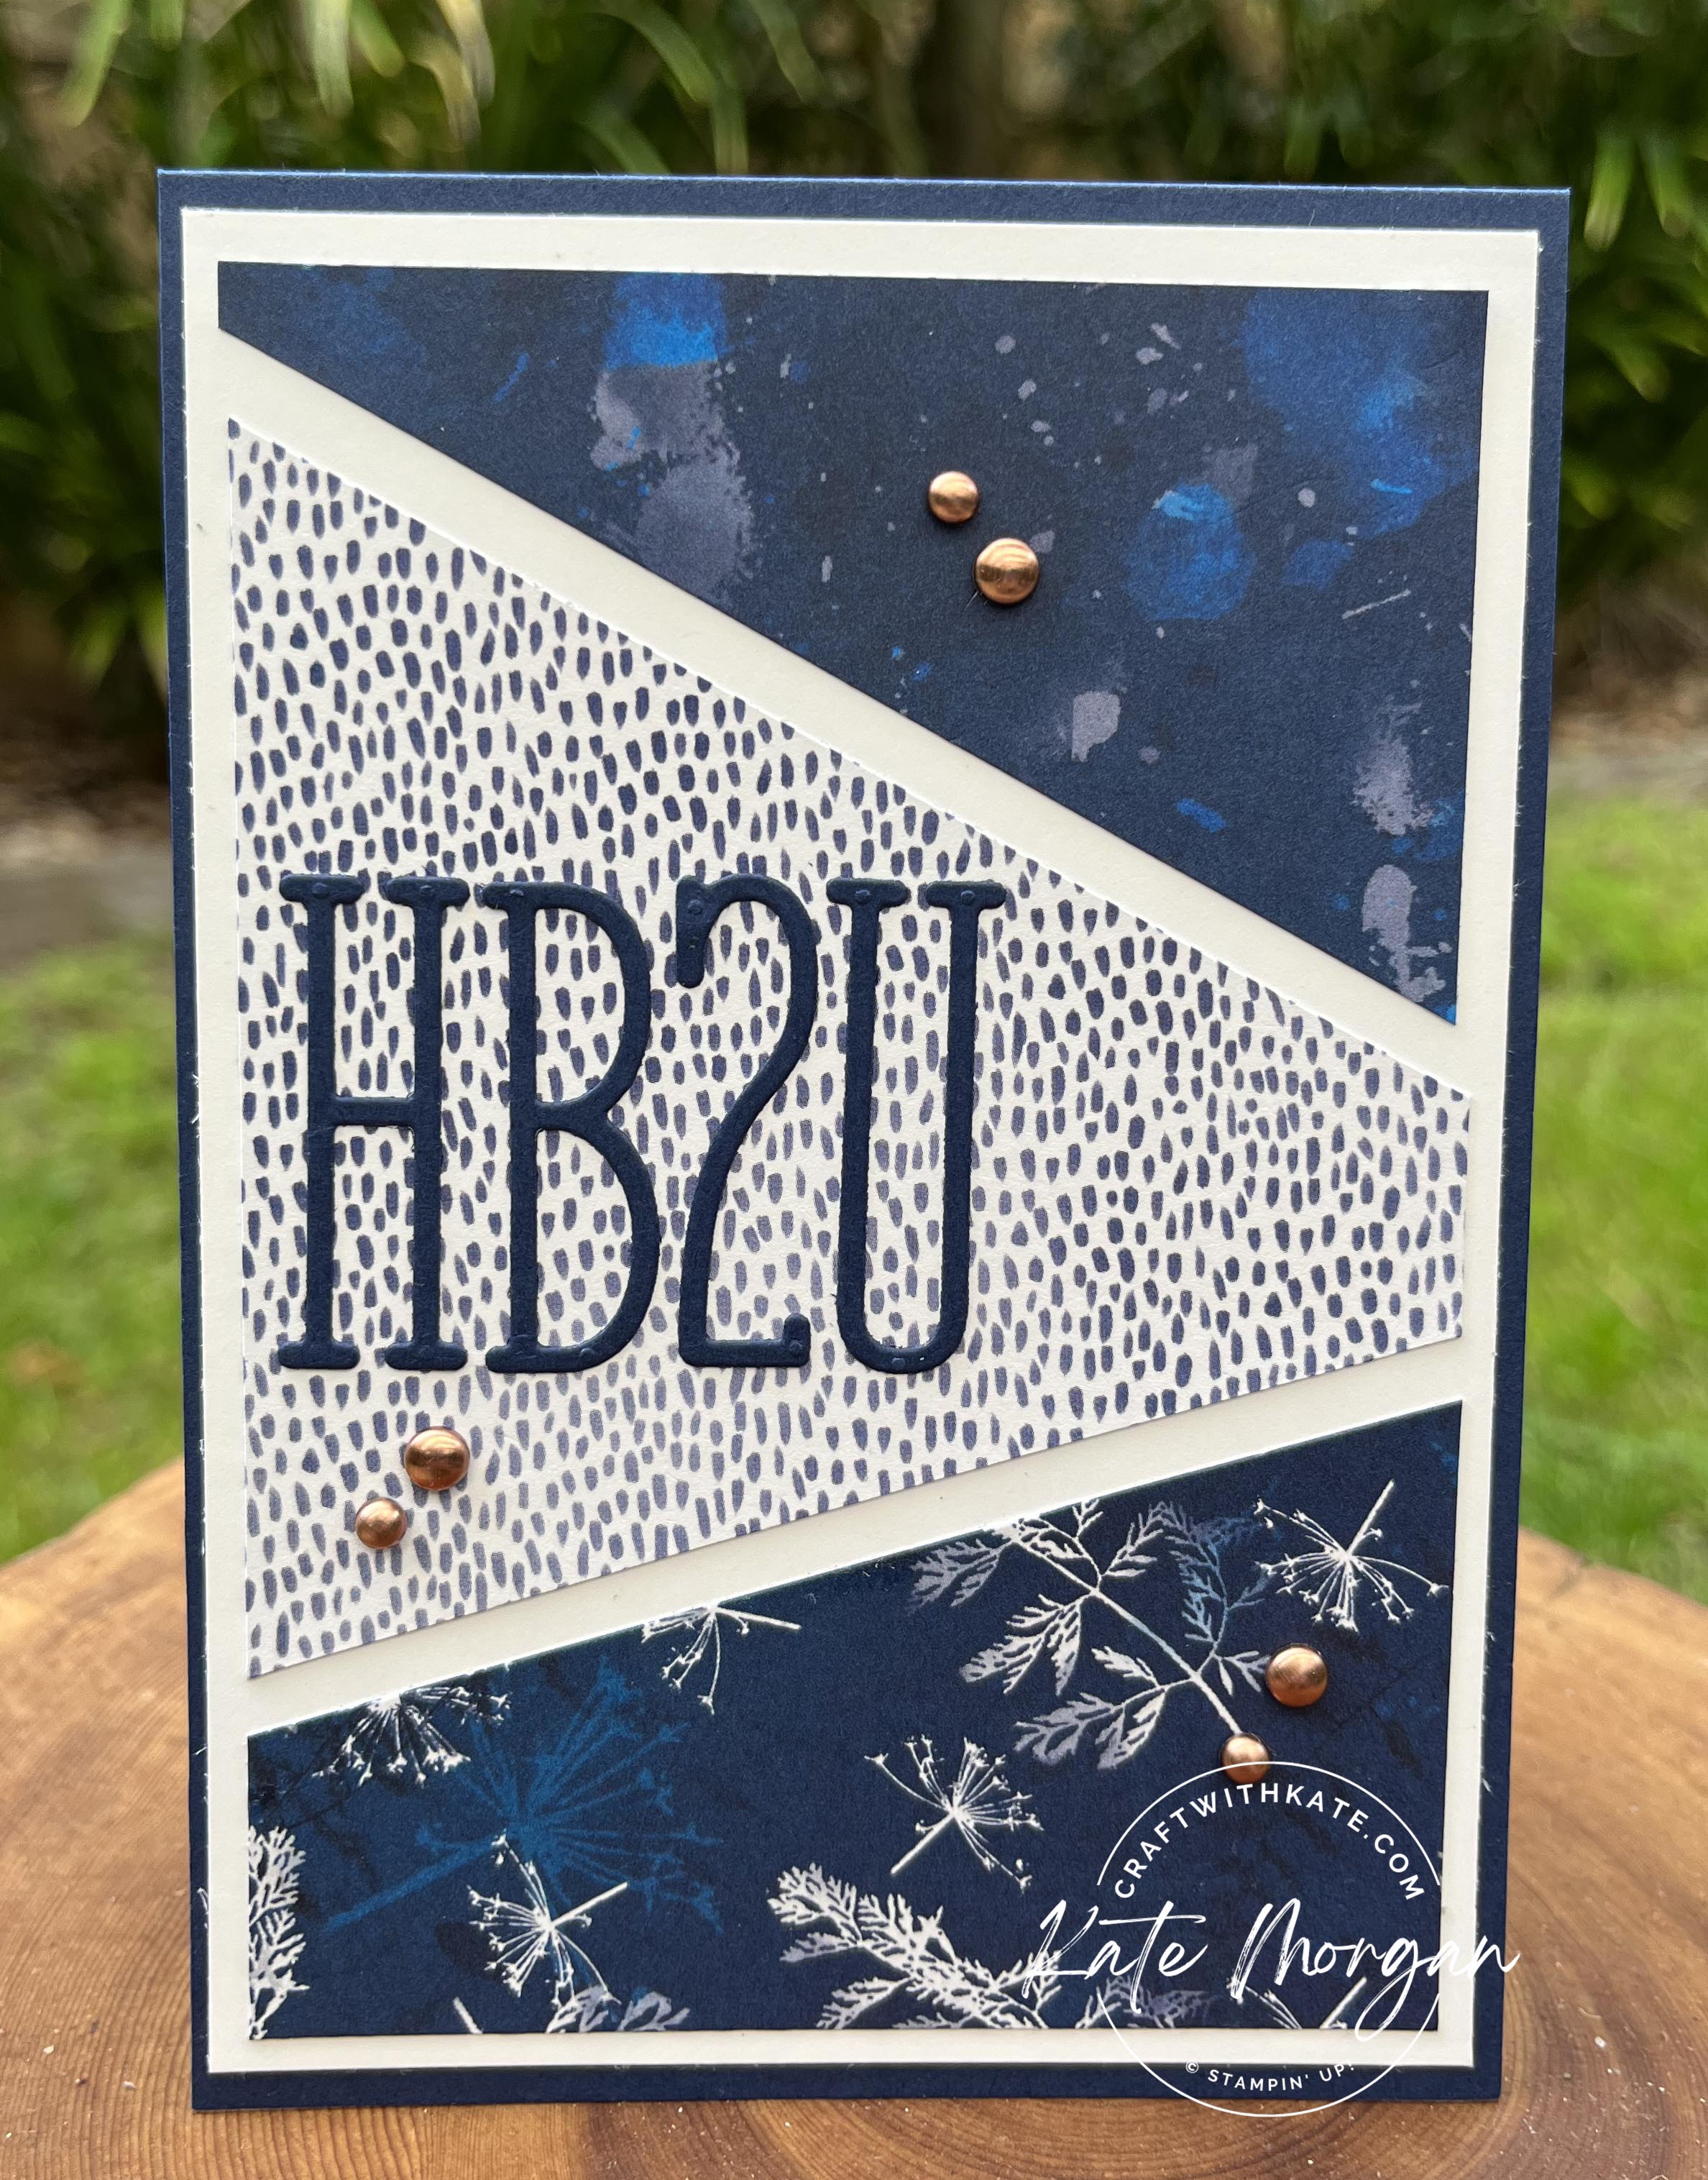
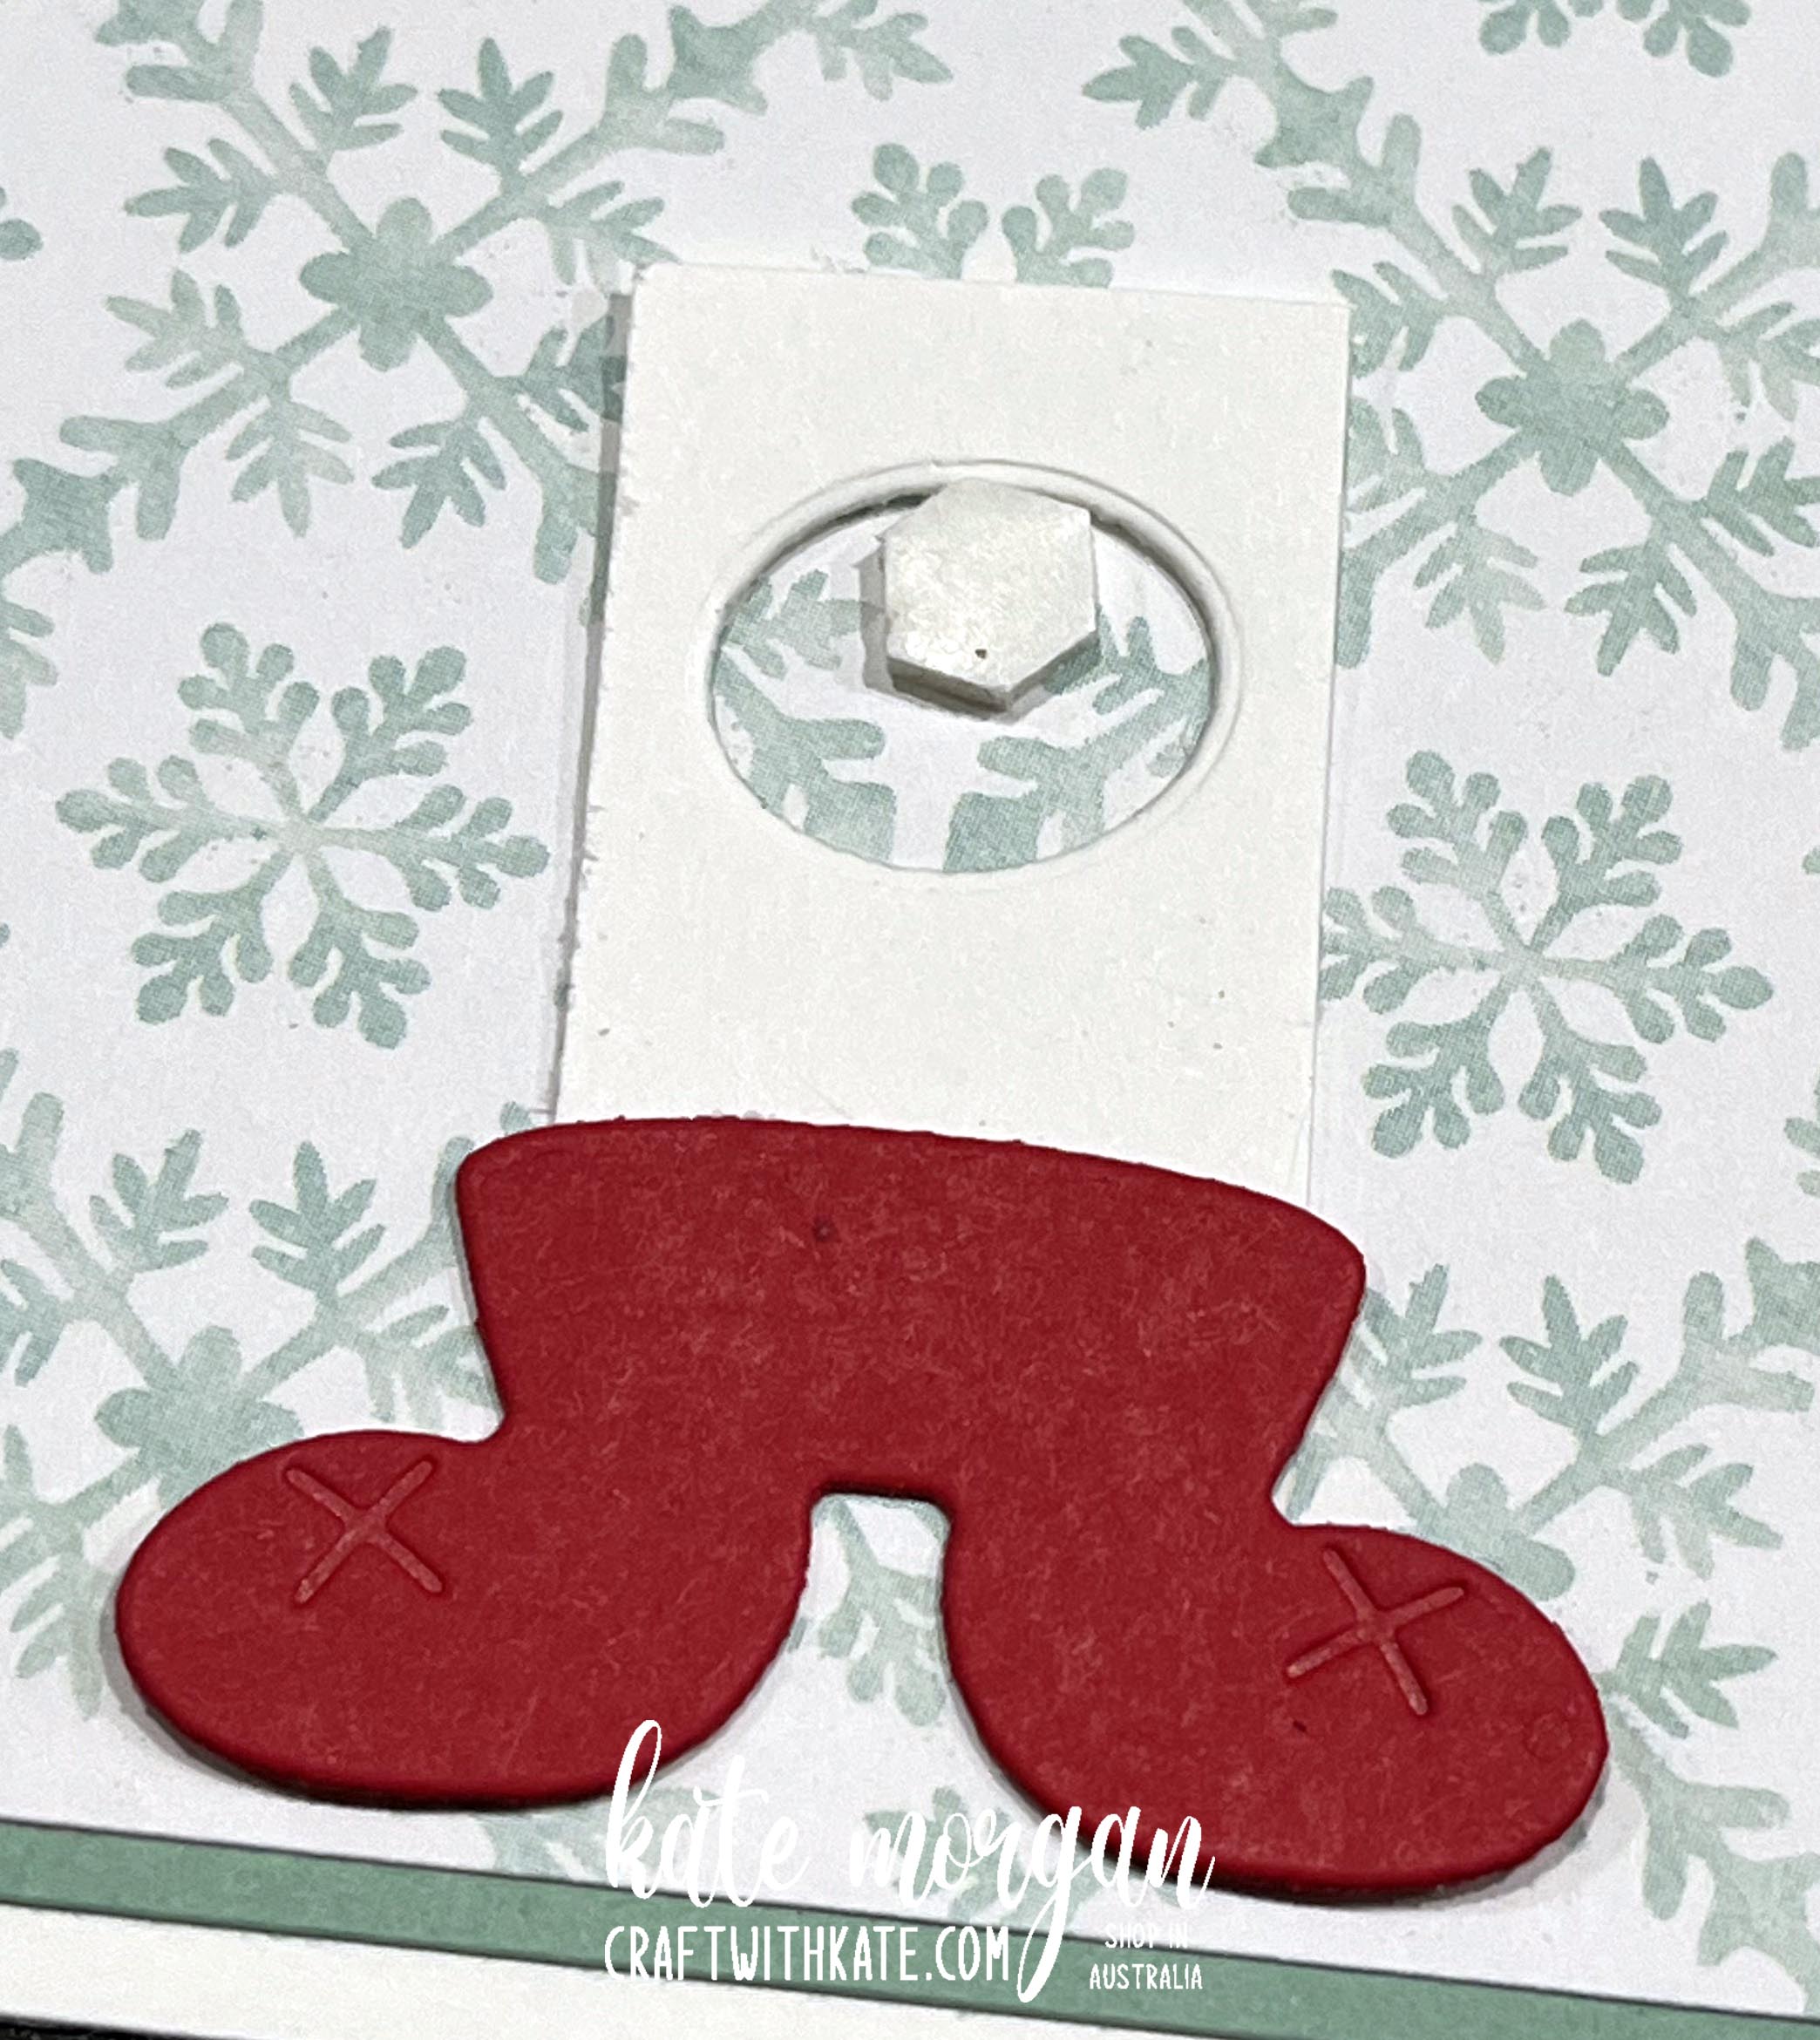
 I placed some Adhesive Sheet behind some Navy and White card scraps to allow the die cuts to become stickers without the mess of using glue. Using the H, B, 2 & U dies, place them in a row together – grab some washi tape to hold them in place. It doesn’t have to be perfect, but it’s easier this way when cutting 3 times!