Welcome to the Colour Creations Instagram Hop. You can follow us on Instagram starting @craftwithkate. Each week we will showcase the Stampin’ Up! colours in alphabetical order.
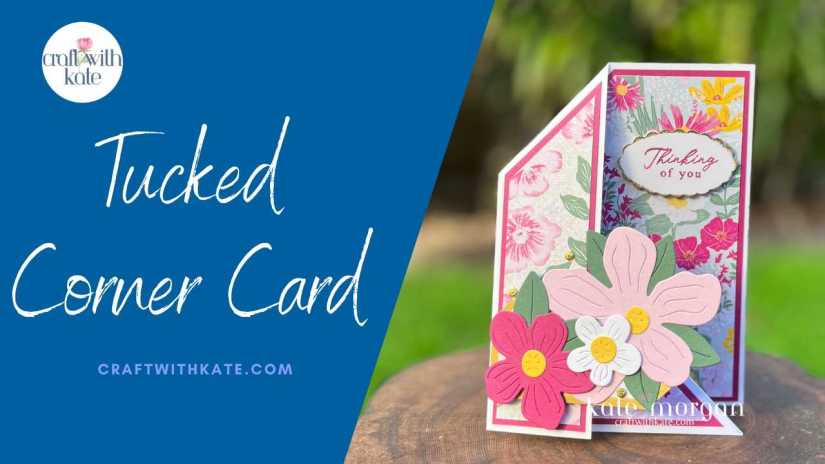
Week 10 – Blackberry Bliss
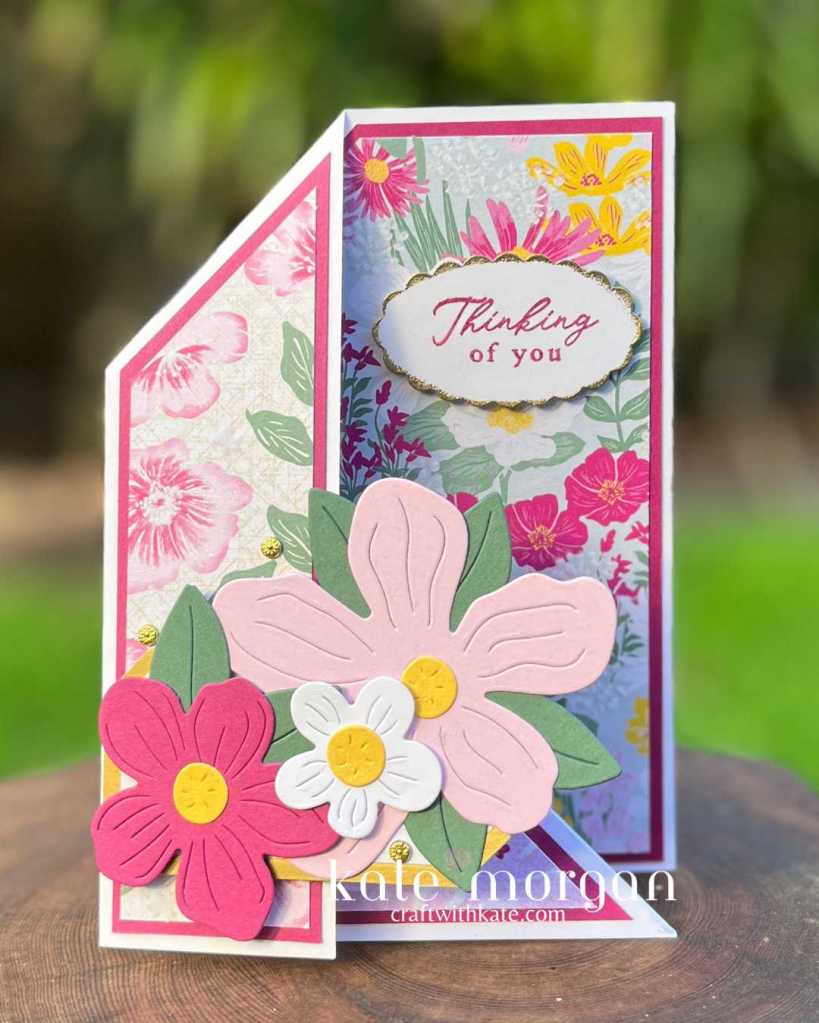
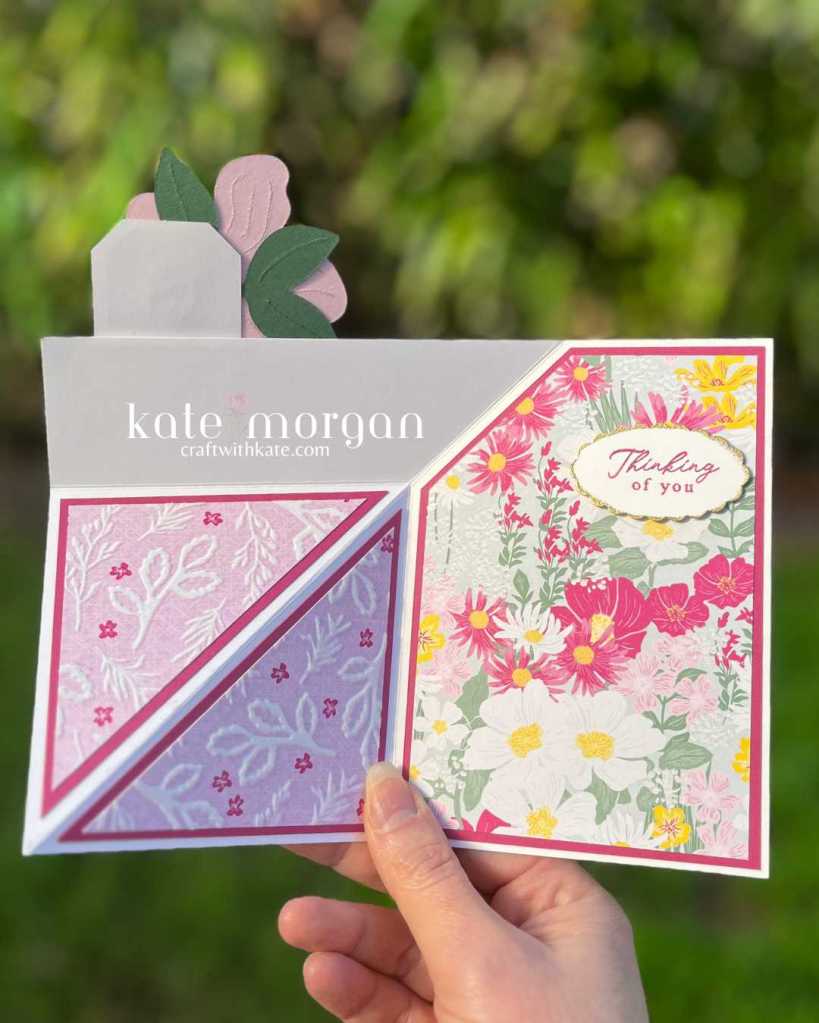
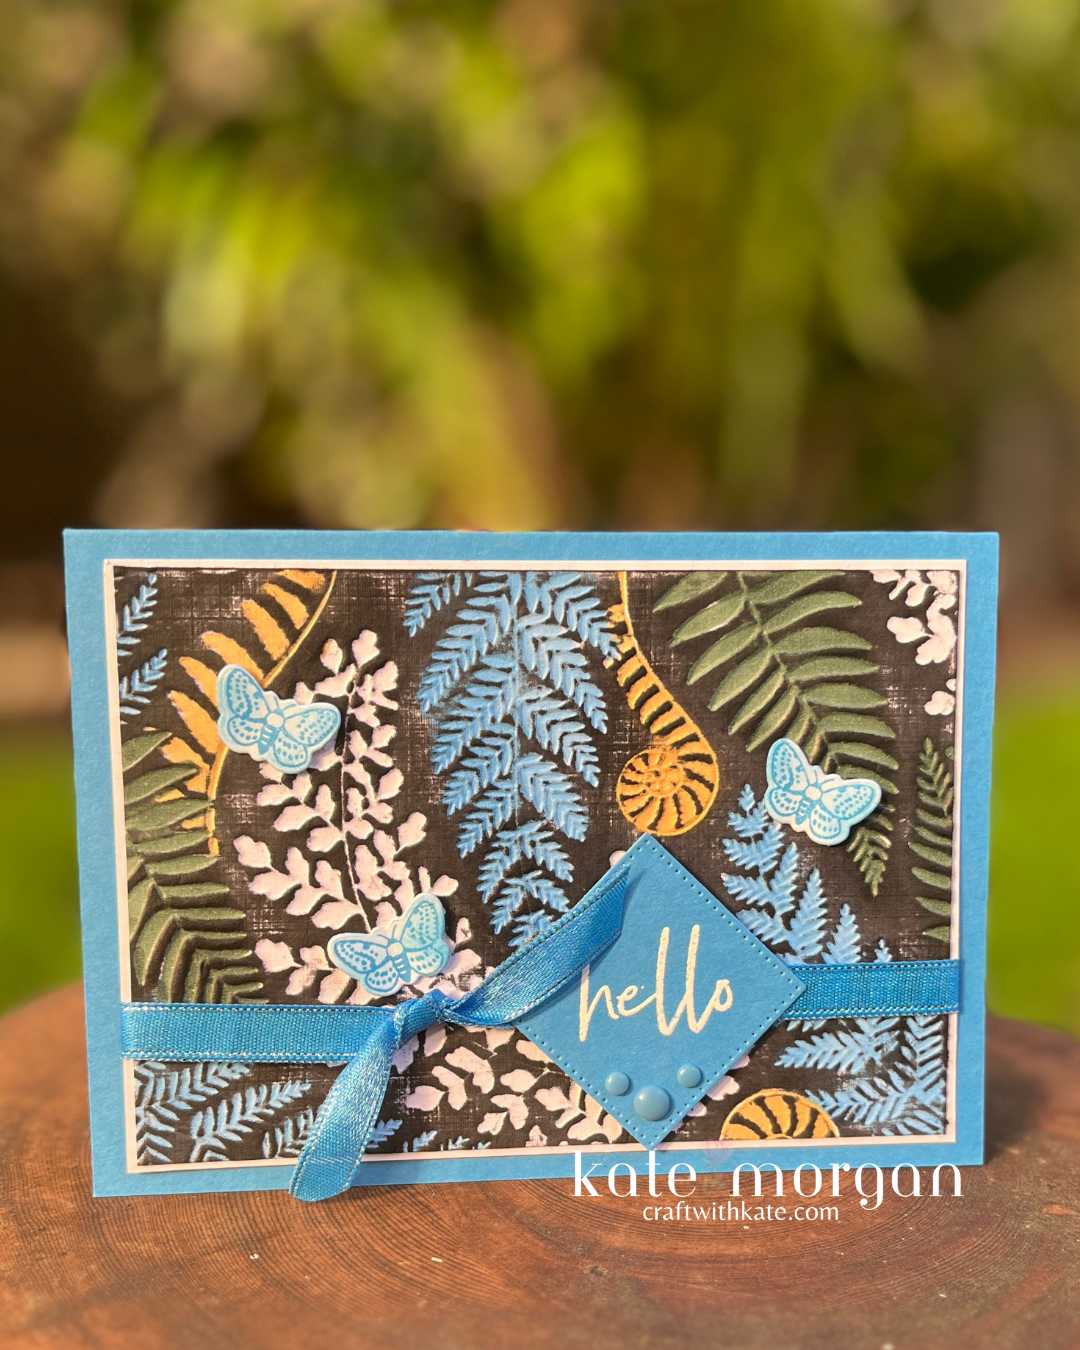
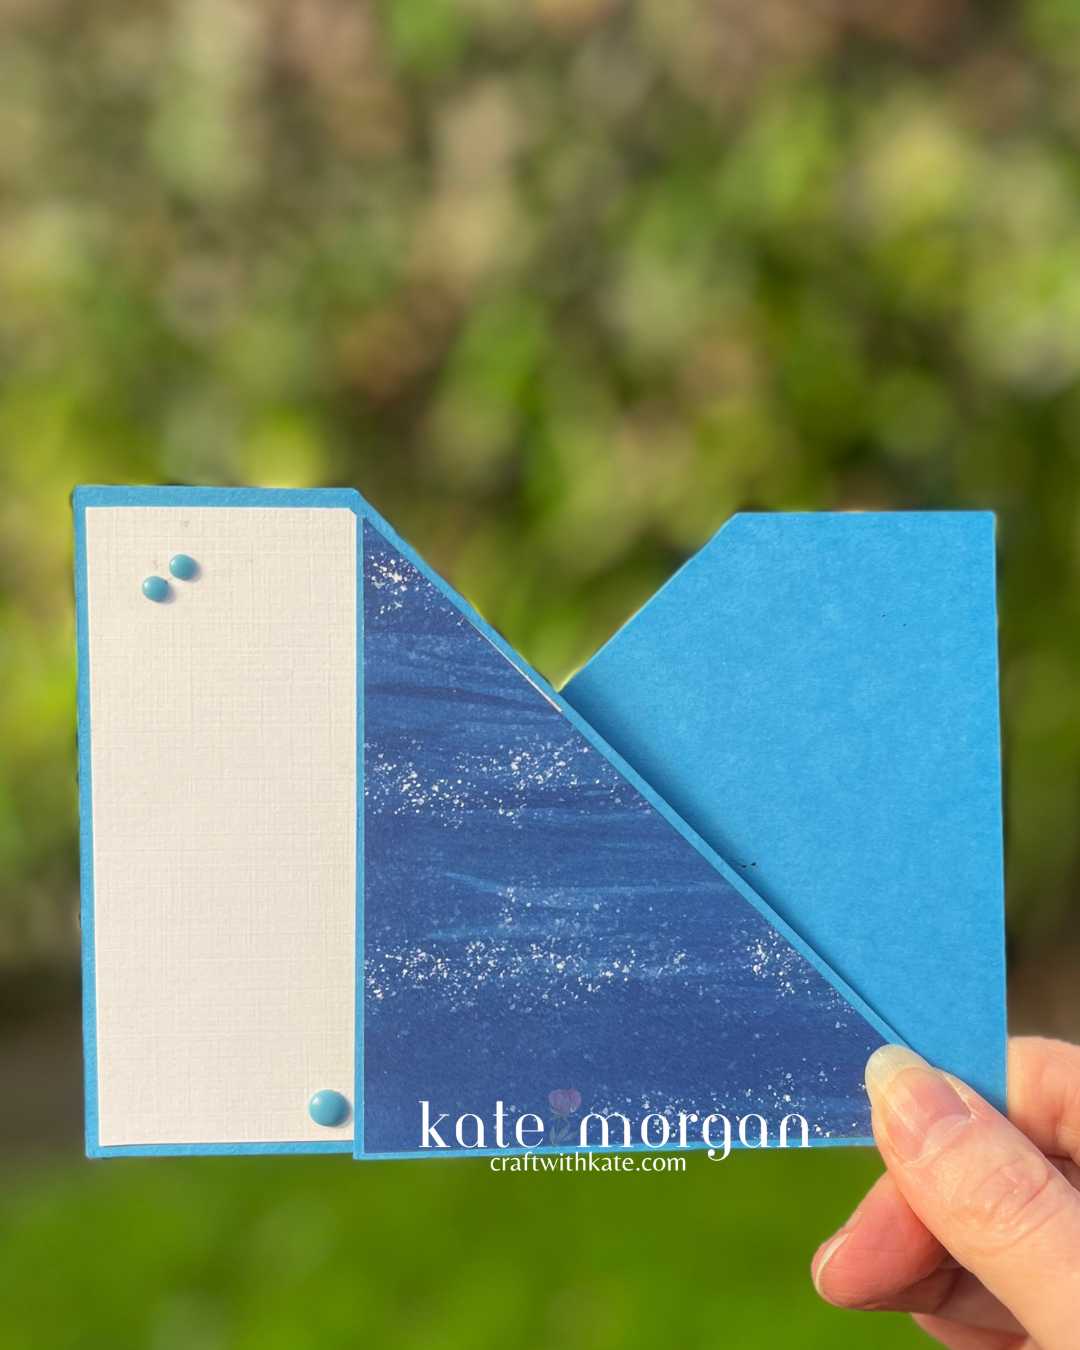
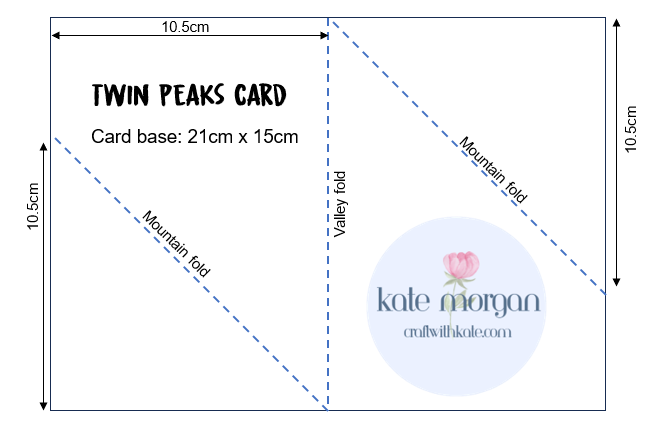
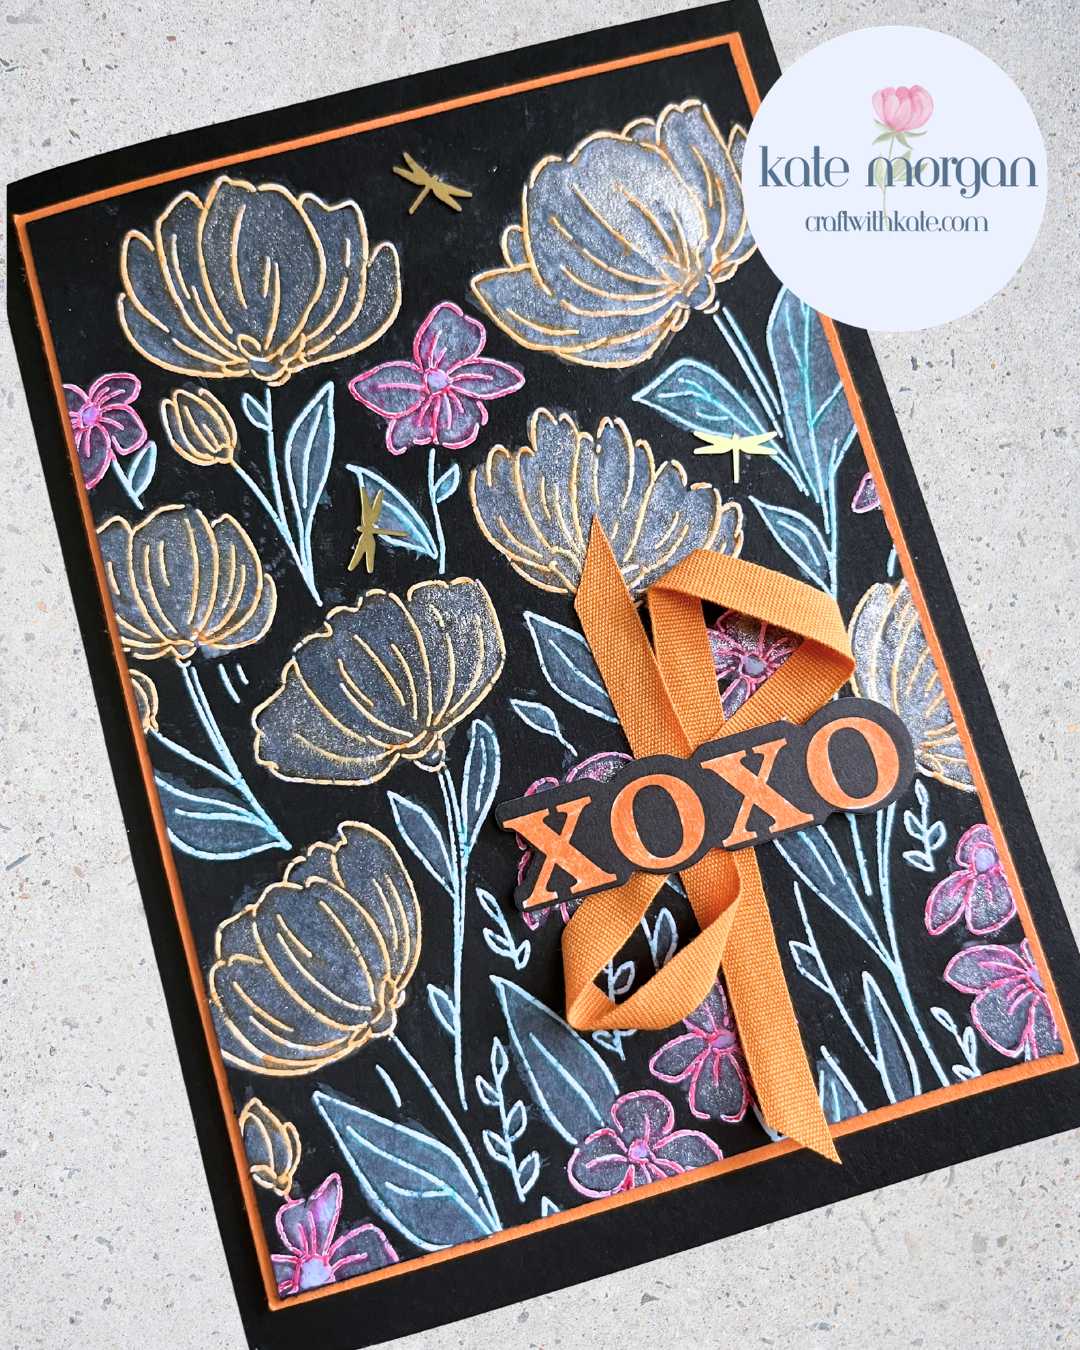
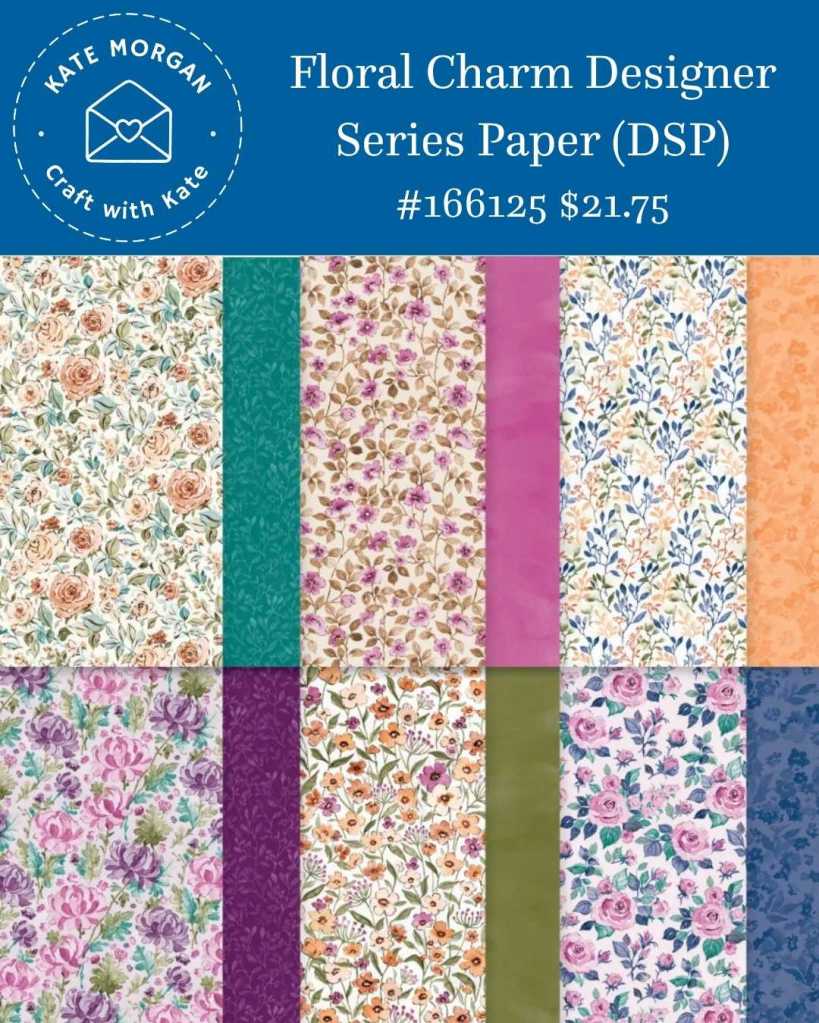
My card this week I’m revisiting a technique from years ago, the Pleated DSP fold with the beautiful Floral Charm Designer Series Paper (DSP).
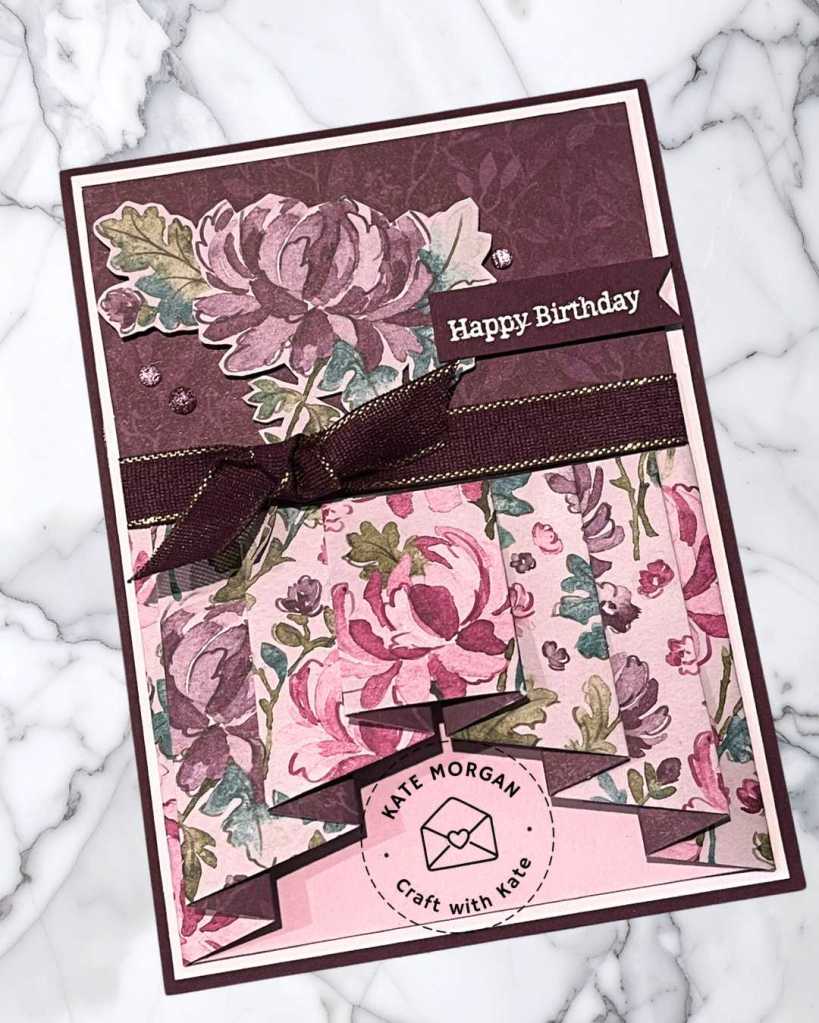
A Blackberry Bliss card base with a Basic White matt layer. The Bubble Bath piece has the pleat fold adhered to the bottom and a reverse side piece of DSP at the top. A Blackberry Bliss ribbon sits across the join with a knot. This layer is then adhered to the card.
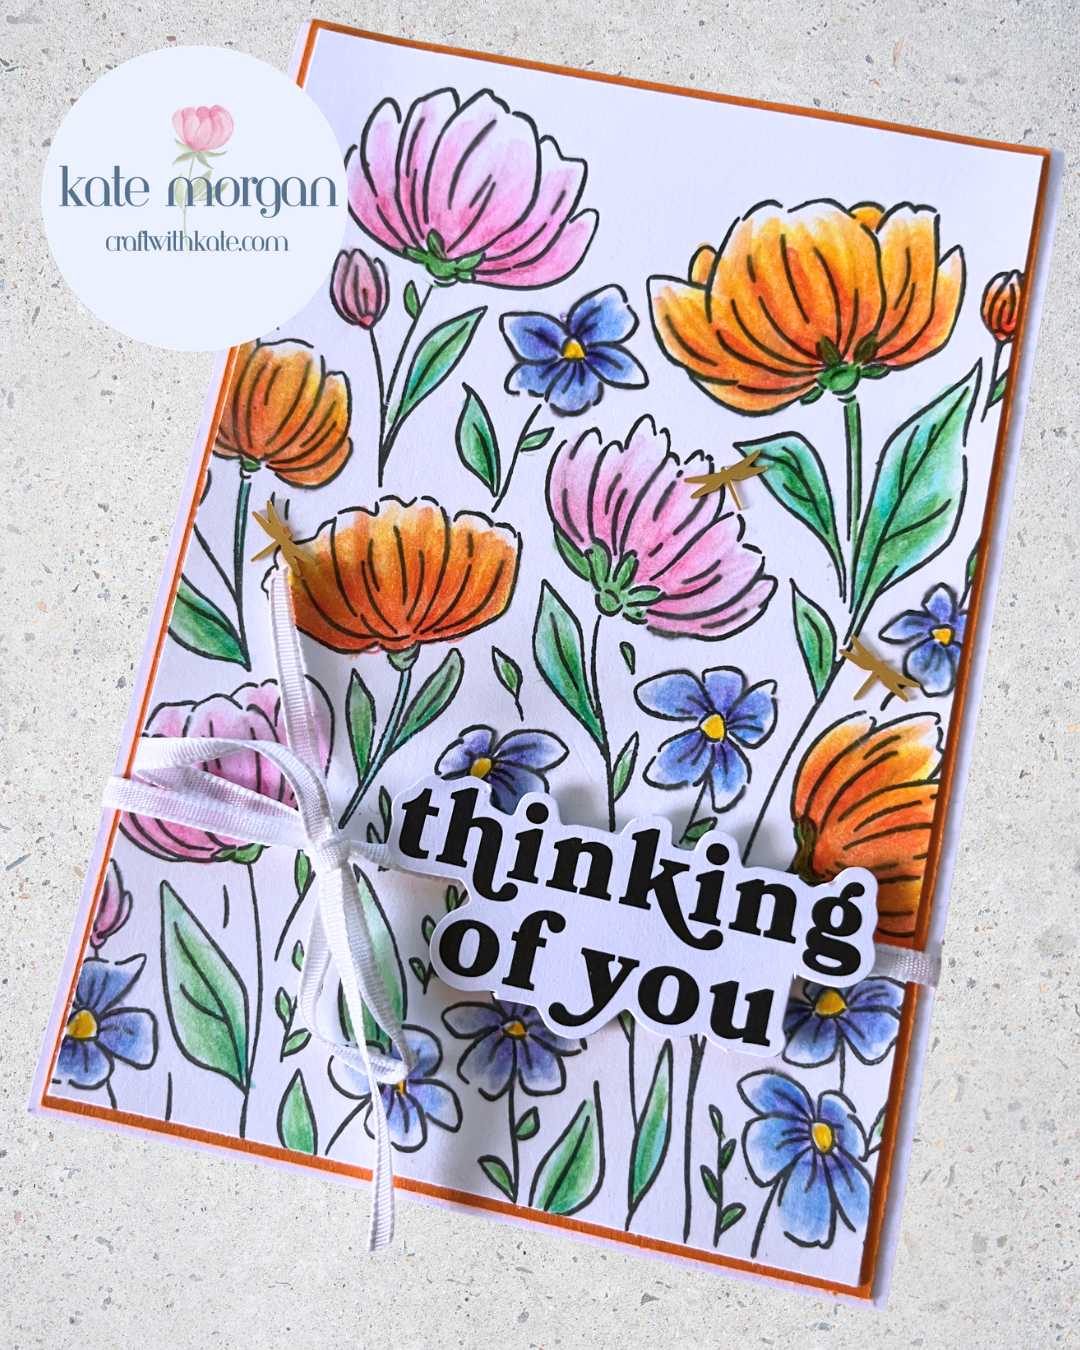
The feature flower is fussy cut from another piece of the DSP. The sentiment is from the Banner Sayings stamp set, is stamped in Versamark ink, White Emboss Powder added and excess tapped off then melted with a Heat Tool. It is cut out with the Three Banner Punch.
Thanks for dropping by. I hope you join us next week for Blueberry Bushel.
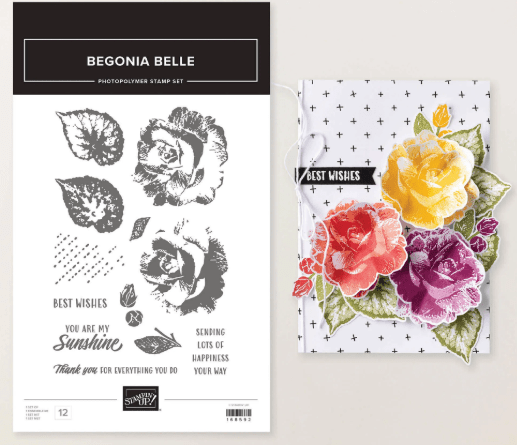
Be sure to add the Product of the Month (POM) for $9 when you add $125+ in product to your cart.
July 2026 – Begonia Belle Stamp Set (168592) Share joy, love, and happy wishes with the Begonia Belle Stamp Set. With the two-step stamps, you can make beautiful begonias with rich dimension or use them individually to create breathtaking blooms. Stamp a lovely background image with the texture piece or mix up the sentiments to build even more meaningful messages.

Don’t forget to Follow My Blog to receive blog updates and all the latest news and specials!