Week 42 – Petal Pink
I want to remind you that Saleabration ends this week, so if you want to earn some free products, ensure you place your order before 11pm on 28 February 2025.
Today I feature the Marbled Elegance Specialty Designer Paper with some soon to be released Online Exclusive products on 4 March 2025; Thankful Garden Bundle, Patterns of Friendship stamp set and the Textured Notes Dies.
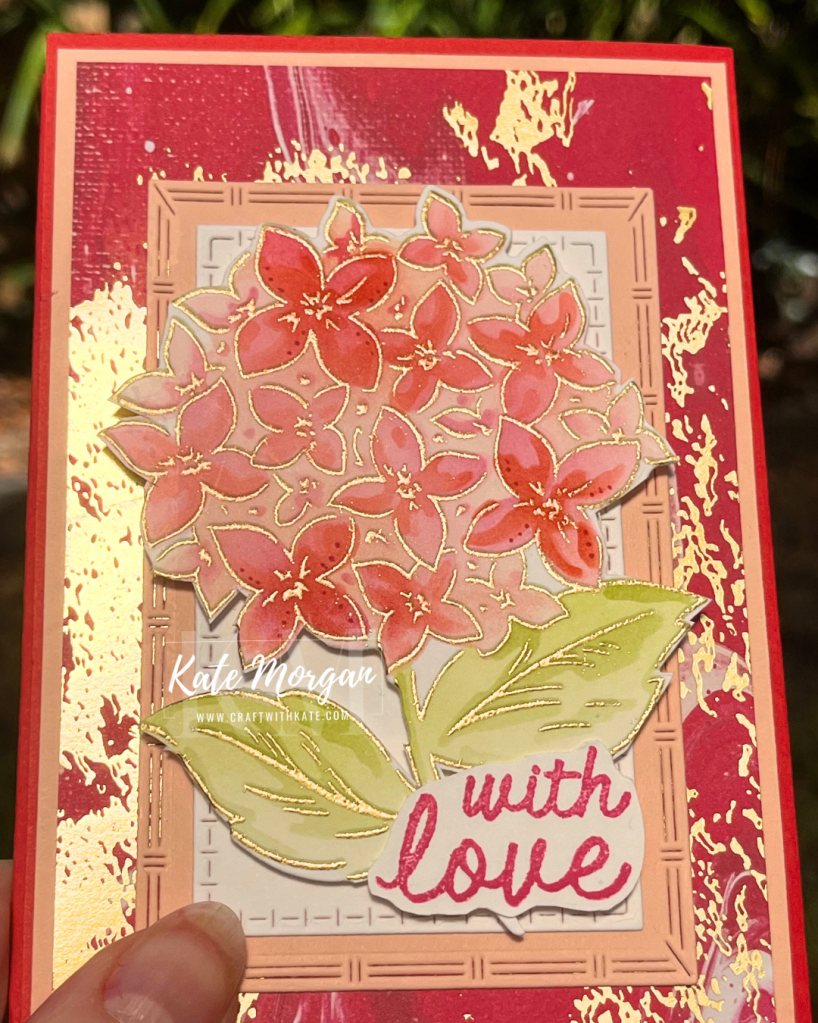
On the Poppy Parade card base, a layer of Petal Pink sits behind the Specialty Designer Papers. The next two layers are the Textured Notes dies in Petal Pink and Basic White.

Look at that gorgeous Gold Wow Emboss Powder melted on the outline of the feature image. It is coloured using the Thankful Garden Decorative Masks and Blending Brushes with the following inkpads: Petal Pink, Melon Mambo, Poppy Parade, Lemon Lime Twist and Granny Apple Green. Die cut with the copordinating die and attach on Dimensionals.
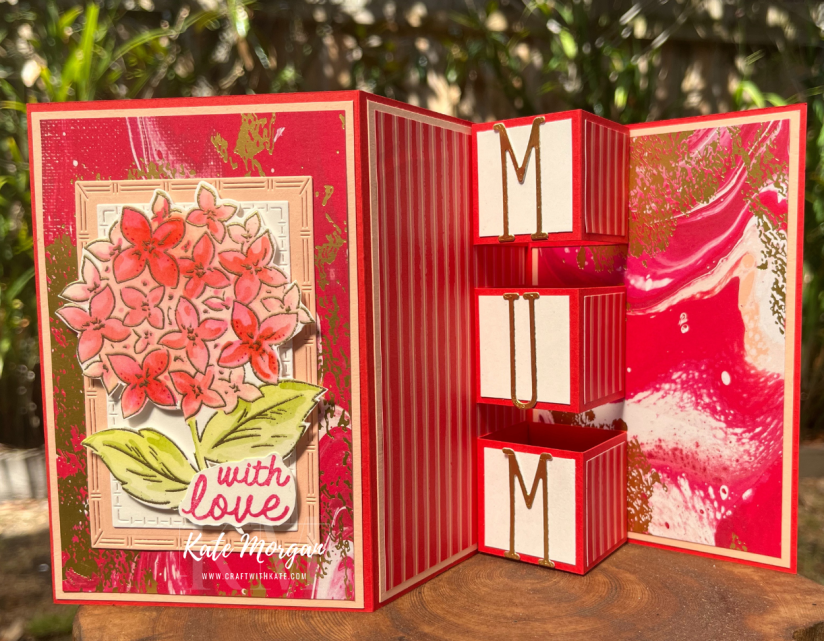
Open the card to find this gorgeous display with more Specialty paper and the word MUM in Gold Foil on each of the 3 popout panels!
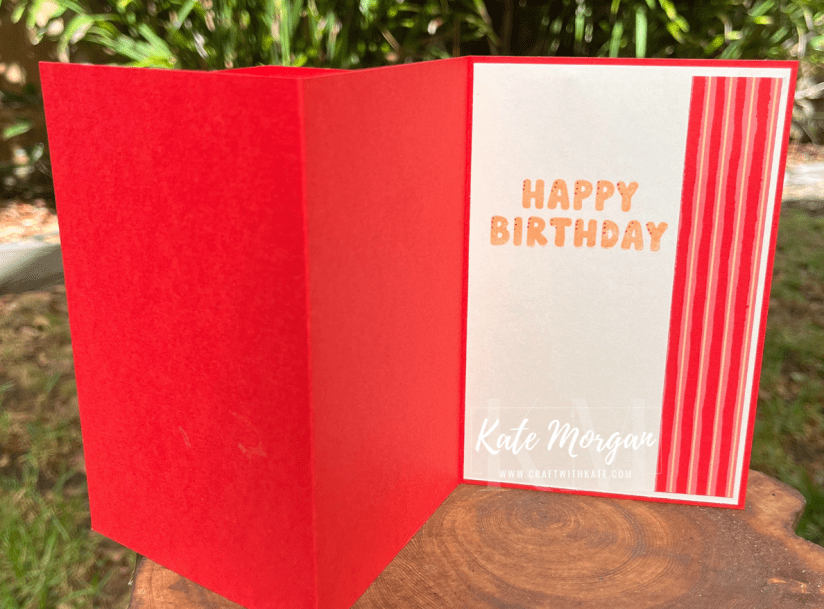
On the back of the front panel, I added some Basic White card to write a special message.
It is my mum’s birthday tomorrow and this is the fun fold card I’ved made for her ♥
Click the image below to choose your FREE product with a qualifying order.

Thanks for dropping by. I hope you join me next Wednesday for inspiration using Pool Party.
Product List
Stamps: Thankful Garden*, Patterns of Friendship
Ink: Versamark, Granny Apple Green, Lemon Lime Twist, Petal Pink, Melon Mambo, Poppy Parade
Paper: Basic White, Petal Pink, Poppy Parade, Gold Foil, Marbled Elegance Specialty DSP, Basic White C6 Envelopes
Other: Thankful Garden dies & Decorative Masks*, Textured Notes dies, Alphabet a la Mode dies, Blending Brushes, Adhesive Sheets, Melon Mambo Stamin’ Write Write Marker, Gold WOW Emboss Powder, Heat Tool, Acrylic Blocks, Paper Snips, Bone Folder, Paper Trimmer, Multipurpose Glue, Tear & Tape, Glue Dots, Mini Stampin’ Dimensionals, Stampin’ Cut & Emboss Machine, Take Your Pick Tool, Simply Shammy
*can be purchased together as a bundle to save 10%

Don’t forget to Follow My Blog to receive blog updates and all the latest news and specials!


 I placed some Adhesive Sheet behind some Navy and White card scraps to allow the die cuts to become stickers without the mess of using glue. Using the H, B, 2 & U dies, place them in a row together – grab some washi tape to hold them in place. It doesn’t have to be perfect, but it’s easier this way when cutting 3 times!