

I’m thrilled you are here to join us each Wednesday evening for the AWHT Colour Creations Blog Hop showcasing the full range of 50+ gorgeous Stampin’ Up! colours.
Week 26 – Garden Green
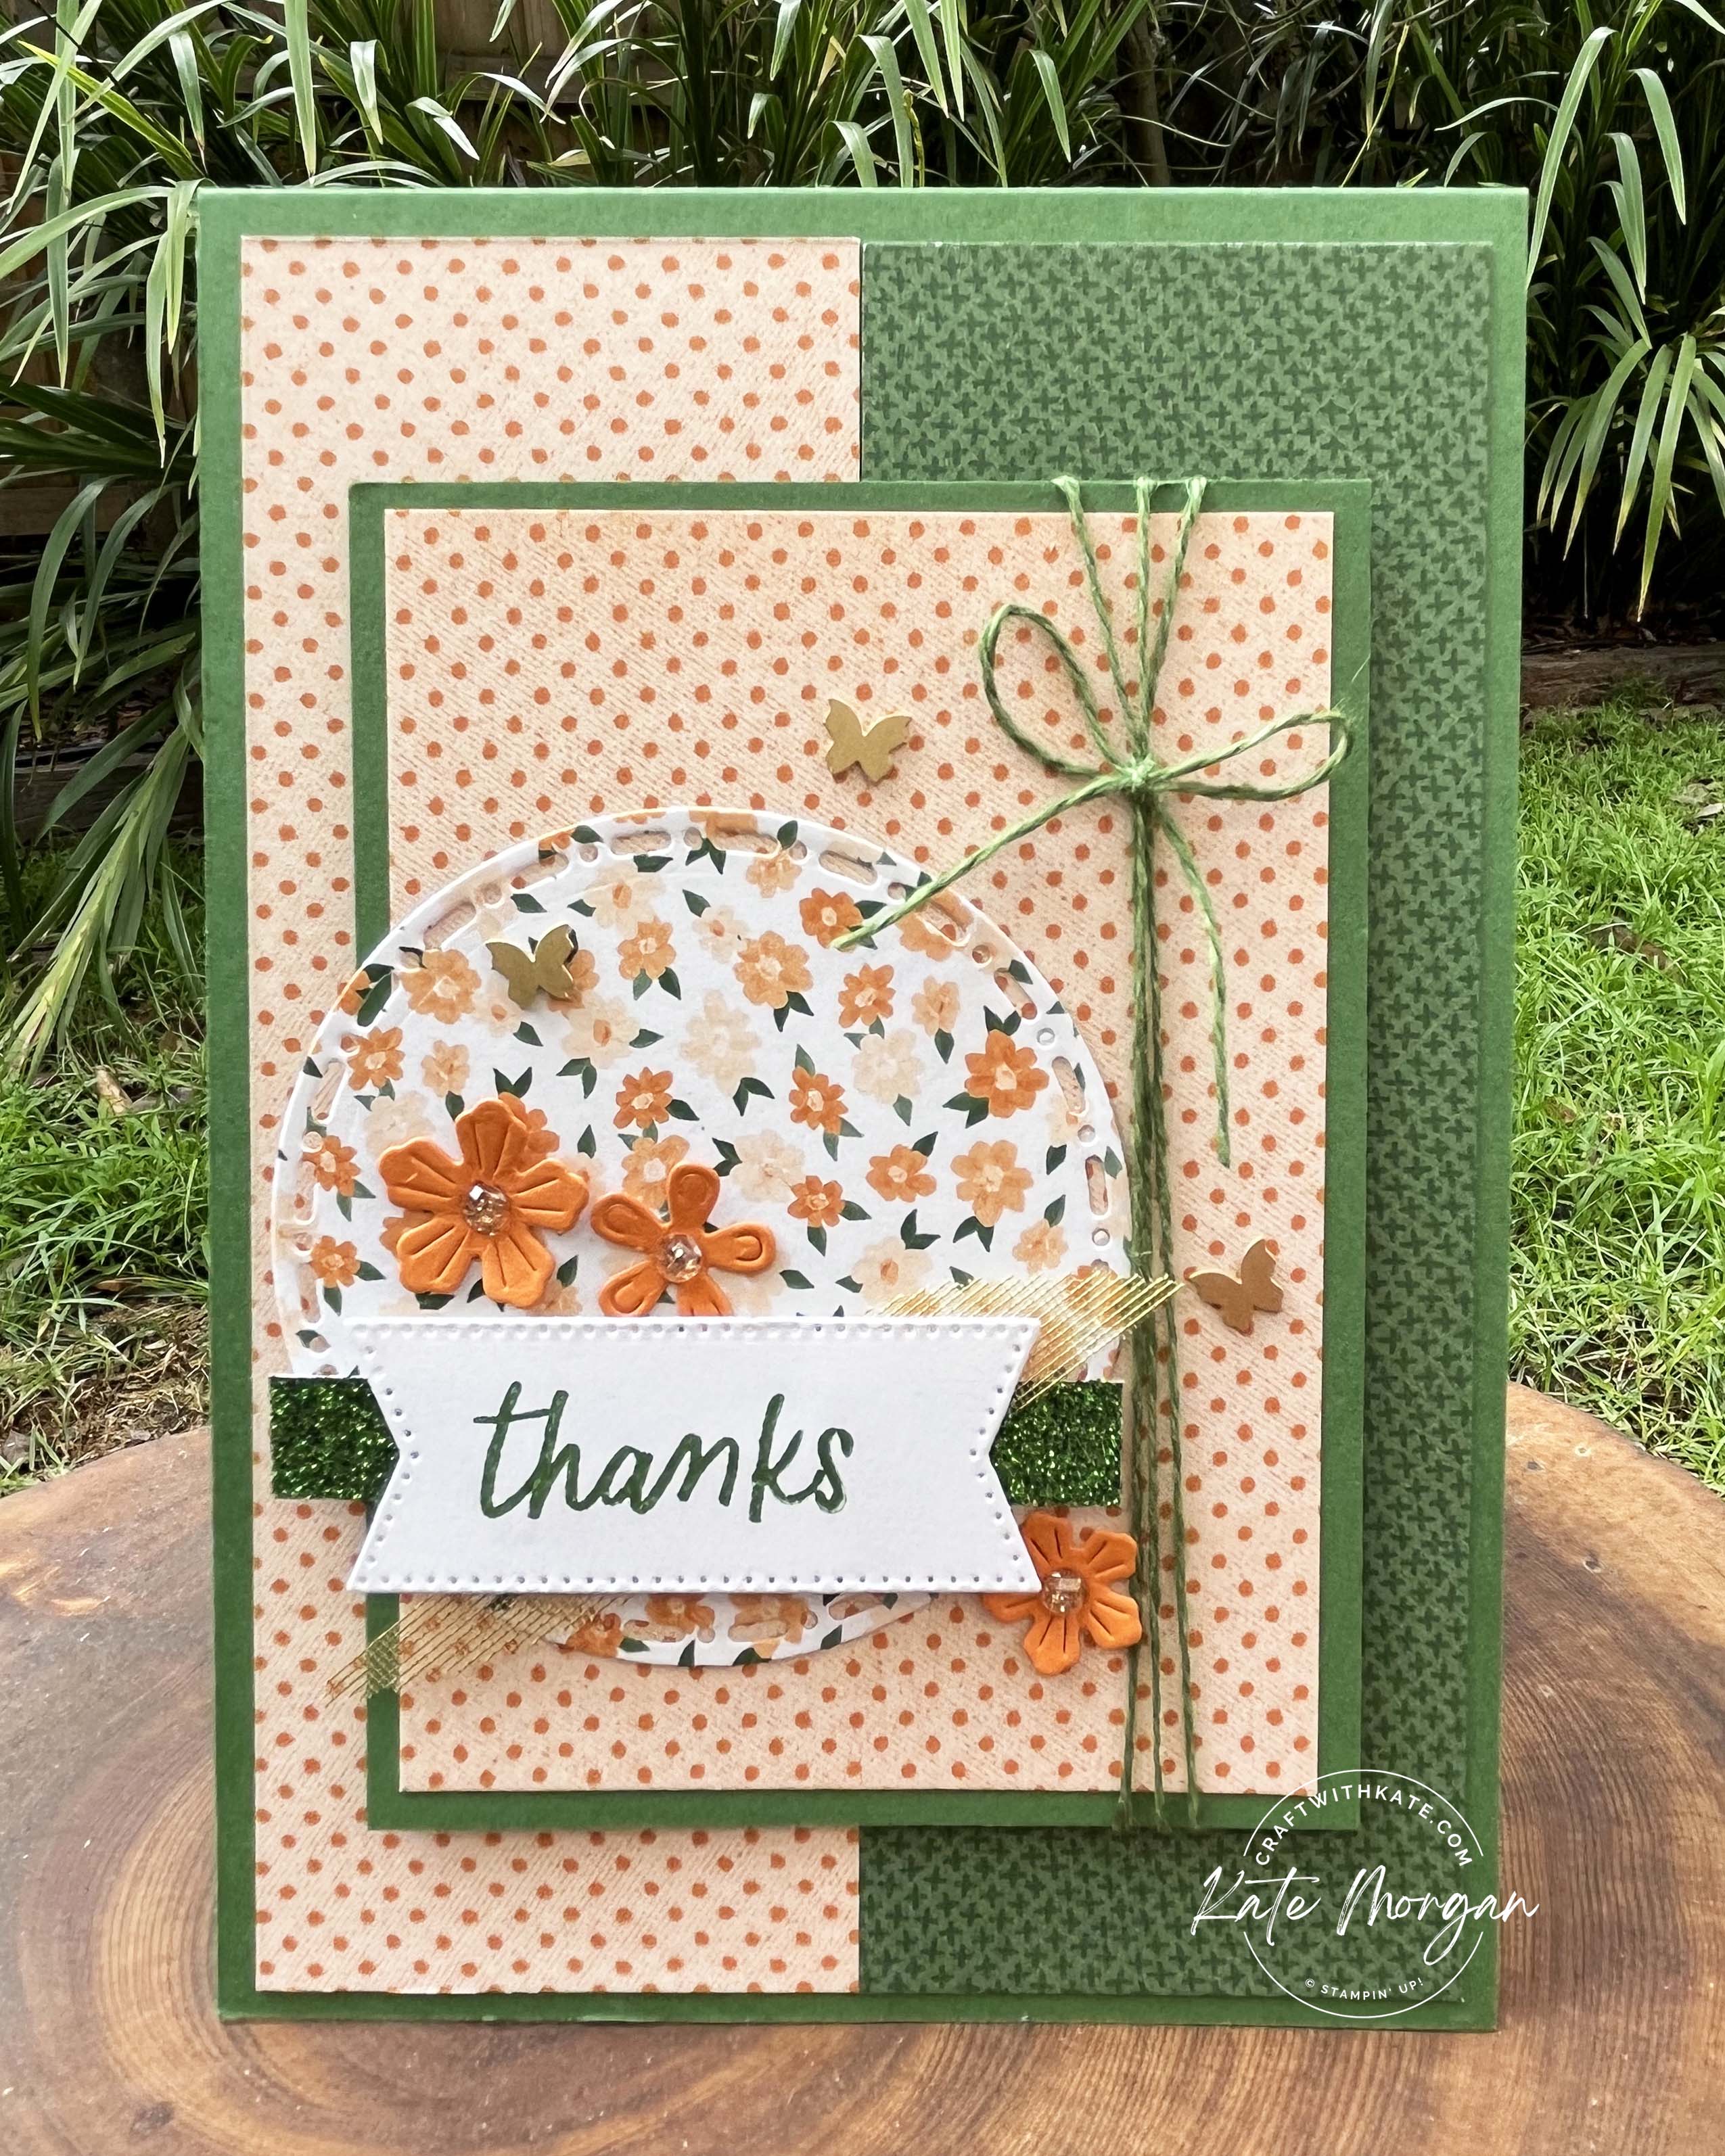
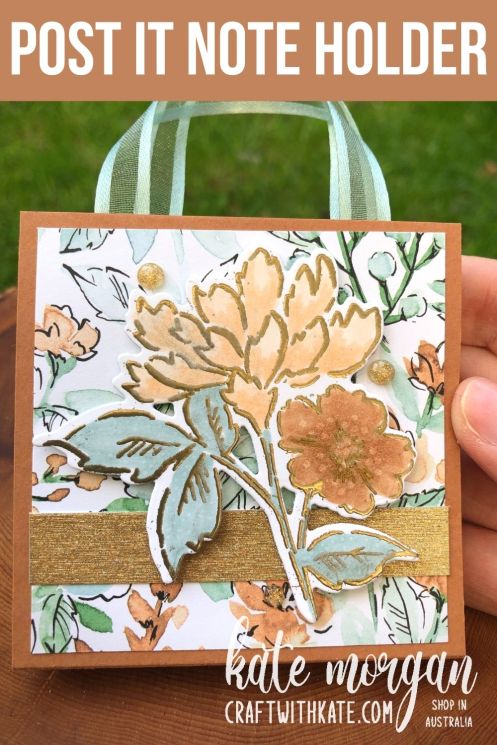
Today I feature the To Market Designer Paper in this fun layout, using Garden Green, Pumpkin Pie and Basic White.
How did I make it?
- Begin with a sheet of Garden Green cardstock cut to 29.7cm x 10.5cm, score @ 14.8cm to create a top folding portrait orientation standard sized card.
- Cut a piece of DSP 10cm x 14.2cm and cut in half down the centre. Flip one piece over the reveal the reverse pattern and glue them side by side to the card base.
- Cut another piece of DSP 7.5cm x 10.5cm and a matt layer of Garden Green card 8cm x 11cm and glue them together.
- Wrap some green Natural Tones Linen Thread around the right side three times and tie in a bow. Adhere this to the centre of the card on Dimensionals.
- Die cut a different floral pattern from the same DSP pack using a circle from the Spotlight on Nature dies and glue this to the previous layer, overhanging it slightly on the left.
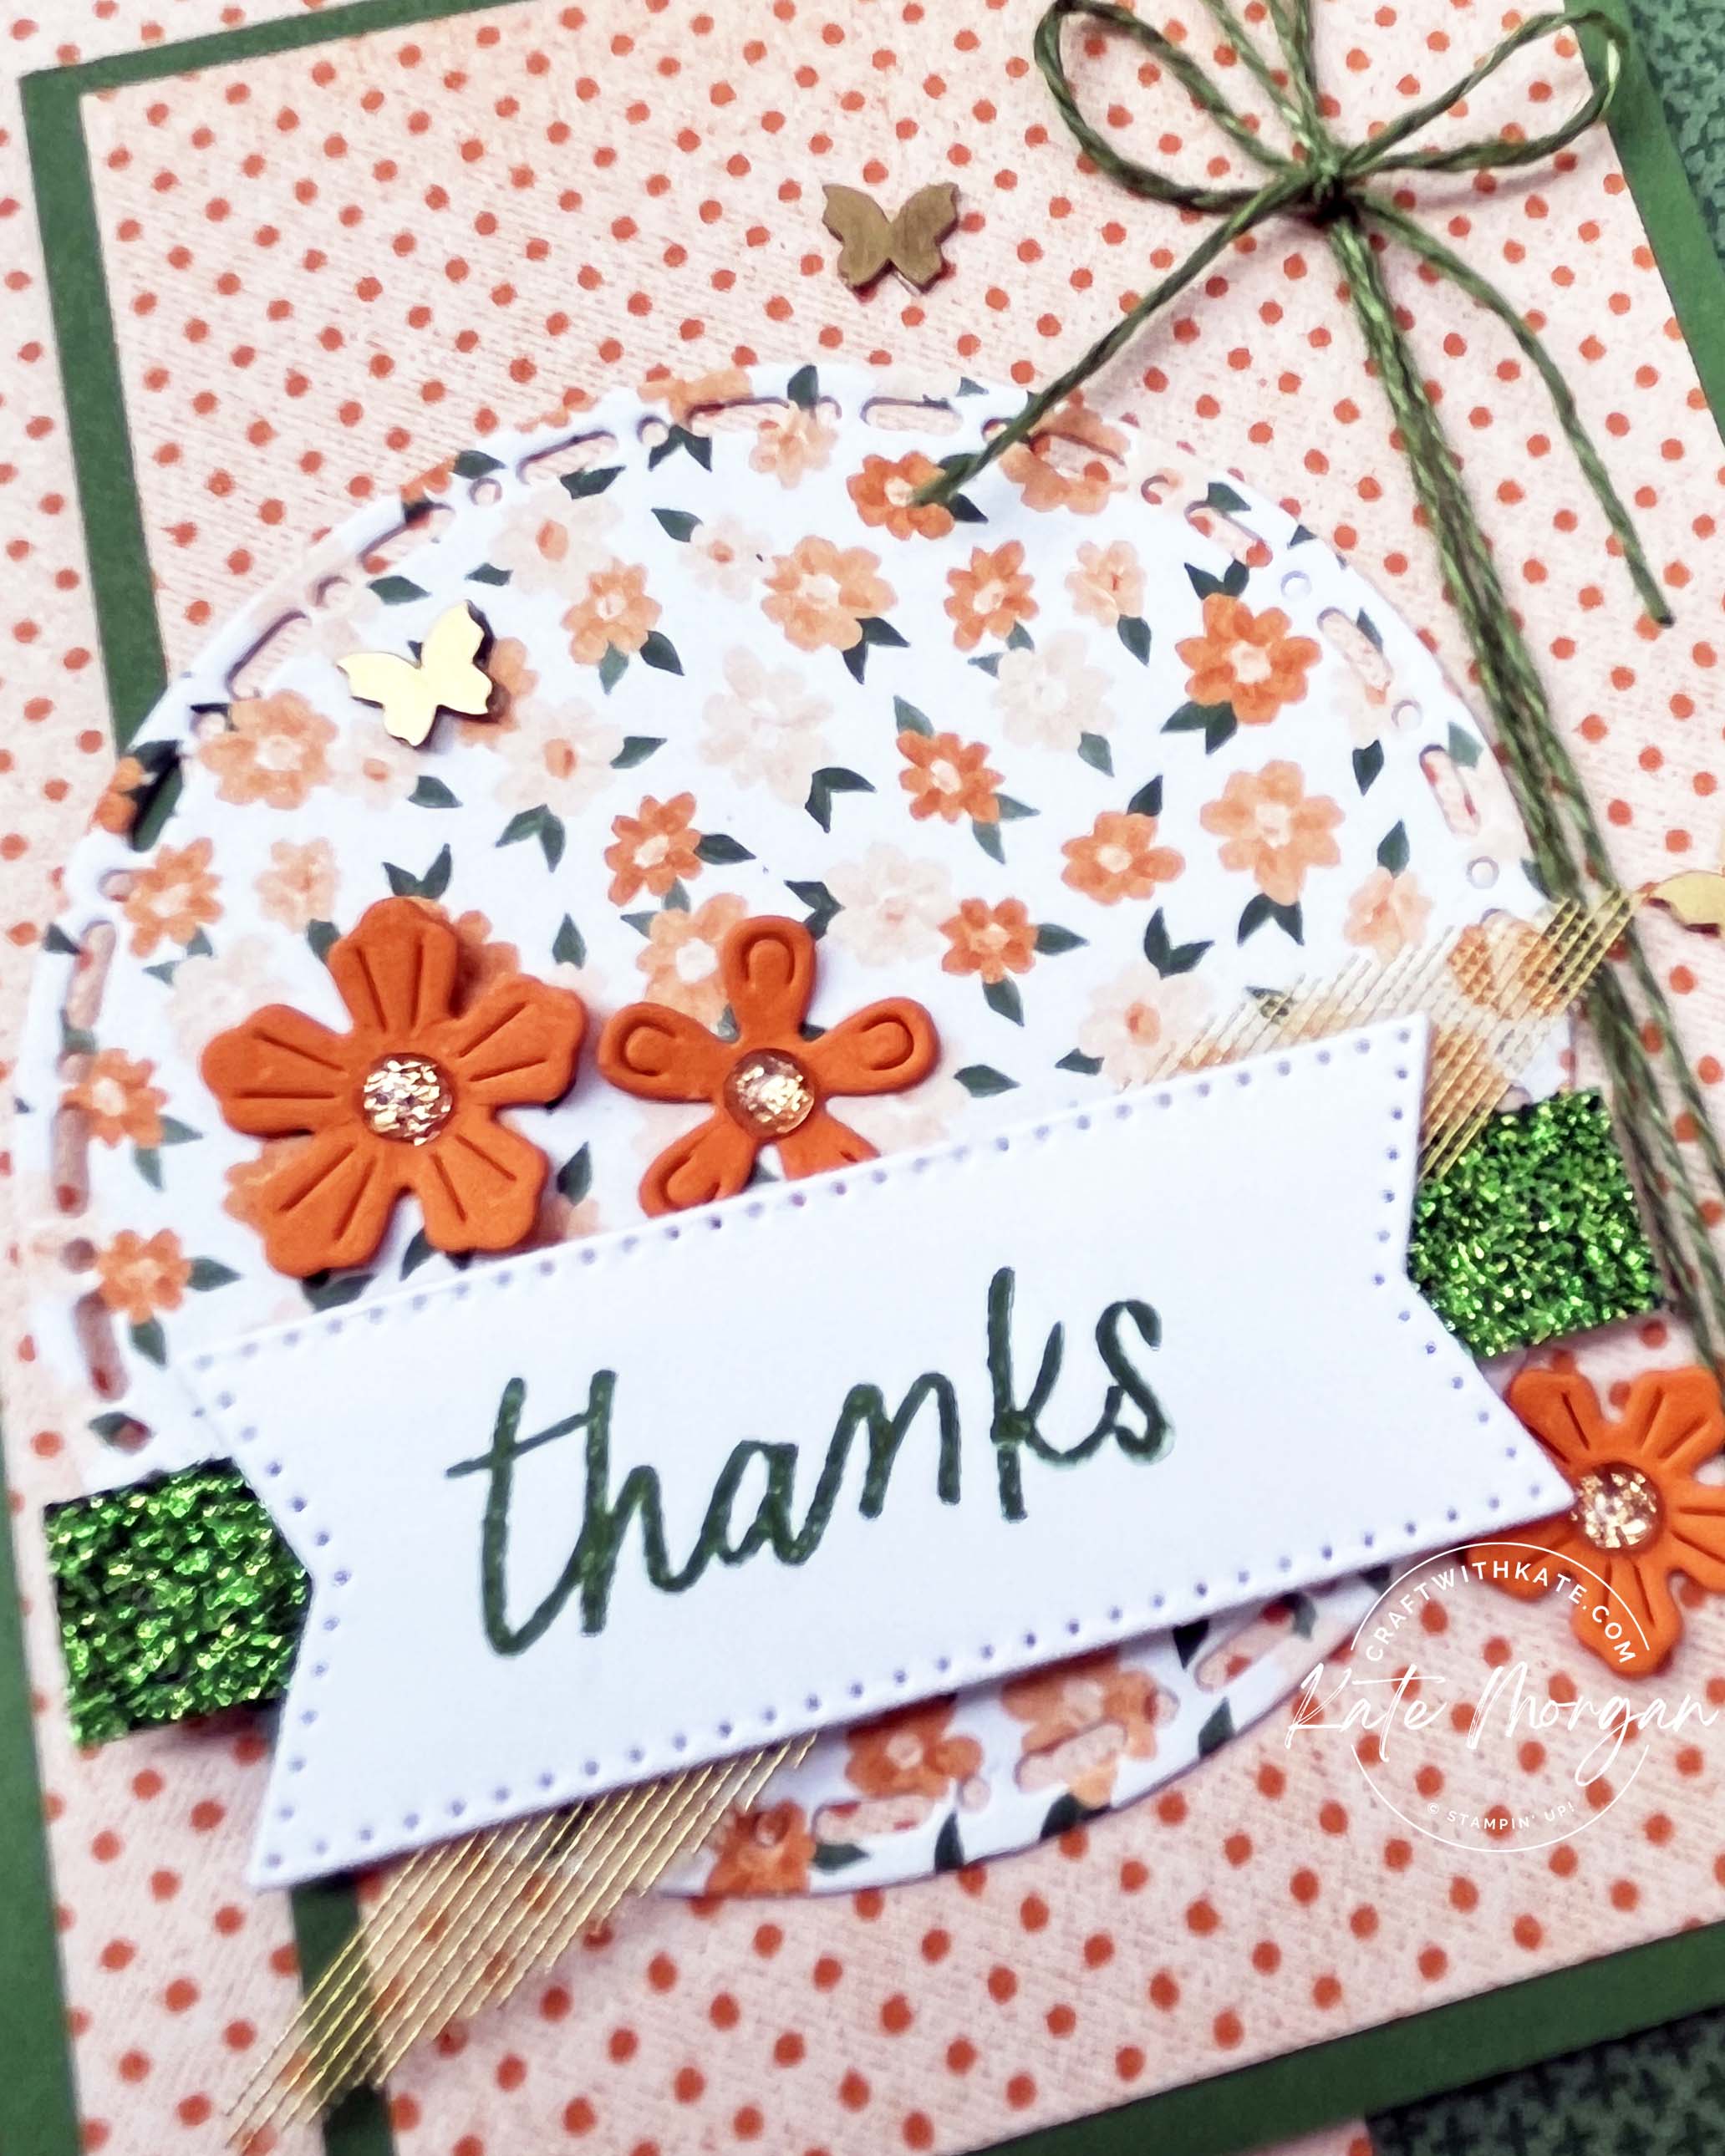
- Diecut the Basic White banner [Stylish Shapes dies] and stamp the sentiment [Simply Said] in Garden Green ink.
- Cut a piece of the green Festive Glimmer Paper 1cm x 7cm and adhere to the back of the banner with Glue Dots.
- Cut a Golden Woven Leaves in half and add to the back of the banner with Glue Dots on the lower left 7 upper right. Adhere this to the lower part of the circle on Dimensionals.
- Die cut three flowers [Country Birdhouse dies] in Pumpkin Pie cardstock and add with Glue Dots to the card.
- Finish off by adding some Brushed Brass Butterfly Embellishments and Adhesive-backed Sparkle Gems to the centre of each flower.
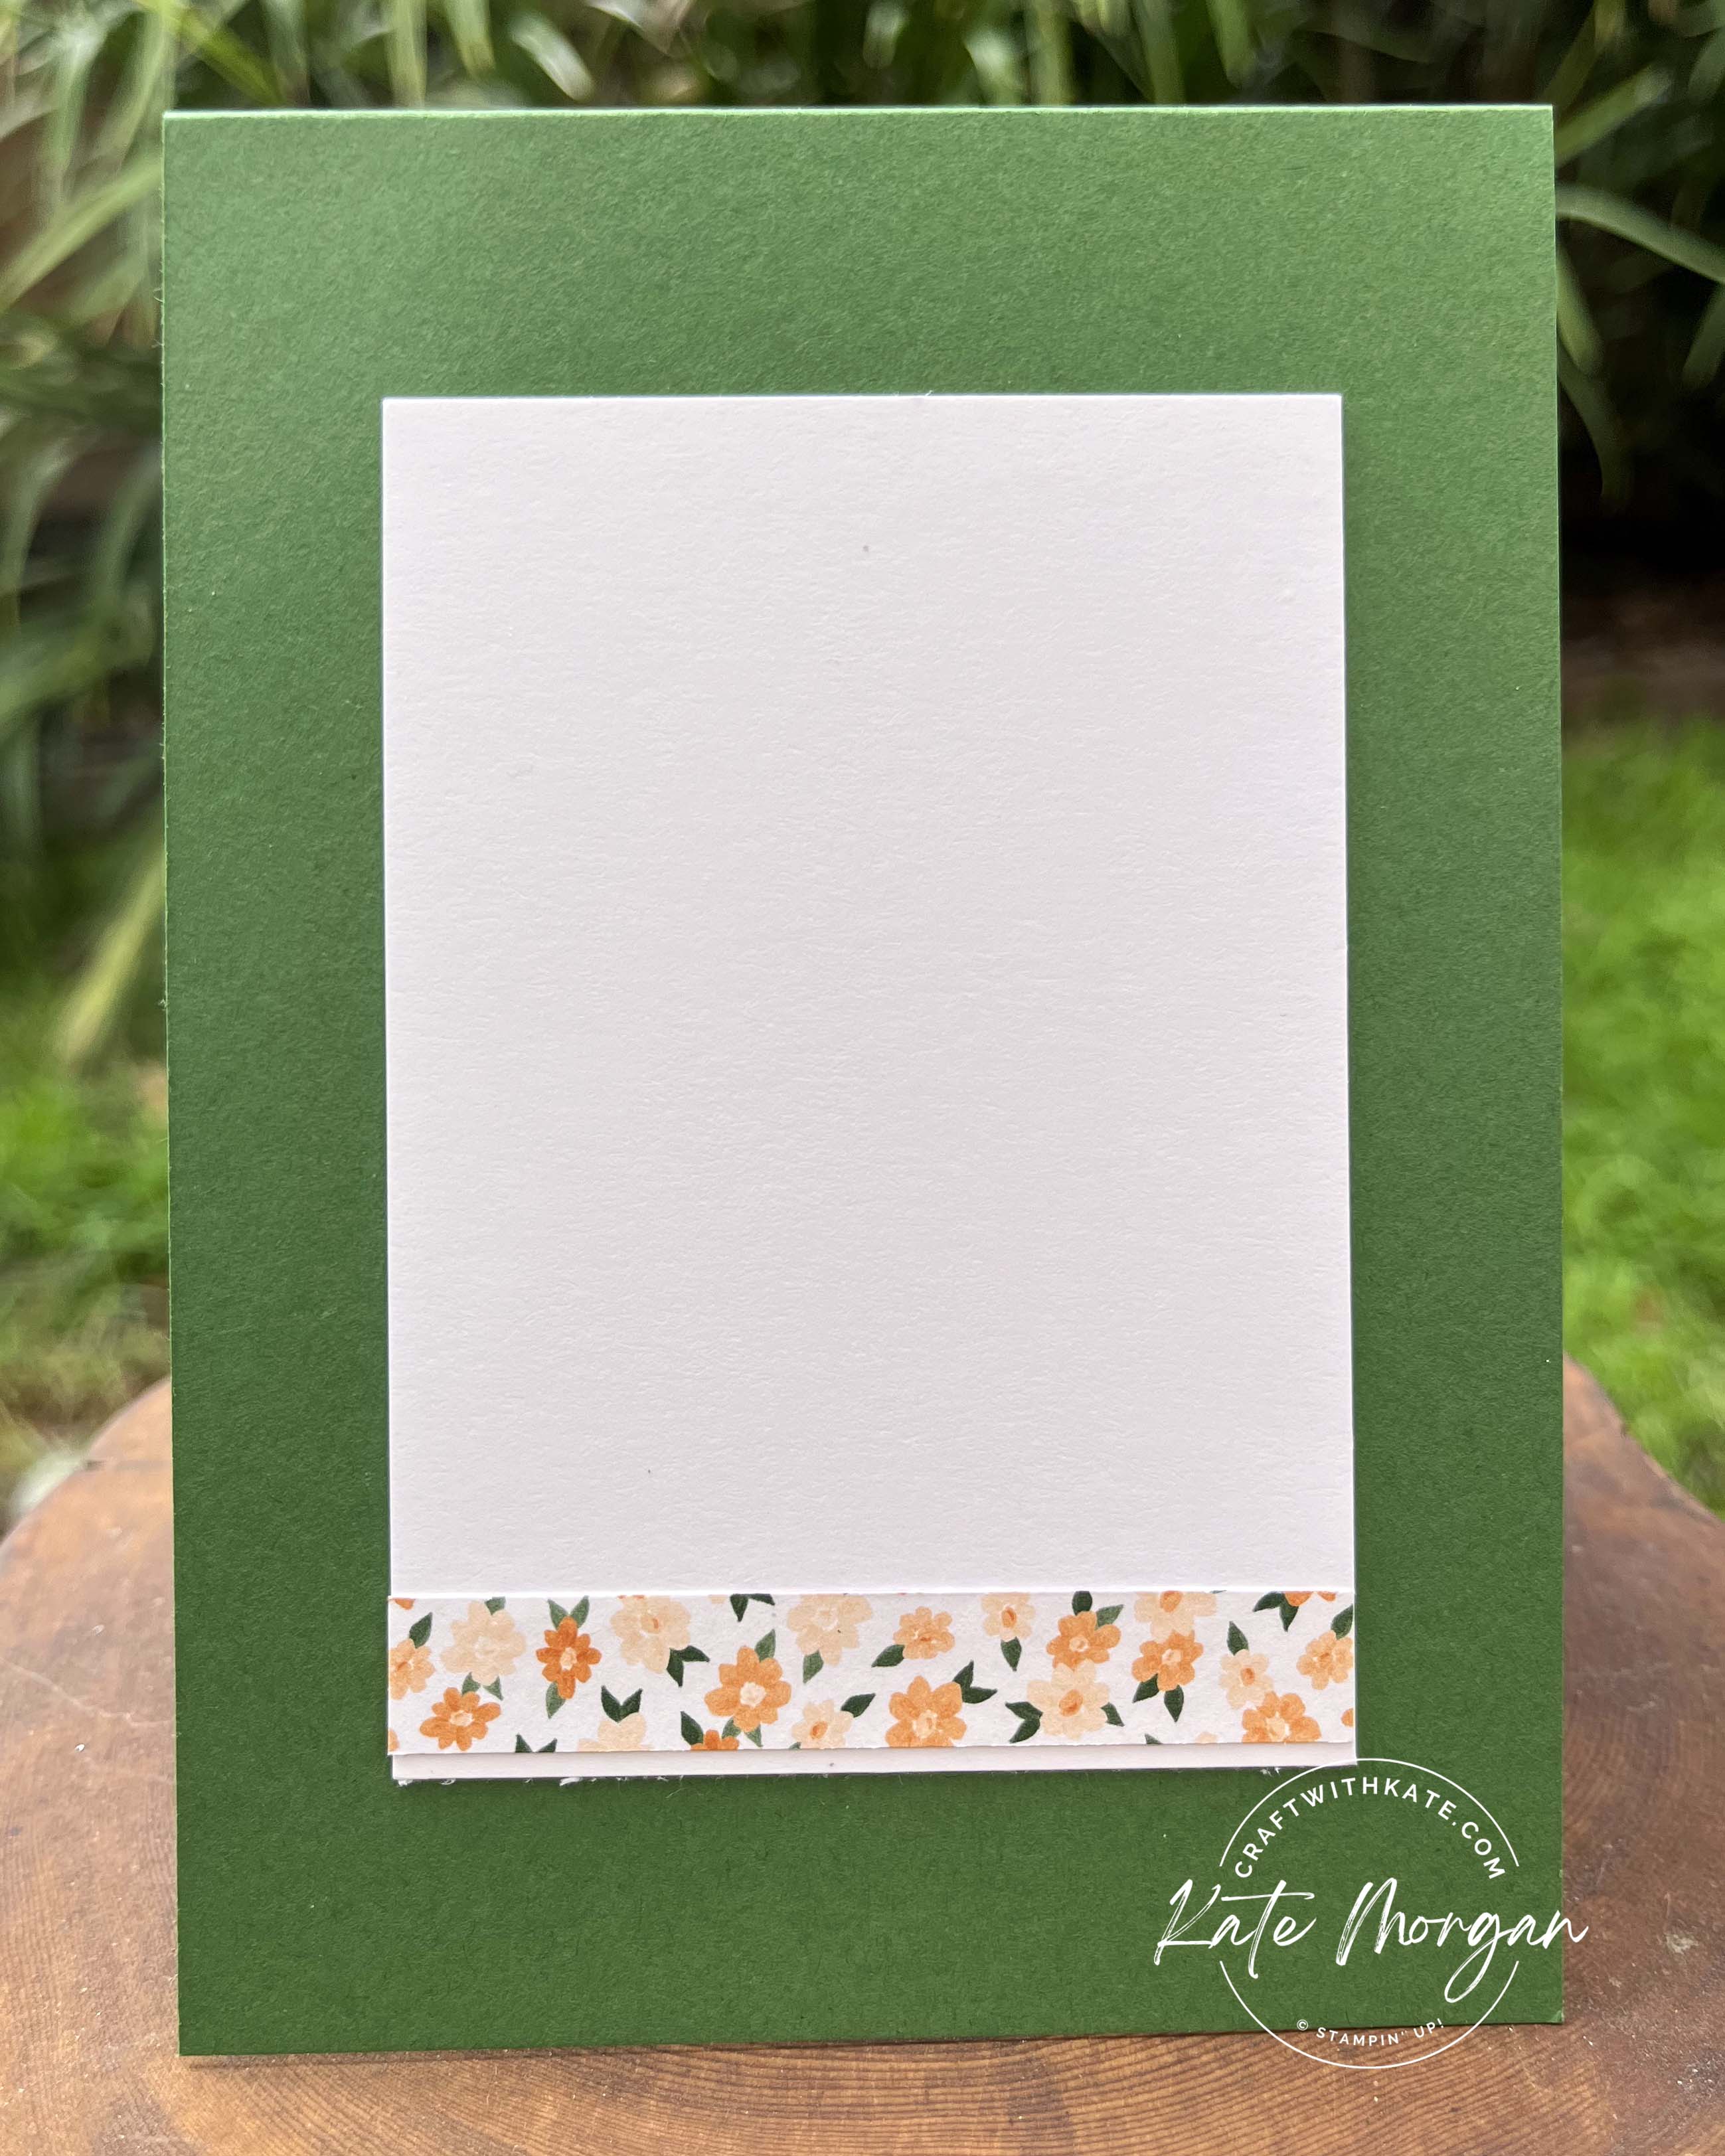
- On the inside a Basic White insert 10.5cm x 7.3cm with a strip of the floral DSP to carry over the design!
TIP: I cut a sheet of A4 cardstock down the centre at 10.5cm, then cut each of these into 7.4cm pieces, so I can get 8 inserts from one sheet of cardstock!
I also have a cute triangle giftbox that folds flat, perfect for making ahead of time, storing and even regifting. You could put some little chocolates inside or anything small that may fit.
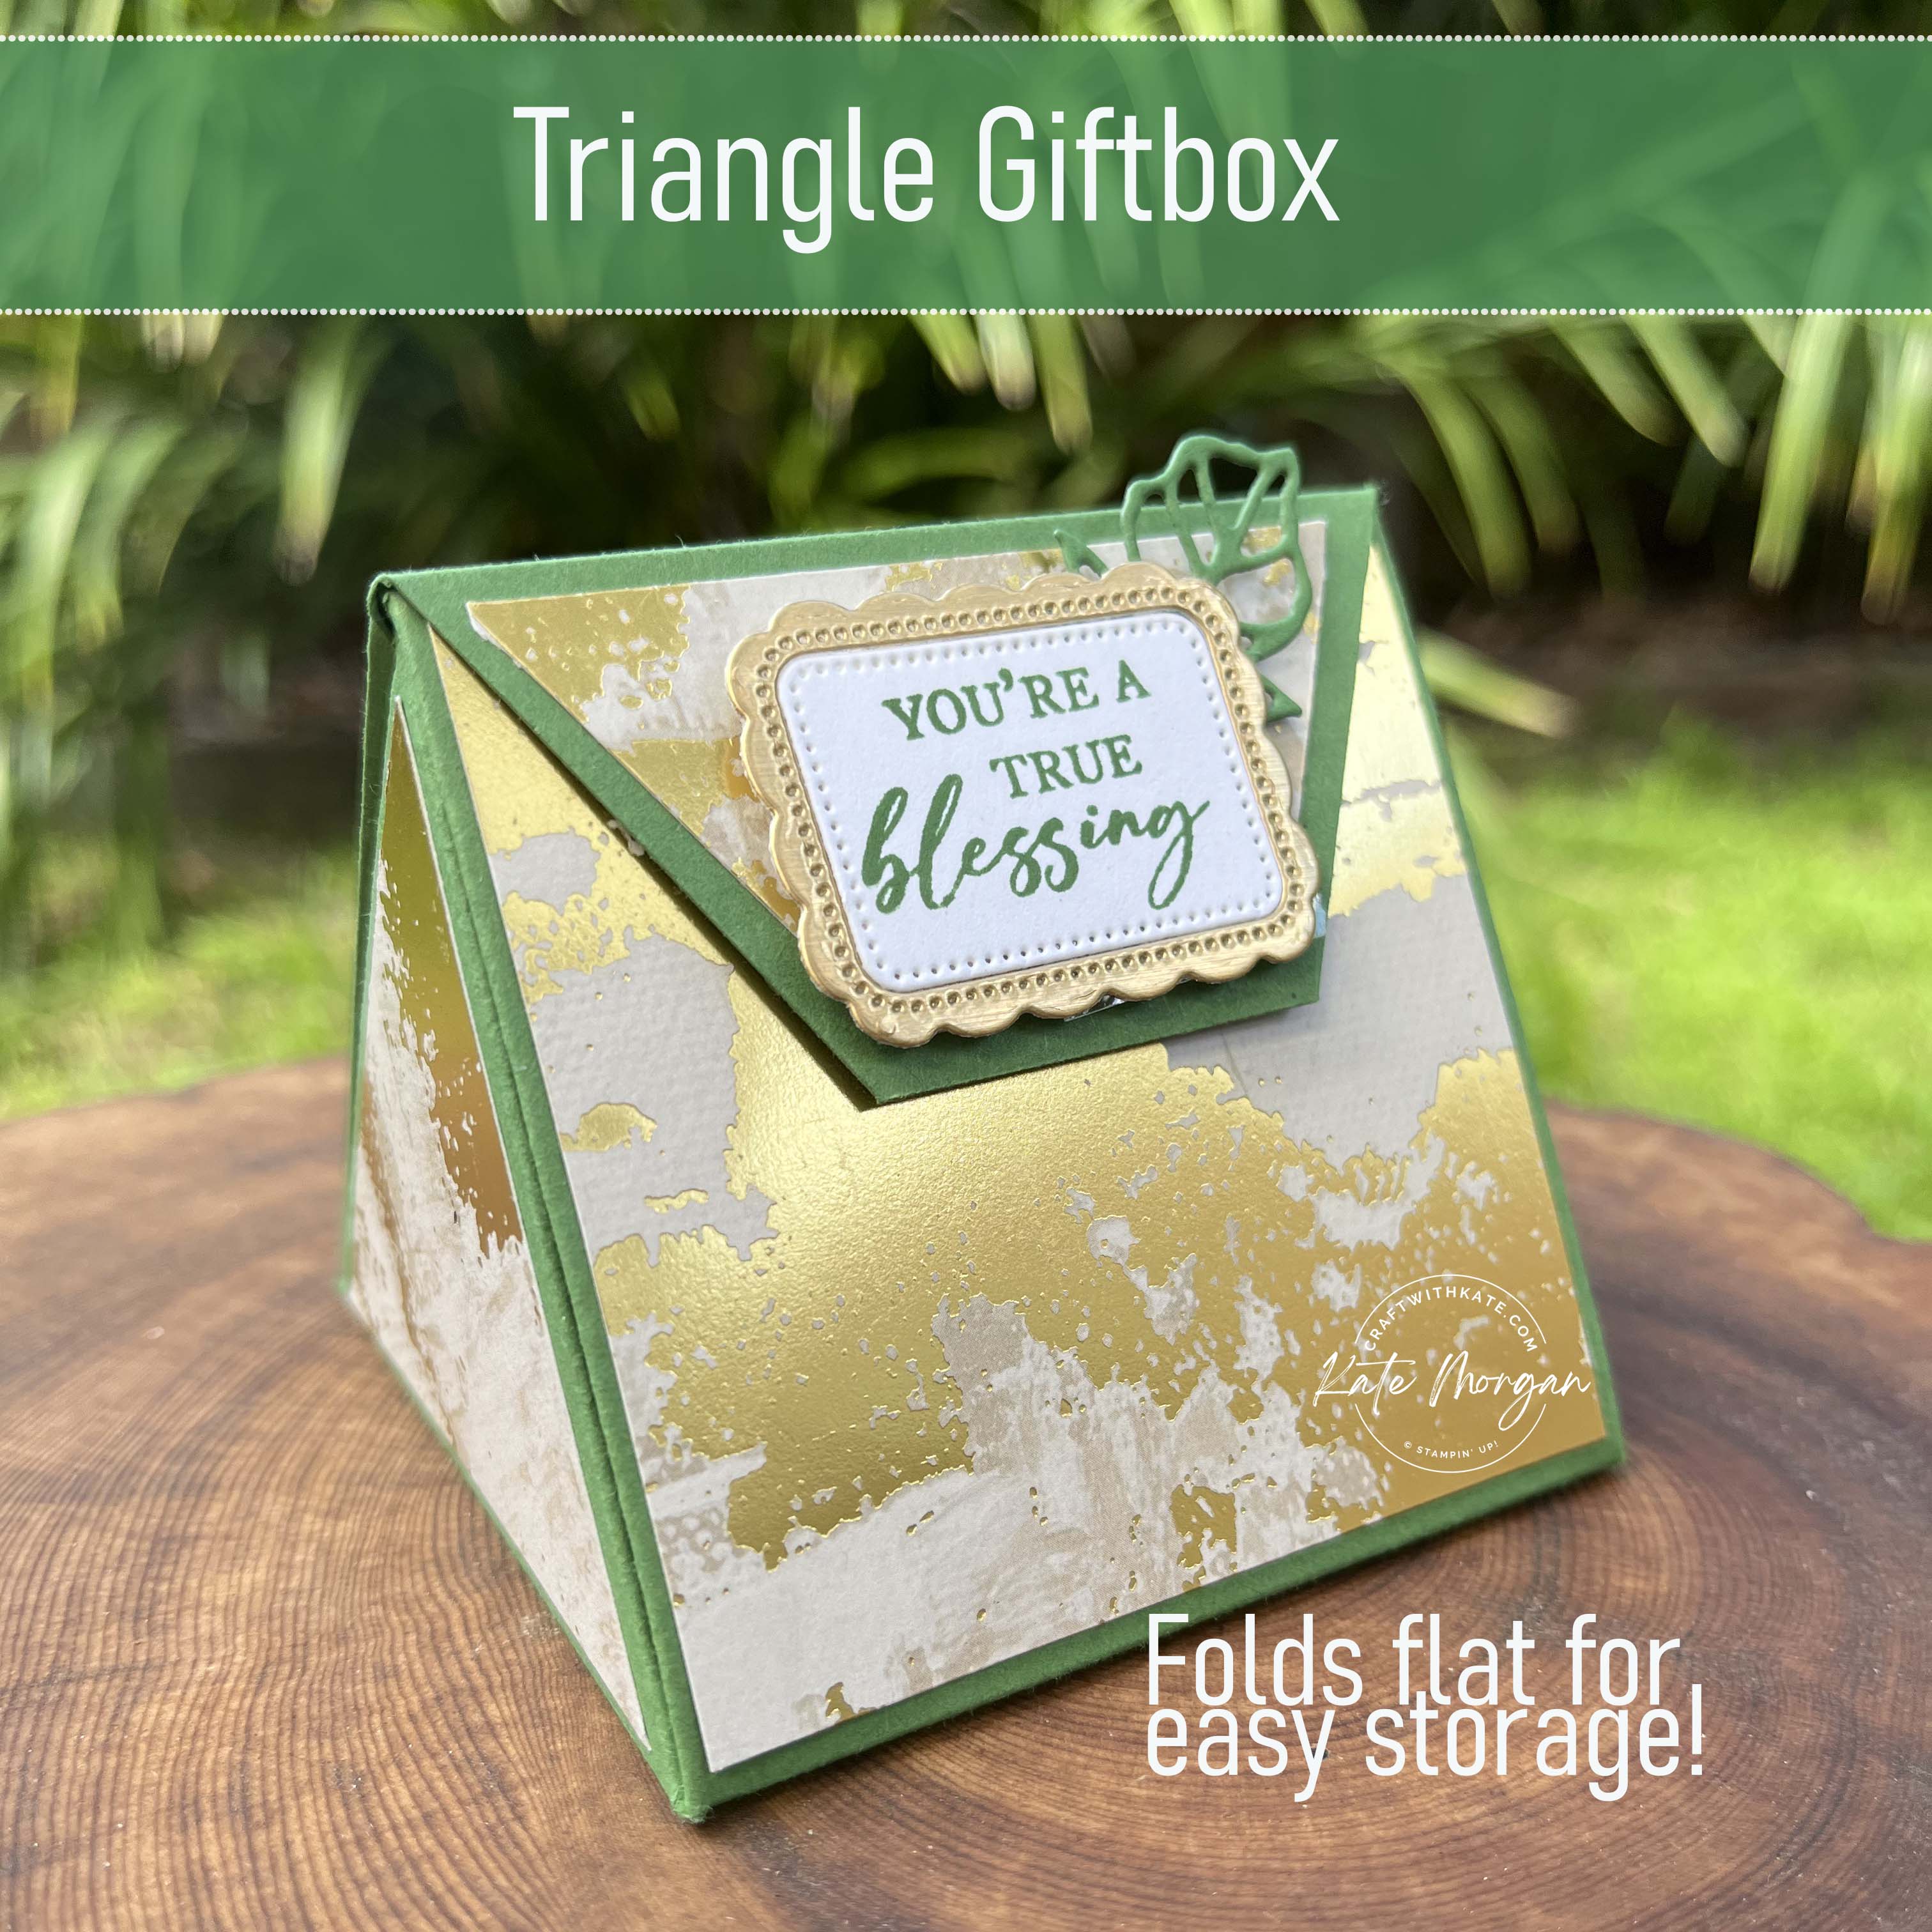
I added two small magnets to hold mine closed.
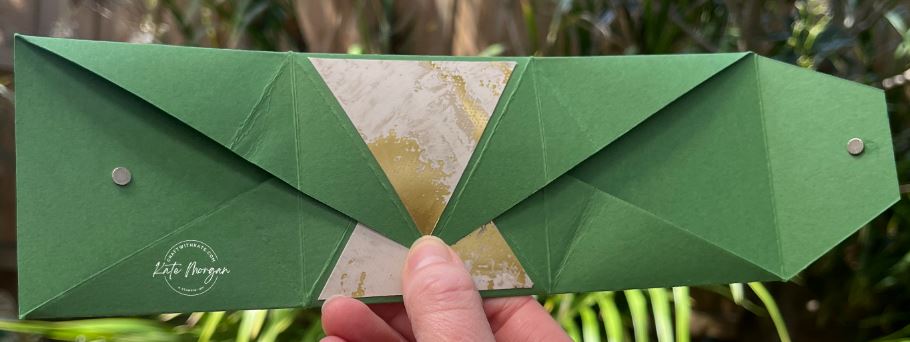
I cased this idea from Claire Ottaway, a UK Demonstrator.
Thanks for dropping by. I hope you join me next Wednesday for inspiration using Gorgeous Grape.
Please enjoy the wonderful inspiration of our next team member, Rachel Woollard.
The full list of participants for this week can be viewed on Cathy Proctor’s blog.
Product List
Stamps: Simply Said, Unbounded Love*
Dies: Country Birdhouse, Spotlight on Nature, Stylish Shapes, Unbounded Love*
Card/DSP/Specialty Paper: Basic White, Garden Green, Pumpkin Pie, Festive Glimmer, To Market DSP, Season of Elegance SDSP, Gold Foil, Basic White C6 Envelopes
Inks: Garden Green
Embellishments: Brushed Brass Butterflies, Adhesive-backed Sparkle Gems, Natural Tones Linen Thread, Woven Golden Leaves
Accesories/Adhesives/Tools: Paper Snips, Bone Folder, Paper Trimmer, Multipurpose Glue, Glue Dots, Stampin’ Dimensionals, Stampin’ Cut & Emboss Machine, Take Your Pick Tool, Simply Shammy
* can be purchased together as a bundle to save 10%

Don’t forget to Follow My Blog to receive blog updates and all the latest news and specials!


 Each week some of the Art With Heart team are joining the Colour Creations Showcase to bring you creative inspiration to showcase our range of 50+ gorgeous Stampin’ Up! colours.


 Specialty Designer Series Paper")


 Metallic Ribbon")


