Happy New Year!
I wish you all a healthy and happy 2024 and hope you had a wonder Christmas with your loved ones. Saleabration begins in a couple of days (4 January) and today I have a 3D project to share with you using one of the Saleabration items that can be earned FREE with a $90+ product order.
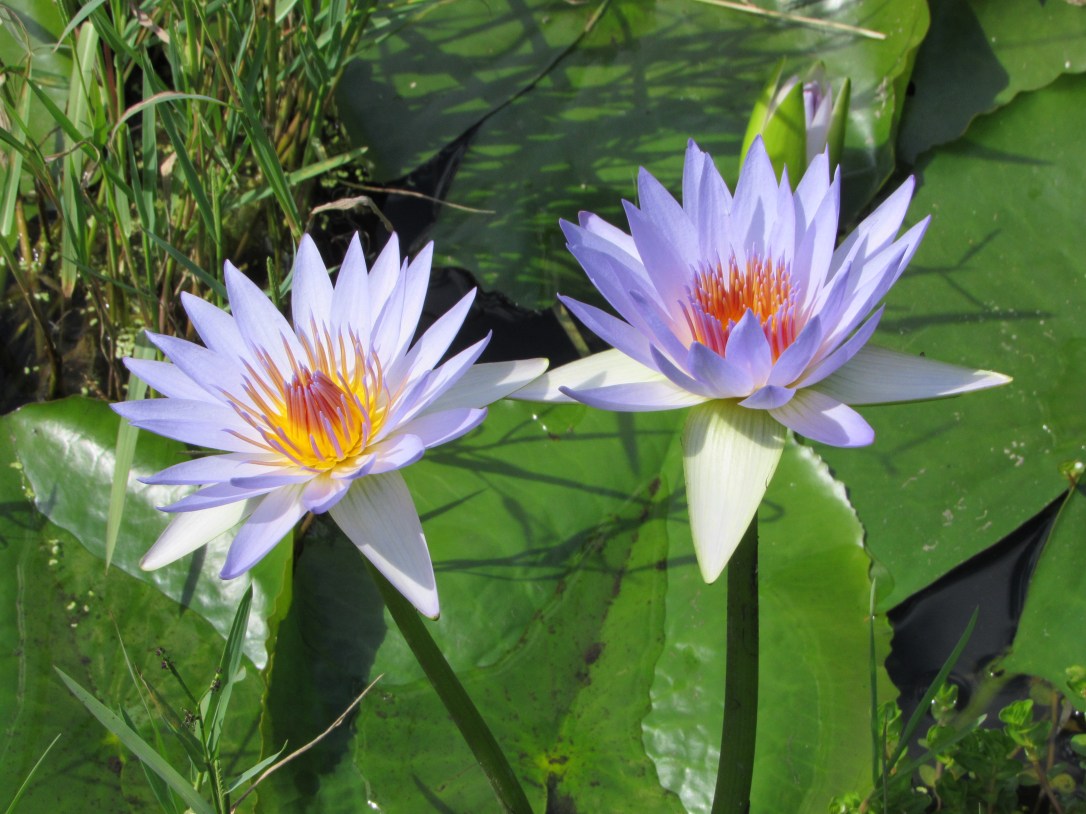
The Flight & Airy Designer Series Paper is so stunning, you will definitely want to get your hands on it! The gorgeous watercoloured images and the magnificent colour palette is irresistable!!!

The image on the top, is fussy cut from one of the sheets of paper – isn’t it just adorable?!!
I got this idea from StempelPunktchen and you can see her Tutorial on YouTube.
Project 2
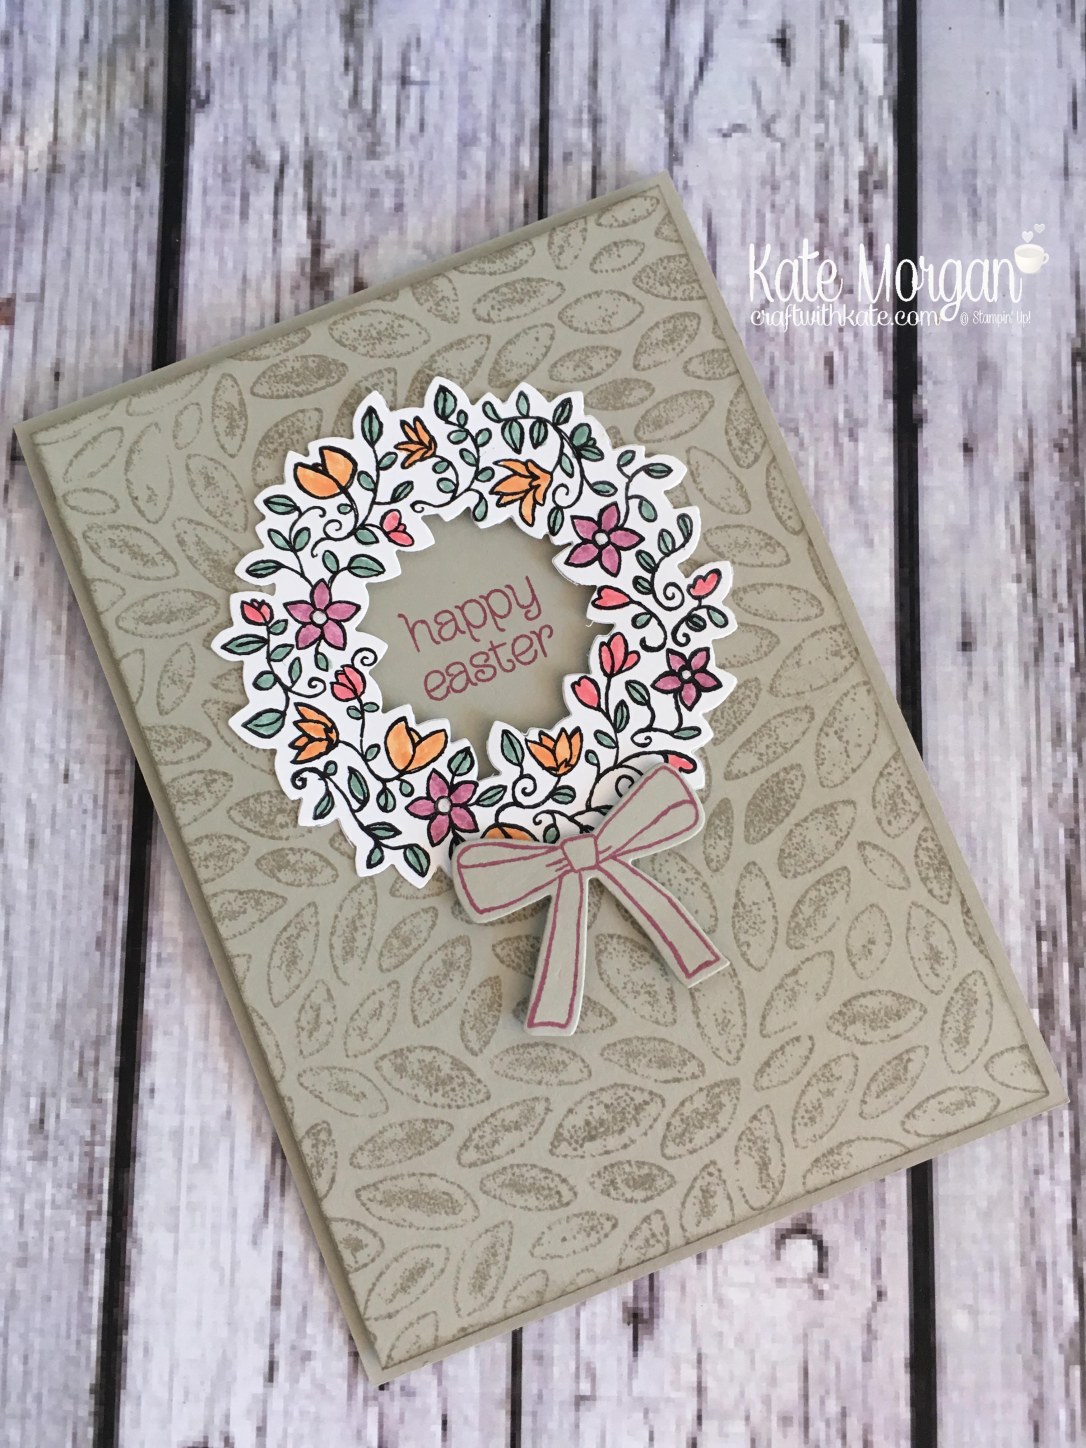
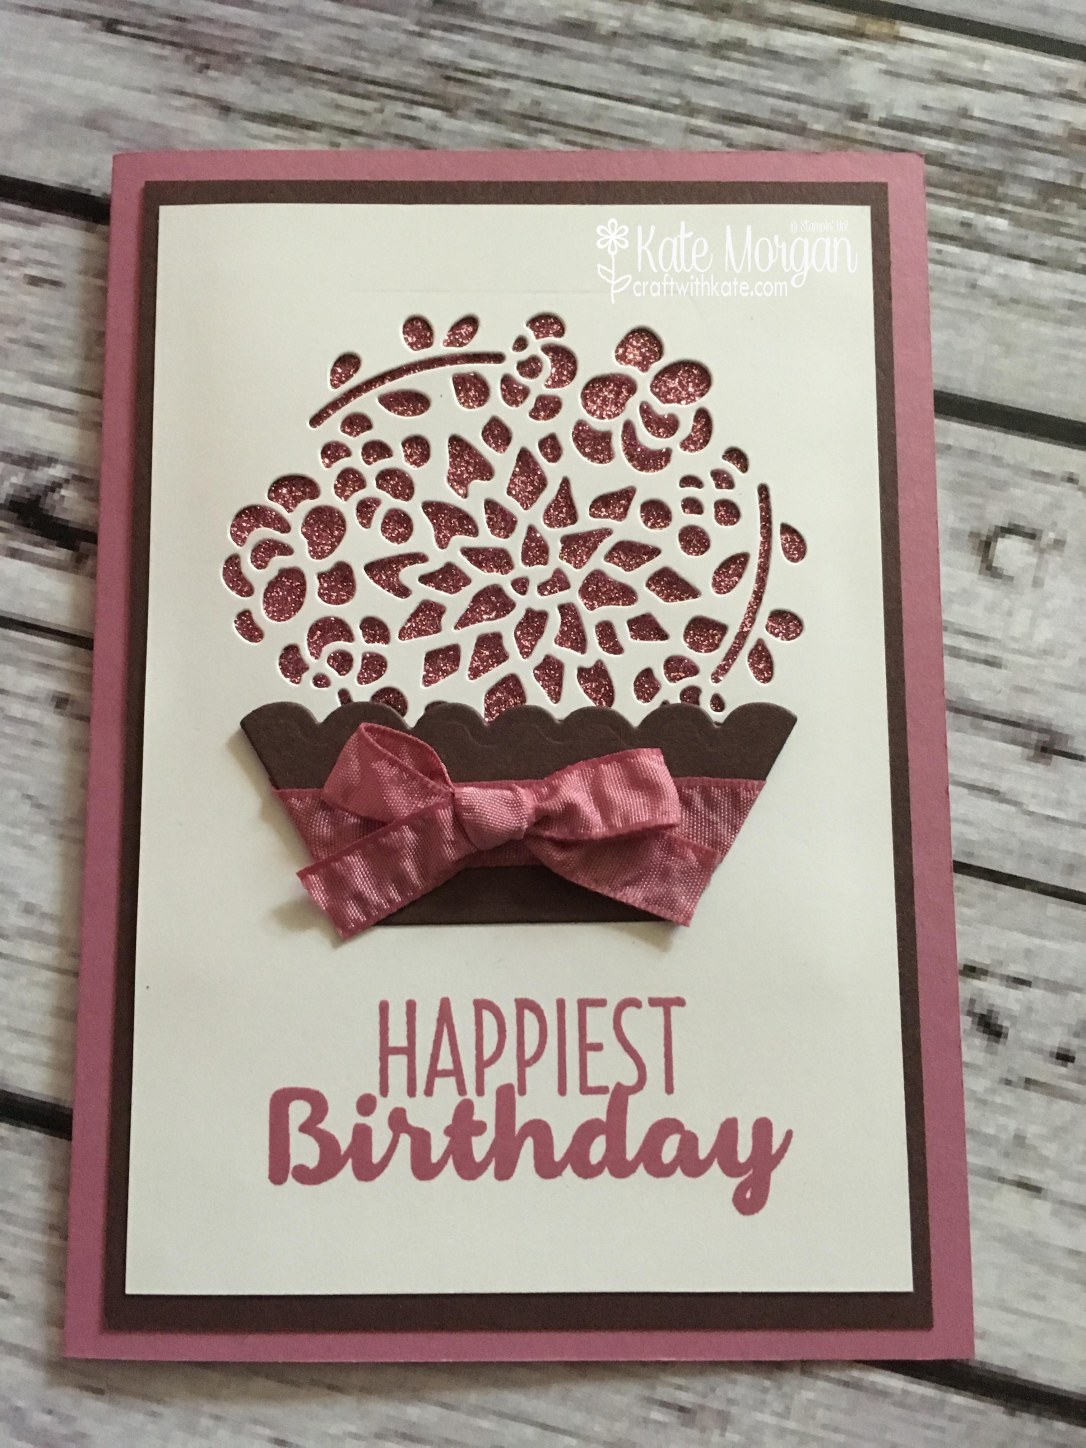
This card was inspired by Heather Thomas, A UK Stampin’ Up! Demonstrator and 2023 Artisan Team member. Again, I have fussy cut the focal image from the designer paper, but look at that gorgeous Embossed background! The Layered Florals 3D Textured Impressions Embossing Folder run through my embossing machine with Basic White card. Then I used a Small Blending Brush with Bubble Bath ink to lightly colour the larger flowers. The yellow flowers and small leaves are coloured using Stampin’ Blends Markers (Lemon Lolly & Soft Sea Foam). This is then added to some Bubble Bath cardstock, then onto a Thick Basic White card base. The strip across the bottom is from the Bee Mine 12×12 DSP, a Vellum Layering Design piece is die cut using the Stylish Shapes dies. A piece of Bubble Bath card is stamped with the sentiment (Charming Sentiments stamp set) in Boho Blue ink. The image was glued on and I finished off with some Iridescent Pastel Gems.

Thanks for dropping by.
Product List
Stamps: Heartfelt Hexagon, charming Sentiments
Dies: Stylish Shapes
Paper: Bubble Bath, Basic White, Bee Mine DSP, Flight & Airy DSP (SAB 2024), Vellum Layering Designs
Inks: Misty Moonlight, Bubble Bath, Boho Blue
Other: Iridescent Pastel Gems, Layered Florals 3D TIEF, Silver Trim, Iridescent Adhesive-backed Discs, Lemon Lolly & Soft Sea Foam Blends Markers, Small Blending Brushes, Paper Snips, Multipurpose Glue, Stampin’ Dimensionals, Paper Trimmer, Simply Shammy, Bone Folder

Don’t forget to Follow My Blog to receive blog updates and join my Newsletter Subscription for all the latest news and specials!


 Each week some of the Art With Heart team are joining the Colour Creations Showcase to bring you creative inspiration to showcase our range of 50+ gorgeous Stampin’ Up! colours.