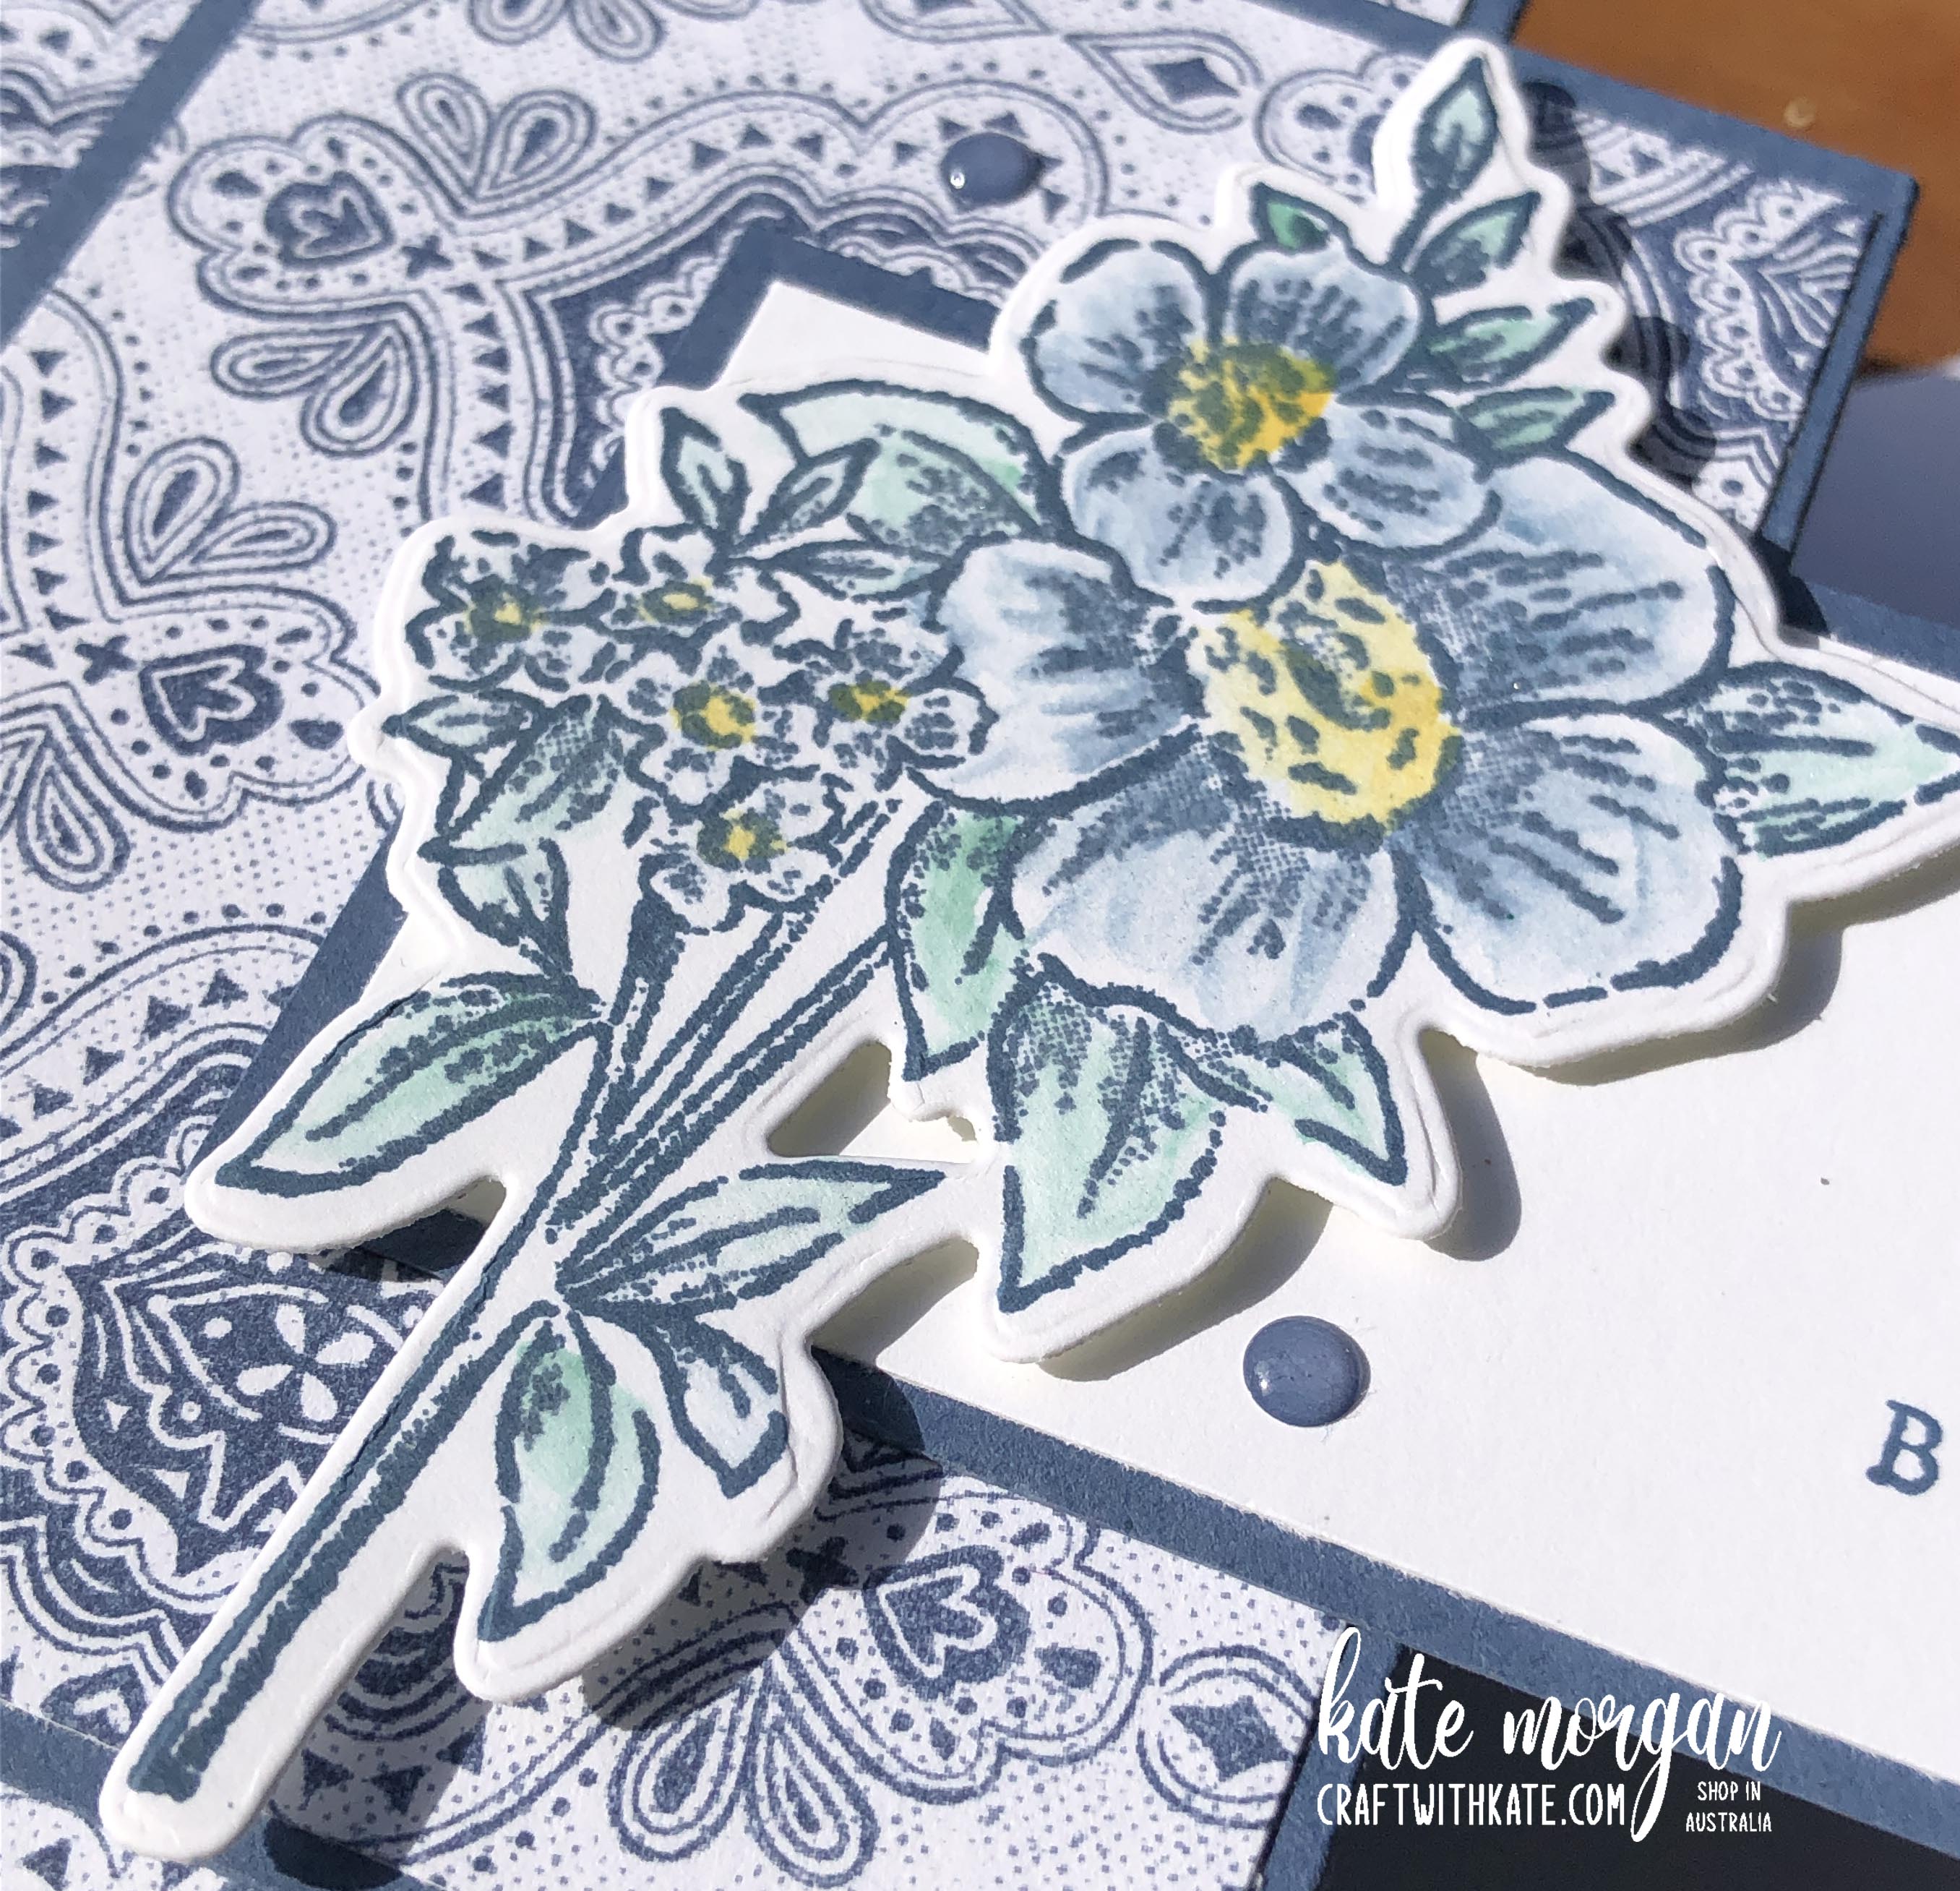
While we focus on Shy Shamrock this week, I wanted to share another card I made with the Flowers Fair stamp set.
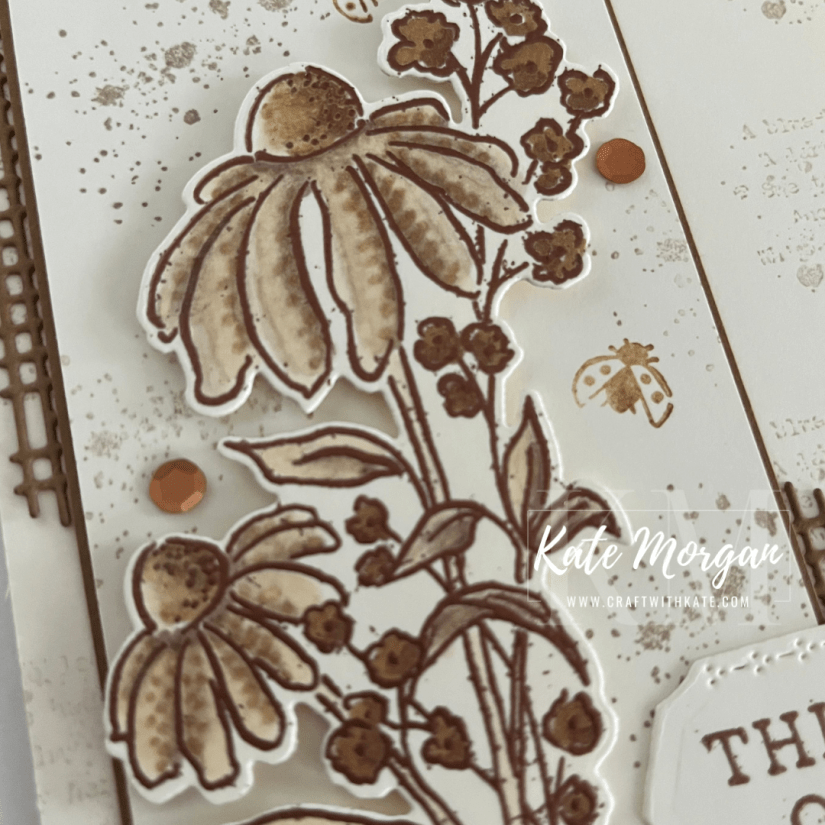
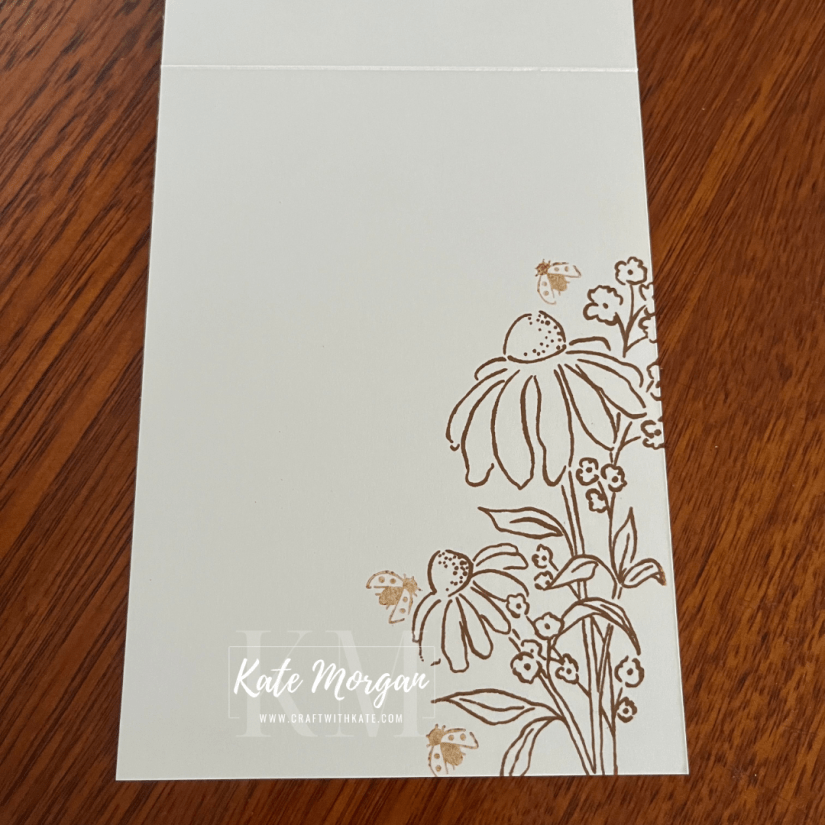
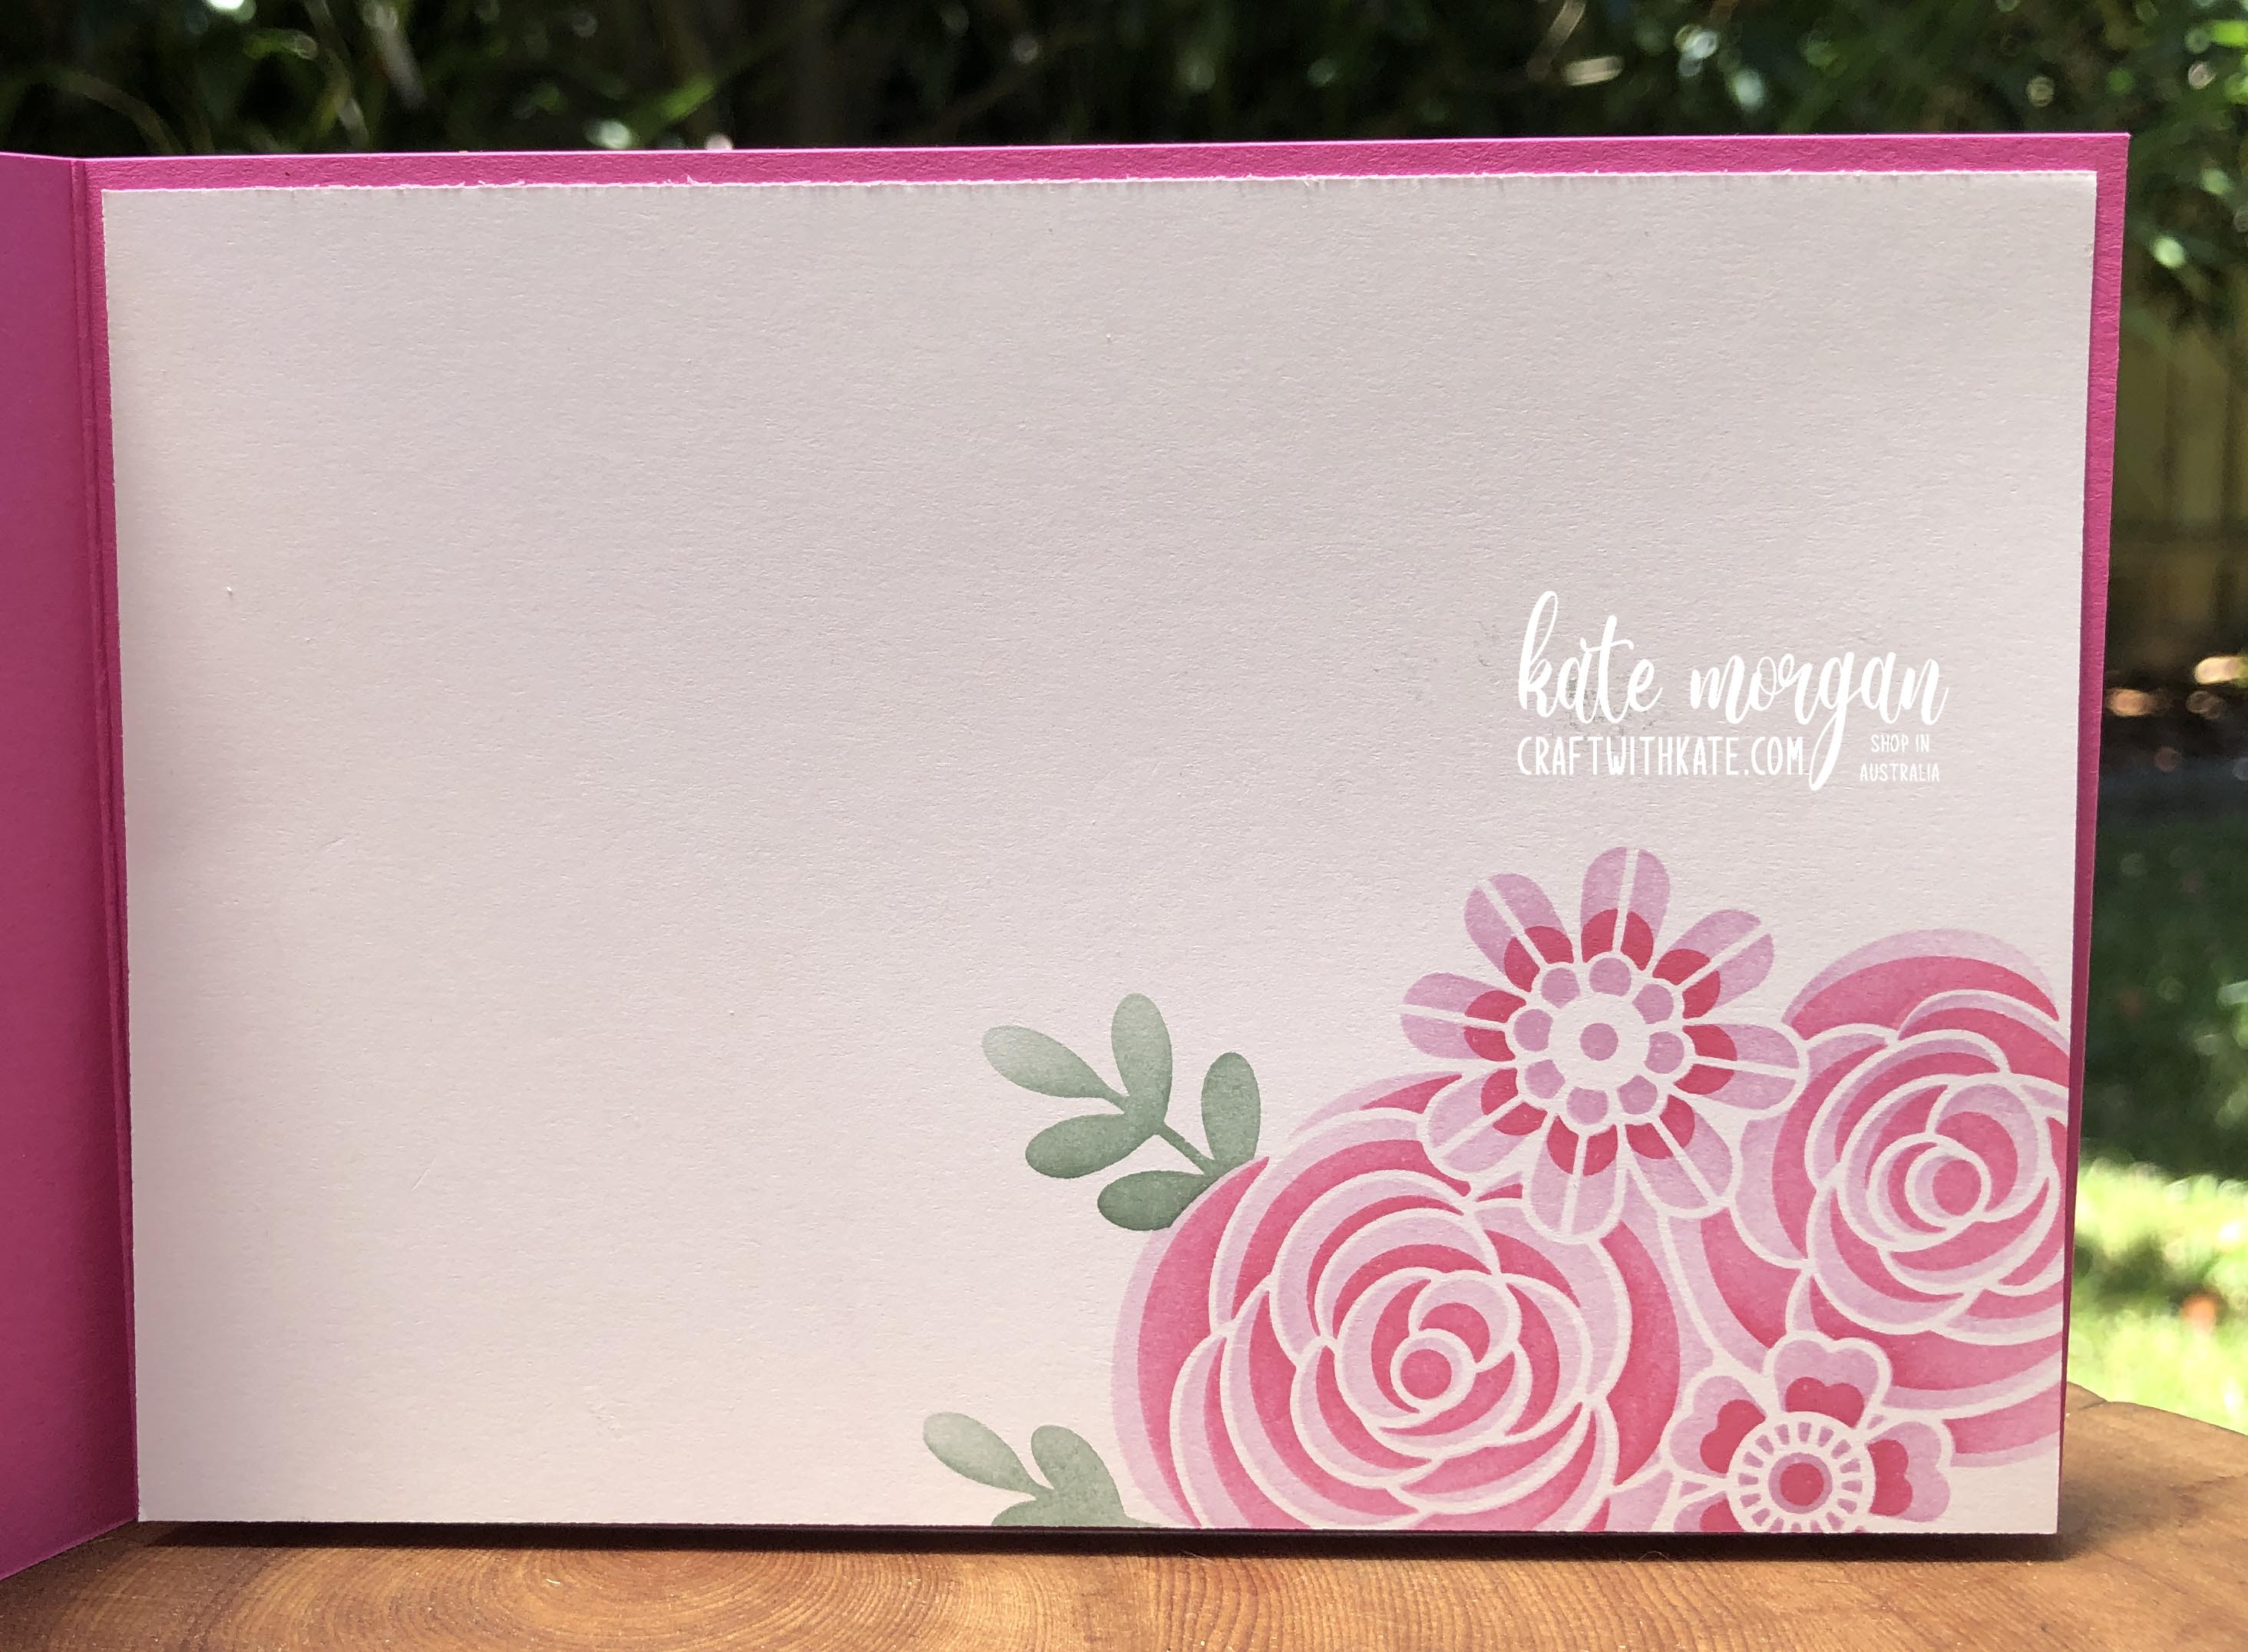
I stamped the image in Basic Gray ink onto Vellum, sprinkled over Clear Emboss Powder, shake off the excess ad gently melt with my Heat Tool. Turn it over and place onto a Silcone Craft Sheet or Stampin’ Pierce Mat. Use the Take Your Pick Tool with the Small Stylus end and trace the inside of each image. When you turn it over it will appear white, that’s what you want to create the Embossed Vellum technique!
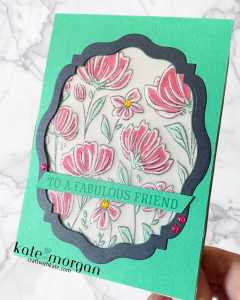
Once you have done that, use Stampin’ Blends Combo Markers (Melon Mambo & Shy Shamrock) to colour the images on the reverse side.
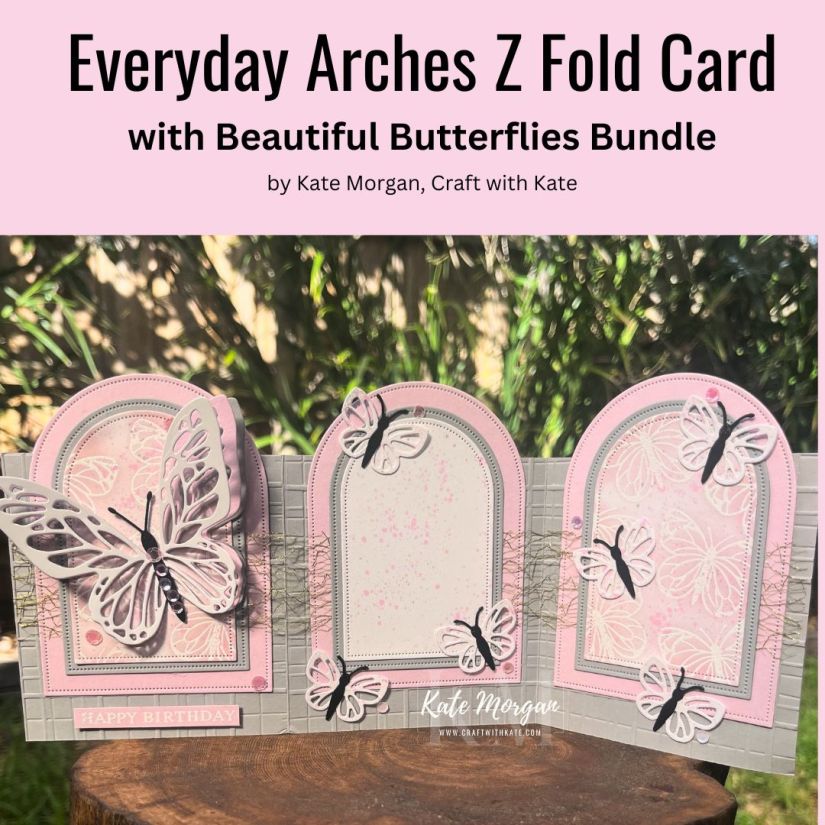
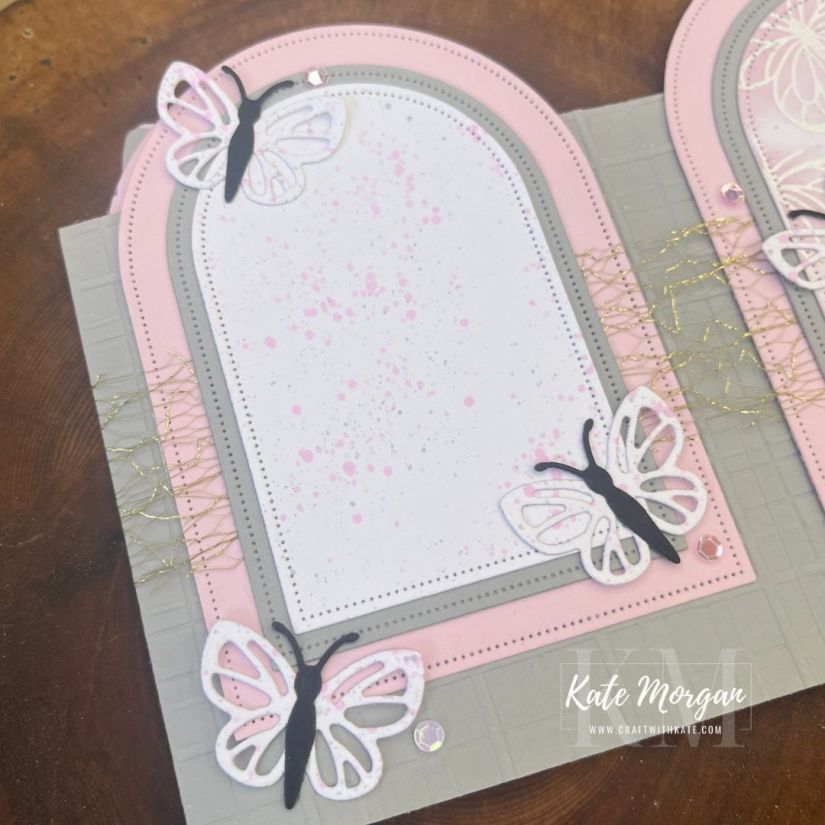
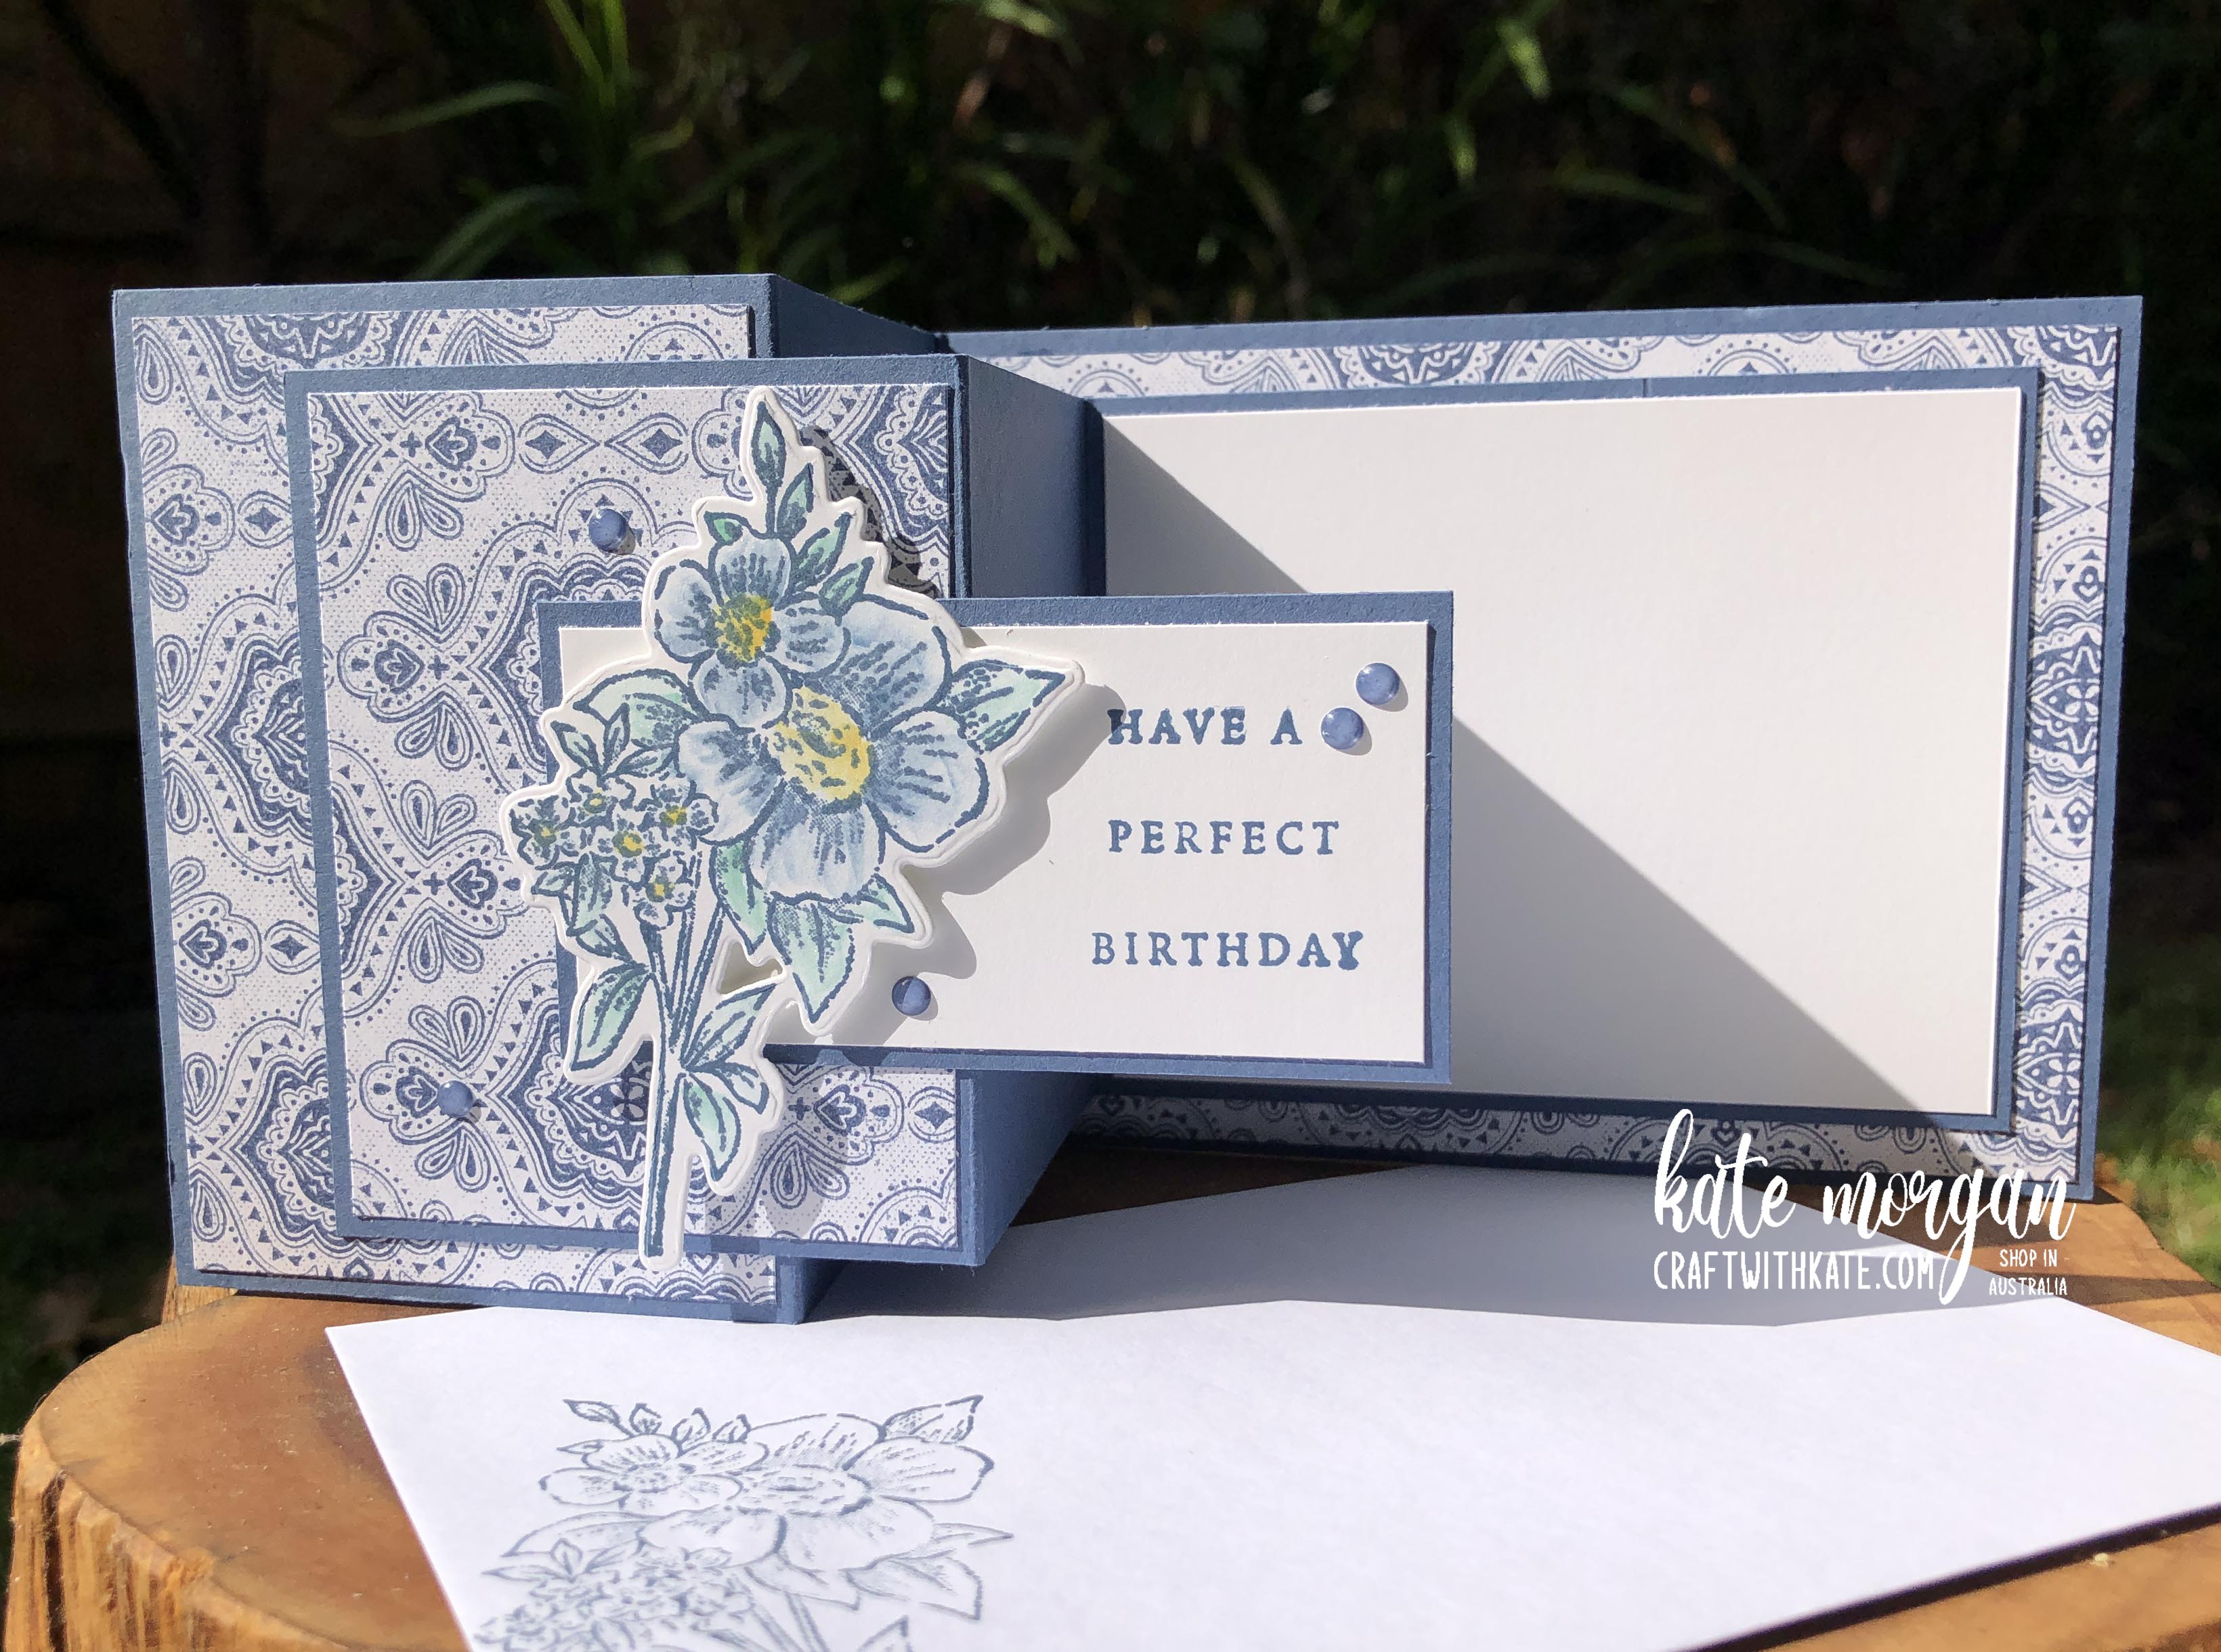
Die cut the frame using two of the Beautifully Celebrated dies nested together with Secret Sea cardstock. Diecut the largest die into the centre of a piece of Shy Shamrock cardstock the same size as the cardfront.
Cut the vellum to a slighty smaller size than the card front, add adhesive around the edges and adhere it to a Basic Beige card base. Then adhere the Shy Shamrock card over the top and then adhere the frame. To finish, add the sentiment across the frame and some Glossy Dots Assortment.
Thanks for dropping by. I hope you join me next week for Smoky Slate inspiration.
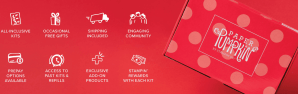
Did you know that Paper Pumpkin is now available in Australia?
Click the image to find out all the details how you can receive a kit delivered to your door every month. To receive the April Kit you need to subscribe by the 10th April!
Be sure to add the Product of the Month (POM) for $9 when you add $125+ in product to your cart.
Product List @stampinupofficial
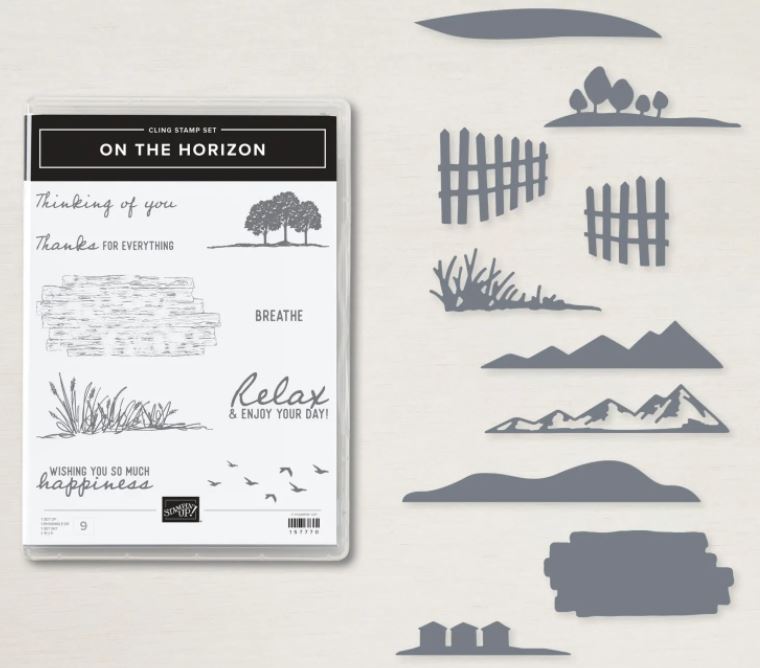
Stamps: Flowers Fair, Fabulous Sayings (POM Jan ’26)
Dies: Beautifully Celebrated
Ink: Basic Gray, Shy Shamrock
Paper: Basic Beige, Basic White, Shy Shamrock, Secret Sea, Vellum, Basic White C6 Envelopes
Stampin’ Blends Combo Markers: Melon Mambo, Shy Shamrock
Other: Clear Emboss Powder, Silicone Craft Sheet, Glossy Dots Assortment, Acrylic Blocks, Bone Folder, Paper Trimmer, Multipurpose Glue, Mini Stampin’ Dimensionals, Tear & Tape, Stampin’ Cut & Emboss Machine, Take Your Pick Tool, Simply Shammy, Heat Tool.
*can be purchased together as a bundle to save 10%

Don’t forget to Follow My Blog to receive blog updates and all the latest news and specials!