Hello Friends,
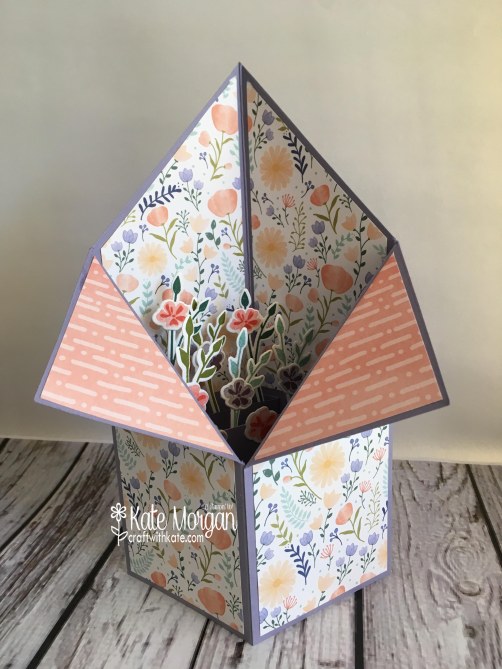
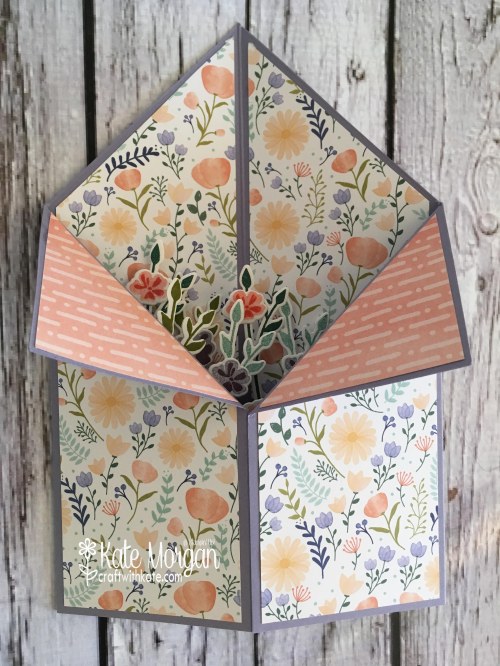
On Saturday at my class, we focused on Masculine cards with Father’s Day coming up next month. This card I am sharing with you today, is an Open Panel Card!
(you may have received a post already about this last week, but I hadn’t finished writing the post and WordPress was playing funny buggers with me, so here it is again, with all the details)!

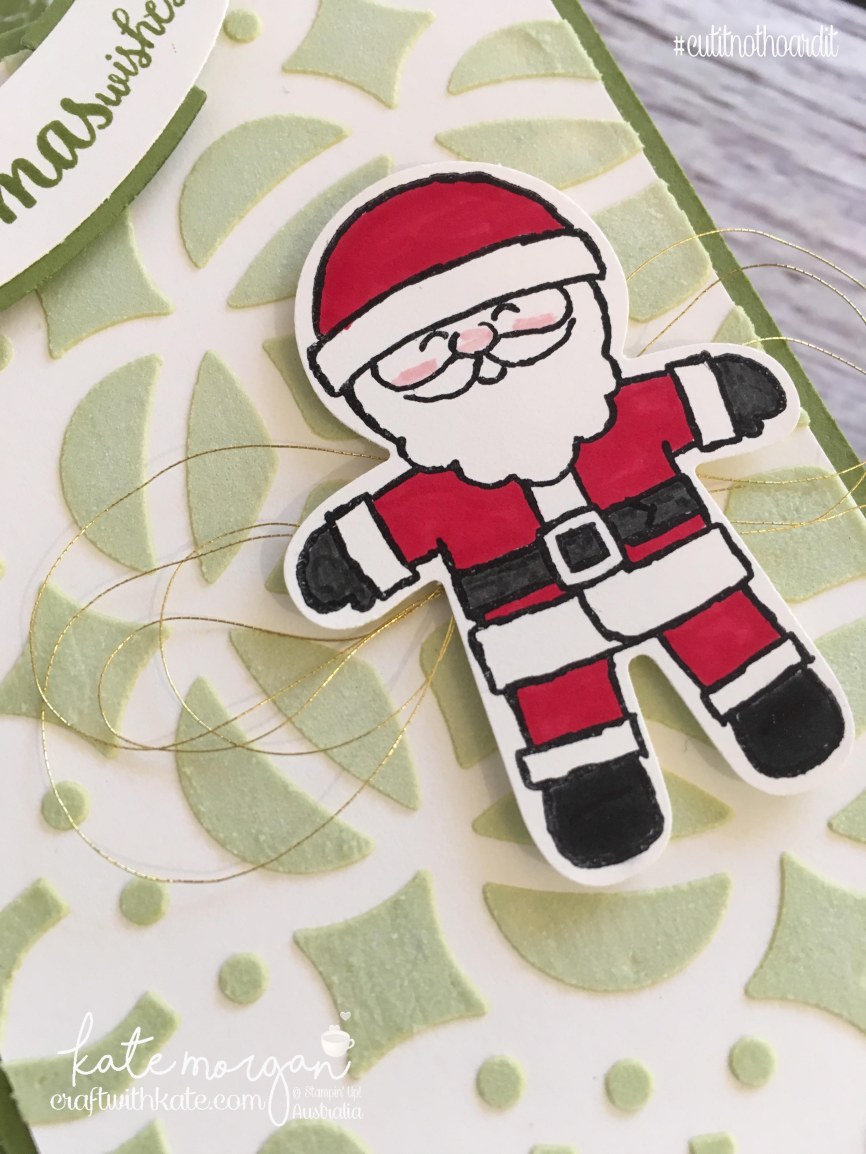
The images were stamped onto Very Vanilla cardstock with Smoky Slate ink. We used some of the retired DSP from the Occasions catalogue, as it was perfect for our masculine project. The base card is Basic Gray cardstock.


The card itself was quite simple to create. Here is how I did it:
I began with half an A4 sheet (29.7 x 10.5cm) folded in half. I cut off the bottom panel measuring 5cm (2″). Then I cut it again allowing for a 3.5cm (1-3/8″) gap in the centre of the card.
The large Gray panel measures 6.5cm x 10.5cm, the Vanilla is 6cm x 10cm
The medium Gray panel is 4.7cm x 7cm, the Vanilla is 4.2cm x 6.5cm
The Sentiment Gray panel is 7.5cm x 1.5cm, the Vanilla is 7cm x 1cm
DSP: 10cm x 6cm & 10cm x 4.5cm
Once you have done all your stamping and mounted those pieces onto the Gray matt pieces of cardstock and added your DSP to the top and bottom panels, hold the bottom panel lining it up with the base of the card so you can add the centre panel. Make sure you only add adhesive to the top and bottom sections of this panel. Then add the other two panels to your card. I also added some Vanilla cardstock to the inside of the card and stamped the hats image in the bottom right corner!
Here are two more of this same style card!


I hope you like my cards today.
The full product list can be found at the end of this post!
Don’t forget to Follow My Blog to receive blog updates and join my Newsletter Subscription for all the latest news and specials!


Happy Stamping,

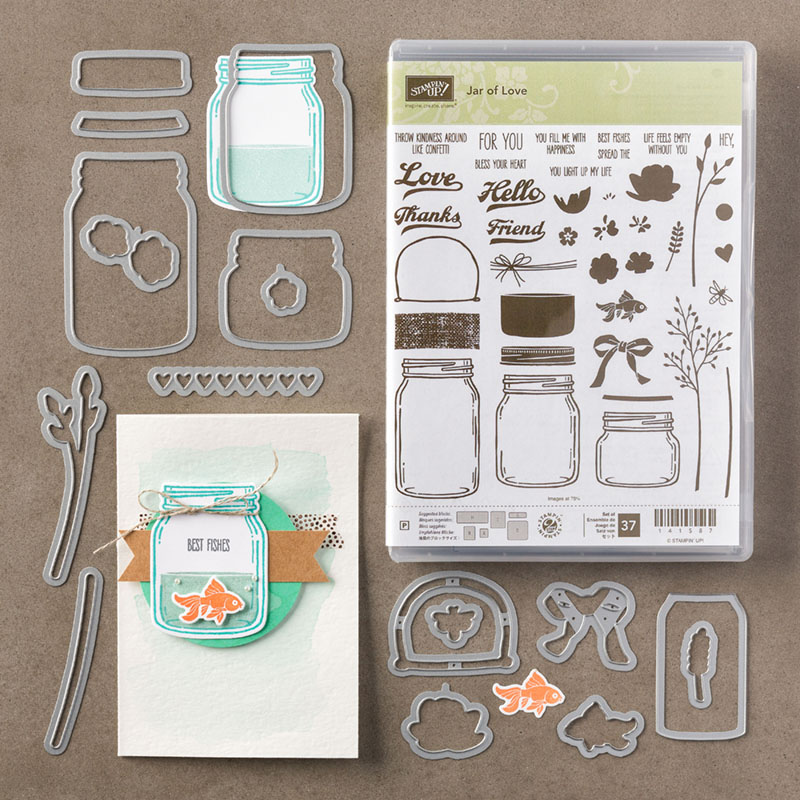
Product List