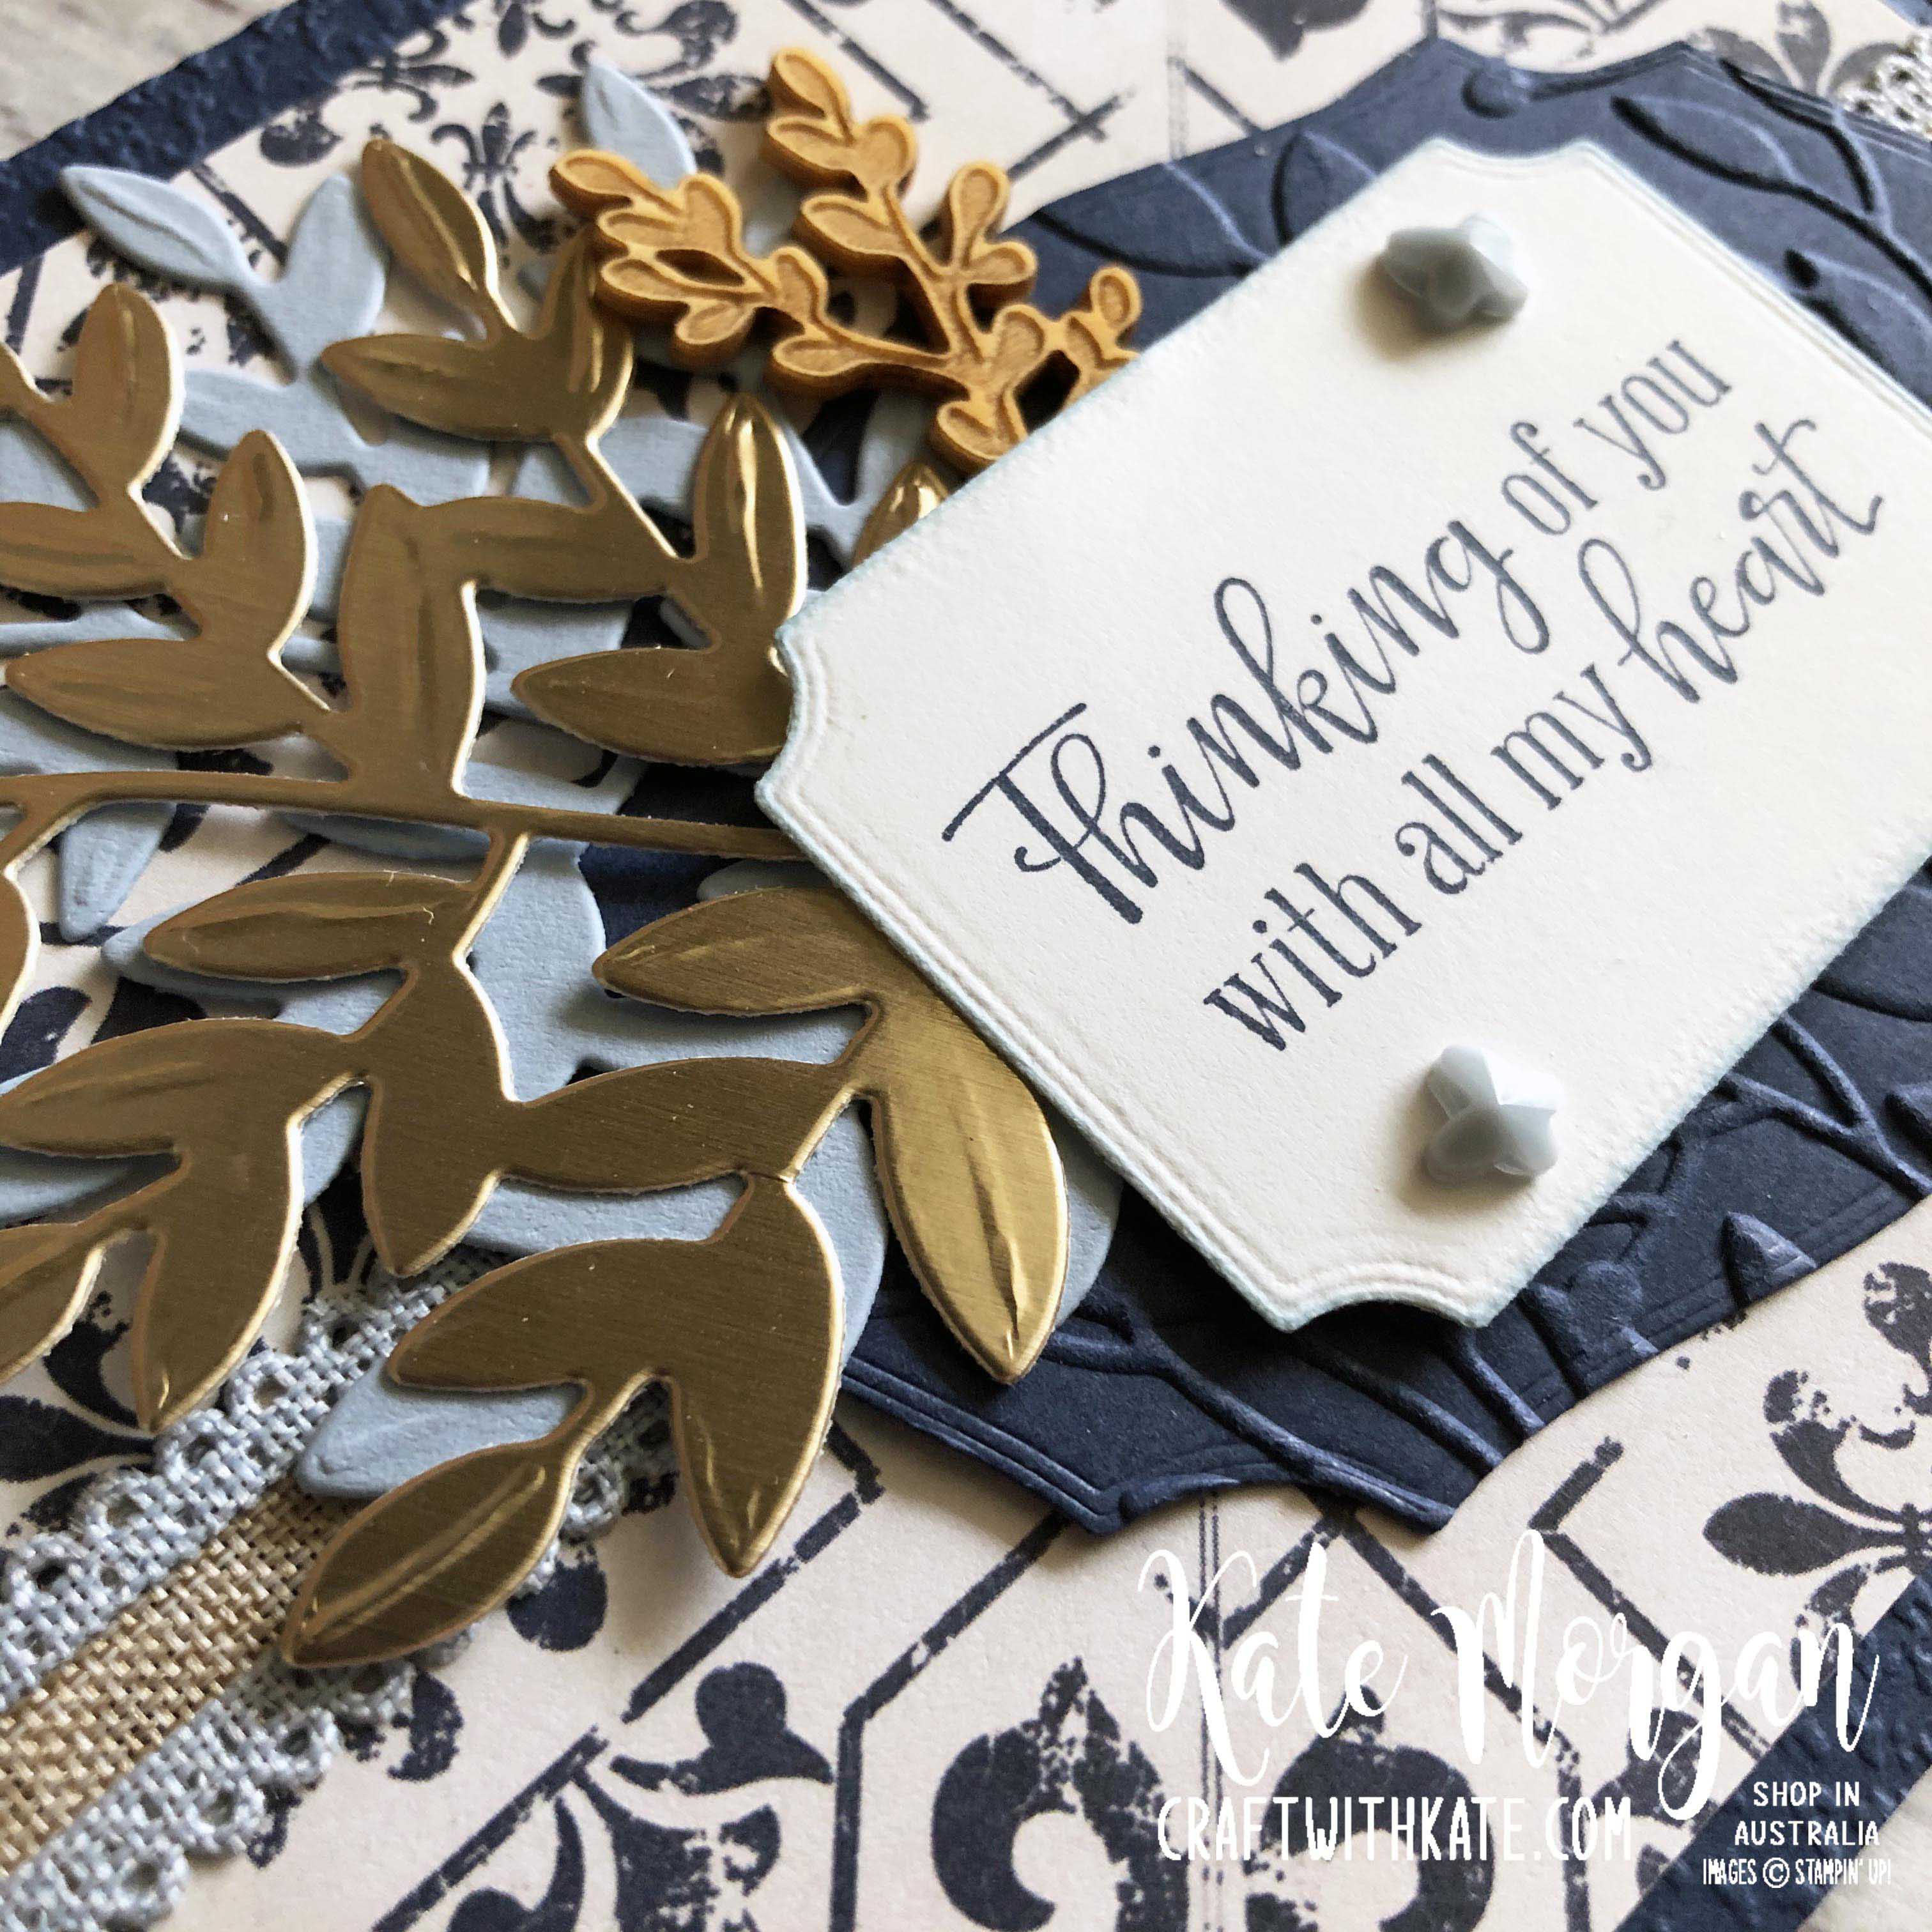
I love the classic colours of blues and whites and this card in no exception. I also added some gold for added bling, sparkle and texture!
Embossing the card base and the navy die cut, brings more interest to the card, along with the wood element and tiny Butterfly Gems.
On the inside I placed some more strips of patterned paper, flipping one over to see the wood design for added texture. The banner was created using the Tailored Tag Punch.
A full list of products can be found at the end of this post.
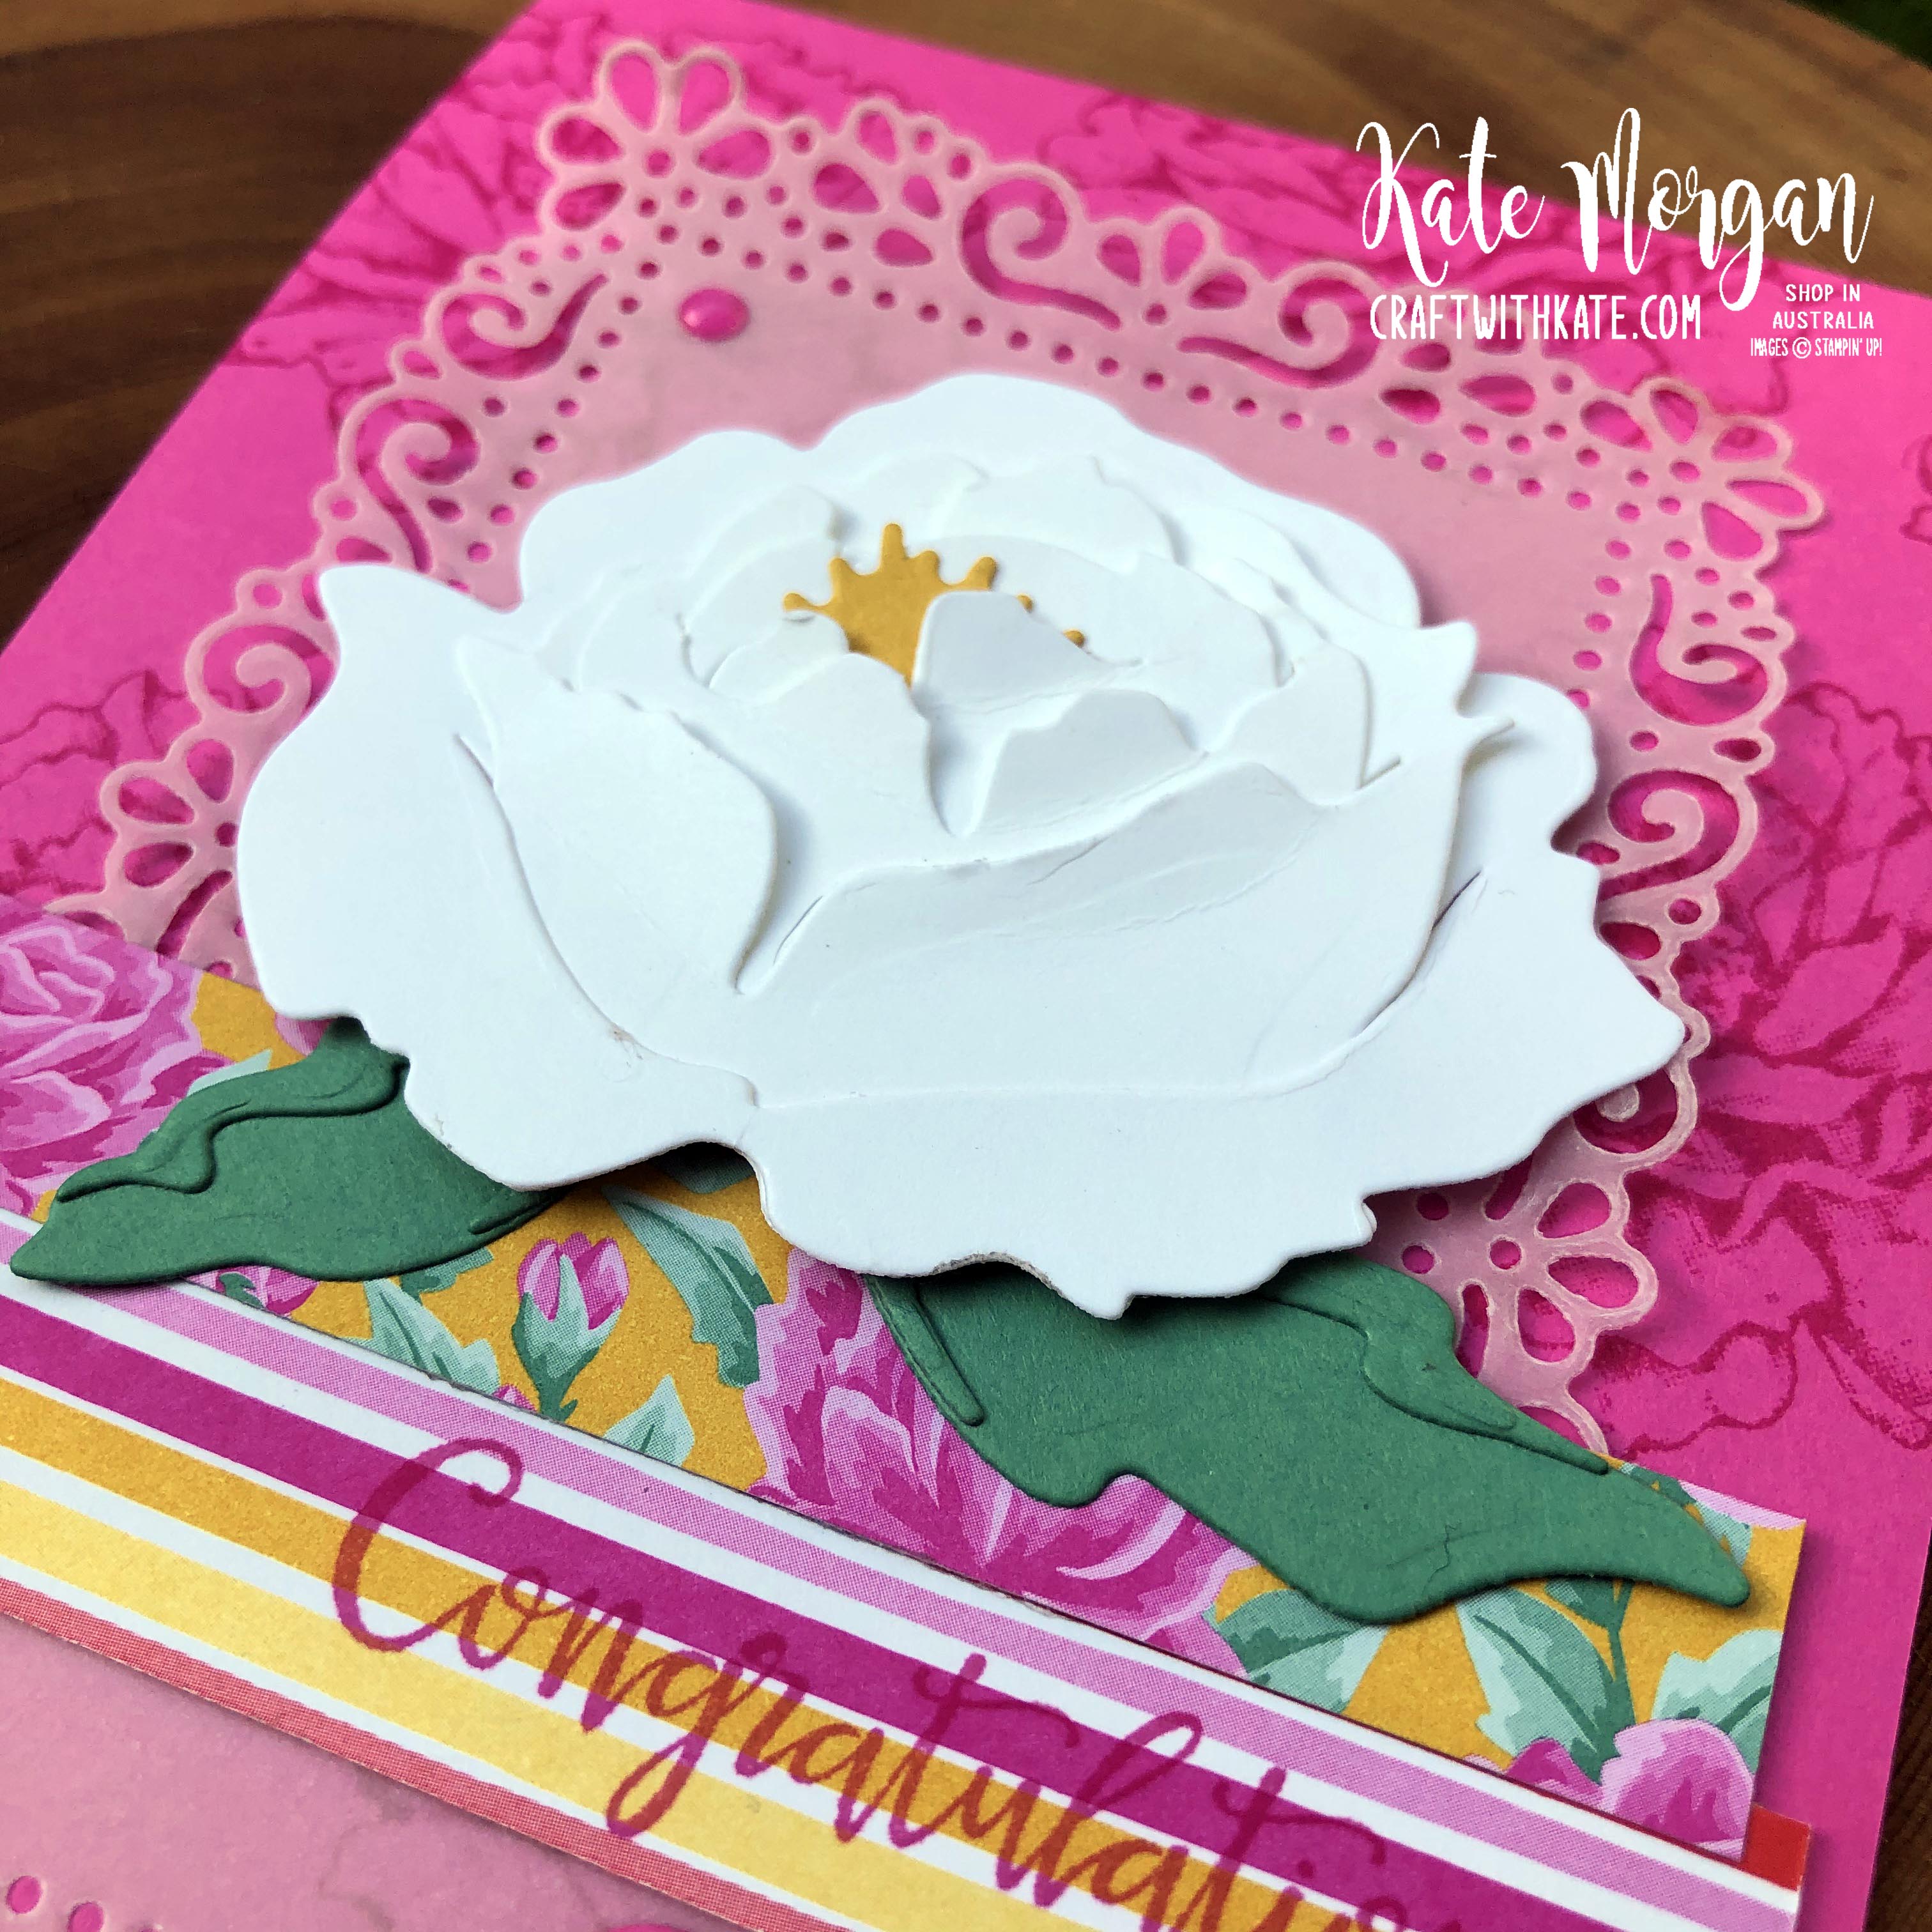
Oh my, this Prized Peony Stamp set and coordinating dies are amazing!
When I opened the pack of dies, I thought “how on earth do these work” as I was so overwhelmed with the amount of dies in there.
But once you know how they go together, it’s easy right?!!! And yes, it is really easy to put the flower together. It is 4 dies to create the bloom, each one sliding into the other from smallest to largest, then the stamen last. I have kept this one white as my first attempt, but it really is glorious just like that.
I stamped one of the images in Magenta Madness ink onto the same colour card base. The vellum layer is die cut and added with a couple of strips of Designer Paper over the top before adding the bloom on dimensionals. This made it easy to add some green leaves underneath where you want them.
Both sentiments are from the Peaceful Moments stamp set, stamped in Magenta Madness ink. The 60 is die cut from the retired Little Numbers dies, but there are some new ones in the annual catalogue, which I don’t have just yet.
Do you love this bundle too? Well as a special offer this month only, when you join my team, you can add this bundle for FREE to your already awesome valued starter kit. That’s $235 worth of product of your choice, plus this bundle valued at $100.75, and free delivery and all you pay is $169! I have a lovely team of ladies who joined for the discount and are hobby demonstrators. We would love to have you as part of our team too.
A full list of products can be found at the end of this post.
I think I have a caught a bug! Not in the sense of being unwell, but in the sense of these Stamp in the Round style cards!!!! 😂
Here’s another one using the Ornate Style stamp set, Peaceful Moments stamp set and the Painted Labels dies with the Ornate Garden Specialty DSP!
Measurements:
Card base: 11″ x 5½” scored in half at 5½”DSP layer: 5” x 5”
Black layer: 4⅛” x 4⅛”
White Layer: 4” x 4”
The sentiment is stamped in Versamark and Heat embossed with White Emboss Powder. the images are coloured with Stampin’ blends markers and a Champagne Rhinestone added to the centre of the flowers.
A full list of products can be found at the bottom of this post.
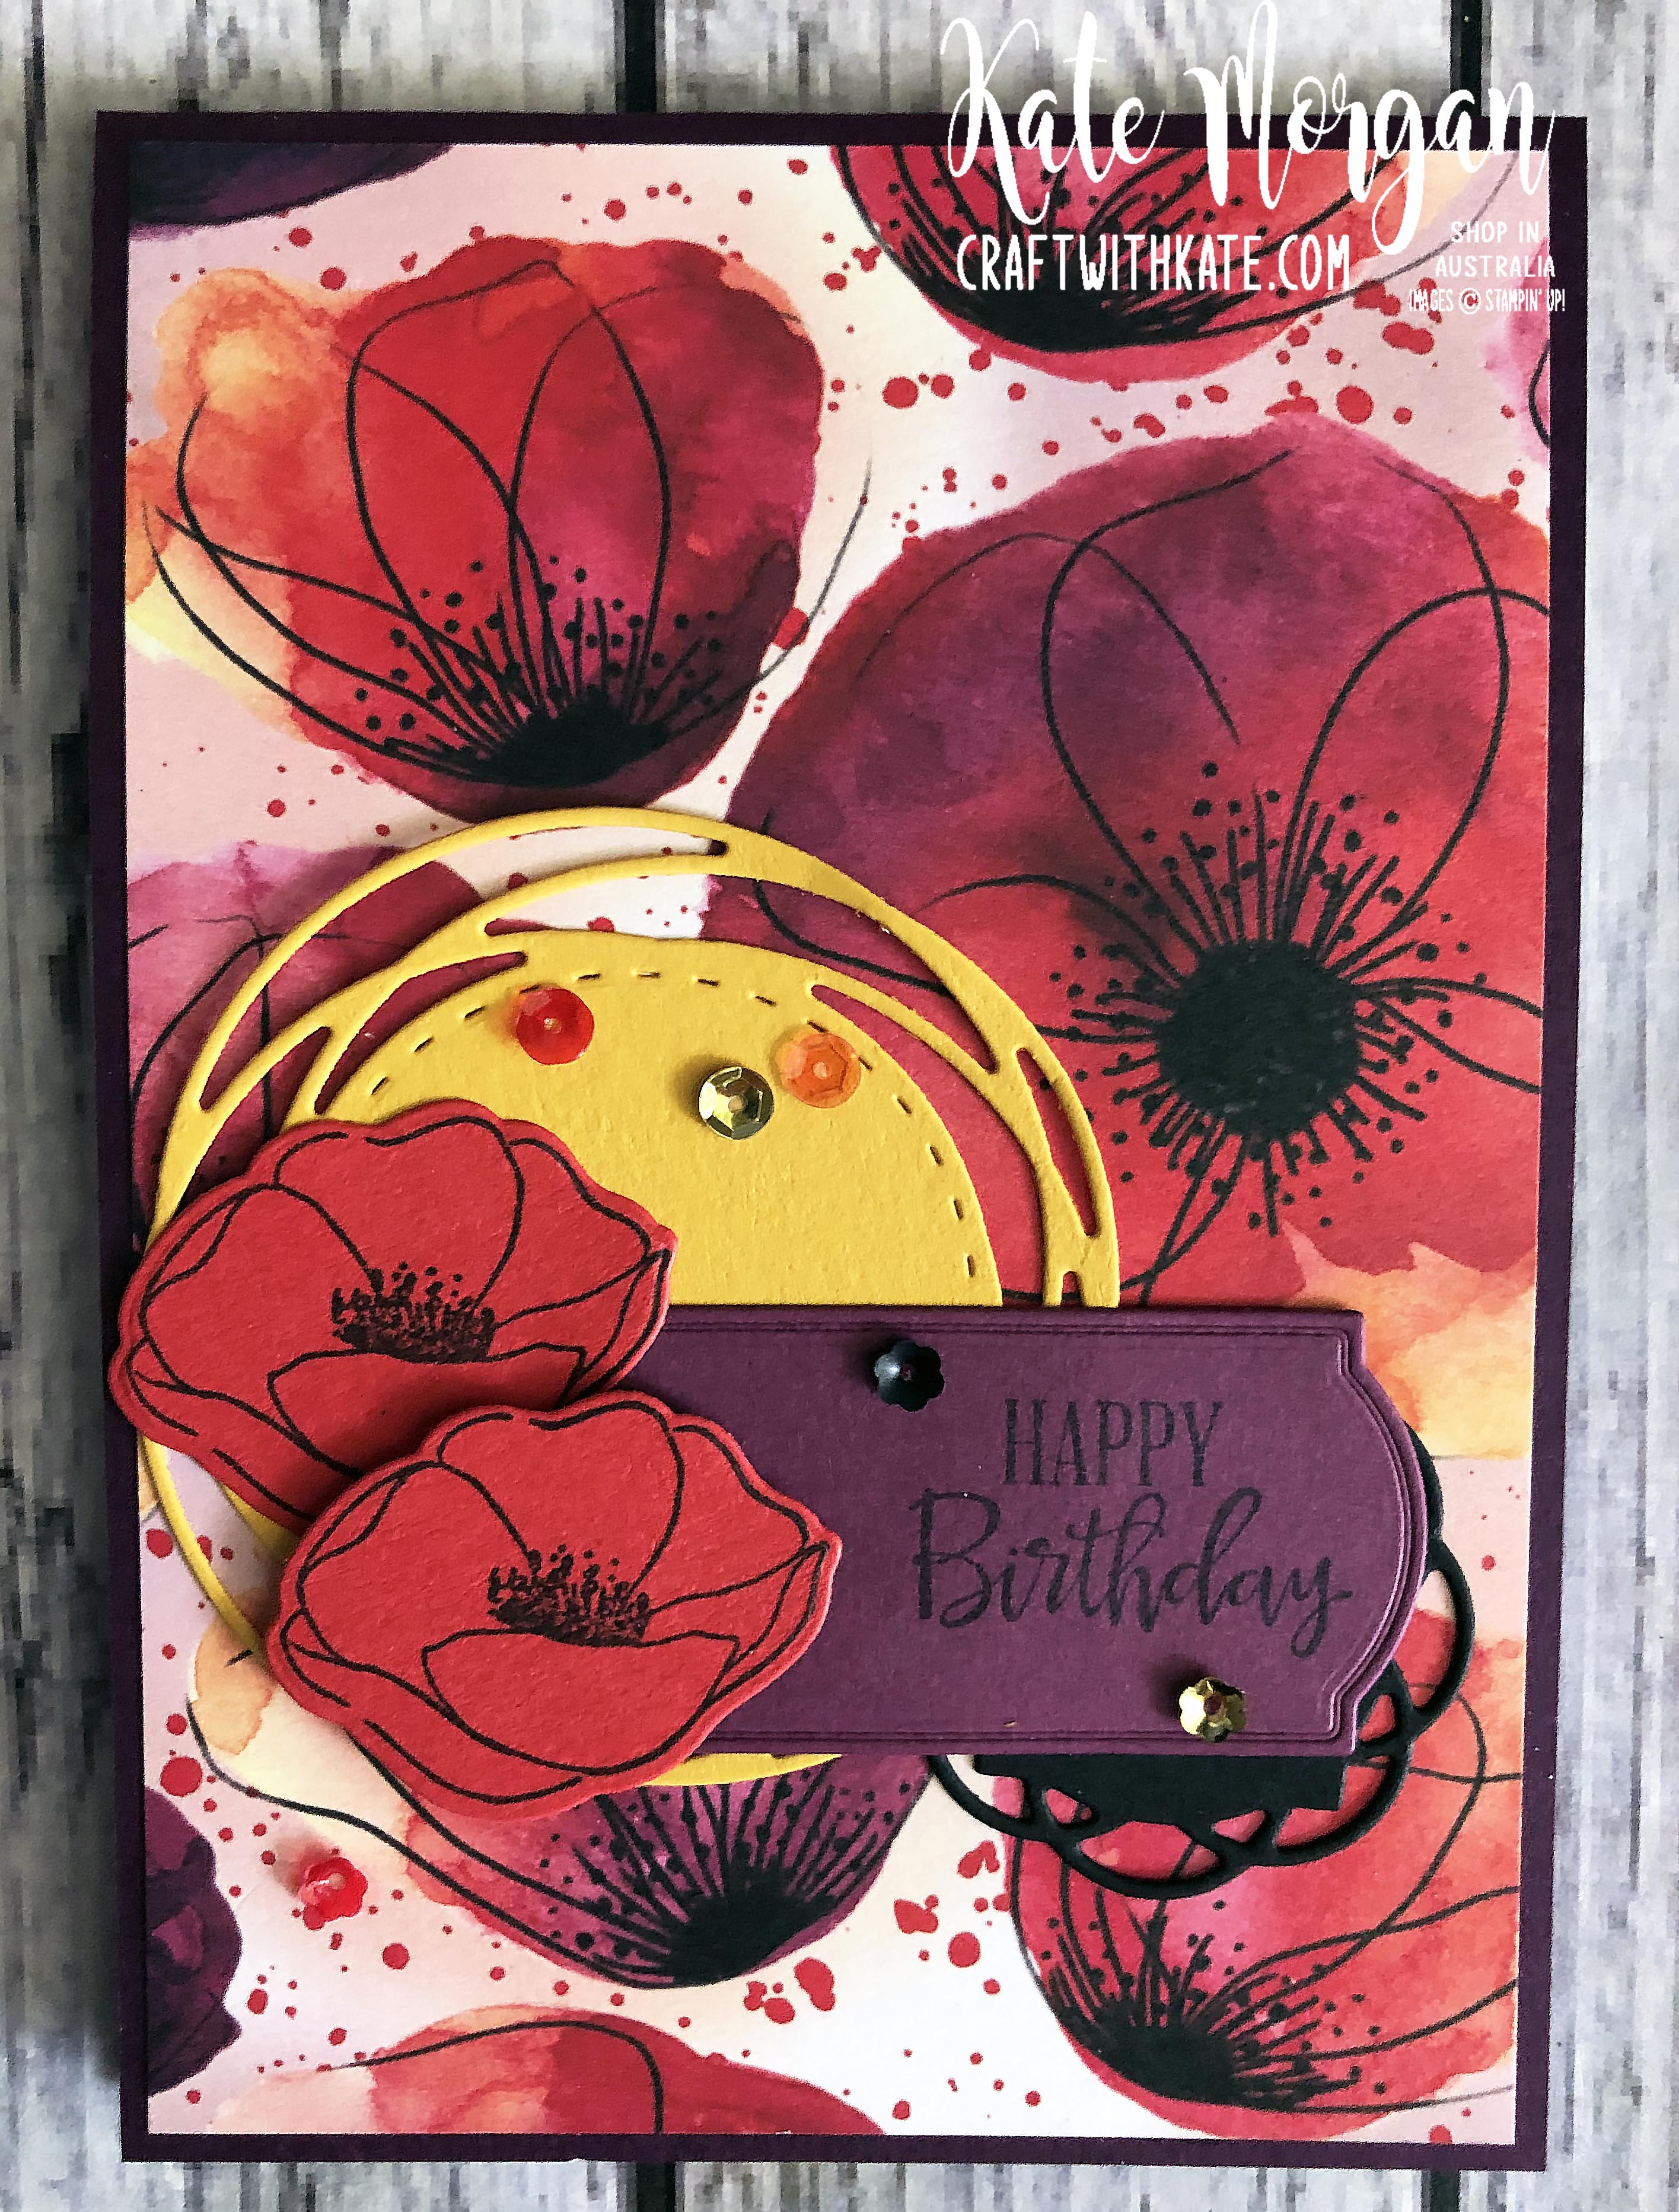
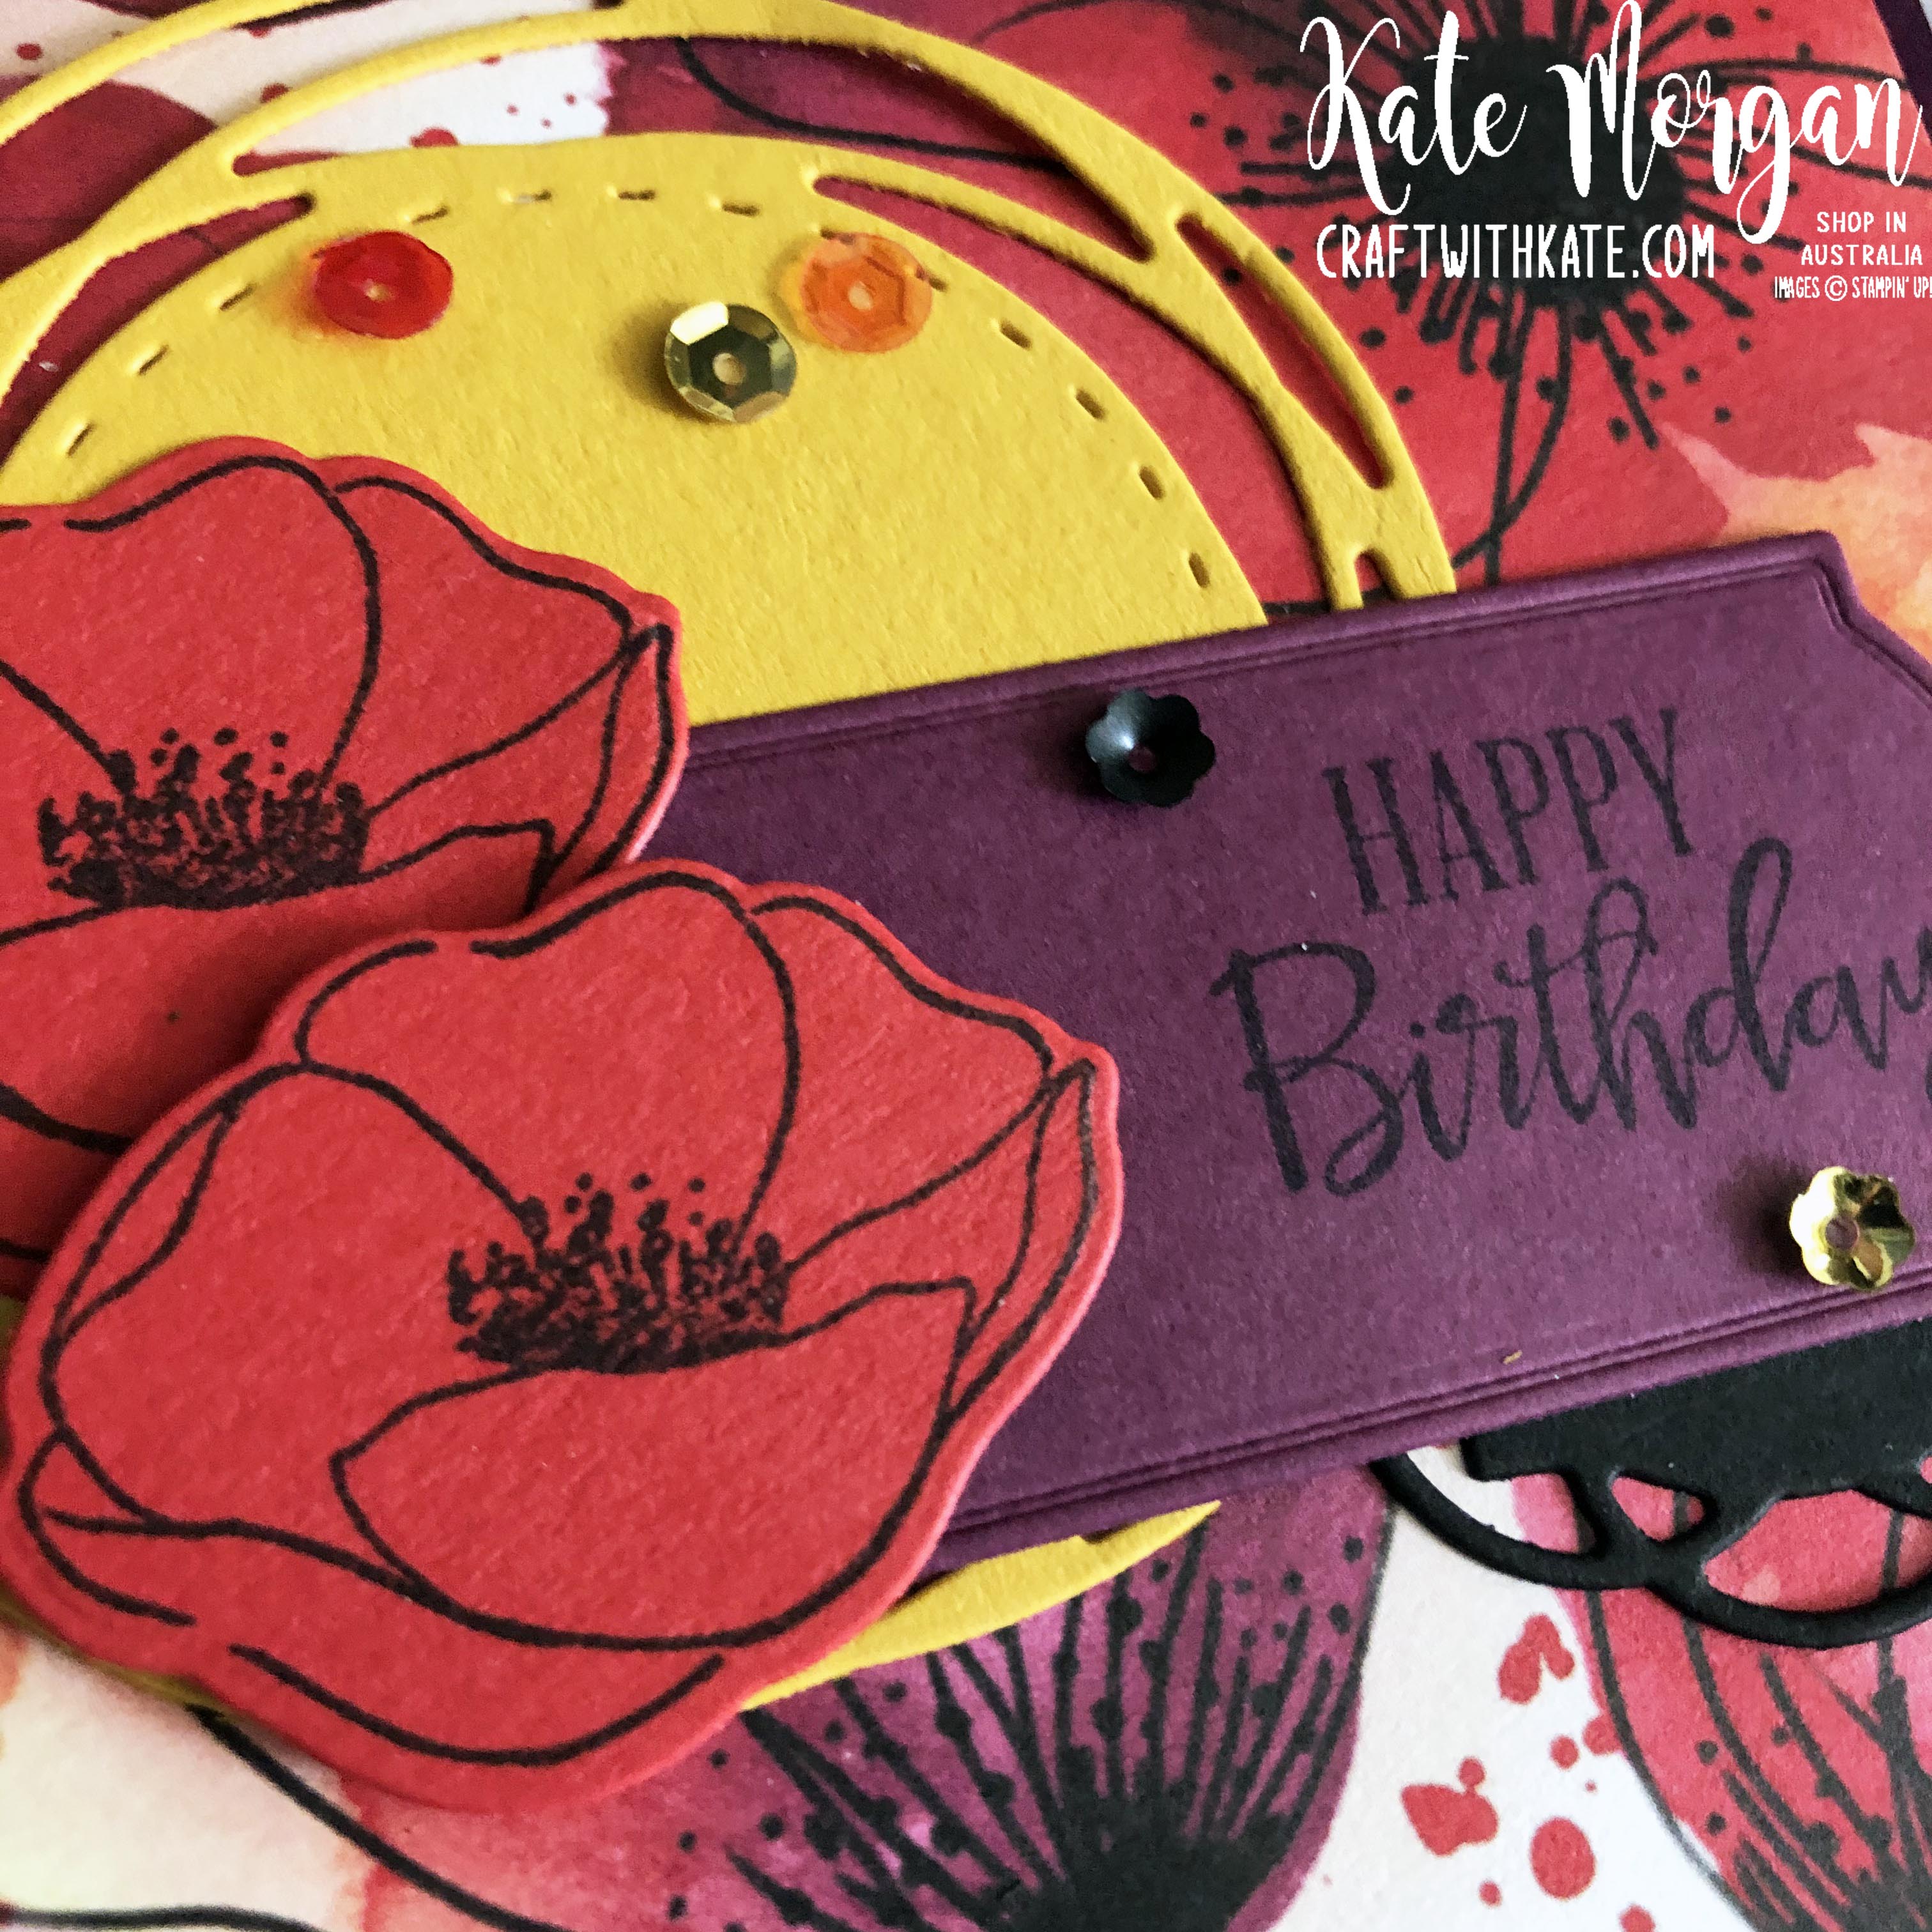
The Peaceful Poppies Elements are awesome value and you can make so many projects with them. Today, I share many cards with you that I have made in one day’s work.
Pool Party card stock, Black ink, Poppies elements
Old Olive card stock, Peaceful Poppies DSP, Water coloured poppy elements in Old Olive & Poppy Parade ink
Black & White card stock, Poppy Parade & Old Olive ink, Peaceful Poppies DSP, Stamp in the Round Design
White card base, Poppies elements, Peaceful Poppies DSP, Versamark ink, Gold Foil, Gilded Gems, White Crinkled Seam Binding Ribbon
Water coloured Poppies Elements, White card base, Poppy Parade & Old Olive ink, White Crinkled Seam Binding Ribbon
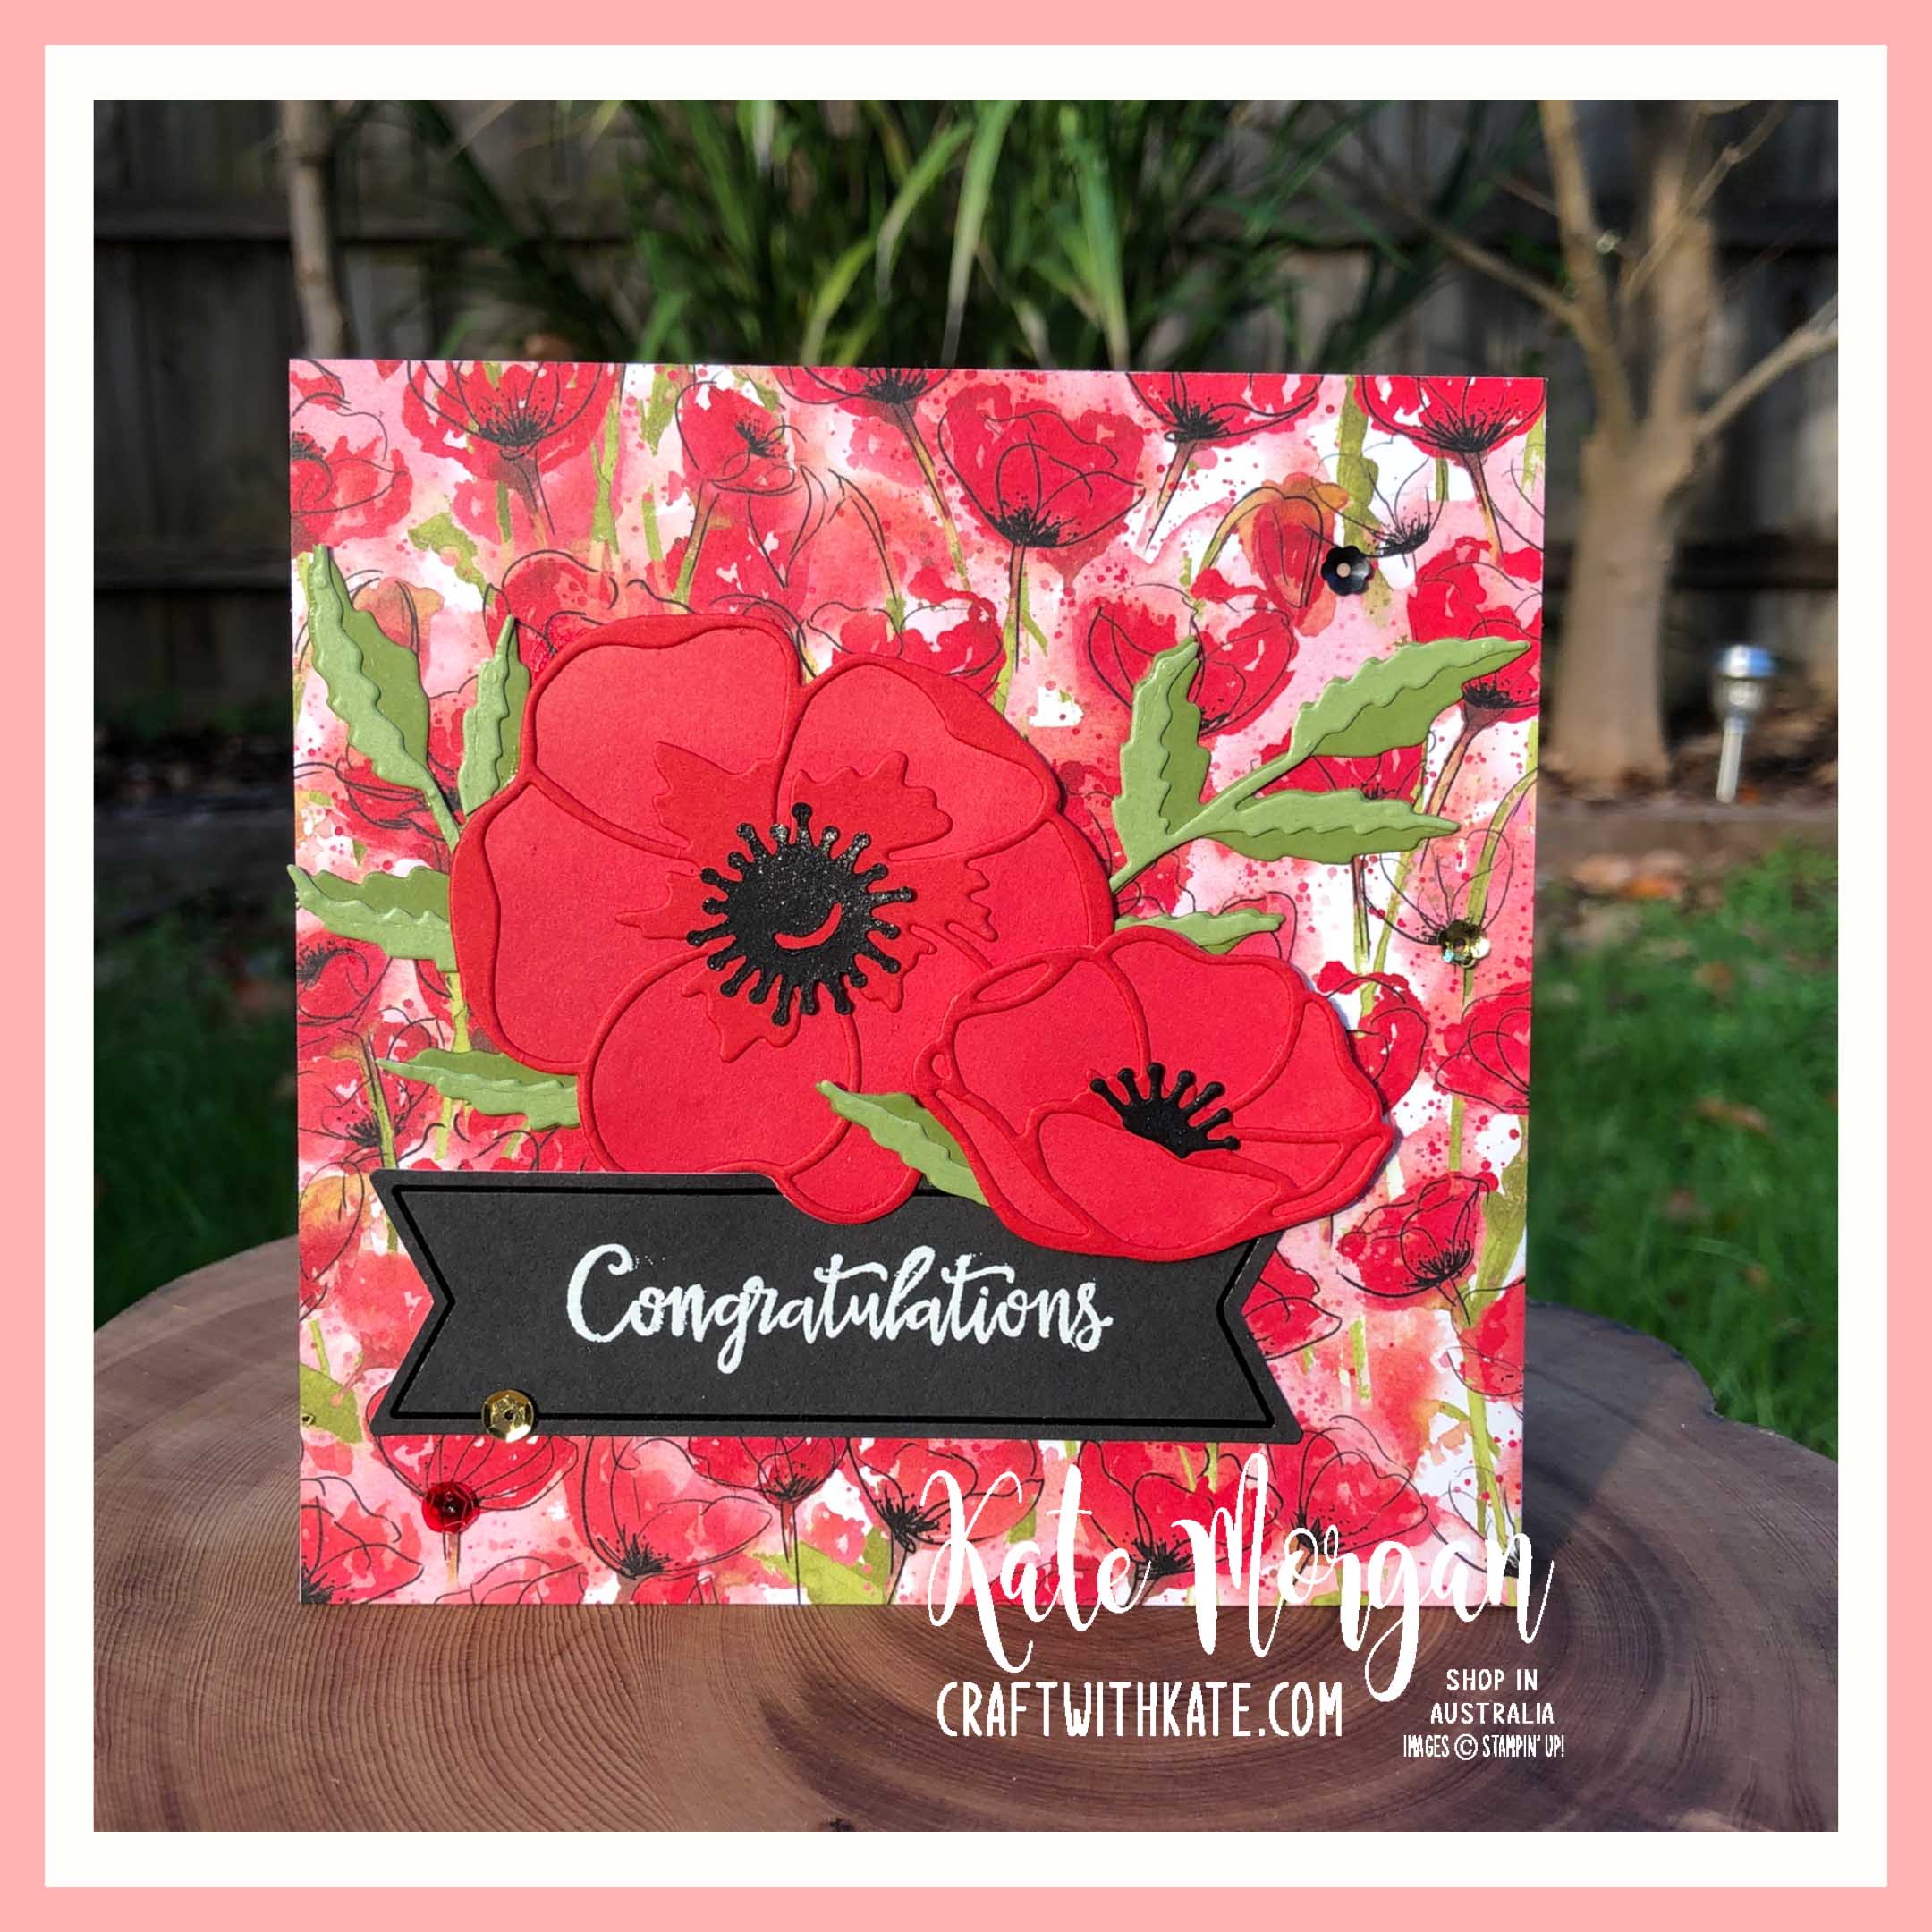
Peaceful Poppies DSP, Basic Black, Poppy Parade, Old Olive & Pear Pizzazz card stock, White Embossed sentiment
Black ink, Poppies elements, sequins, Peaceful Poppies DSP, Black & White card stock
Blushing Bride & White with Poppies Elements
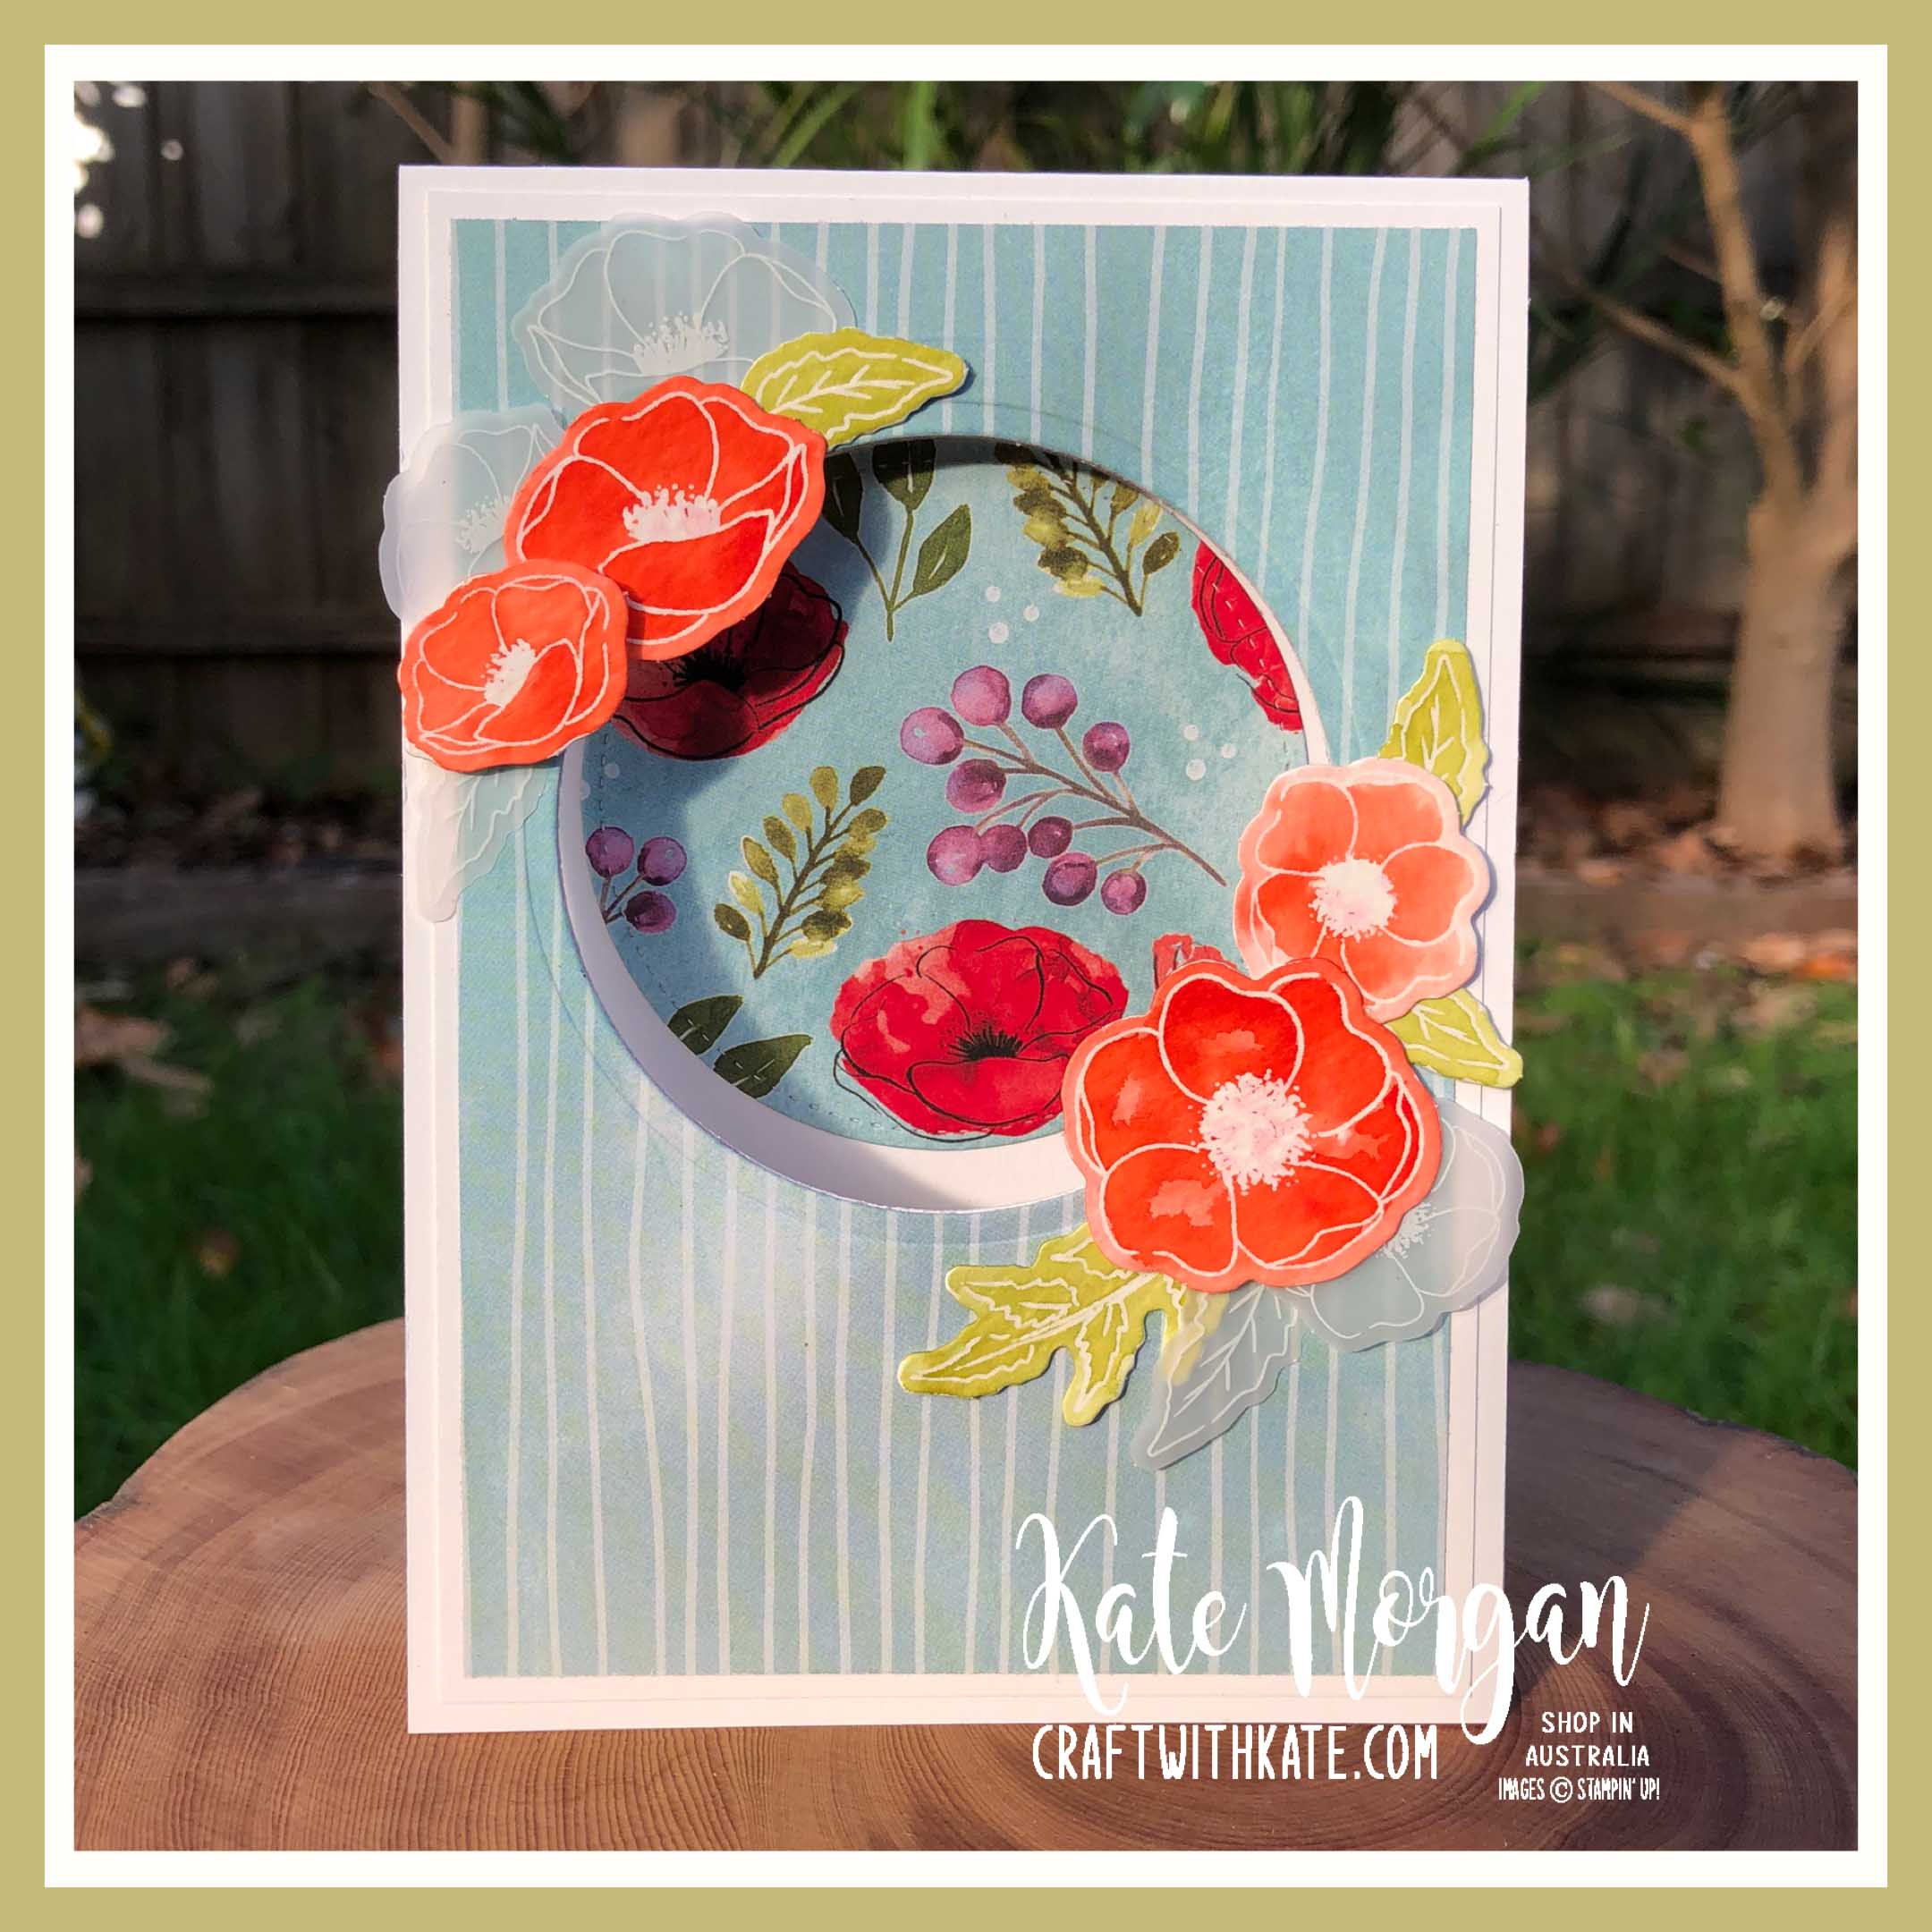
Water coloured poppies elements, Peaceful Poppies DSP with Circle die cut in the centre
Blushing Bride & White card, Crinkled Seam Binding Ribbon, Poppies Moments dies with and Pearls!
Which one is your favourite? Has this inspired you to get creating with this element pack? I still have loads of elements to use, so back to the craft desk for me on this wet, cold rainy day in Melbourne.
But, look what has literally just arrived in my mailbox…. woohoo…. maybe some light reading over lunch first!
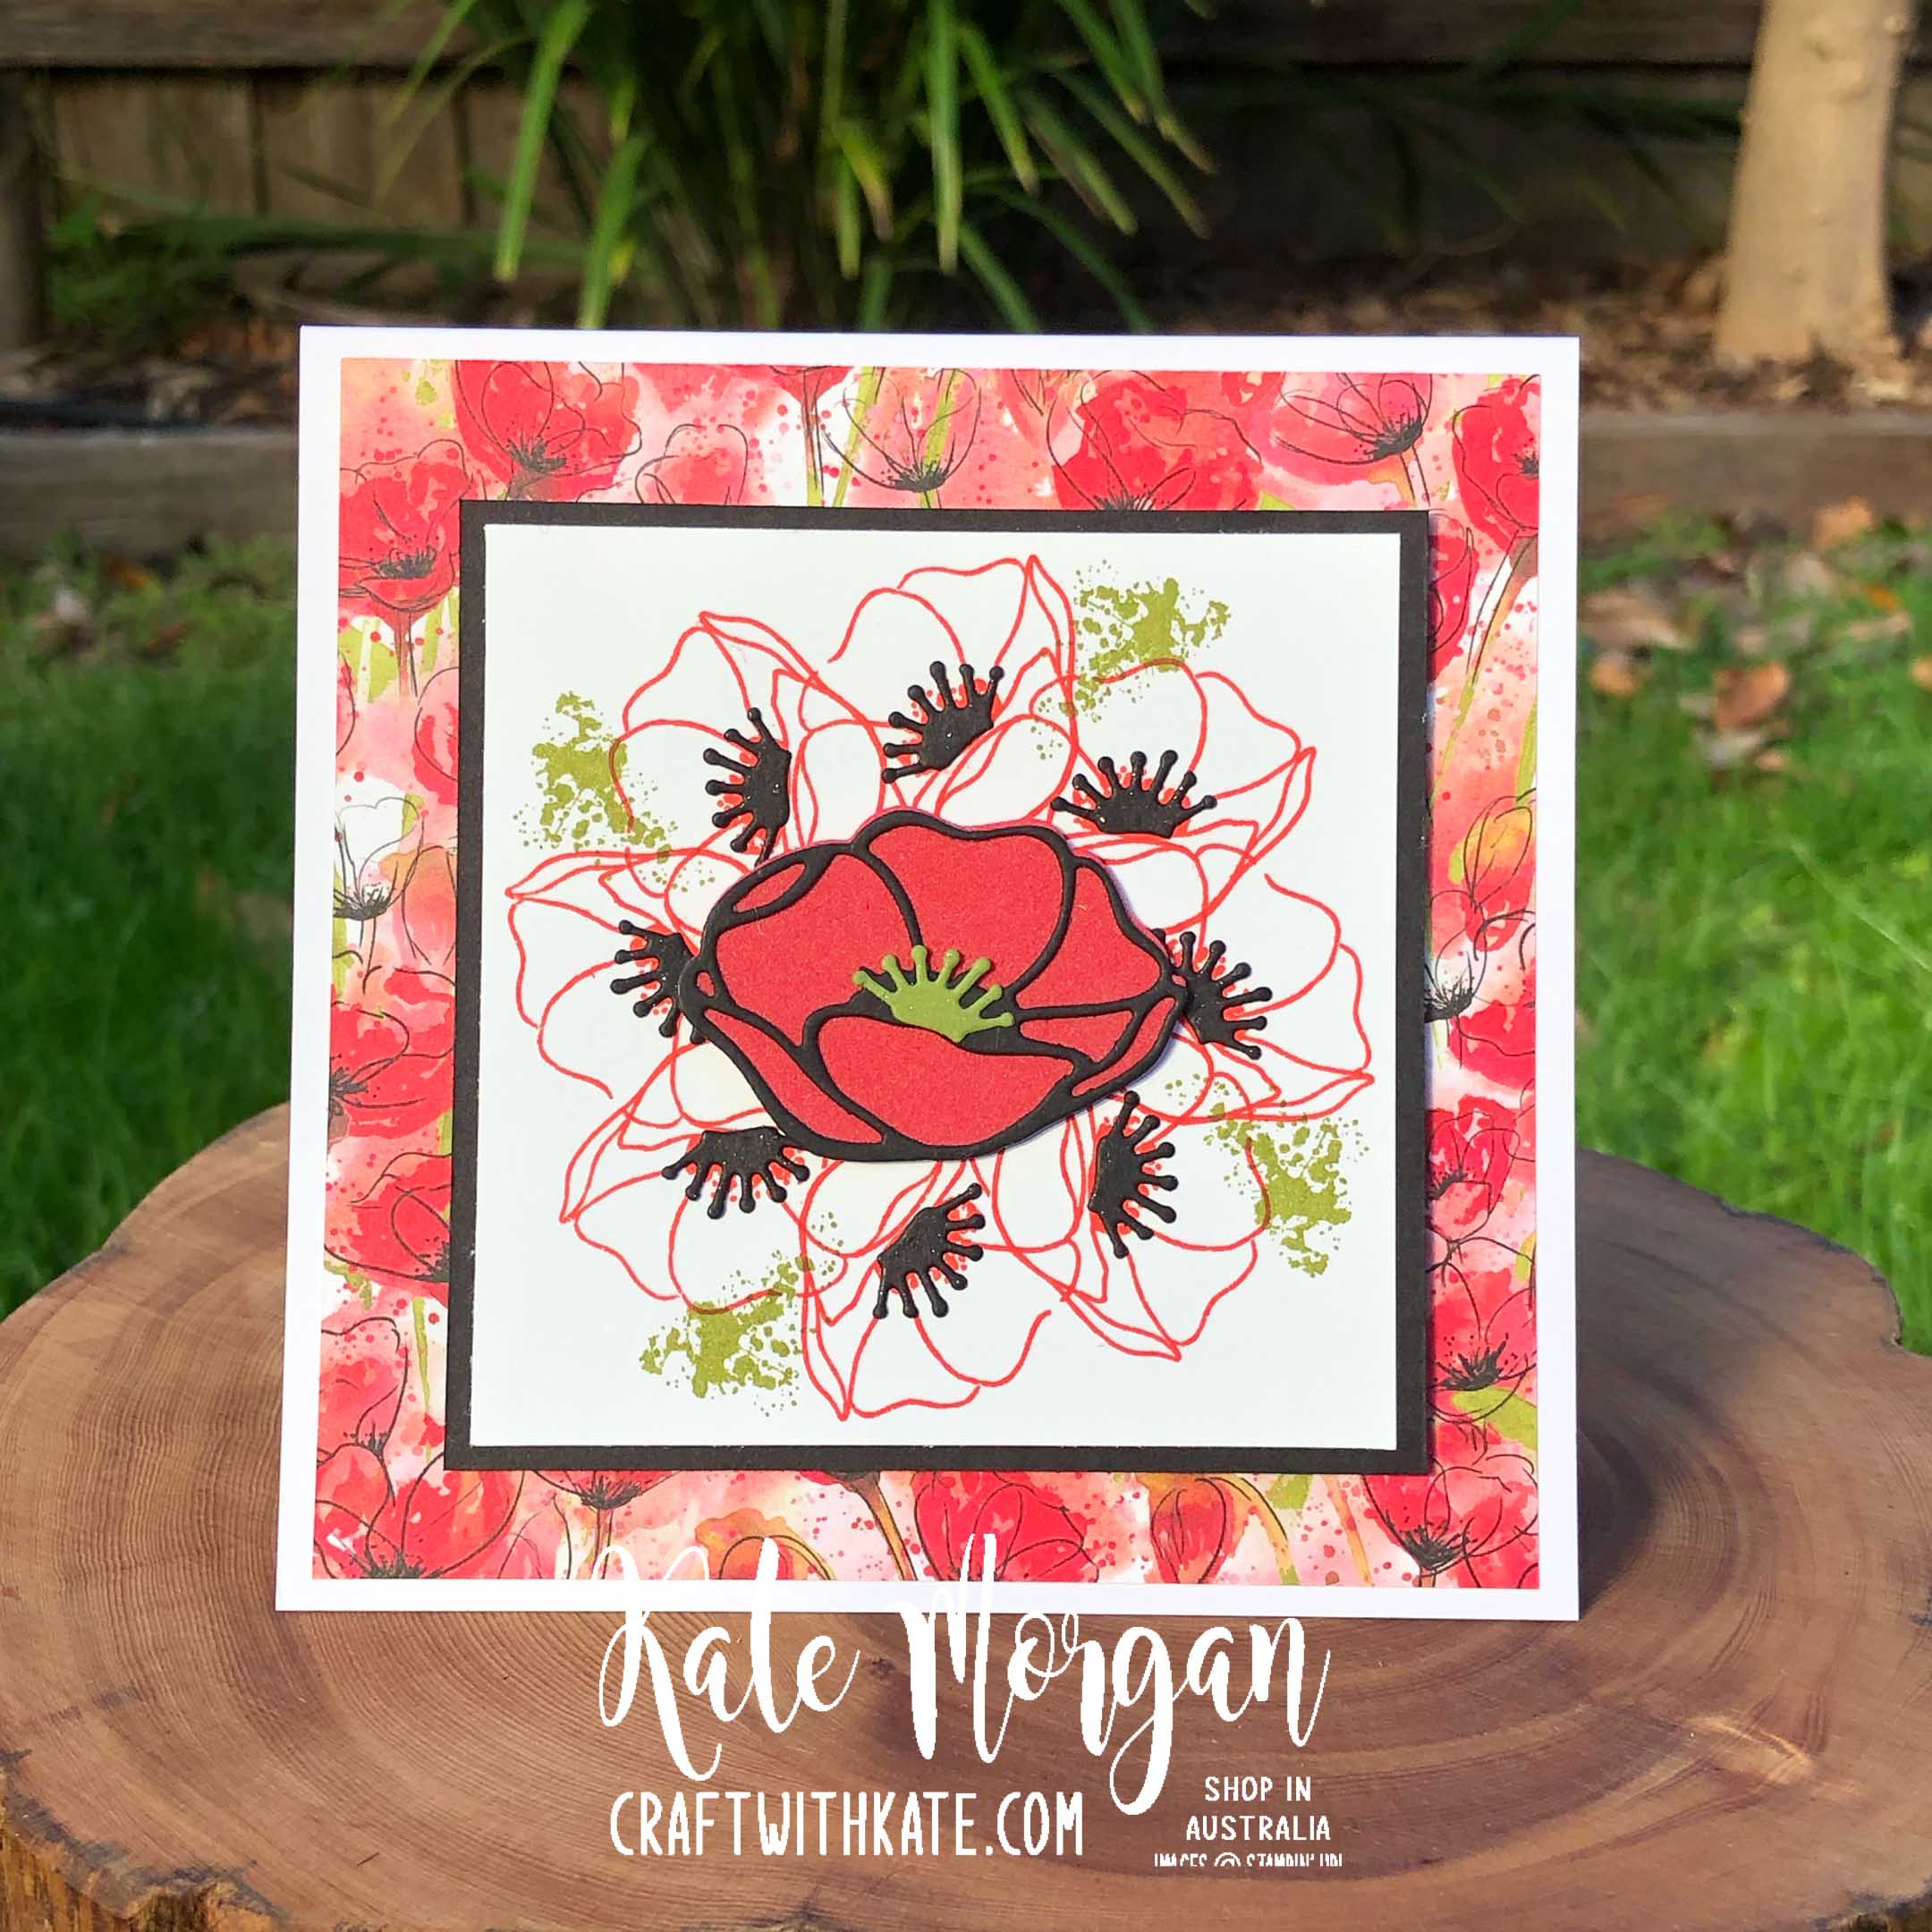
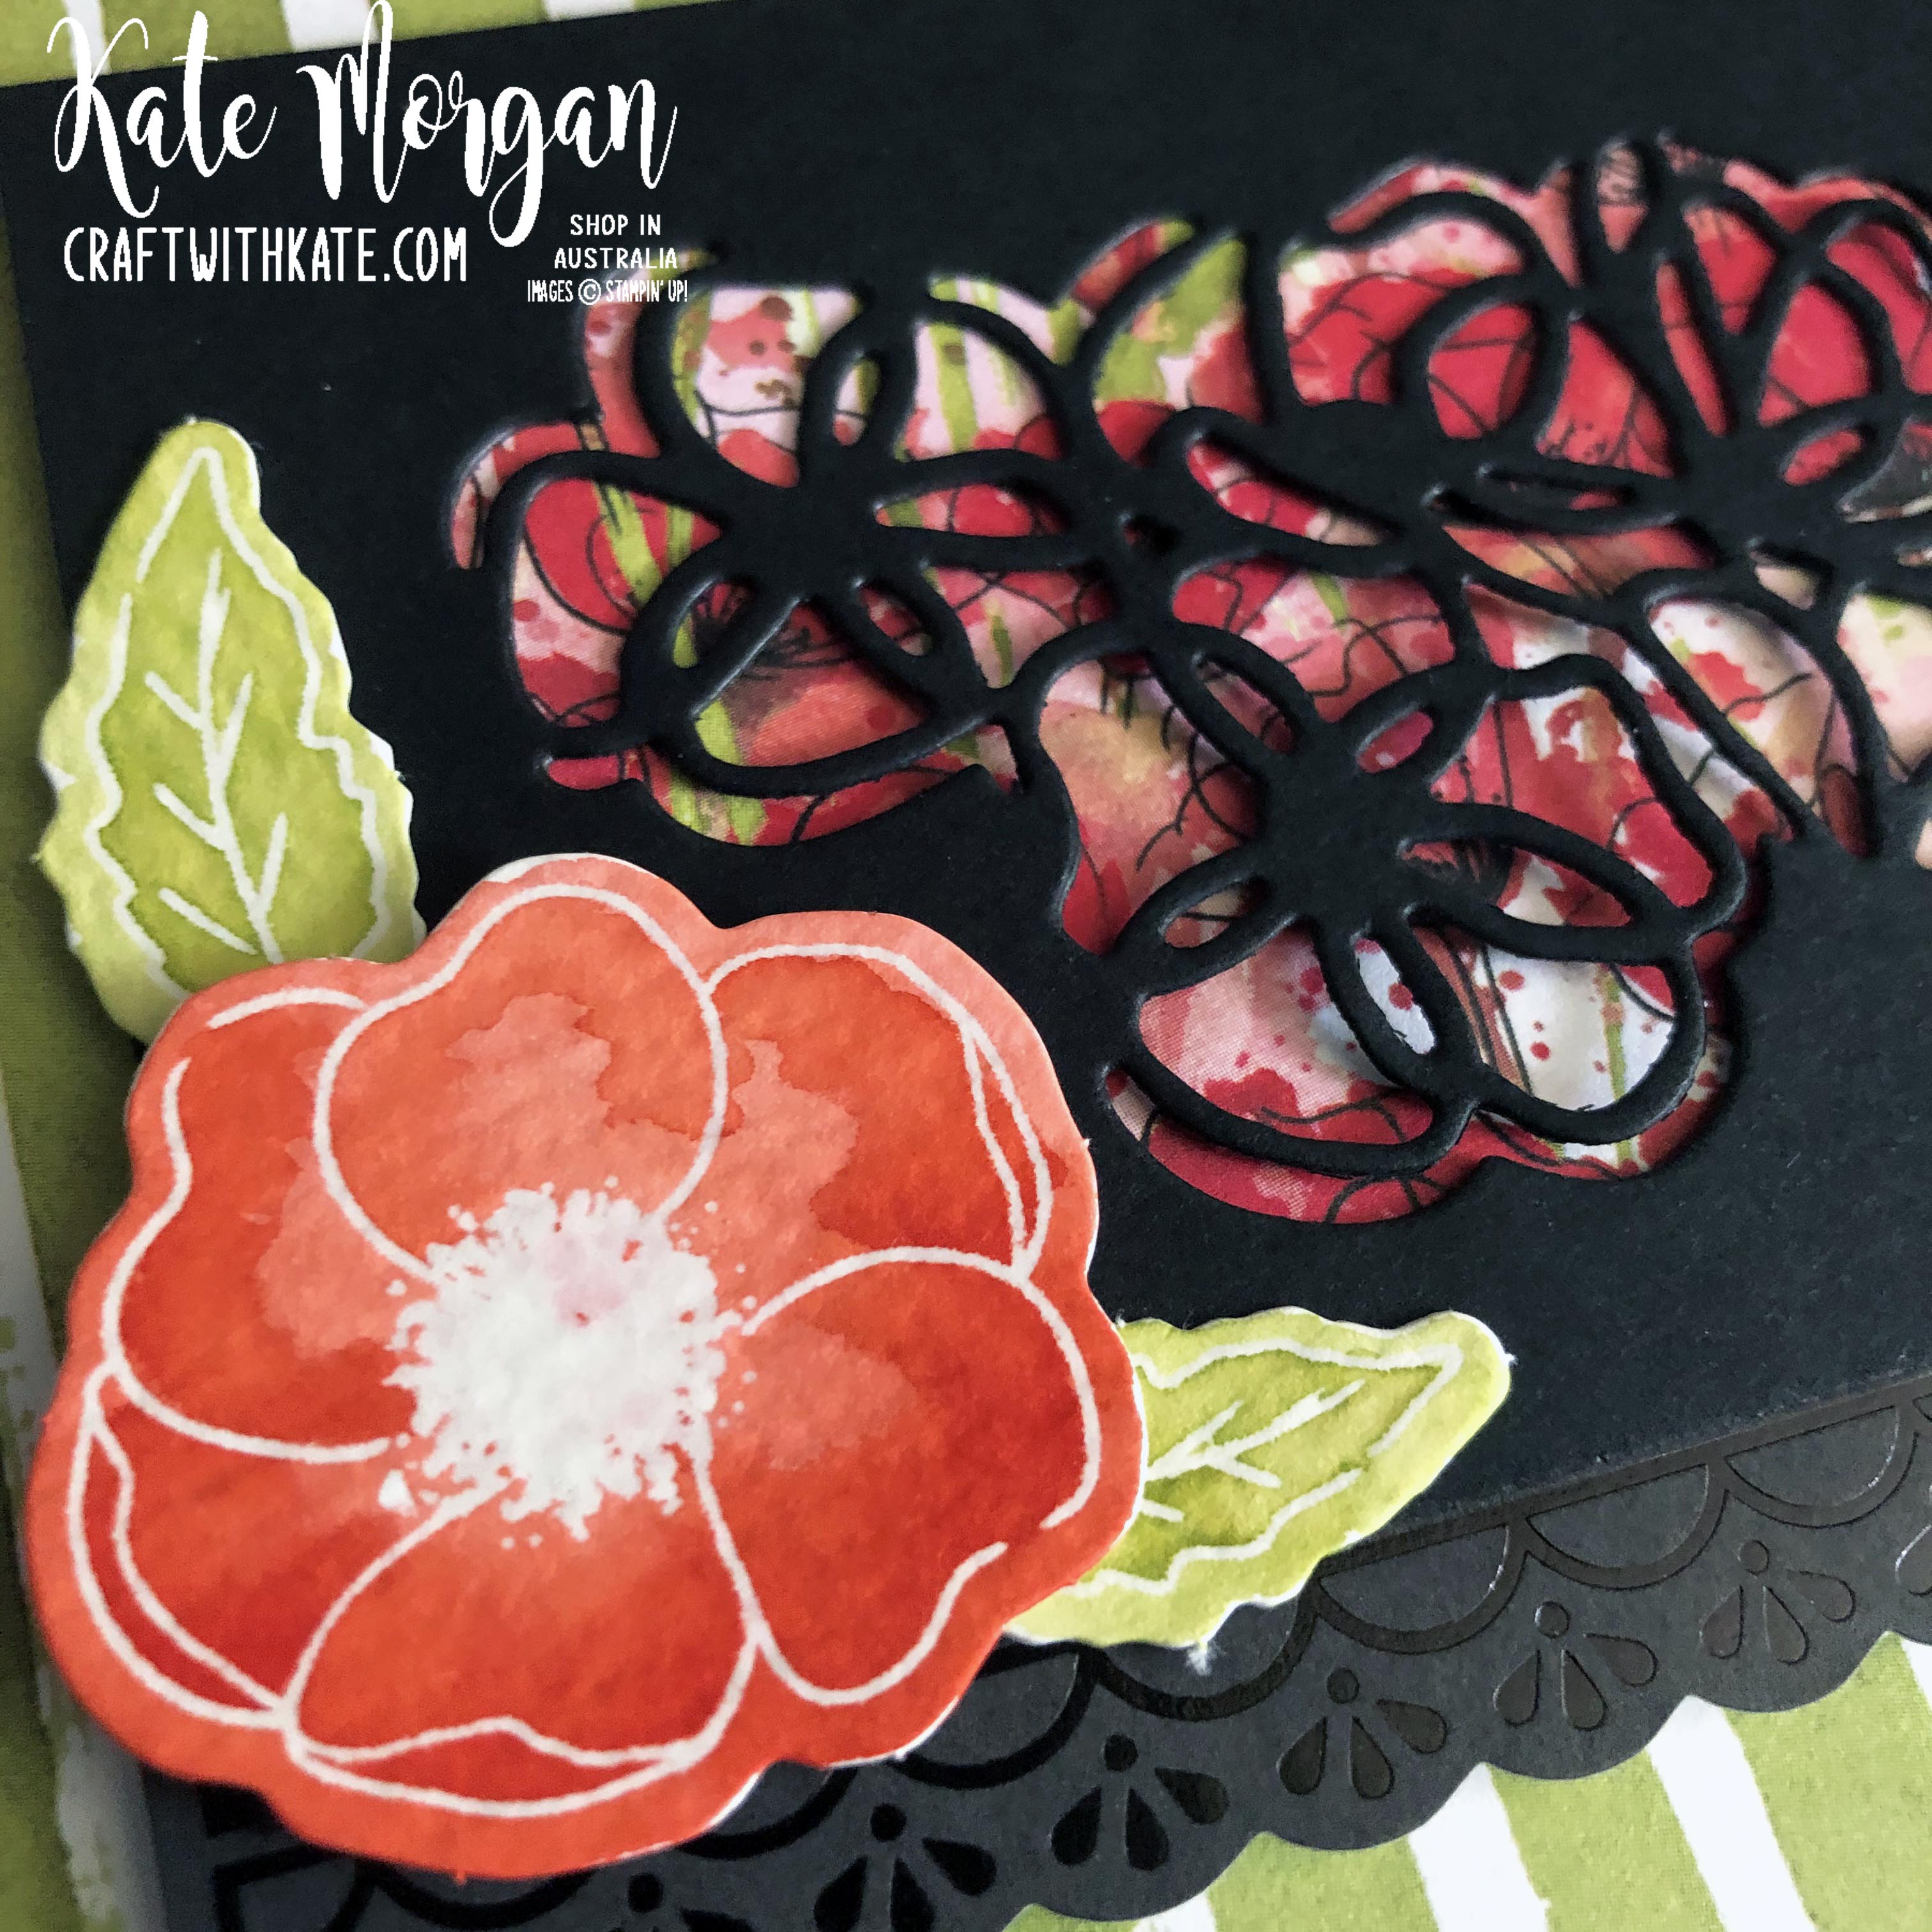
Tonight’s card is another one using the Peaceful Poppies Suite of products. It is just stunning and has so many items to create loads of different projects.
Die cutting this element in black card and placing it over some of the beautiful DSP creates an amazing effect. The elements water coloured and placed in the corner are so bright against the black!
A full list of products can be found at the bottom of this post.
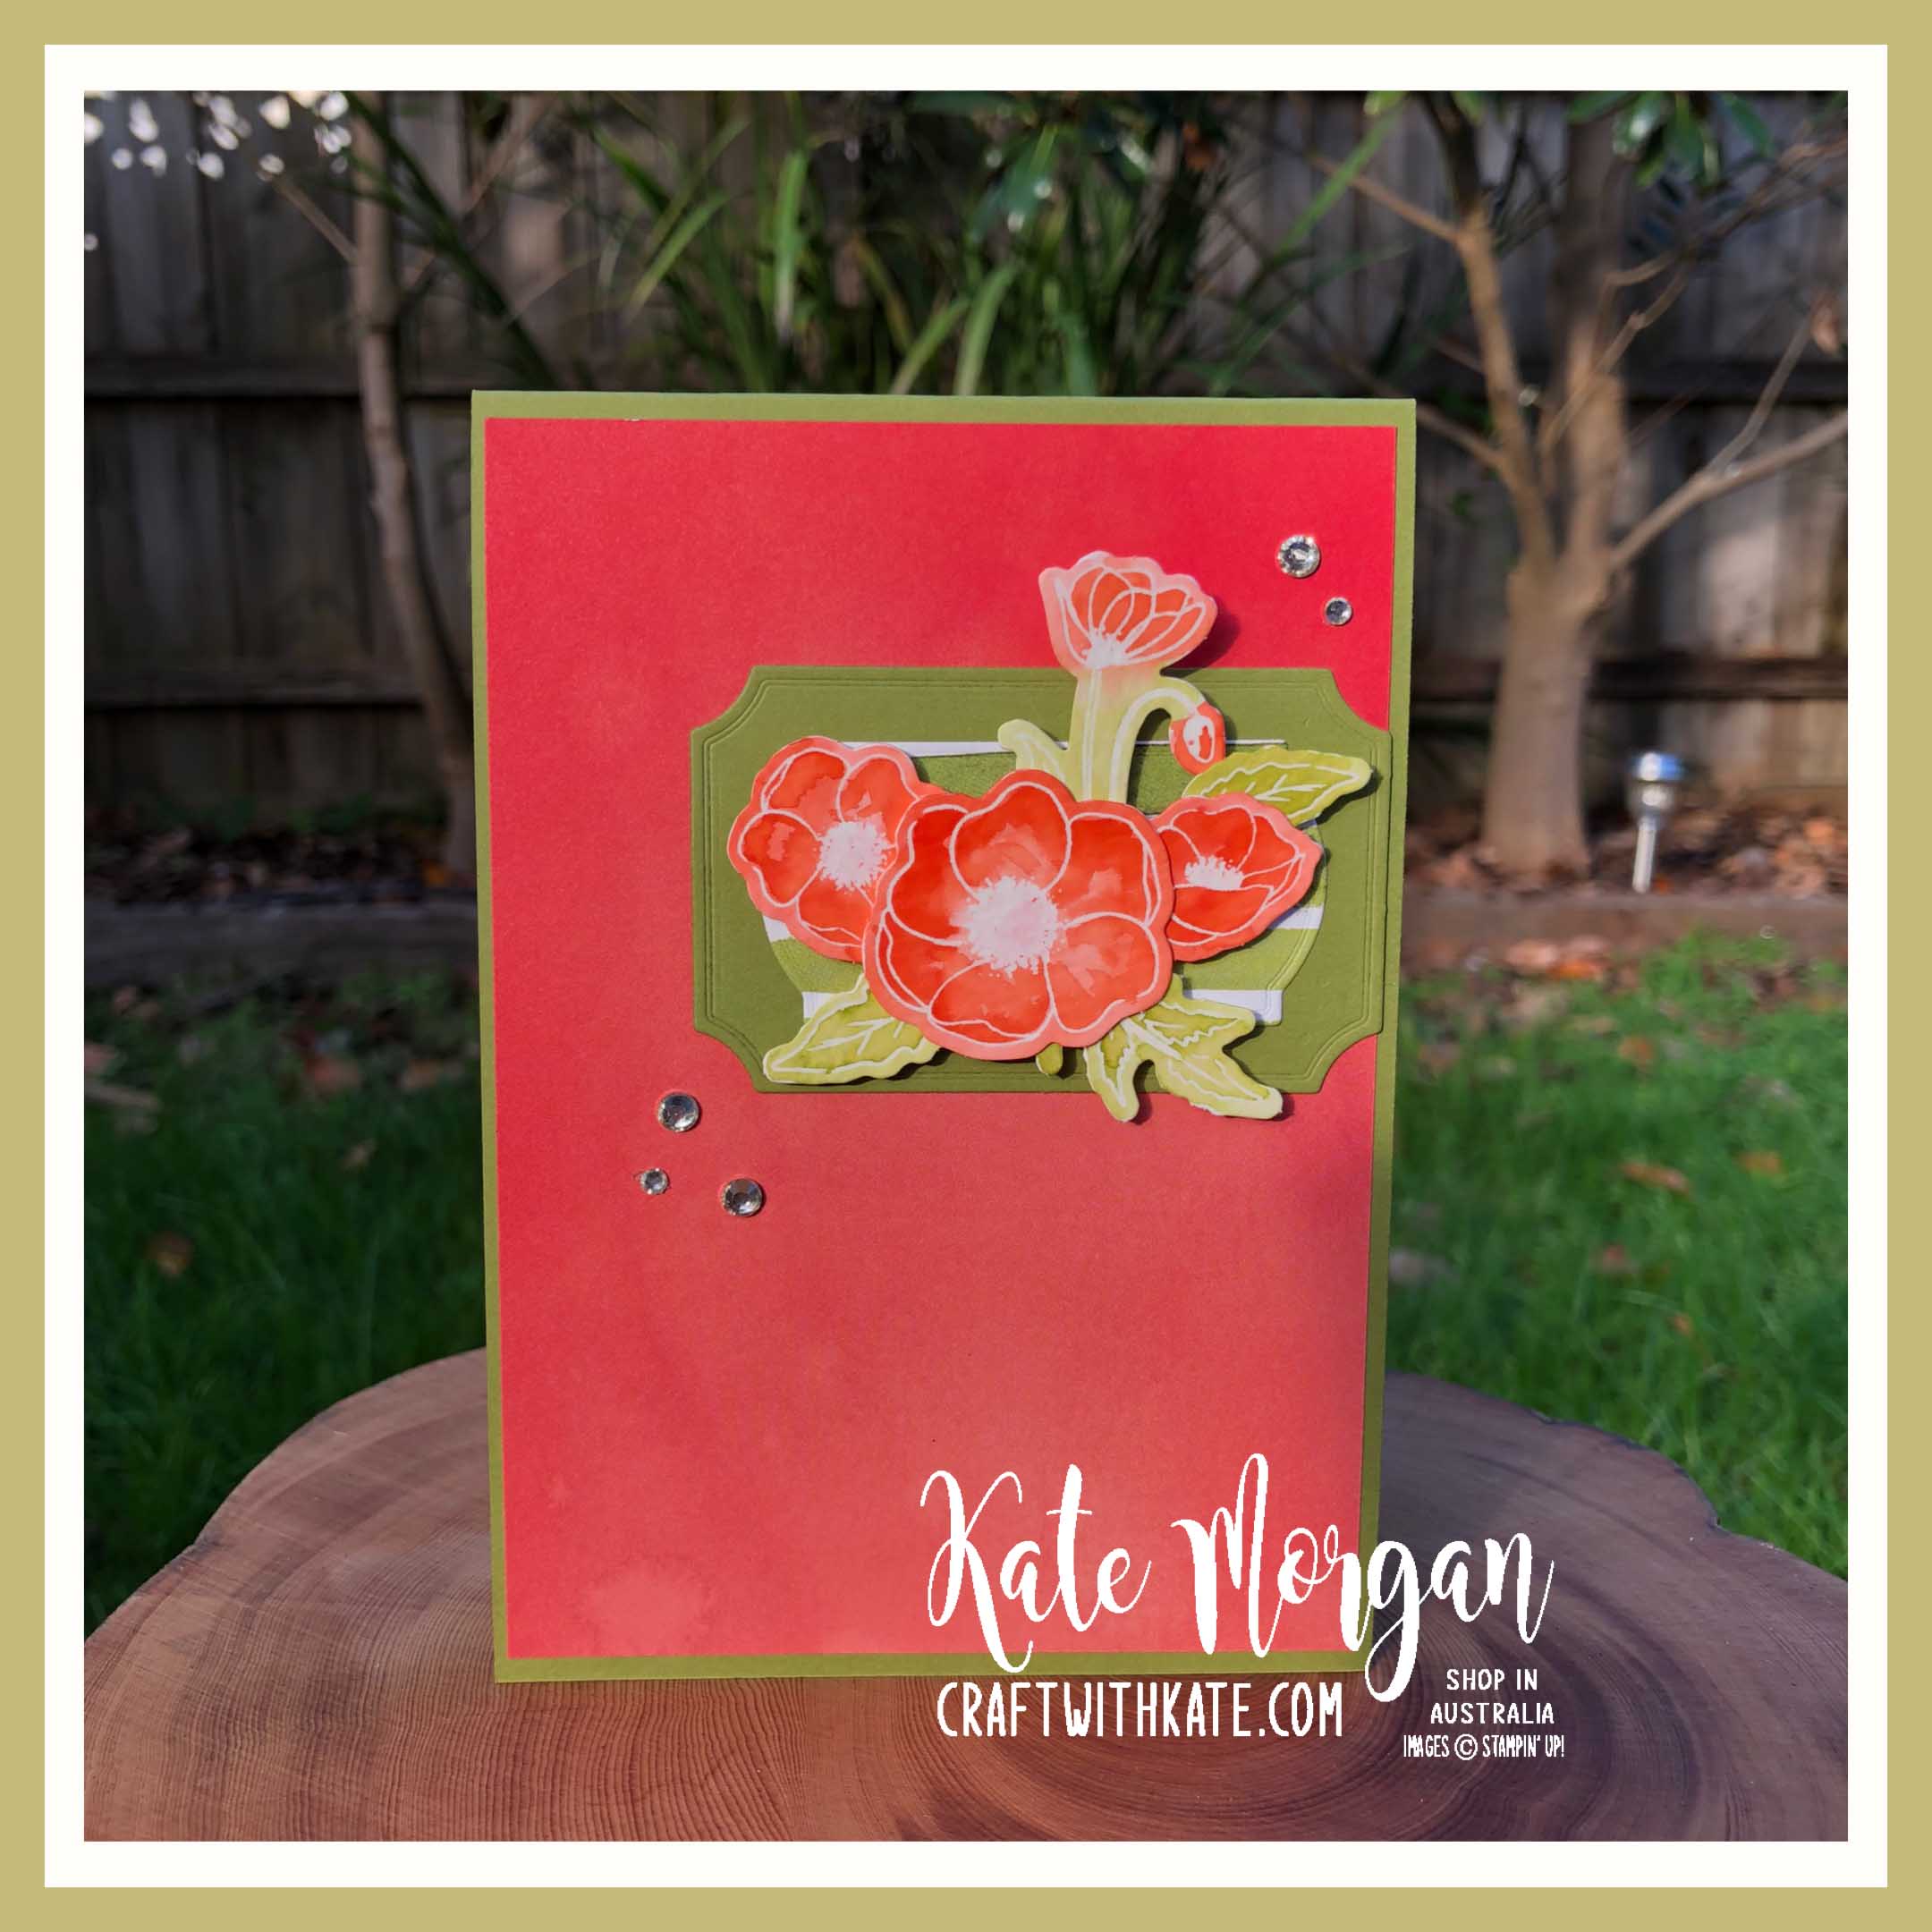
Tonight’s cards are simple but very bright in these gorgeous soon to retire In-colours 😥
Using the Painted Poppies stamp set and the coordinating Peaceful Moments stamp set, these cards were super quick to make.
I cut the white panel to 2-1/2″ and the layer behind is 2-3/4″ and to the width of the card.
The poppies are stamped in memento black ink and then stamped over with the coordinating card colour inkpads. The poppies at the bottom are inked in the same colour as the base card to add a little more interest.
On the inside I stamped another poppy in the corner and added another sentiment. These cards are going out to some friends to hopefully cheer them up during this horrendous health crisis.
What is your favourite “soon to retire” in colour? Mine is definitely Lovely Lipstick and I am really going to miss it.
A full list of products can be found at the end of this post.
Only a few days left of Sale-a-bration, so make sure you place your orders to make the most of the FREE products but they will end on Tuesday 31 March!
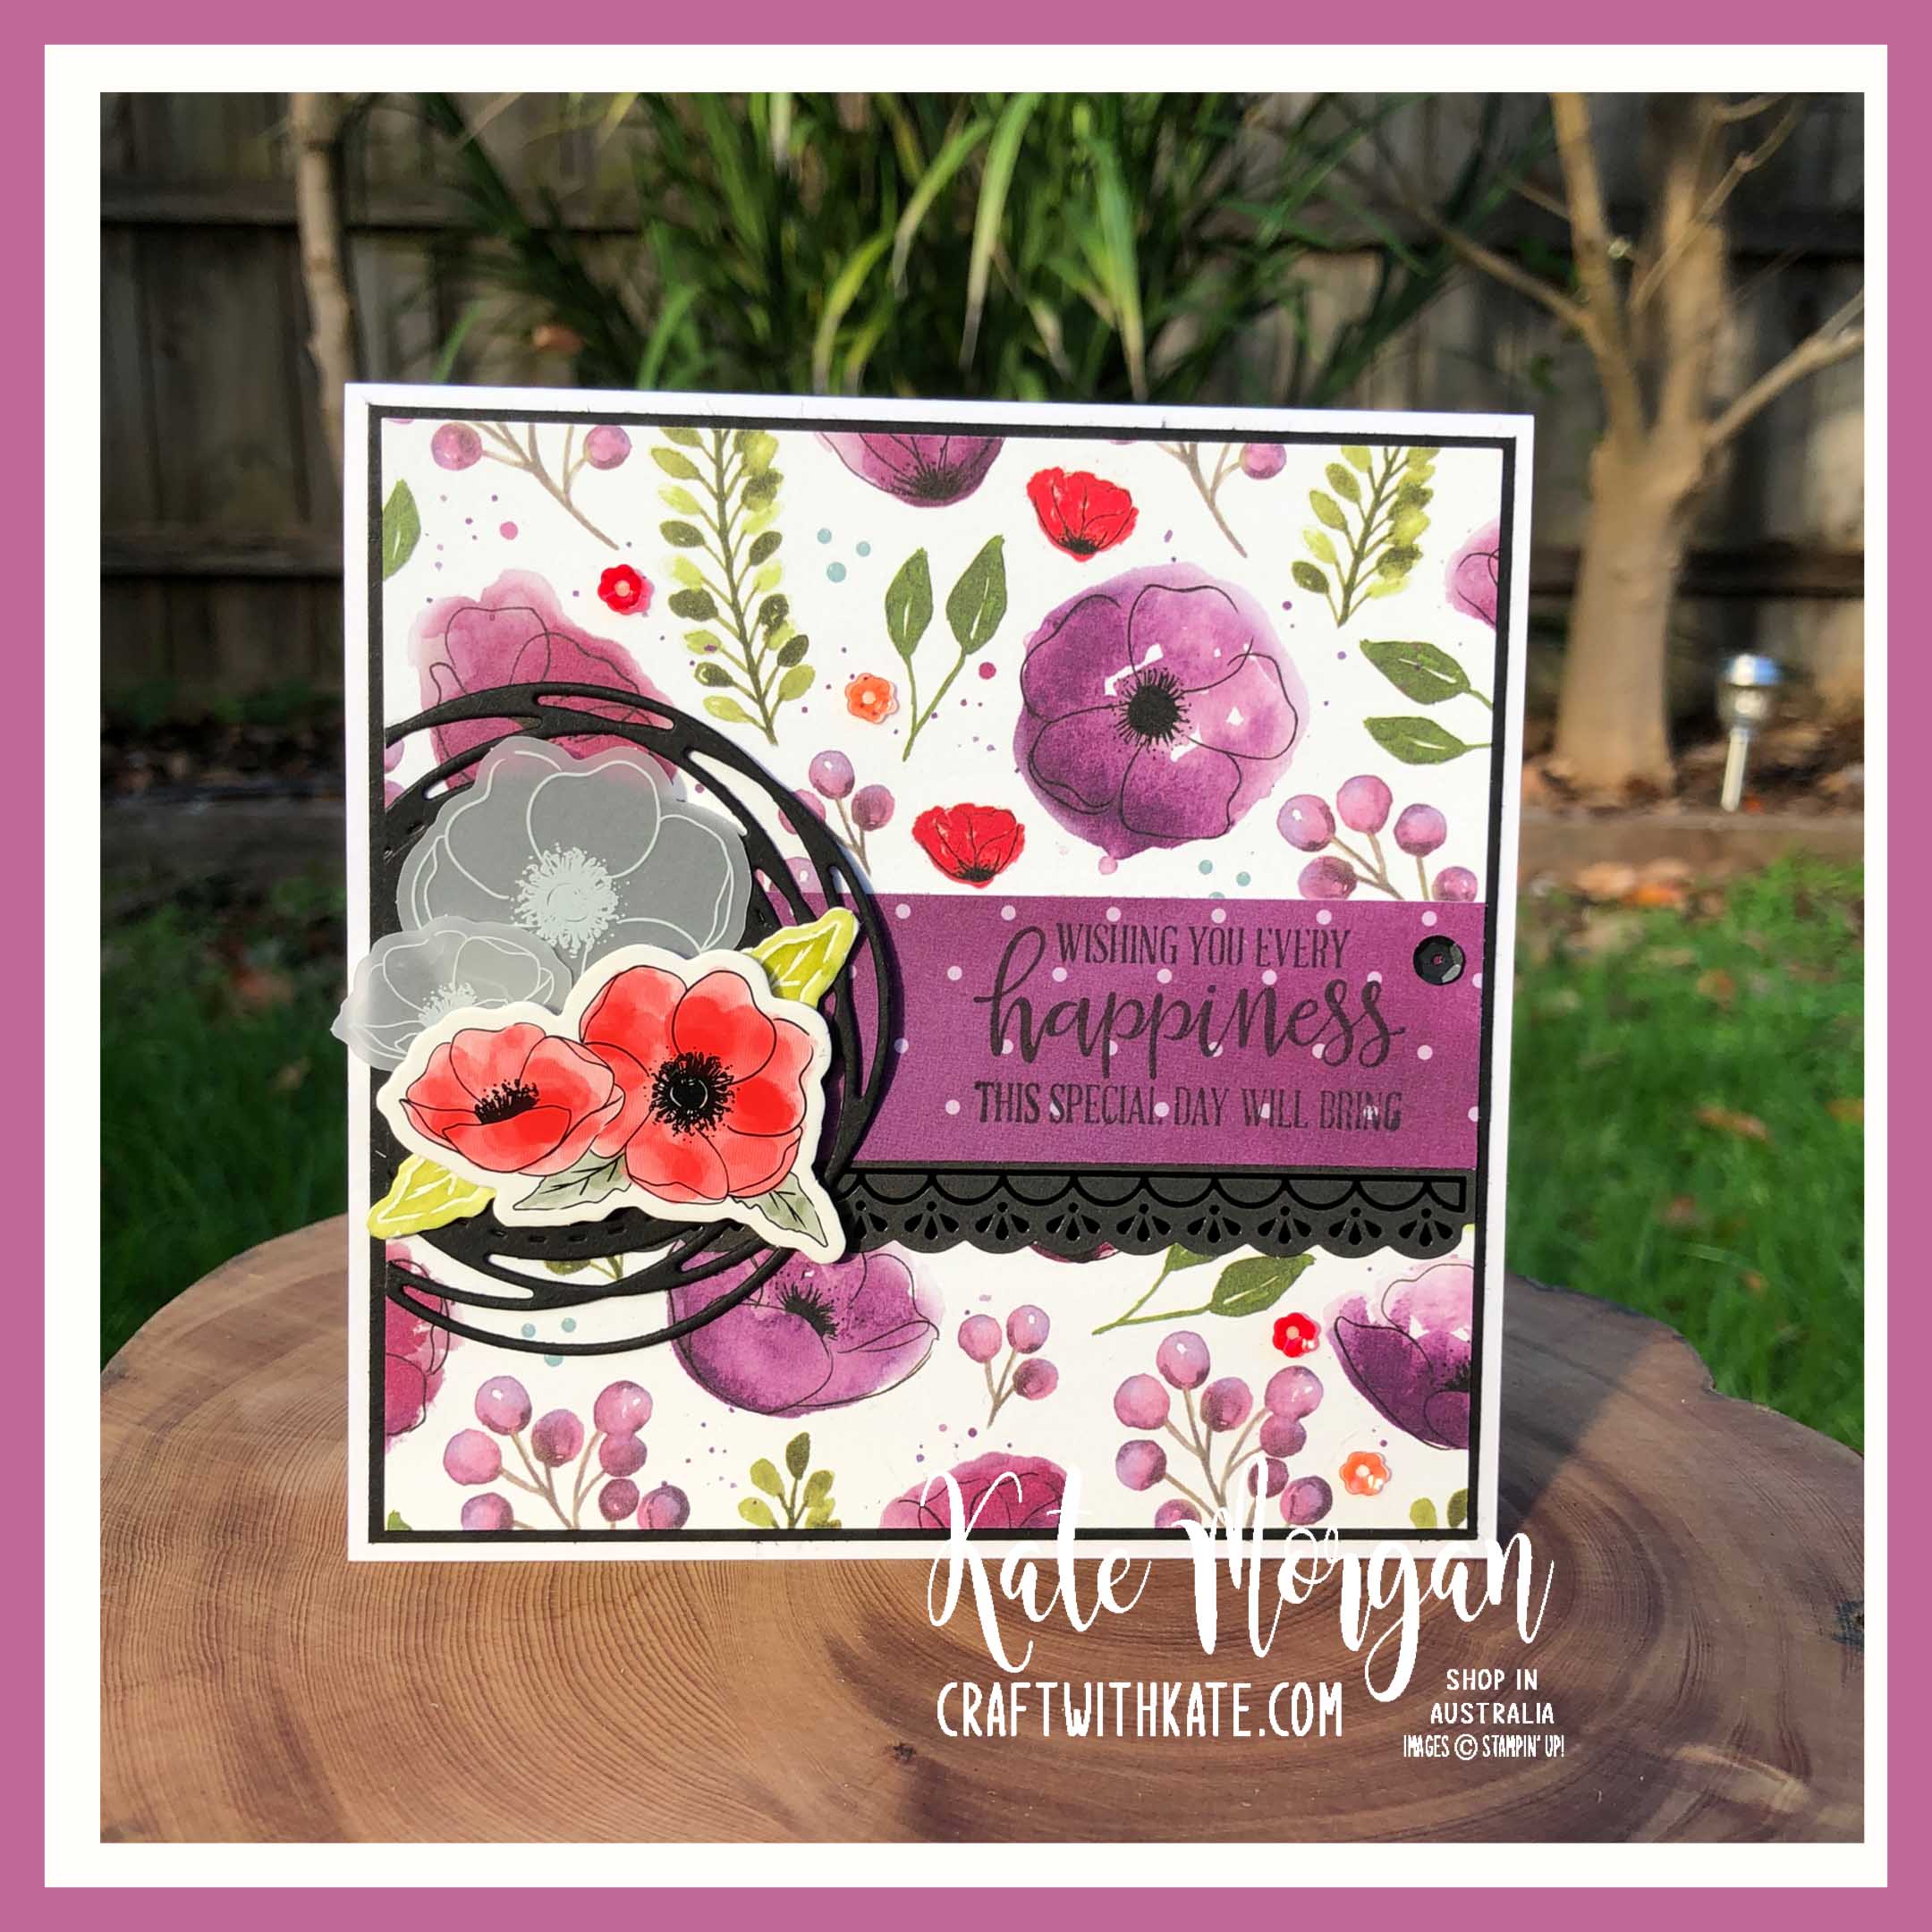
Tonight’s card is using the Peaceful Poppies Suite of products.
I just love the simplicity of this card, allowing the designer paper to make the statement. Adding just a couple of die cut elements and a stamped sentiment and flowers is enough to brighten it up.
Check out those cute coordinating Peaceful Poppies Sequins, so adorable!
A full list of products can be found at the end of this post.
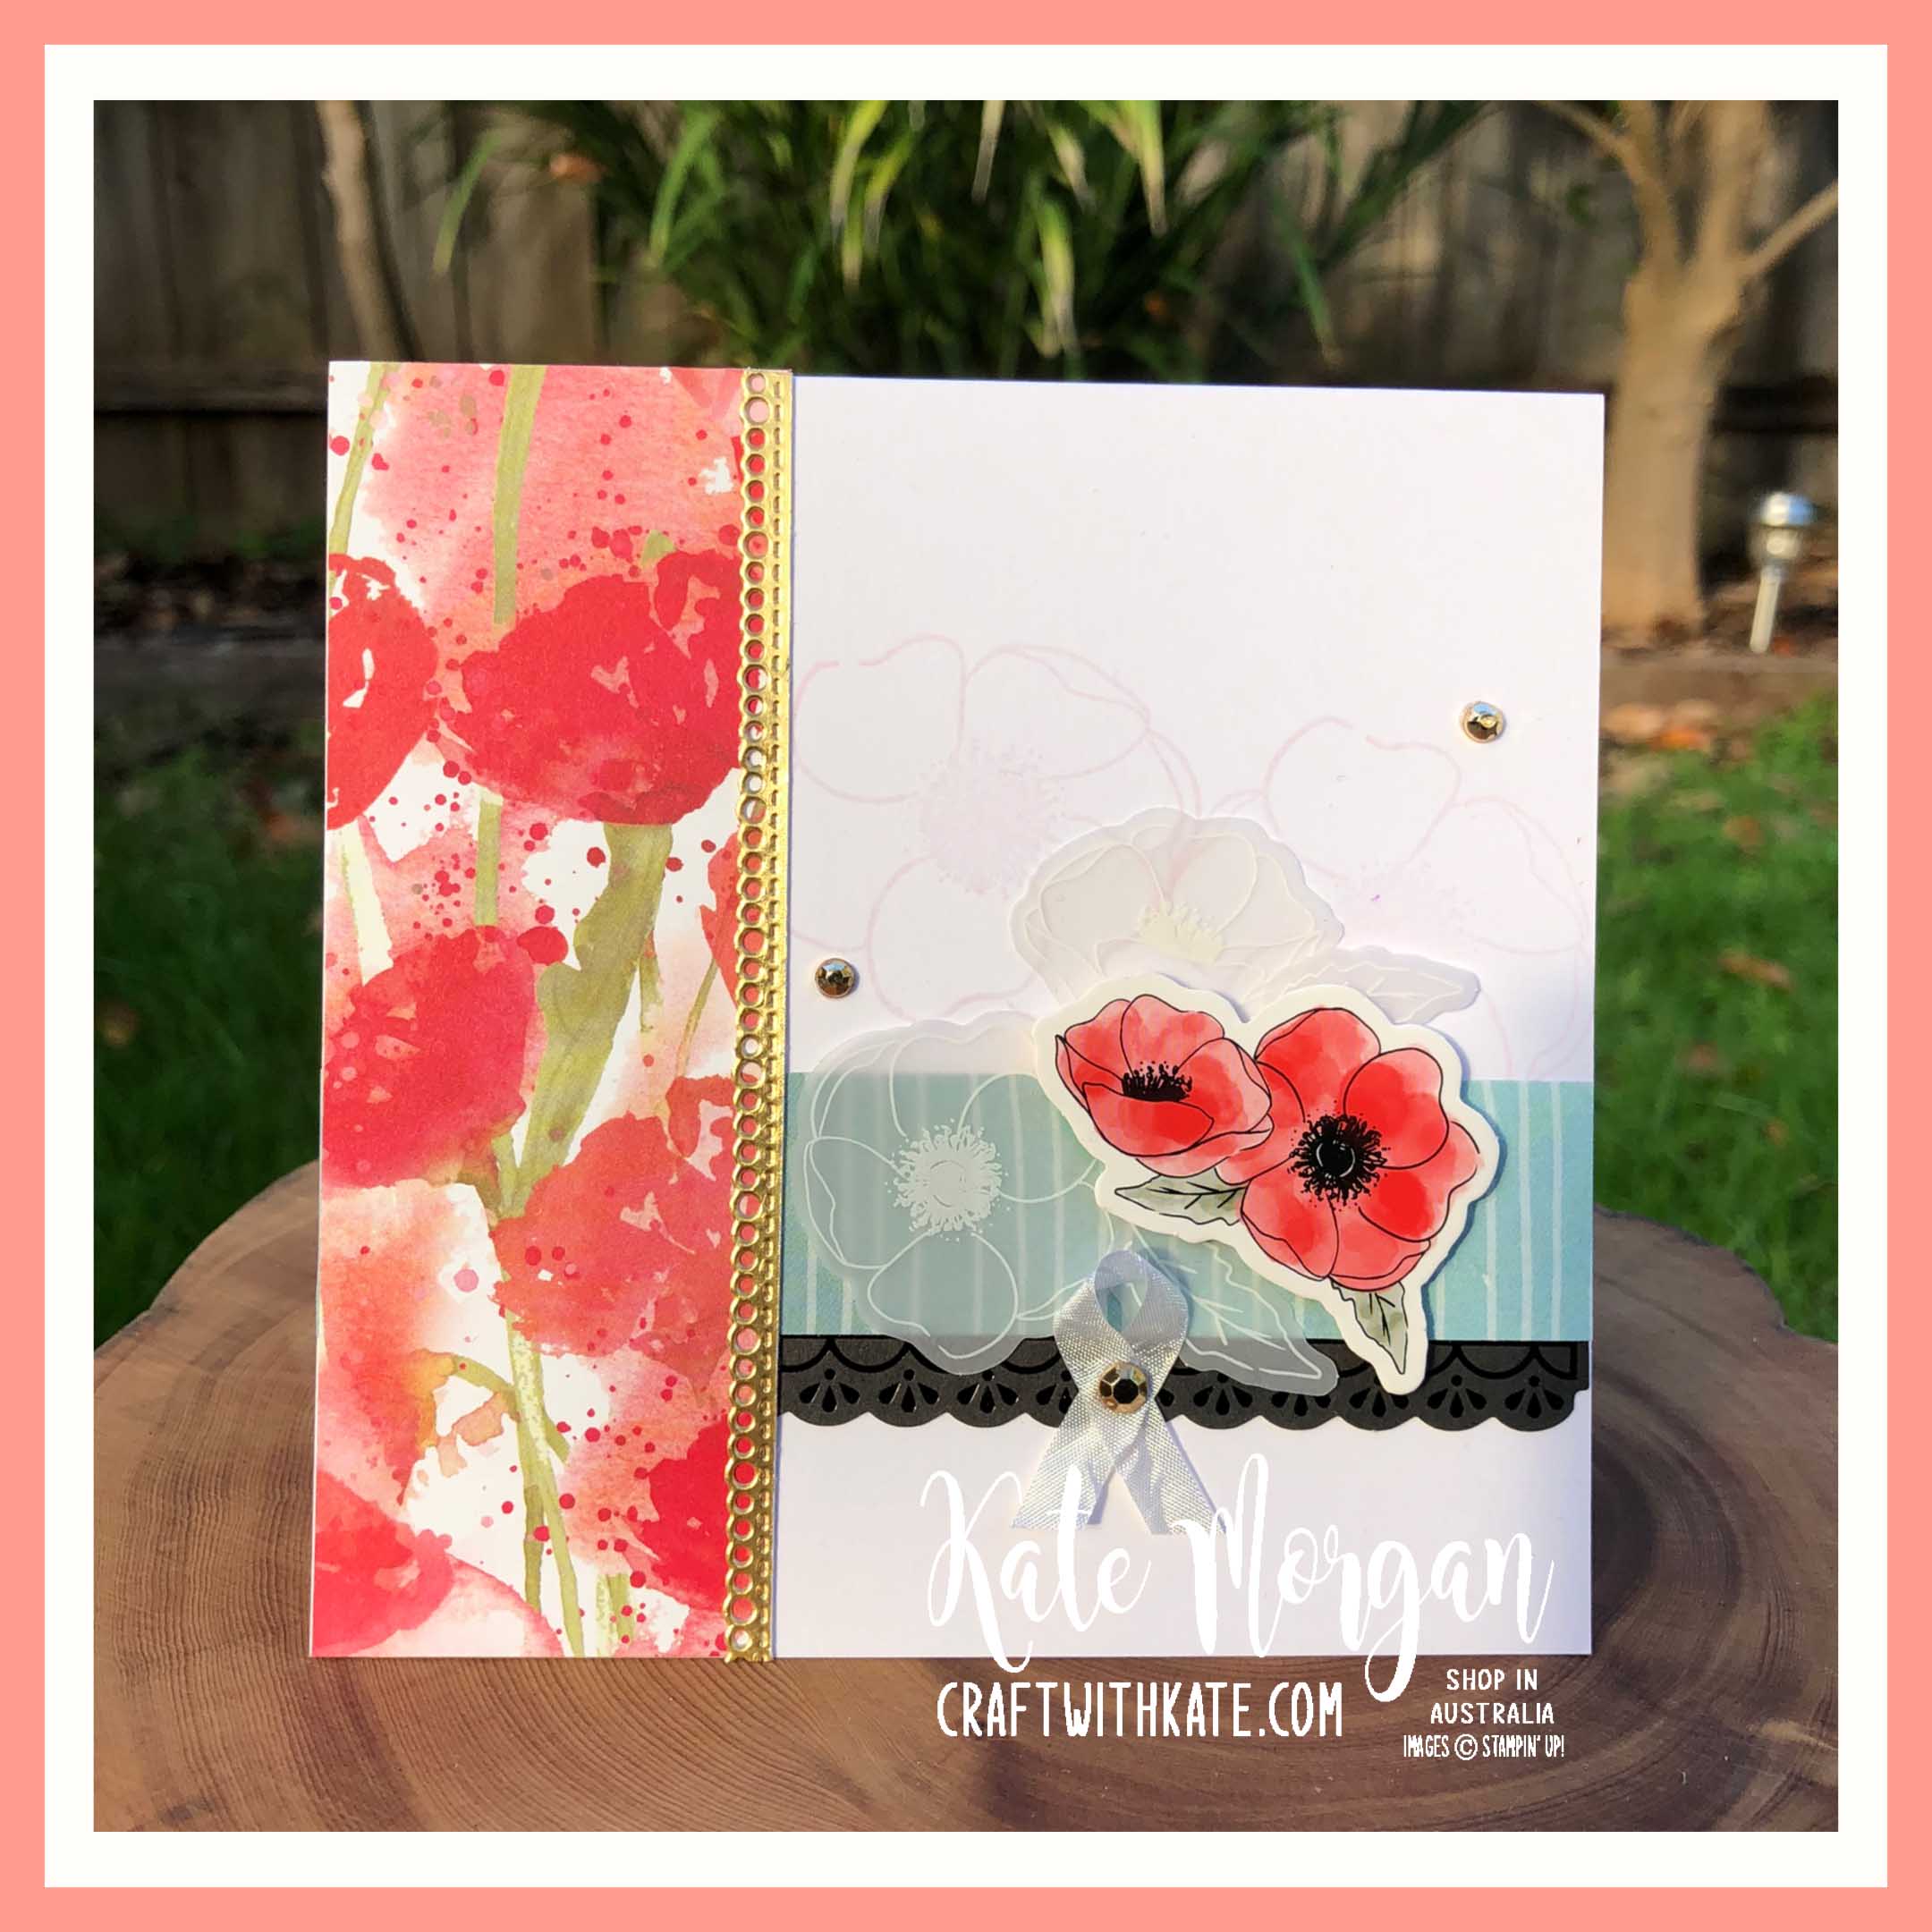
Tonight’s card is a Double Gate Fold design to show off this gorgeous designer paper!
Cut a piece of 12″ x 12″ DSP down to 5½” x 12″ and score it at 2″, 4″, 8″, 10″.
From each of the top corners, measure down 2¾” and mark with a pencil. From that pencil mark, up to the first scoreline, cut the corner off and glue it to the bottom right corner of the card (flipping the design over). Repeat this on the other side!
Gently fold your scorelines (mountain fold, valley fold, valley fold, mountain fold) to create this card.
For the inside:
Poppy Parade card – 5” x 3½”
Whisper White card – 4¾” x 3¼”
Stamp your sentiment in Black ink and add the poppies elements.
The poppy and elements are added last (be careful to add glue on the left side only!)
A list of products can be found at the end of this post.


")


")

 Designer Series Paper")


")
")