Dear Crafters,
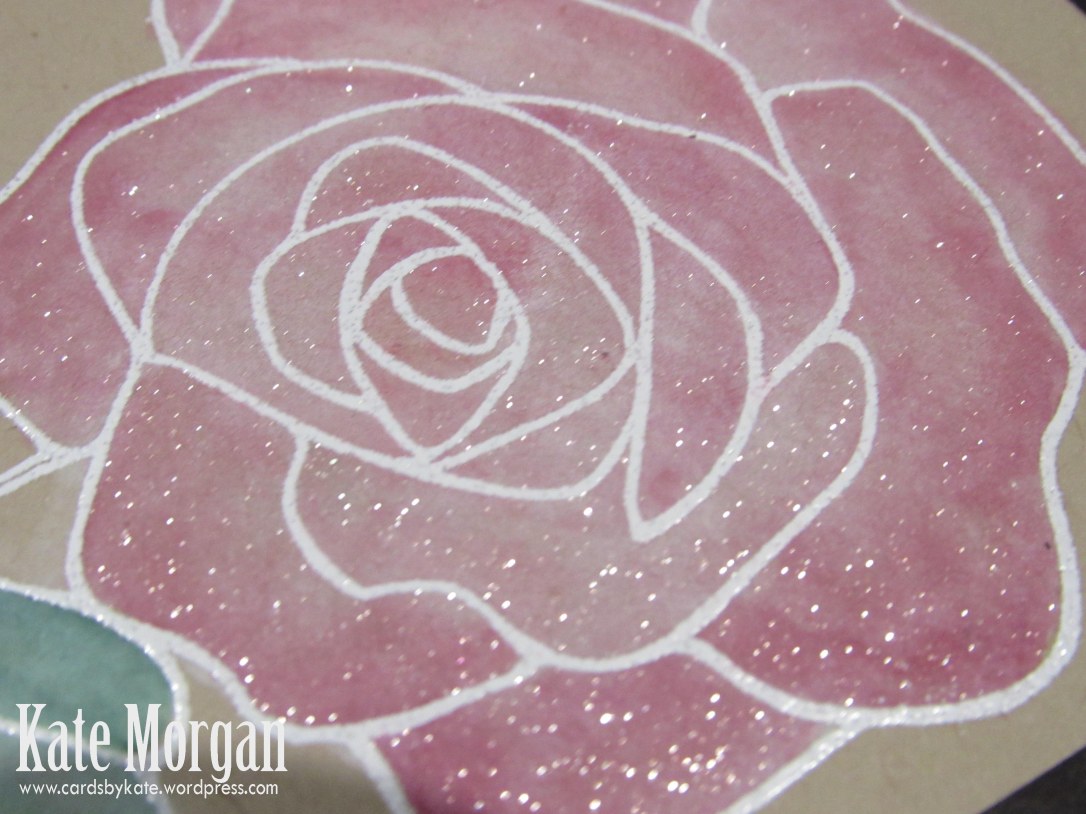
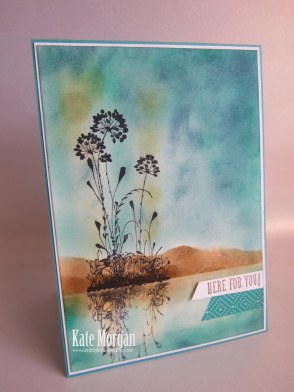
Today I have used the baby wipe technique with the Touches of Texture stamp set.
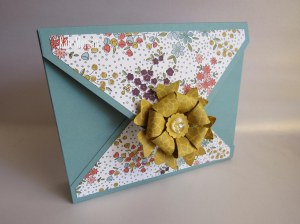
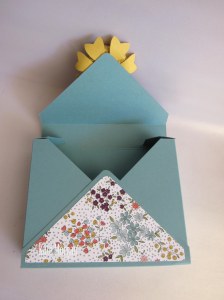
I die cut the Layered Squares framelits into the front of the A5 Emerald Envy card.
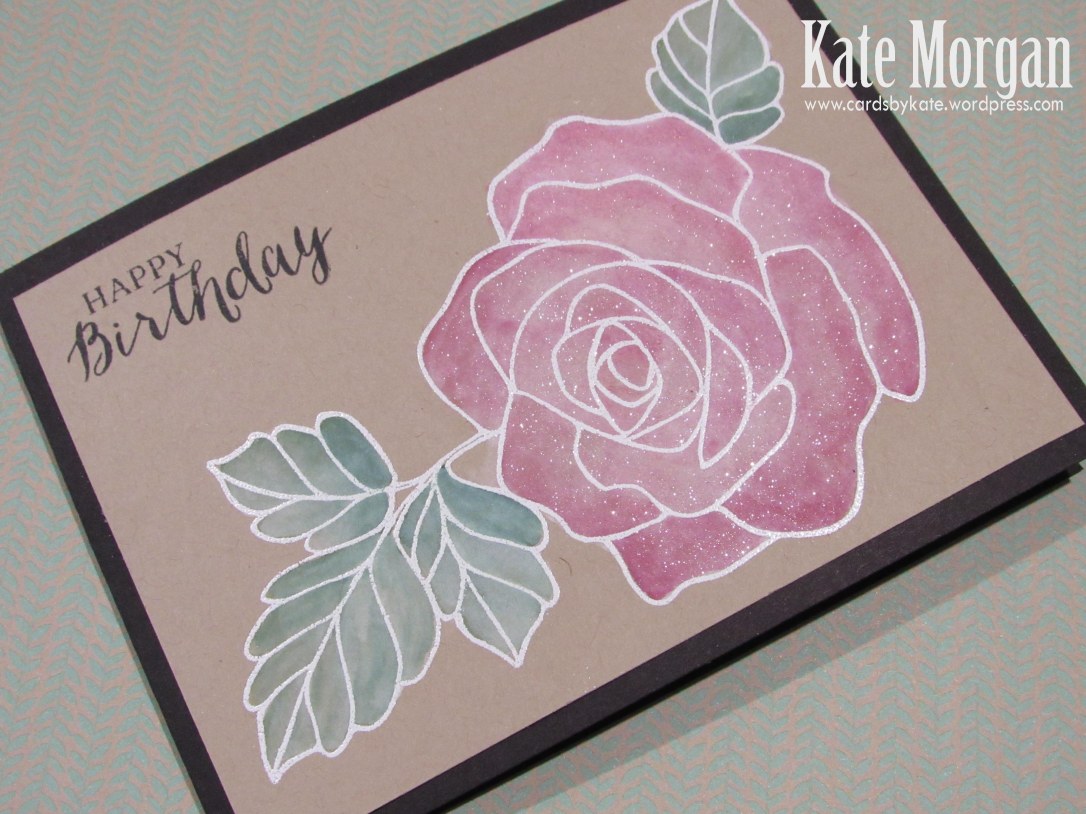
Next, I stamped the leaves (emerald envy) onto whisper white card stock and then the outline of the flower with dapper denim ink. I used the large splatter stamp with crushed curry ink and put that behind the flower.

I squirted some drops of crushed curry, blushing bride & soft sky onto some baby wipes that are sitting on a plastic plate, then pressed the stamp into it and then onto the flower!

I added a gold glimmer sentiment, hello from the Hello you thinlits and some emerald envy thick baker’s twine in a double bow!
I was super happy with the look of this one!
What do you think of this card?
All Catalogues and the Clearance Rack are available online here! They are full of amazing new products and wonderful full colour picture inspiration. It is a must have for anyone interested in Ink, Paper and Stamps!

Don’t forget to Follow My Blog to receive blog updates and join my Newsletter Subscription for all the latest news and specials!
Enjoy the many perks of being a Demonstrator (even just for yourself as a Hobby Demonstrator) by joining my friendly team, click HERE for details.
Happy Stamping!