

The Art With Heart Team are back with another Creative Showcase, this time featuring different colouring techniques. The Stampin’ Up! range contains a bevy of functional and effective colouring tools; Blends Markers, Water Painters, Inks, Daubers, Watercolour Pencils, Stampin’ Write Markers and more. Enjoy the amazing projects our team members have to share with you, demonstrating these products.
Now let’s get started!
Tonight I am sharing the baby wipe technique featuring the Forever Fern Bundle. To get started setting up your technique, you will need a couple of baby wipes folded in half on a plate. Take your chosen ink refill bottles, and place a few drops of each colour randomly so you have different colours next to each other, leaving a little space between the colours so they can spread and merge. This is now your inkpad, stamp your image right into the baby wipes. When using this technique, you want to make the most of the ink, so expect to make loads of projects with stamped images from the one batch. I stamped lots of sheets of A4 Shimmery White card to make the most of it!

I stamped the background with the one image. The foliage behind the sentiment is stamped in Just Jade ink and die cut and another of the leaf images stamped the same way as the background.

How gorgeous does that sentiment look in all those pretty merged colours?!

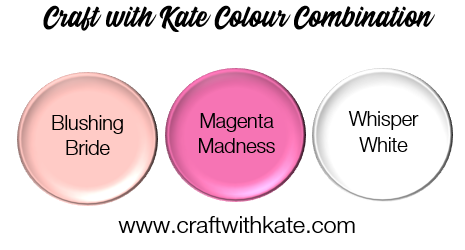
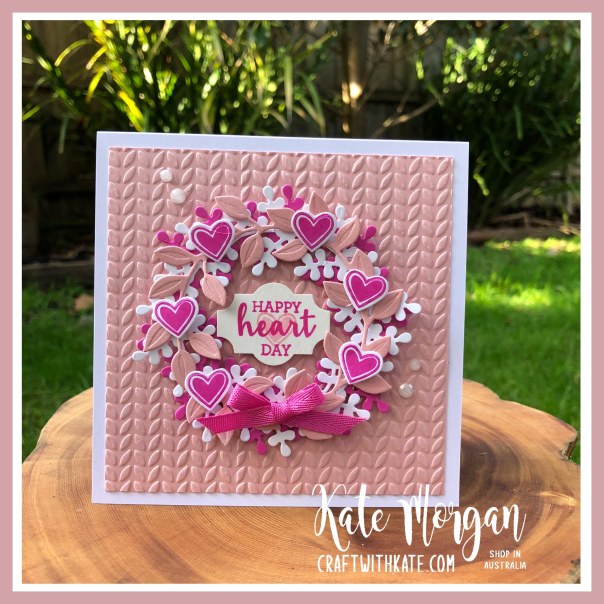
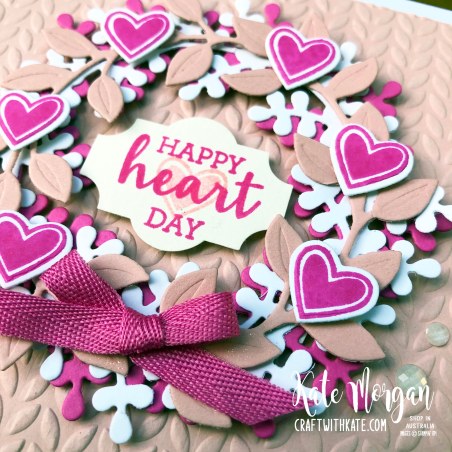
My next card I used the inlay technique. The foliage is stamped using the baby wipe technique and then the Just Jade layer is die cut with only the dies randomly placed before being embossed with the Greenery embossing folder. This is glued to the Magenta Madness layer and then the foliage glued inside! The sentiment is stamped on white card and die cut with the Tasteful Labels dies.

The gold hoop embellishment is added and some more foliage is die cut out of card stock and popped up on dimensionals on the edge of the hoop. To finish off I added a bumblebee gingham bow, In Color Enamel dots and some of the gold thread.

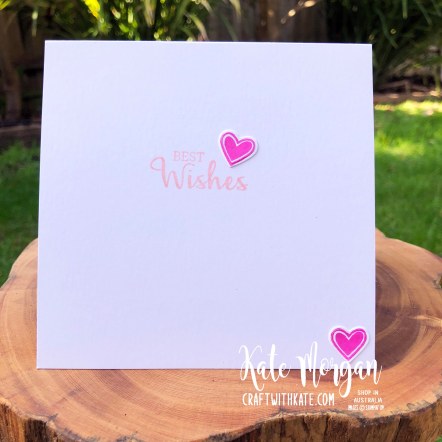
My final card tonight is my favourite. I love the background image in these colours. It is a more delicate leaf image and very feminine.

The Forever Greenery Trim Combo pack has this gold thread and when you cut it in small pieces, it unravels and you get these delicate threads. I placed them behind the die cut images for a softer look.

Of course, with some left over images, I added these die cuts to the inside of each card!

A full list of products can be found at the end of this post.
The next contributor to showcase their creativity with you is the very talented, Andrea Sargent.

If you find a broken link or have come to this showcase midway, you can view the participants below:
- Vicki Boucher
- Rebecca Jacovou
- Kate Morgan <you are here>
- Andrea Sargent
- Amie McIlroy
- Rachel Woollard
- Tina Gillespie
- Sharon Davern
- Kimberly Hern
- Caroline Manwaring
- Catherine Proctor


Product List
")


")
")


 Sheer Ribbon")


")
")


")
")


 2020–2022 In Color Ribbon")


")


 Scalloped Lace Trim")
 2020–2022 In Color Ribbon")


")


")


 Crinkled Seam Binding Ribbon")

