Dear Crafters,
![]()
Today some of the Art with Heart Stampin’ Up! team girls are presenting some fabulous Father’s Day ideas to inspire you. We also have our brand new 2015 Holiday Catalogue available from 1 September, with some amazing Christmas inspiration for you. Be sure to request a catalogue today!
You have come to my blog from the very talented, Genna Gifford. Blogs are full circles, so you can start hopping here and then at the end of each post is a link to the next. There is also a list of participants at the end in case of any broken links.
Now let’s get started!
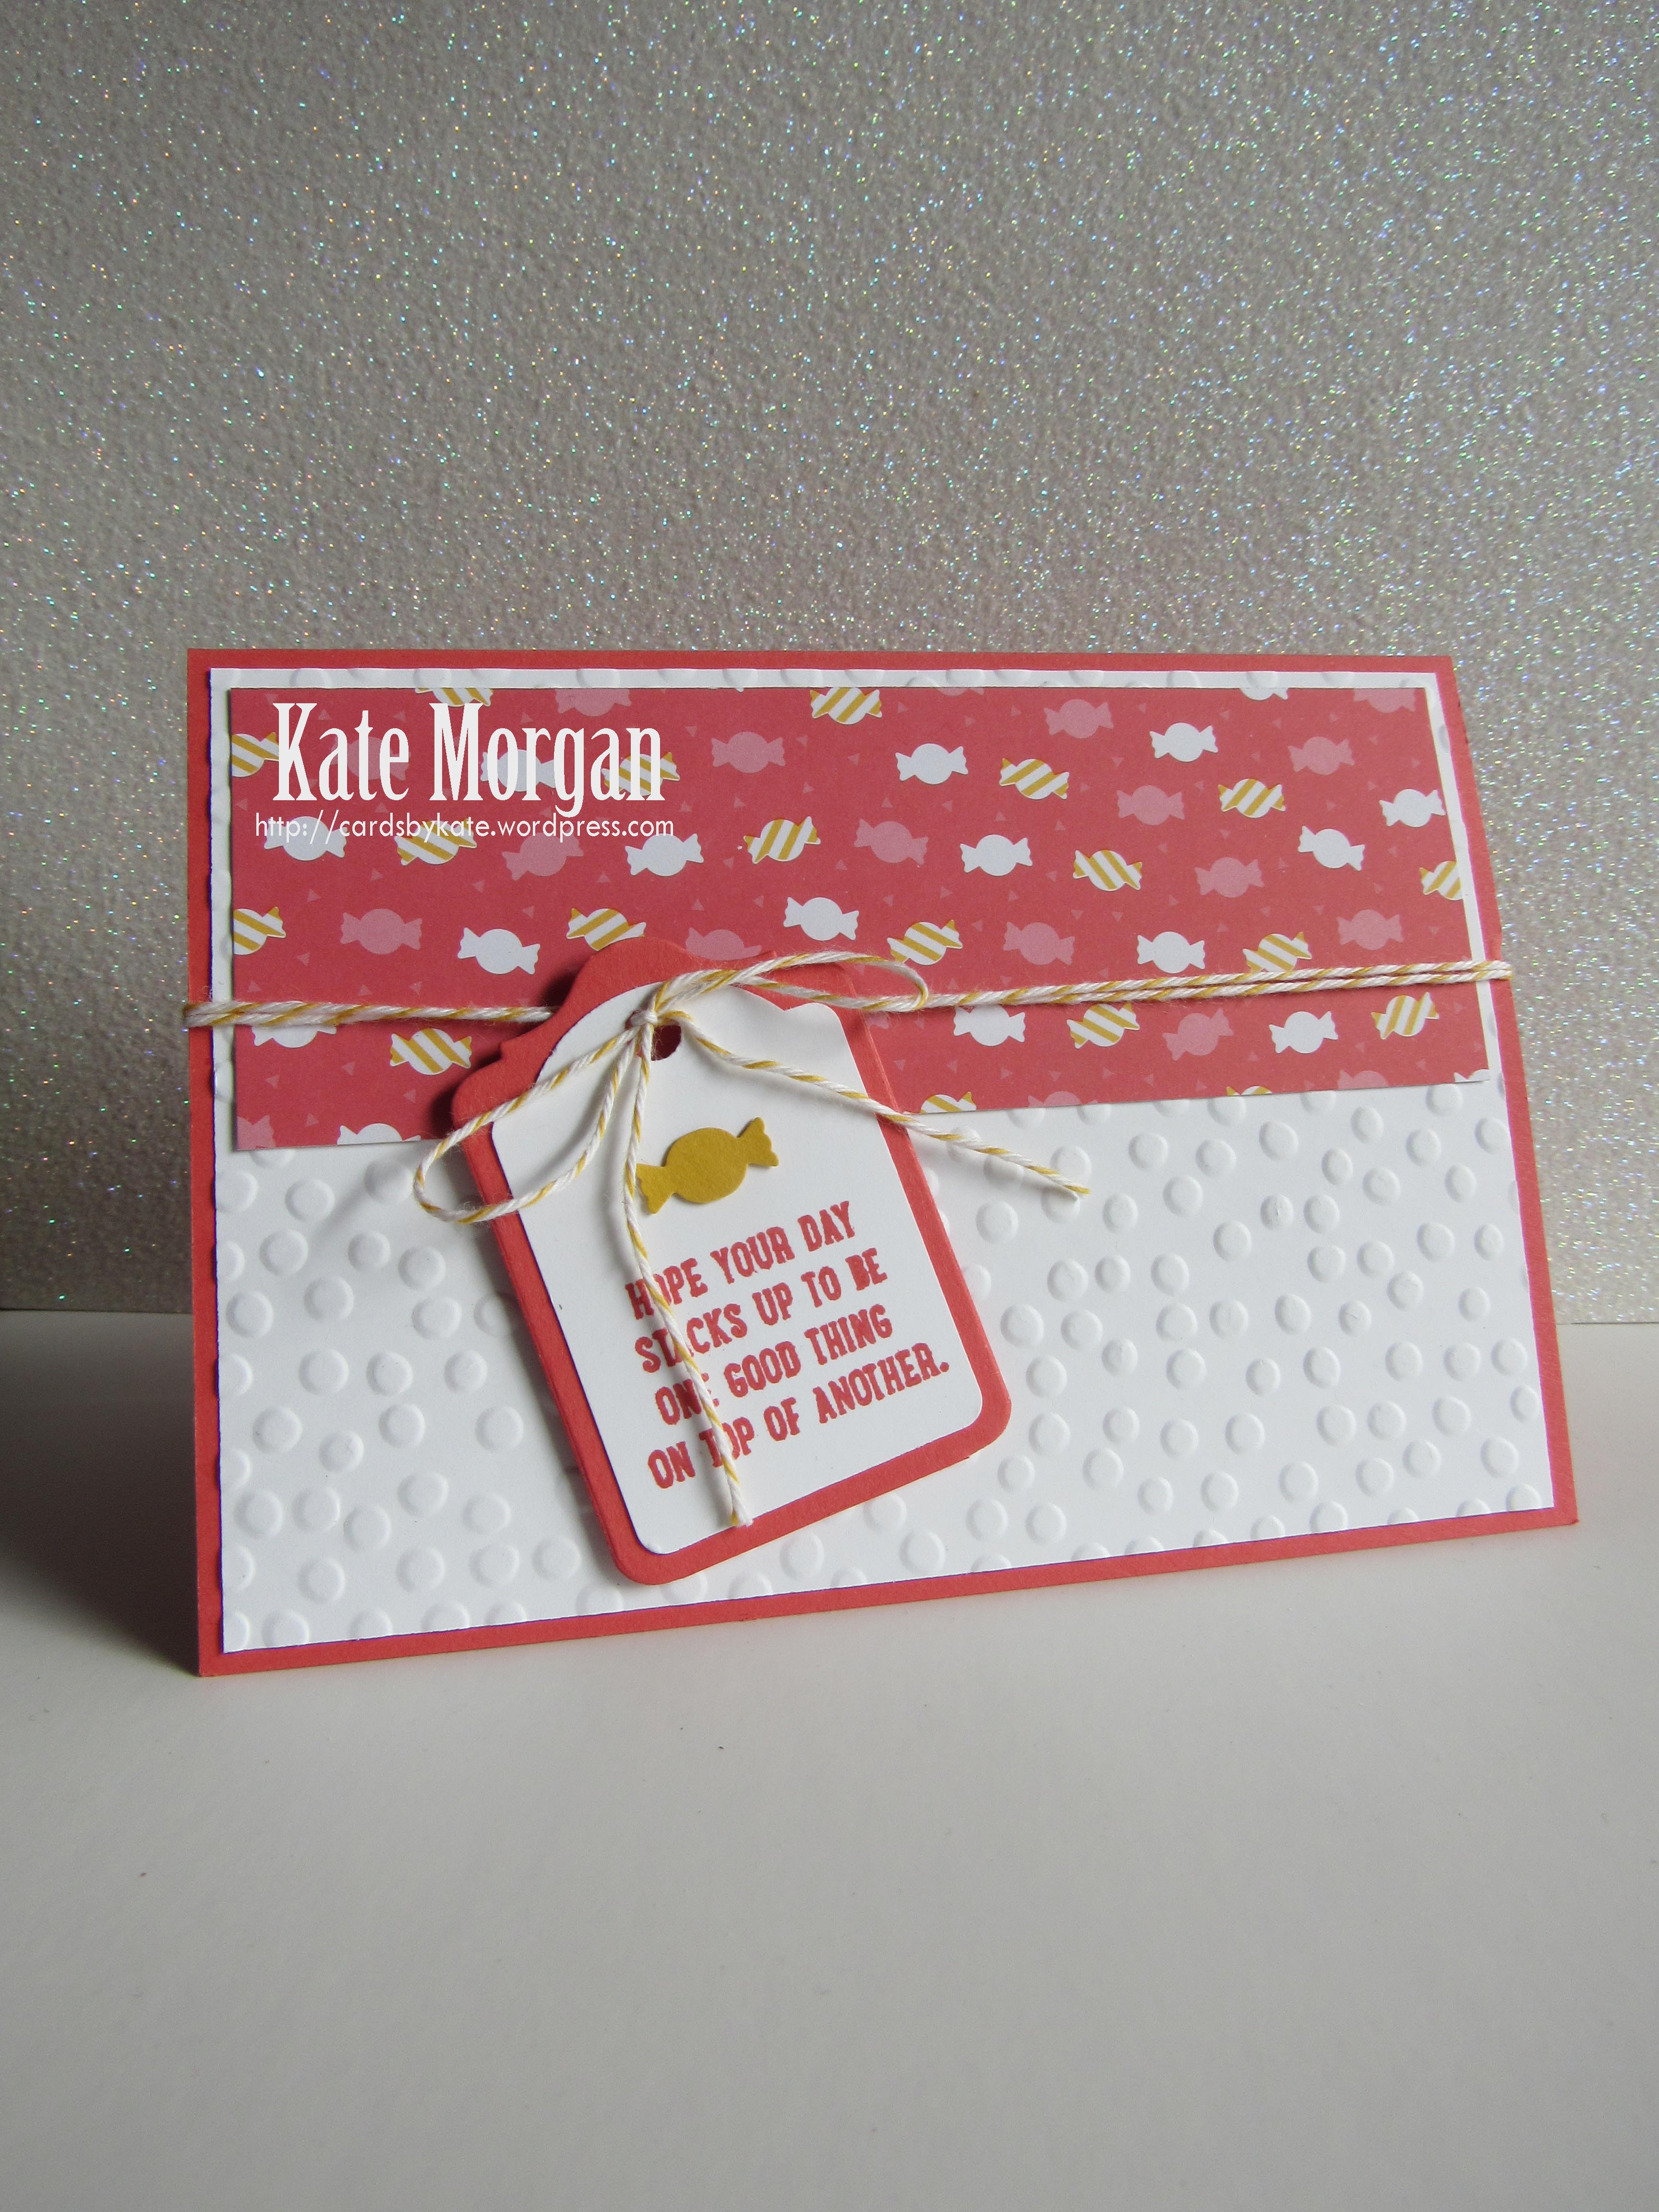
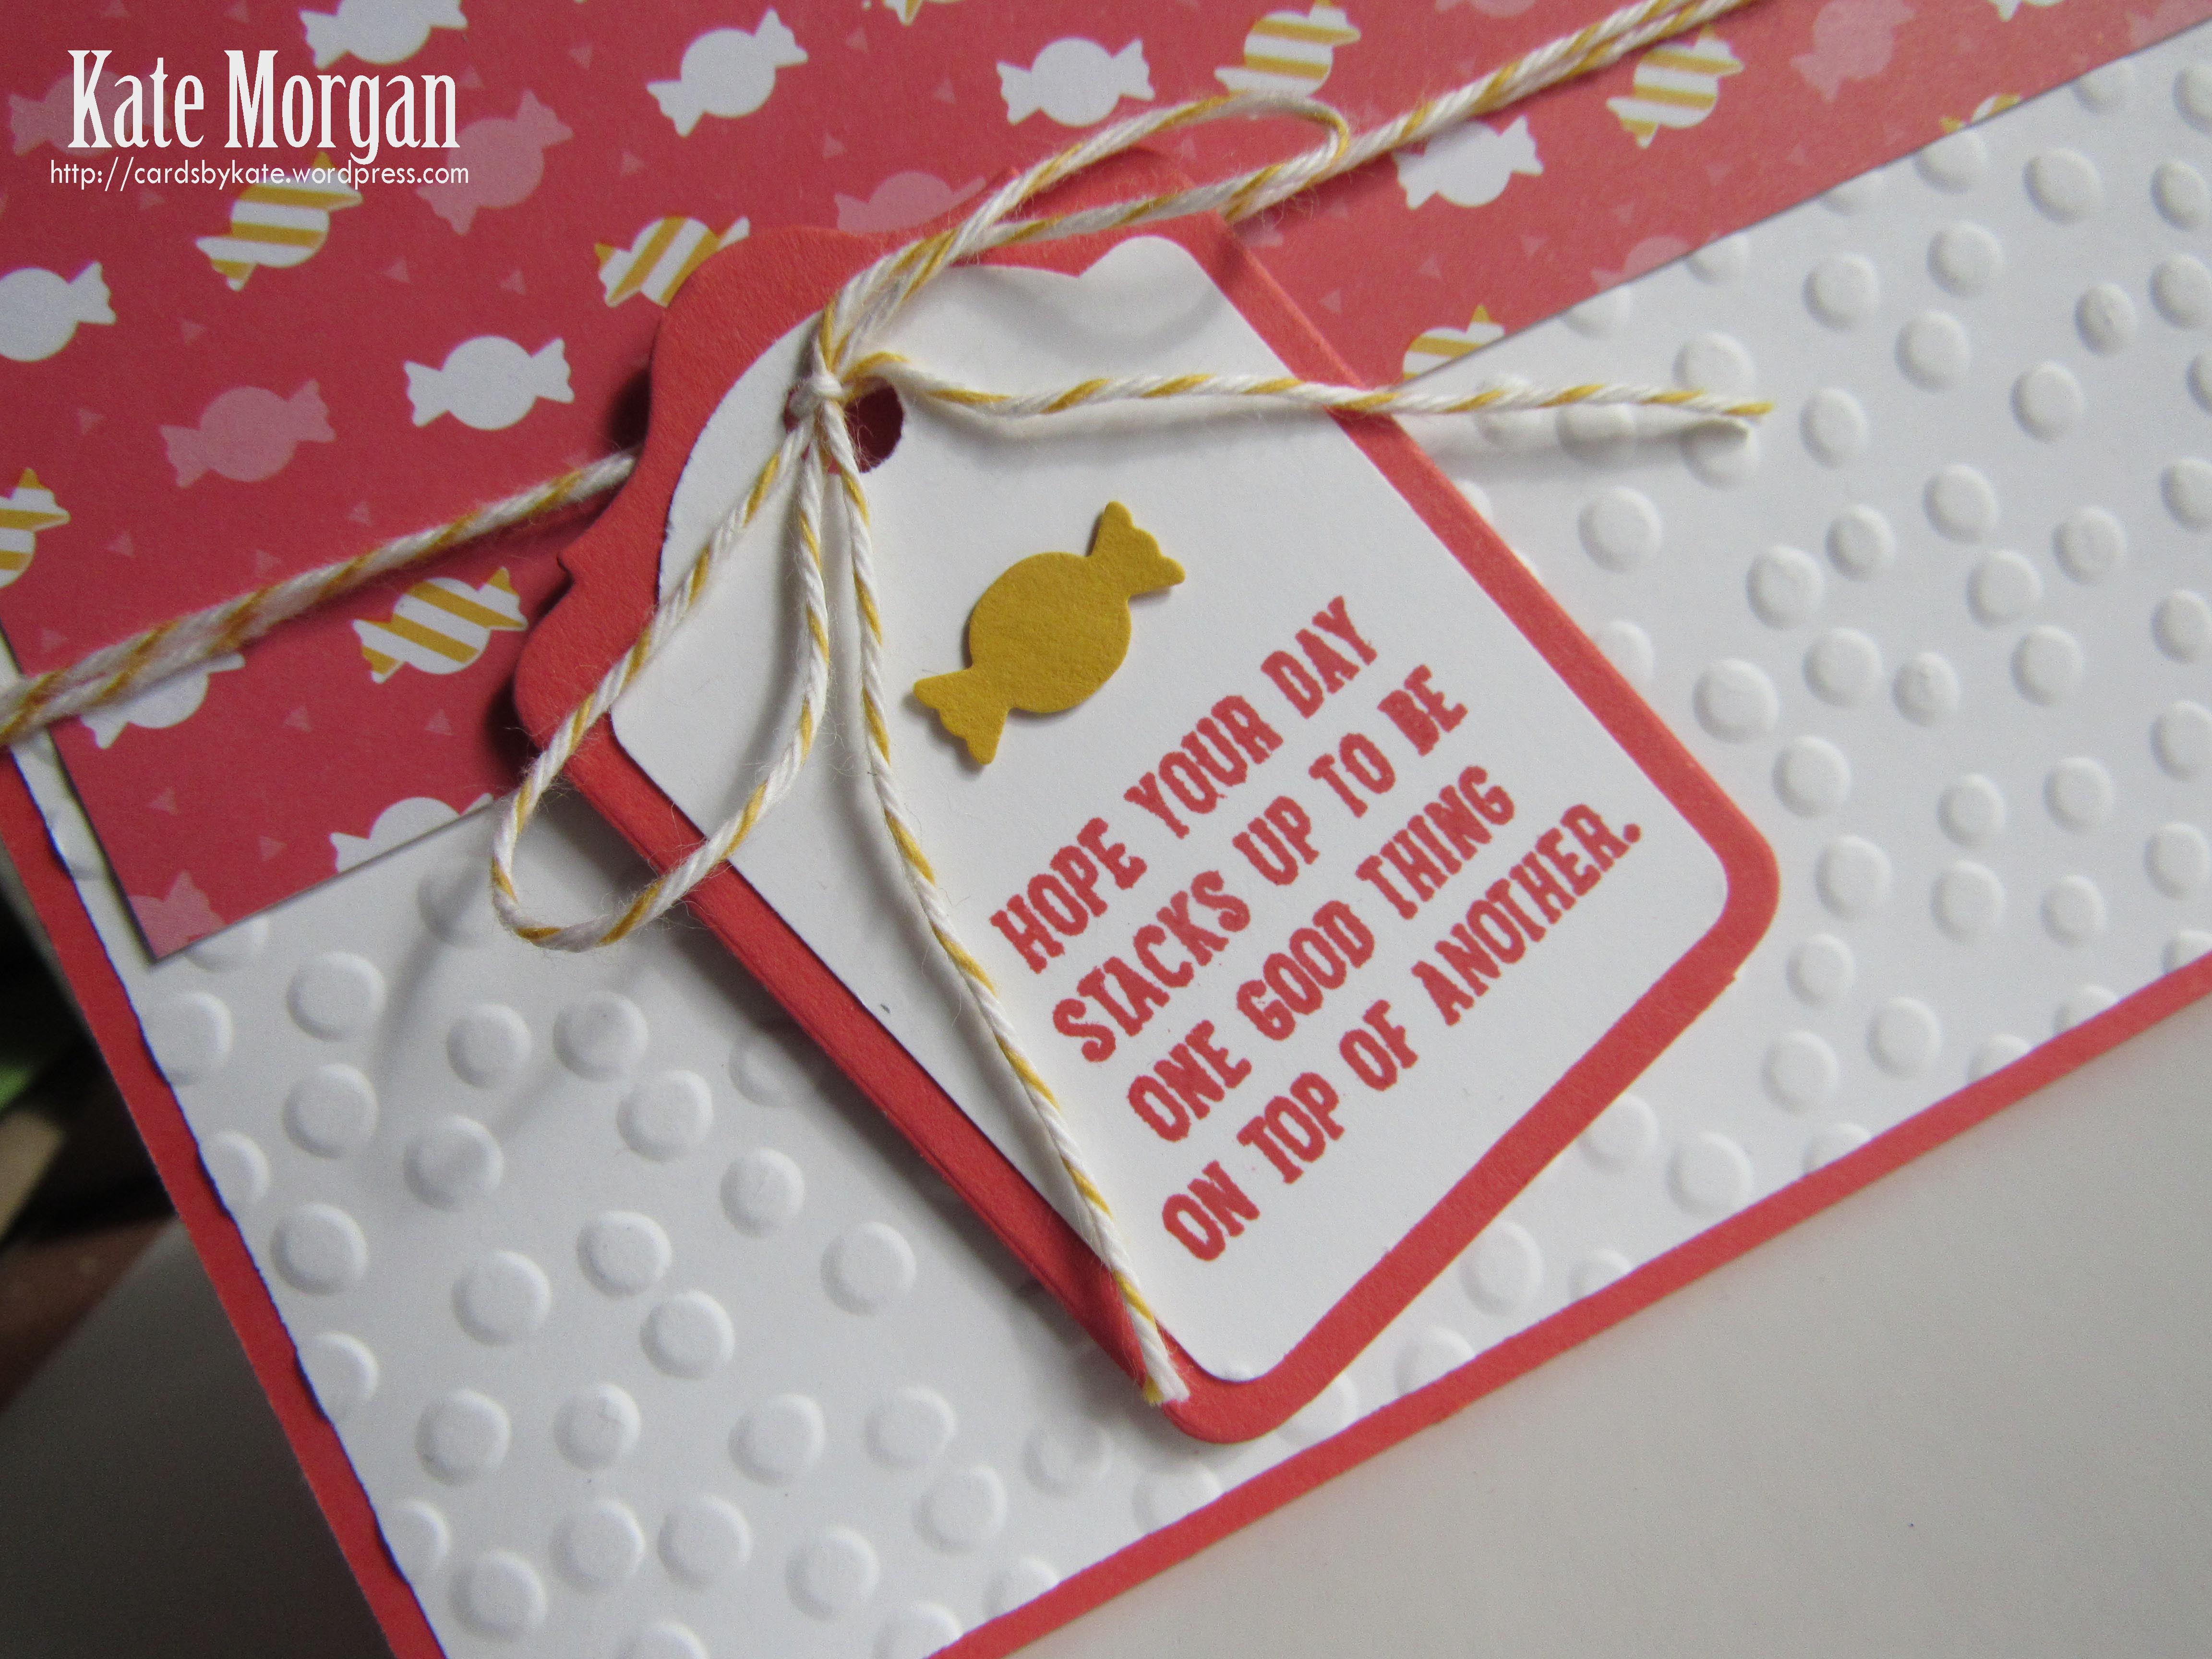
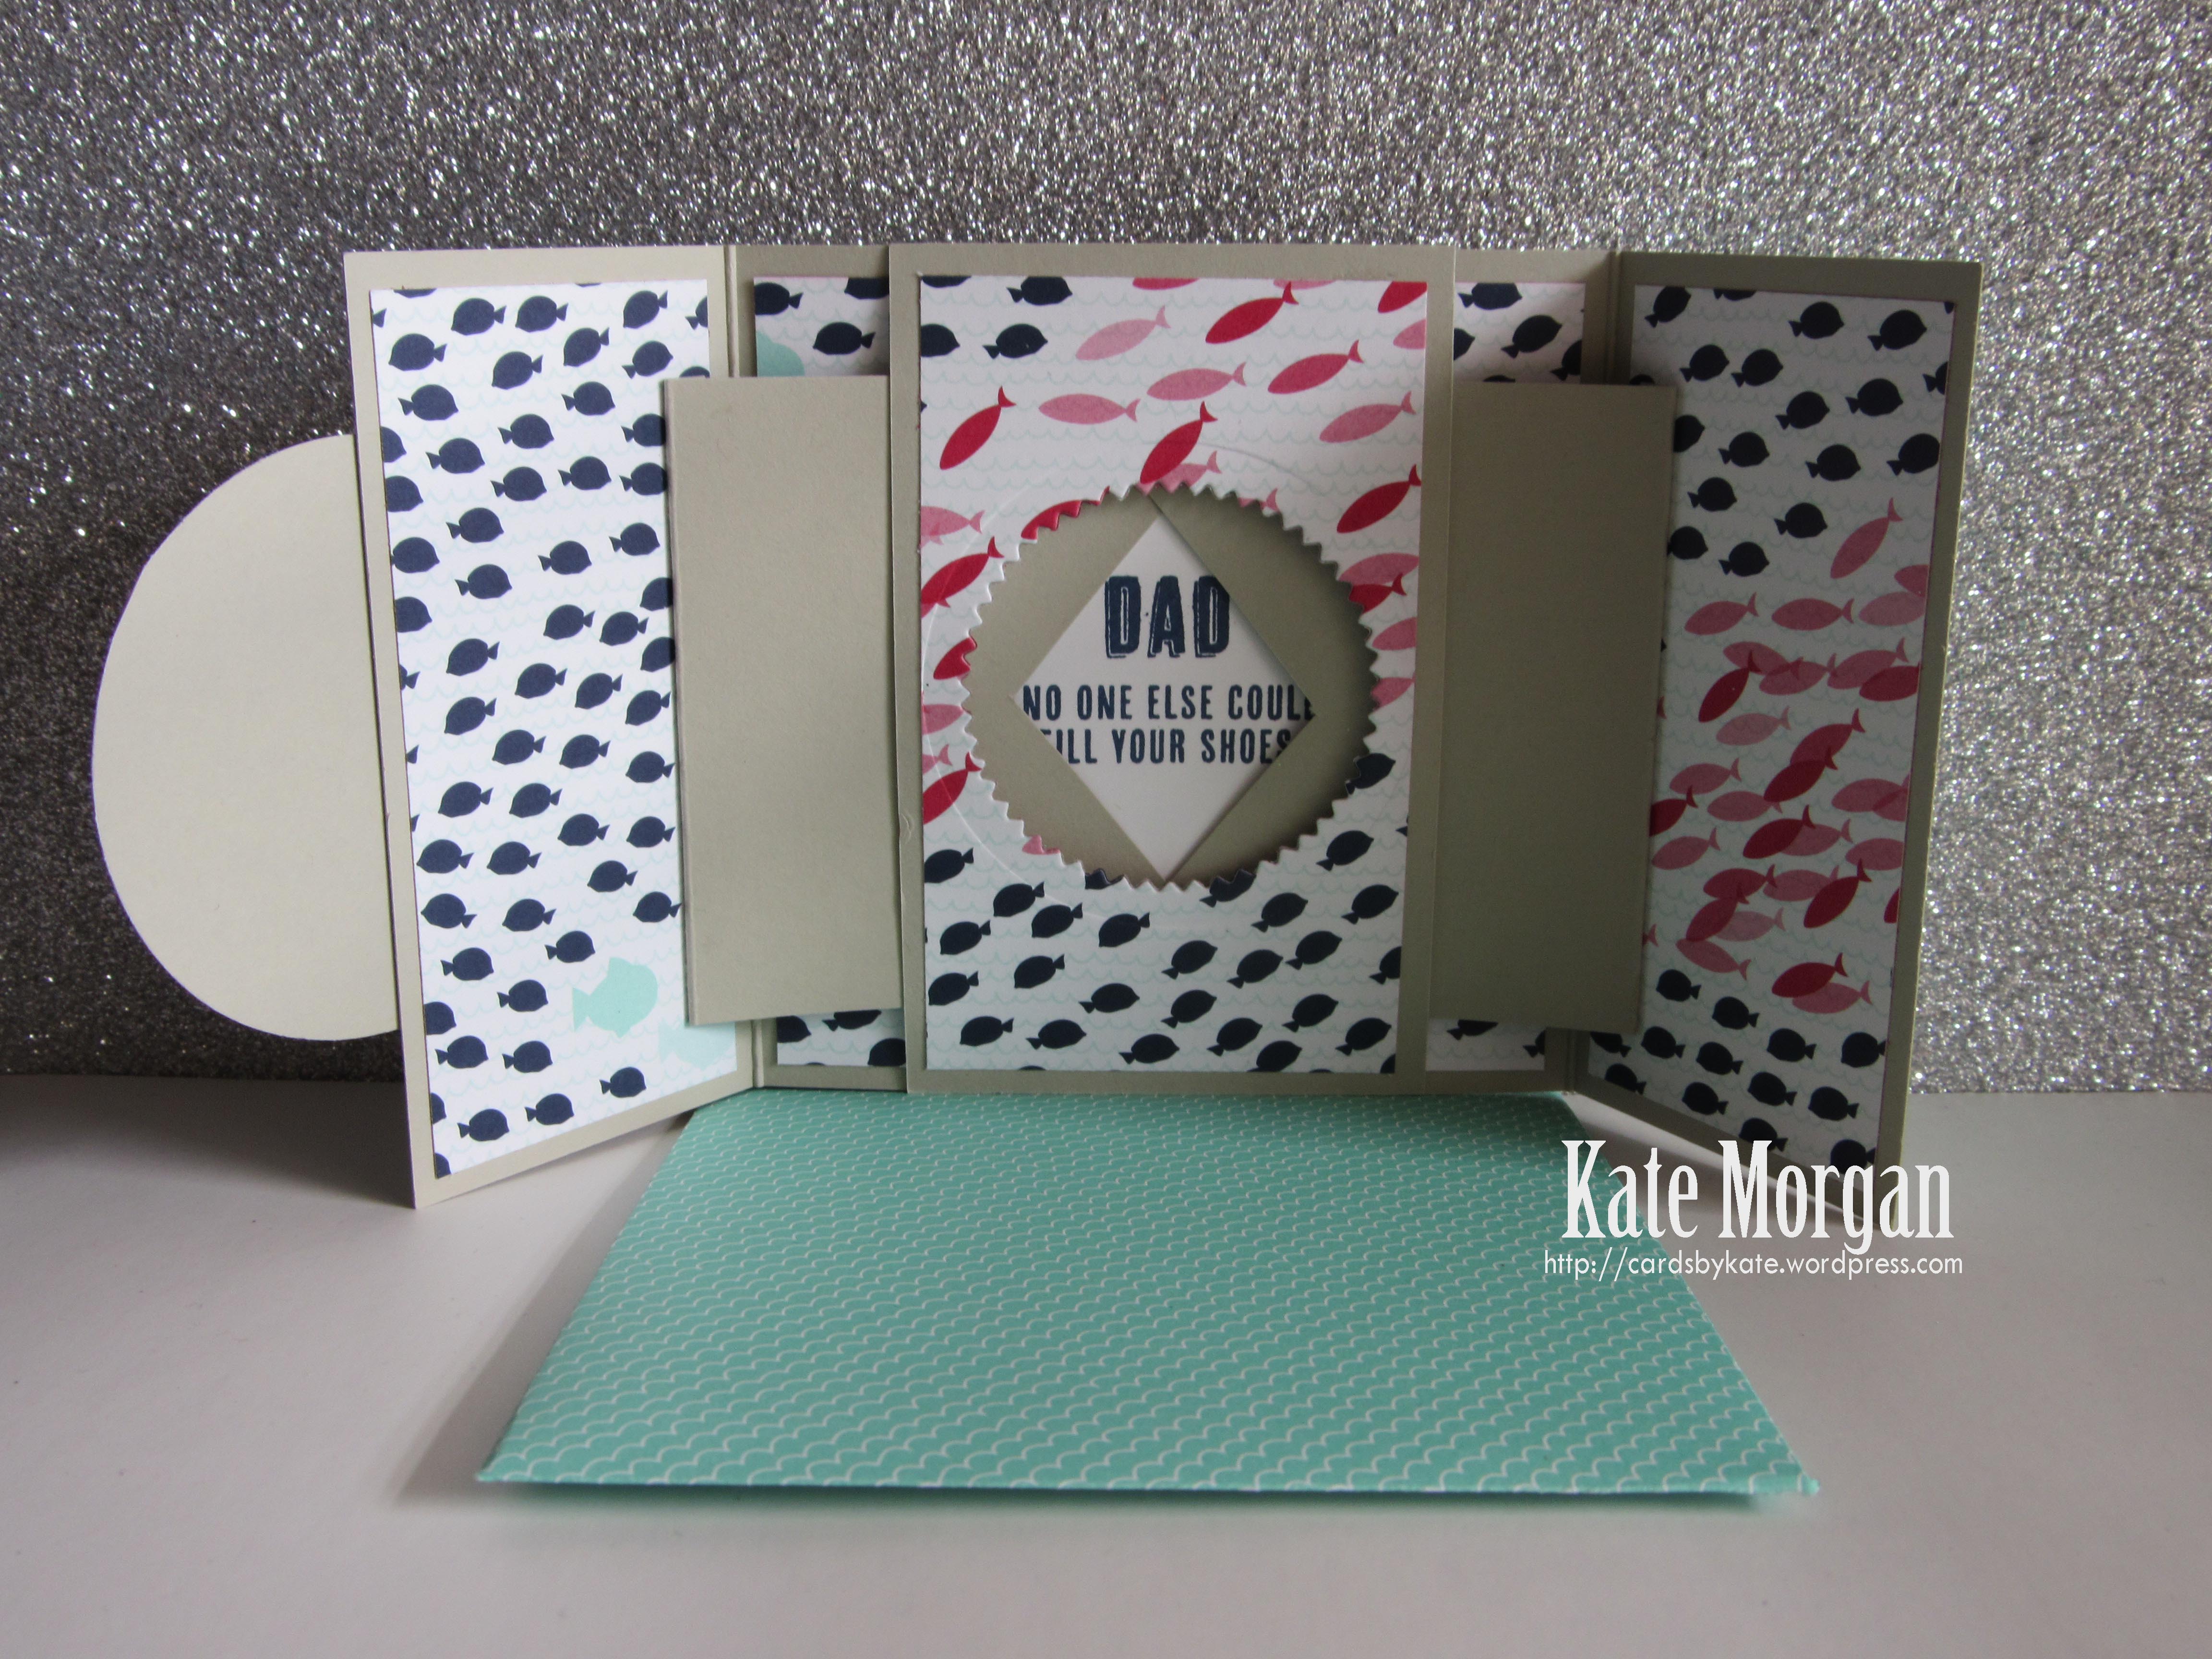
My first project today is a Shutter Card using up some retired products; I just love these colours together. You can use any colours in the Stampin’ Up! product range and this card will be awesome. That’s what we love about our coordinating products!
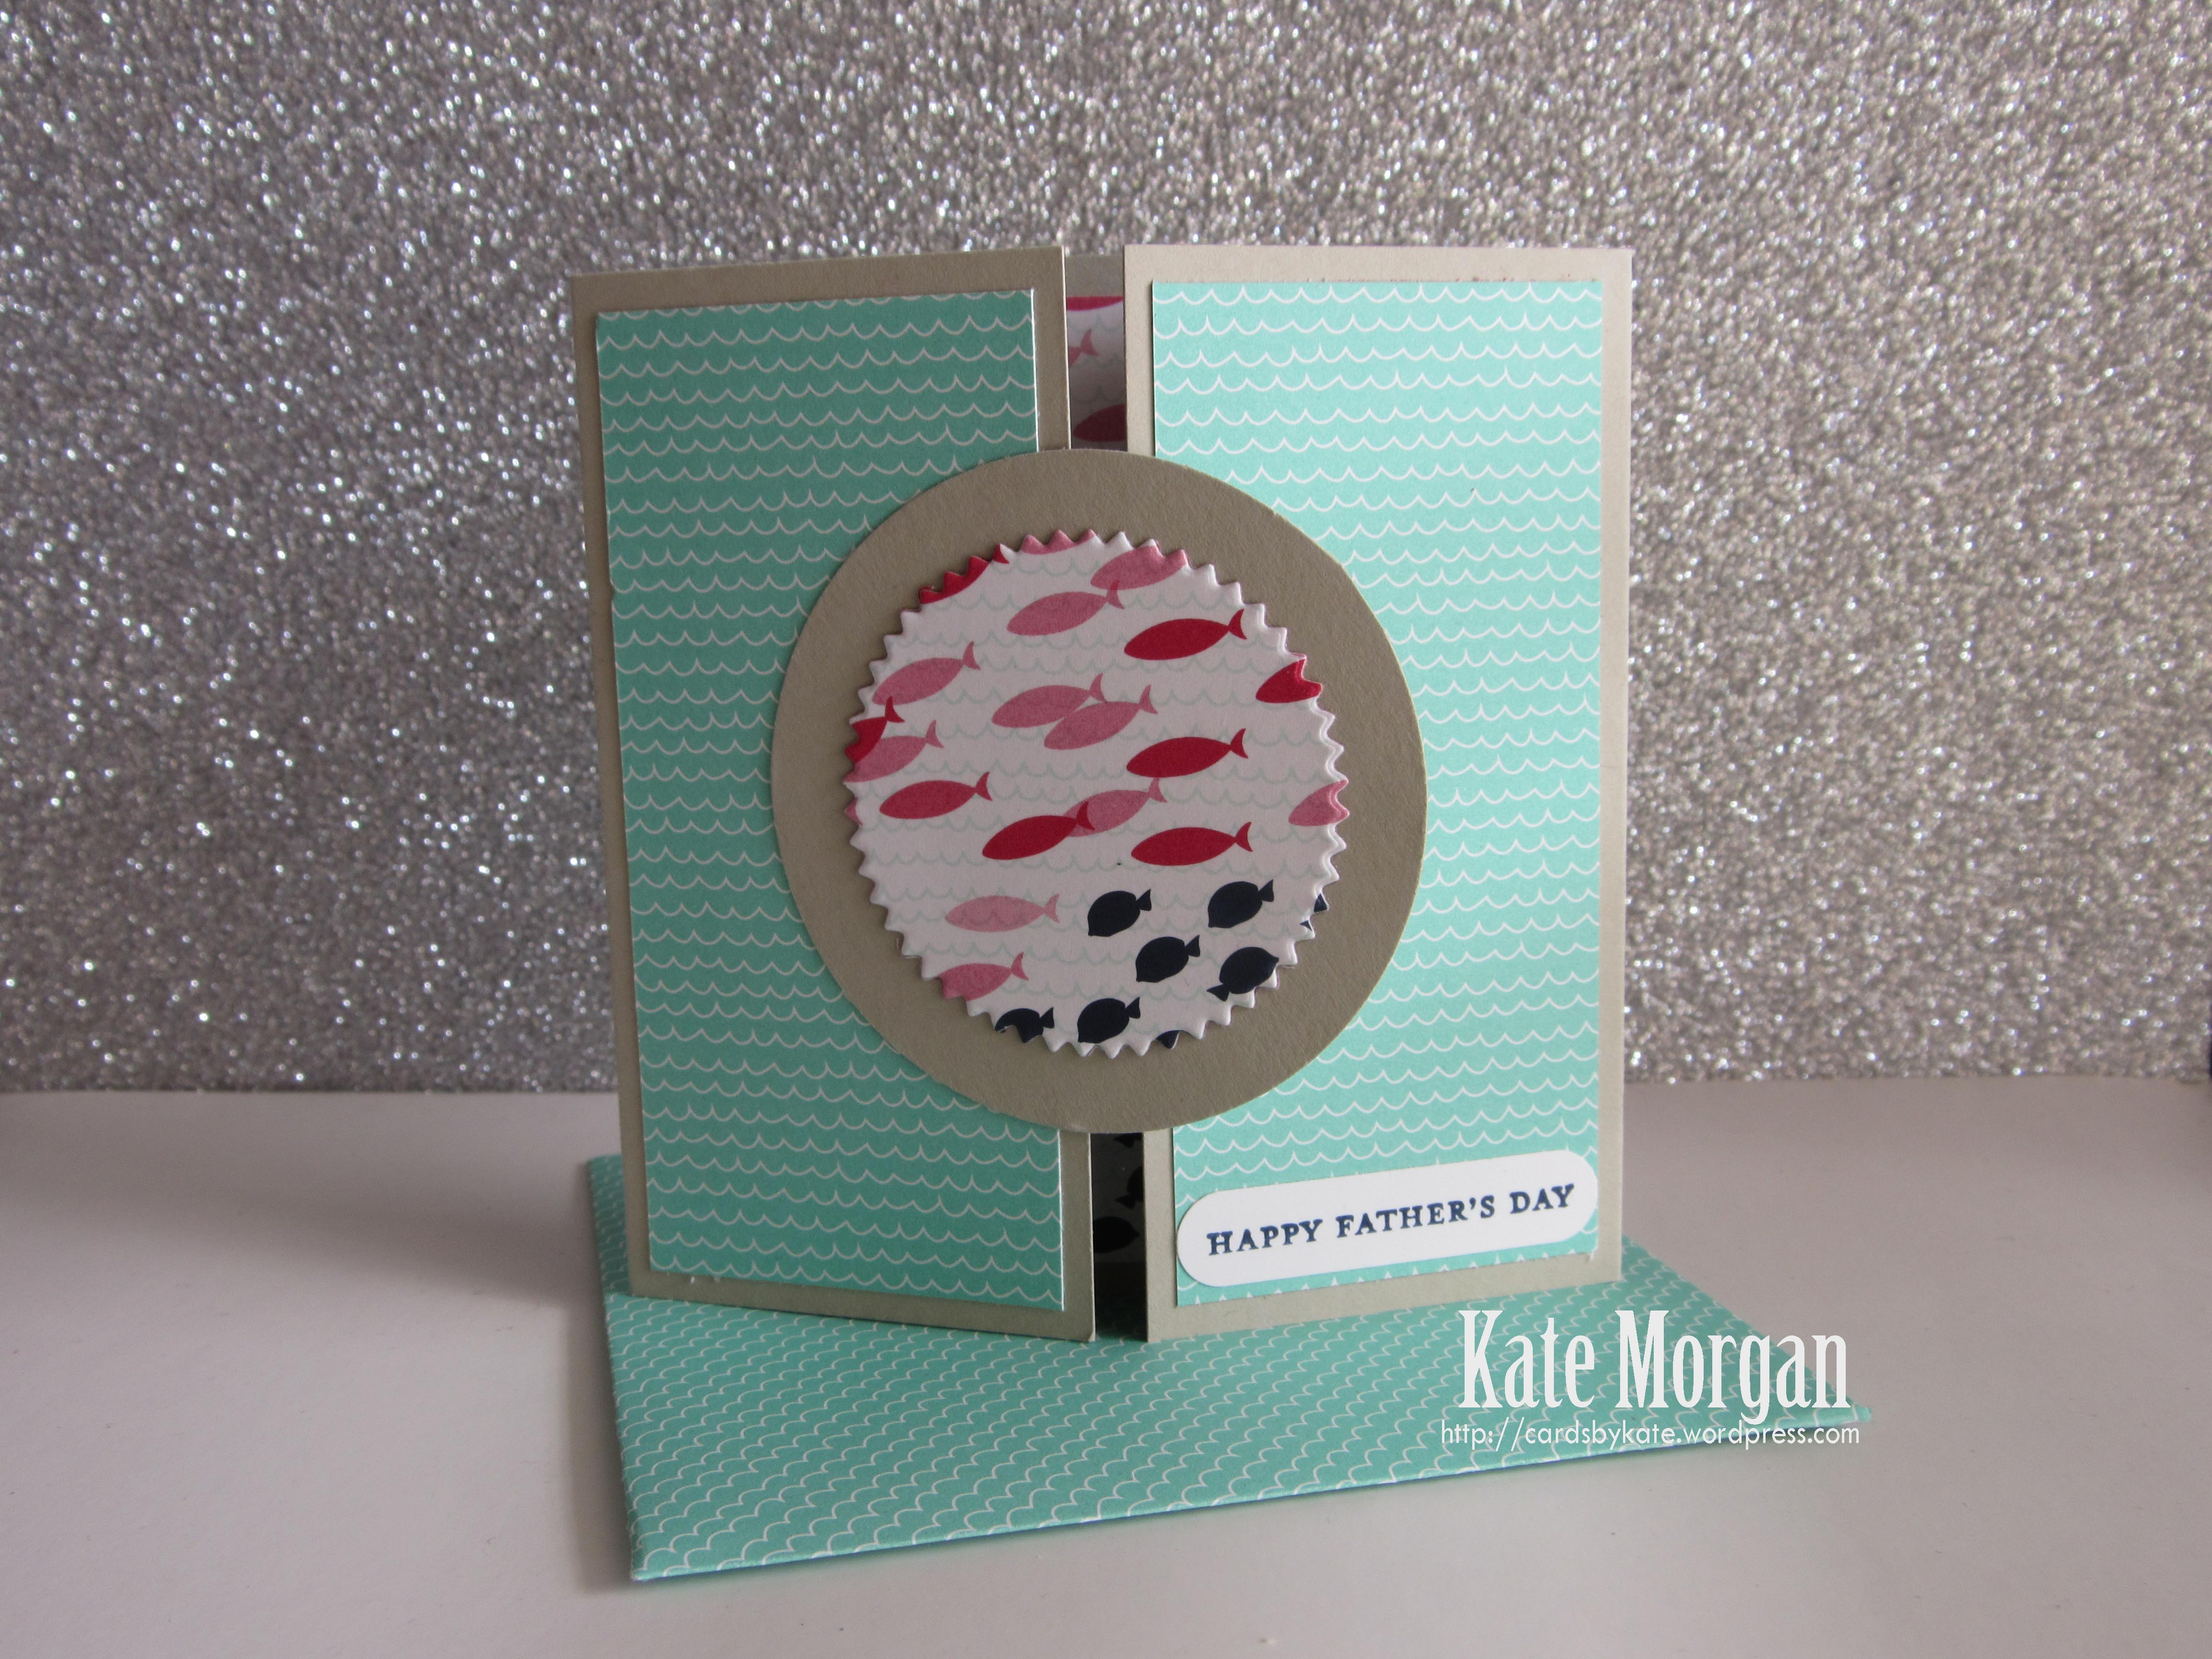
Watch as you open the card to reveal the hidden message!

And I even made a coordinating envelope using the Envelope Punch Board.
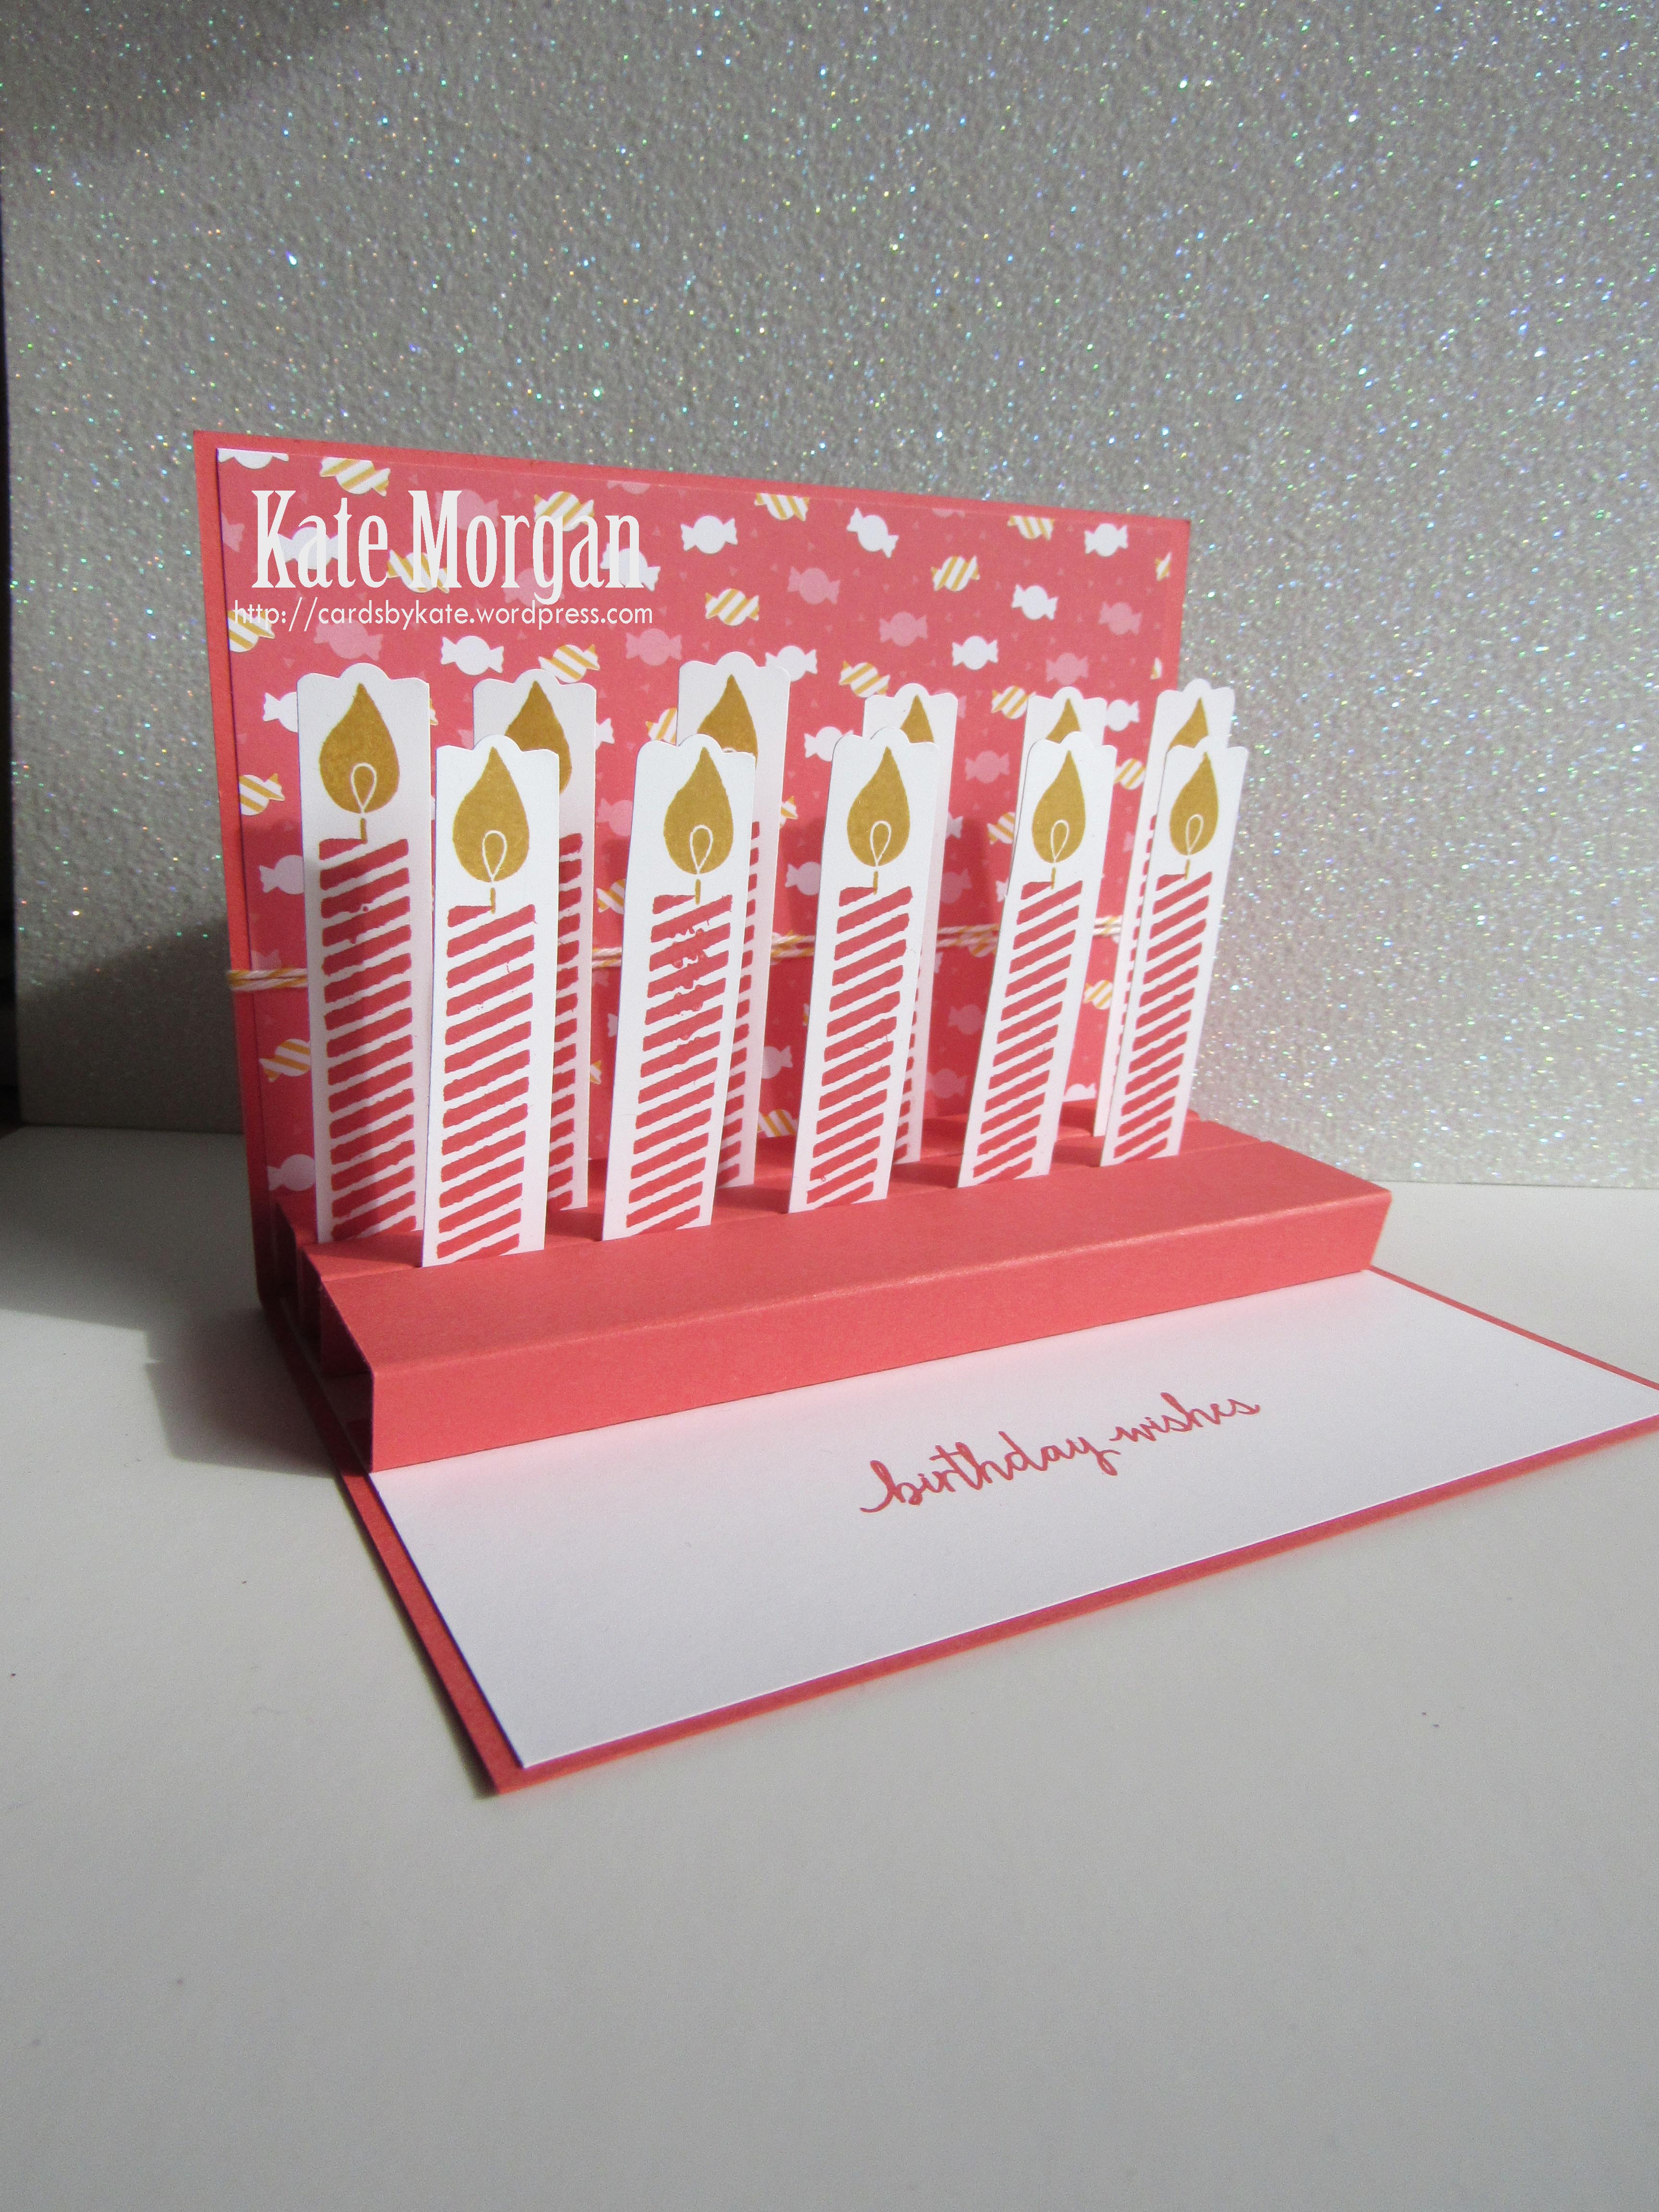
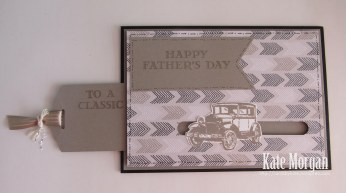
My next project is a Slider card, using the Guy Greetings stamp set and the Go Wild Designer Paper Series Paper Stack.
Pull the ribbon tab and reveal a special message and watch the vintage car move.
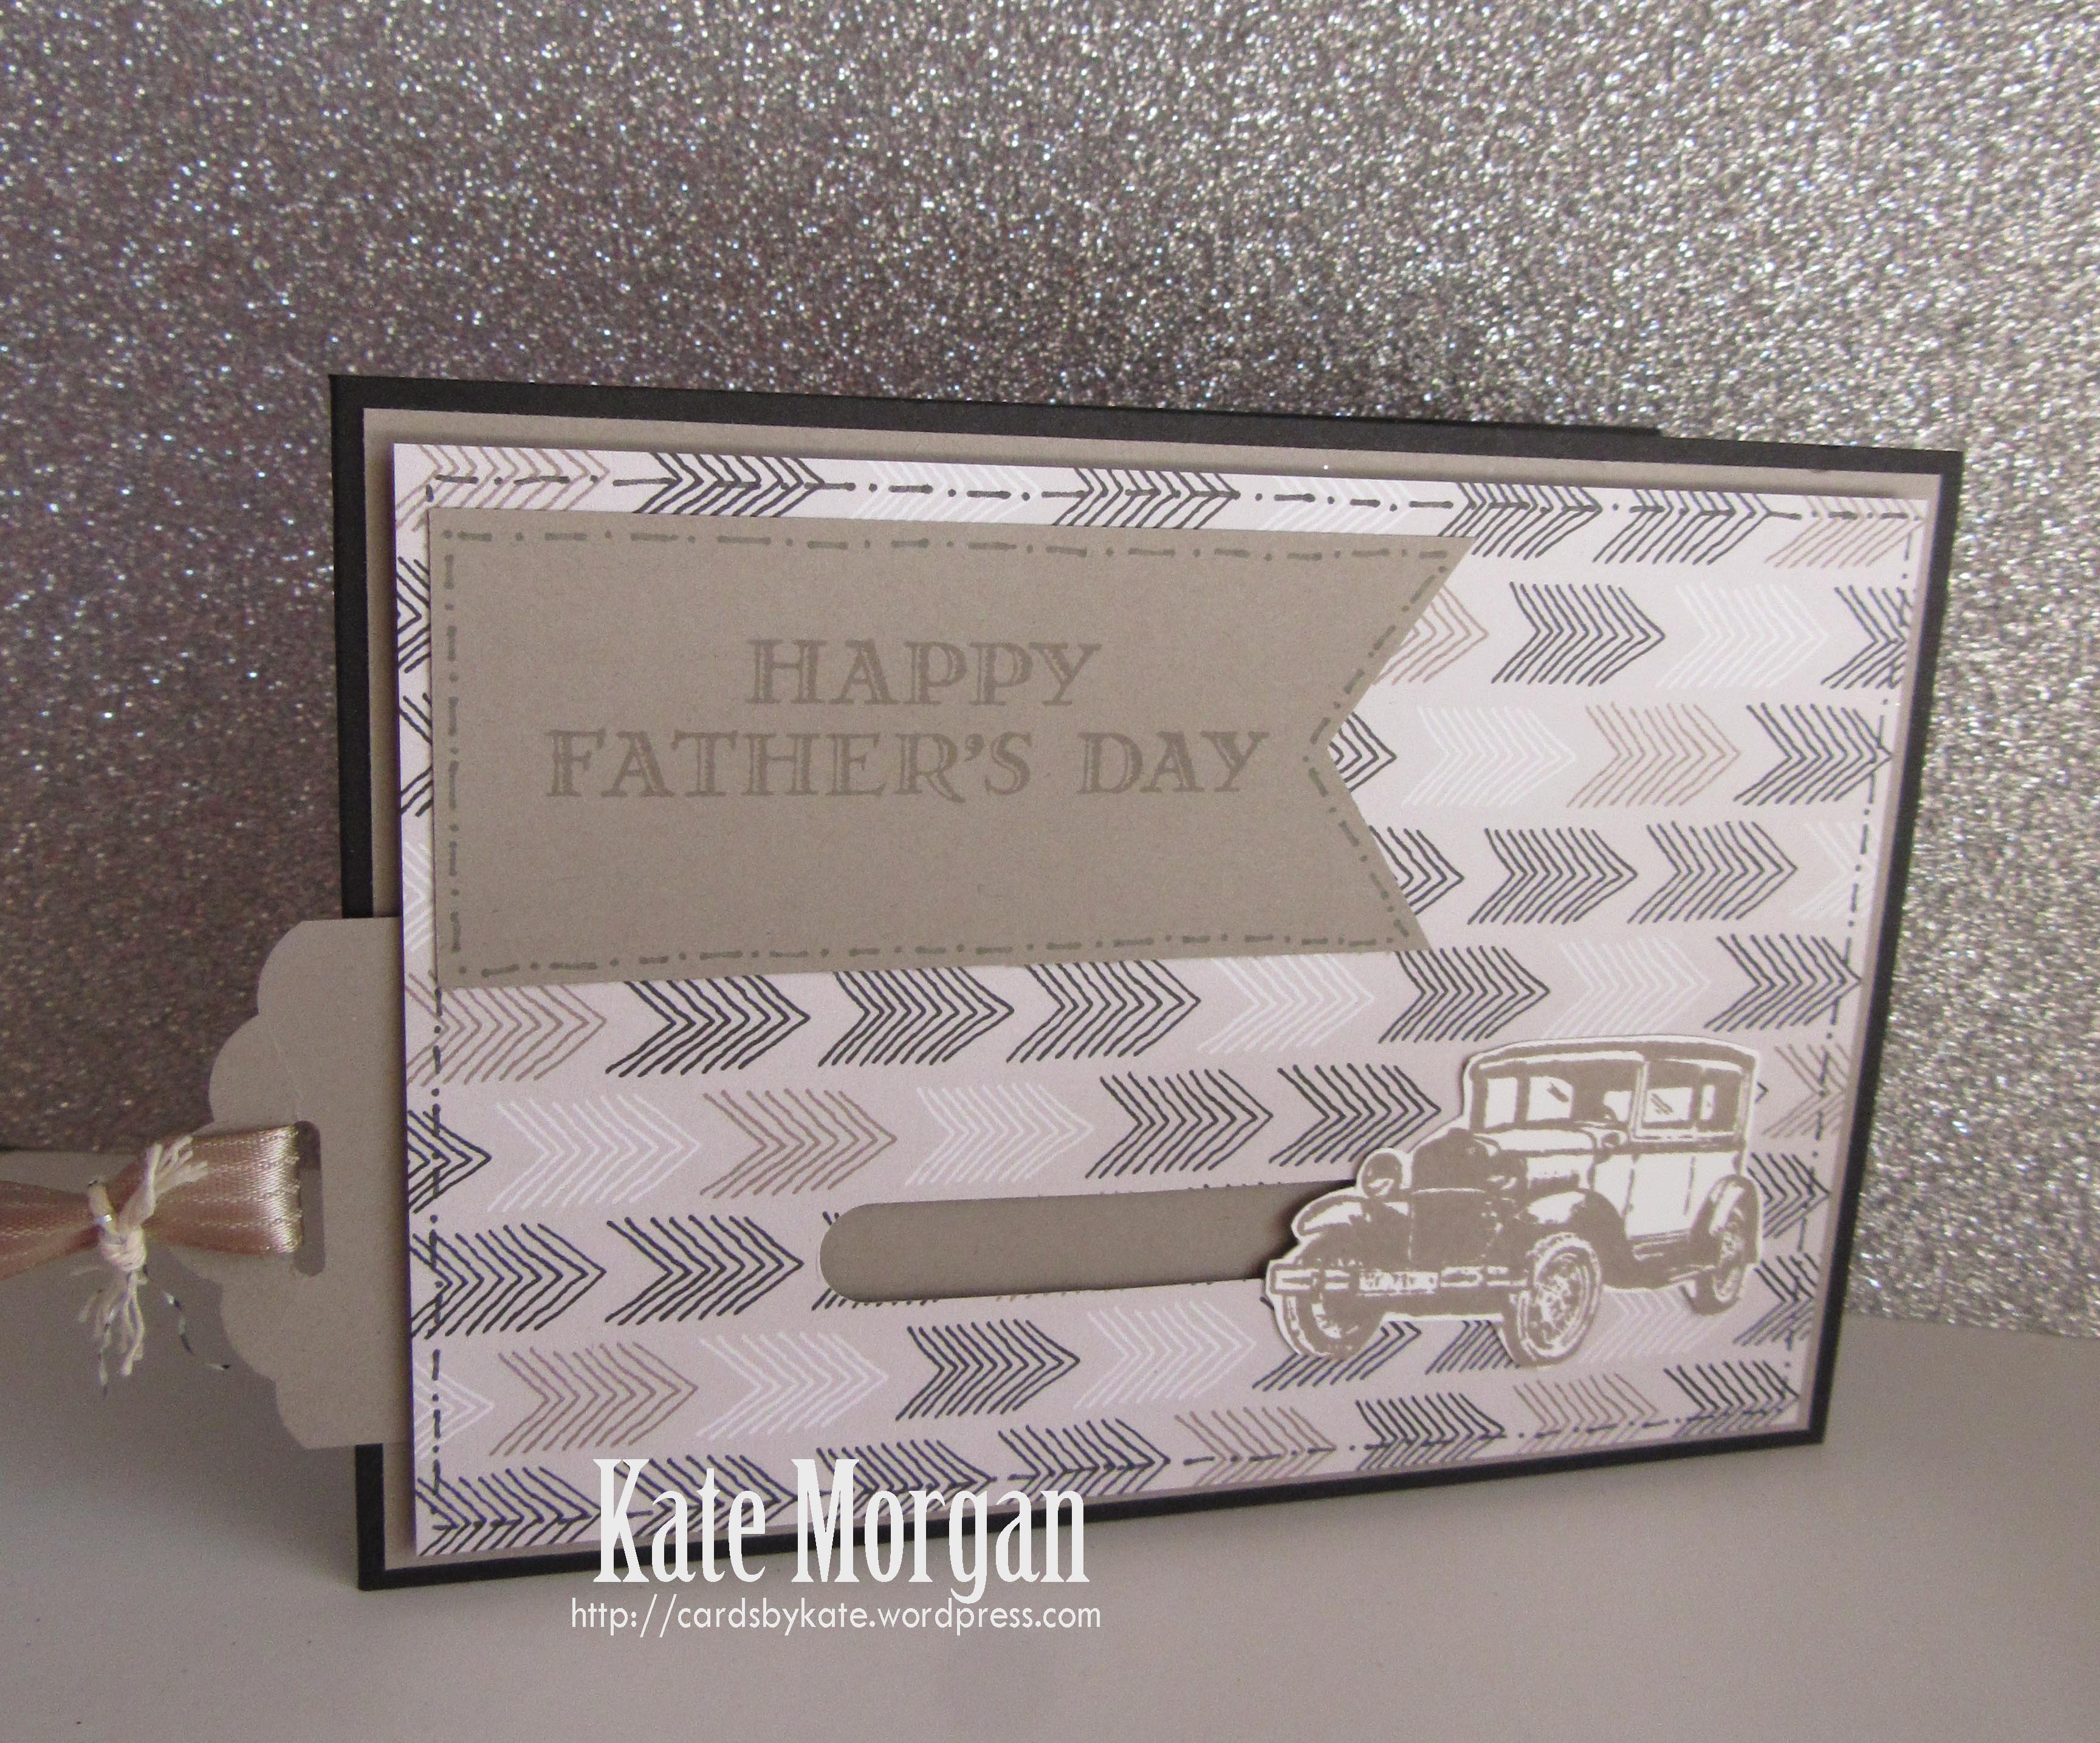
This is such a fun card to make, why don’t you give it a go!

Thanks for visiting today.
Don’t forget to email me at craftwithkate@live.com.au to request your copy of the Annual or Holiday Catalogue or to ask about joining the Art With Heart team.
Let’s keep this blog hop hopping. Next up we have the lovely Jenny Van Dijk!
![]()
If you find a broken link or have come to this blog hop from a different entry point, you can view the participants below:
- Tina Gillespie
- Genna Gifford
- Kate Morgan (that’s me!)
- Jenny Van Dijk
- Claire Daly
- Judy May
- Kathryn Mangelsdorf
- Rachel Woollard
- Ros Davidson
- Kathryn Ruddick
- Kayleen McLean