Dear Crafters,
I am so excited to start sharing with you a sneak peek of some new product in the Annual Catalogue which starts 2 June!
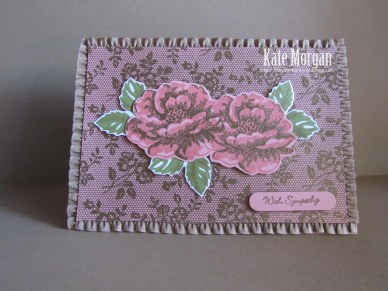
I begin with a set that you probably won’t be surprised about, as it has flowers and butterflies, some of my favourites 😉
I have used the Floral Wings Hostess stamp set. This set can only be purchased by the Hostess if you have a party at your house, ask a few friends along to have some fun stamping and I can share many different techniques with you all.
This stamp set is photopolymer, so it is completely clear so you can stamp exactly where you want it to be! Love, love, love my photopolymer stamps!!!

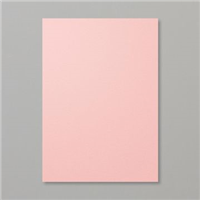
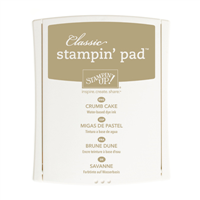
The base card is Watermelon Wonder with a layer of Pool Party which is stamped with some of the new In Colour inks; Tip Top Taupe, Cucumber Crush and Watermelon Wonder.
I fussy cut the butterfly and added it with dimensionals (I can’t wait to get my hands on the coordinating framelits to make this process even easier, but of course even I need to wait until 2 June to get them!)

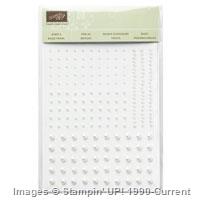
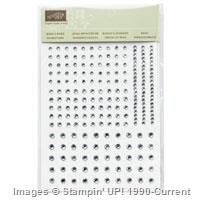
I added a strip of the basic pearls to the centre of the butterfly for a little bling!
Be sure to decorate the inside panel of your card and even the envelope.

I would love you to comment below with your thoughts on this card.
Don’t forget that the Retired Product List is still available so click here to shop online 24/7!
I also want to remind you that the end date for the 2014-2015 annual catalogue has changed from 30 June to 2 June! So be prepared for this change and get those orders in before the items run out.
All Catalogues, Clearance Rack & Weekly Deals are available online here! They are full of amazing new products and wonderful inspiration. It is a must have for anyone interested in Ink, Paper and Stamps!
Shop Online 24/7 for products
Don’t forget to Follow My Blog to receive blog updates and join my Newsletter Subscription for all the latest news and specials!