![]()
Each week some of the Art With Heart team are joining the Colour Creations Blog Hop to bring you creative inspiration showcasing our range of 50+ gorgeous Stampin’ Up! colours in alphabetical order.
Week 5 – Tahitian Tide
Tonight we showcase our fifth new 2022-2024 In Colors, Tahitian Tide!
How do you pronounce Miura? [MEE] + [OOR] + [UH]. When I Googled it, I found that in 1985, Japanese astrophysicist Koryo Miura proposed a form of rigid origami, a style of folding paper (or other materials) that allows each section to remain flat—a necessary condition for stiff materials.
I have been fascinated by this fold style for a while and it was time to give it a go!

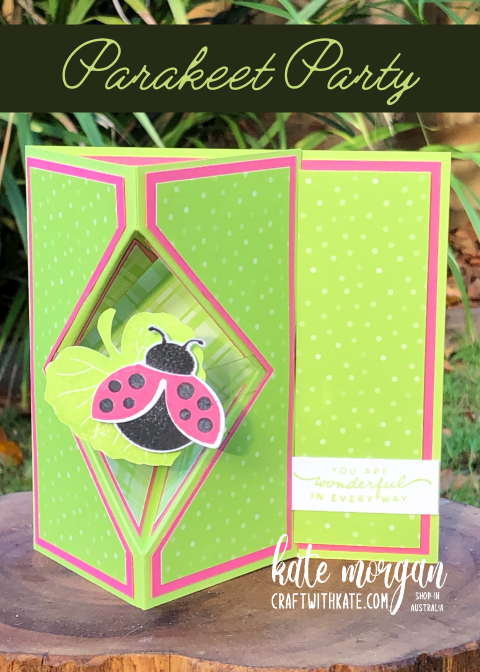
My card base is the Thick Basic White card and decorated with patterned papers from the new 2022-2024 In Color DSP pack and the Tea Boutique DSP pack. The Scalloped Contour dies was used to cut the white layer and then I used the fancy die from the Happiness Abounds Bundle to create that lovely pattern (notice it doesn’t cut everything out – so pretty). The flowers and leaves are stamped and die cut. The flowers are coloured using the Wink of Stella, taking some ink directly from the inkpad, to add some darker colour. The leaves are coloured with the Parakeet Party Light Stampin’ Blends marker. The sentiment is stamped in Versamark ink, White Emboss Powder added and heat set with the Heat Tool. This was fussy cut with Paper Snips and added on Dimensionals.

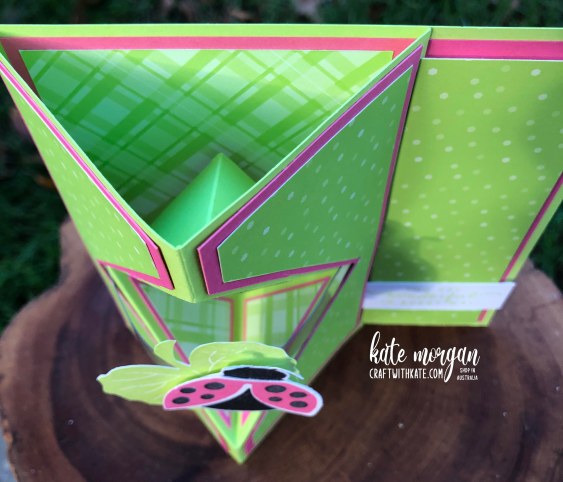
This is the card fully open so you can see all the beautiful patterned papers.

The feature on the inside is one flower white embossed and the other stamped on white. Both coloured the same way as the front. This sentiment was done using the Stamparatus. I inked only the word ‘birthday’ with Versamark ink, added White Emboss Powder and heat set it. Place it back in the Stamparatus (ensure you clean the stamp with your Shammy) and ink up the word ‘happy’ with the Tahitian Tide ink and stamp. I actually inked it a second time (benefits of using this amazing tool) to ensure I had enough ink transferred to the card before adding Clear Emboss Powder and heat setting. Fussy cut and glue across the flowers. I love how this looks against the two flowers!

I finished the card by adding some Basic Pearl Jewels!!!
There are quite a few YouTube videos of this fold (search Iced Images or Sam Calcott). I liked how there is a second piece of card added behind so it can stand up to be displayed. I mean who wouldn’t want to display a card like this?!!!!

There is plenty of room on the back of the card to write your message! It fits into a standard envelope for posting, but it may depend on how much dimension you add, if postage may be slightly higher.
Would you give this fancy fold design a go?
Thanks for dropping by. I hope you can join me next week for inspiration using Balmy Blue!
Please hop across to our next participant and enjoy the wonderful inspiration of Michele Taylor!

If you come across a broken link or have come from a different entry point, a full list of participants can be viewed on Cathy Proctor’s blog.
♥ Click here to see the full list of products used in this project ♥

Don’t forget to Follow My Blog to receive blog updates and join my Newsletter Subscription for all the latest news and specials!