Welcome to the Colour Creations Instahop. You can follow us on Instagram starting @craftwithkate. Each week we will showcase the Stampin’ Up! colours in alphabetical order.
Week 20 – Early Espresso
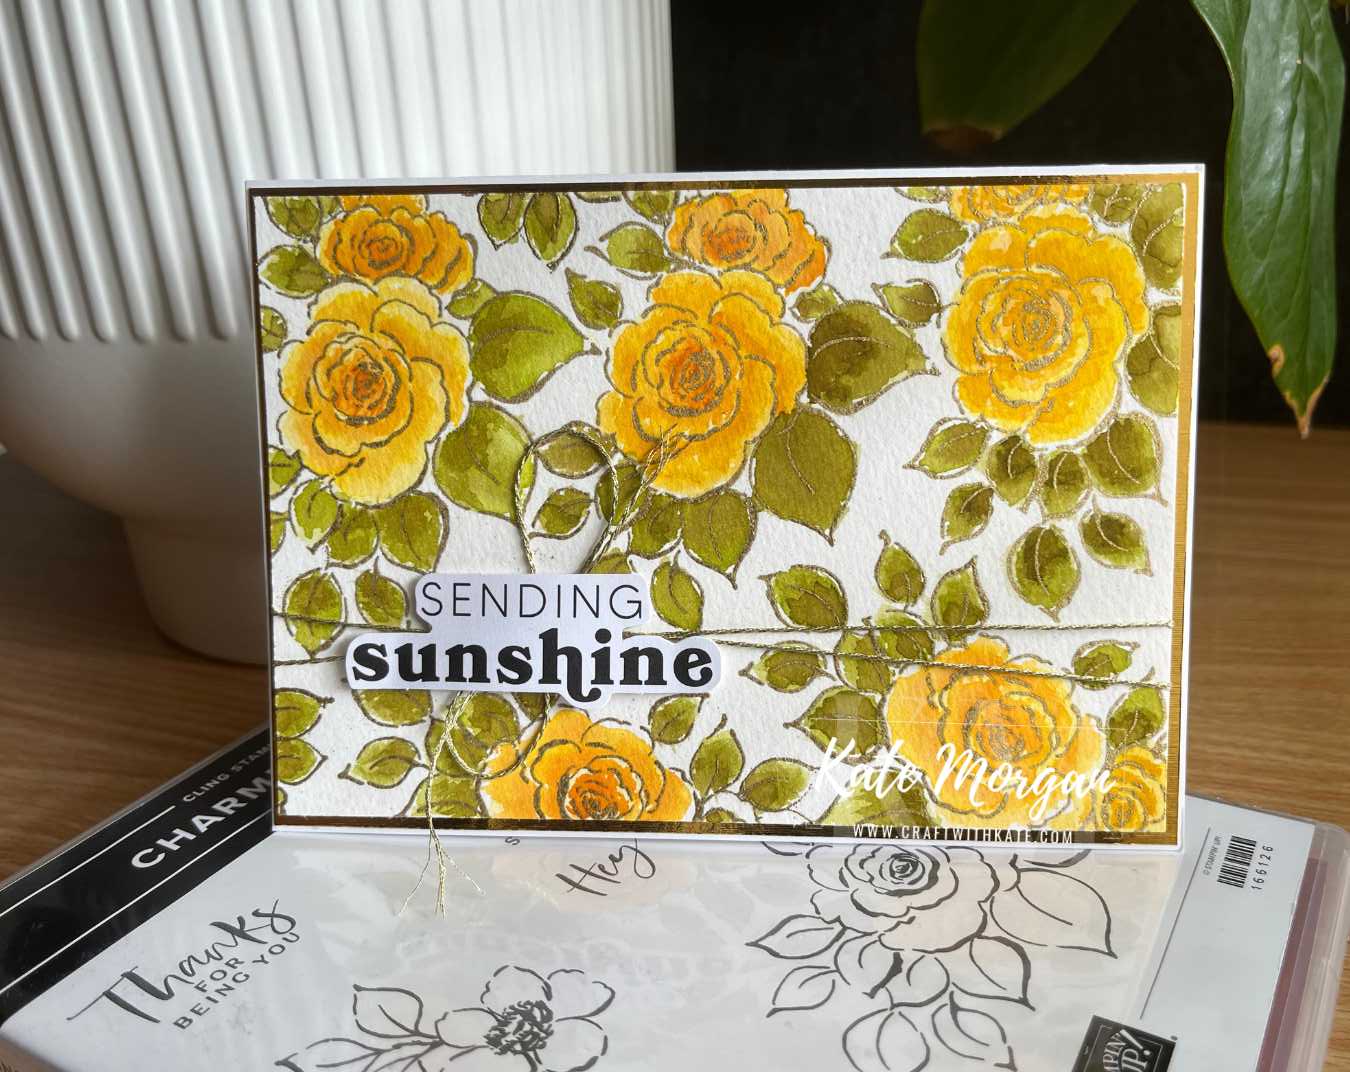
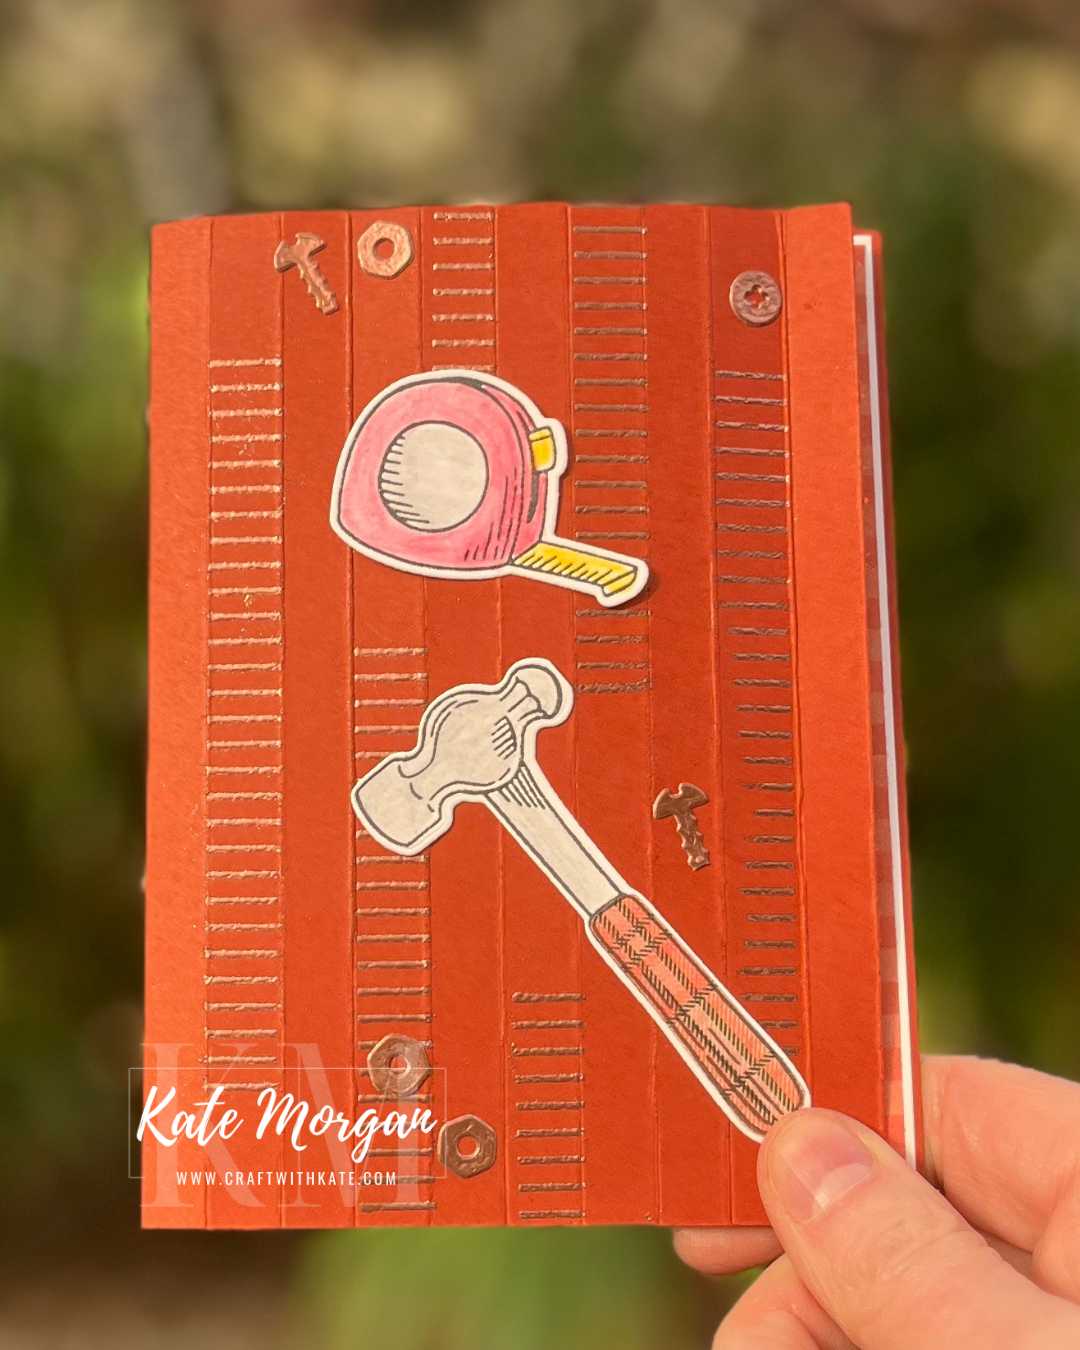
This handmade card features the Woven Textures DSP. I love all the different textures of the patterned paper and the dry embossing.


A LITTLE ‘WHY’ ABOUT THIS CARD
I adore this little patchwork bird. Thanks to Julie Heitz, The Chirpy Cardmaker of Quilts for her YouTube instructions. Initially I wasn’t going to add any colour, just use the DSP with a neutrals colour palette, but I think the leaves and flowers add a lovely pop of colour!
How you can re-create this card
1. Create the base – an Early Espresso card base, 29.7cm x 10.5cm, scored @ 14.9cm.
2. Add Texture – after adhering the Basic White (10cm x 14.4cm) layer and the DSP (9.7cm x 14.1cm) layer, I placed it into the Traditional Wreath 3D Embossing Folder and ran it through my Cut & Emboss Machine.
3. Feature Image – The leaves [Christmas Greetings dies] are die cut with Garden Green and Granny Apple Green ink added using Blending Brushes. The largest Stylish Shapes die circle has Misty Moonlight ink, blended around the edges. The patchwork bird is created with pieces of Woven Textures DSP and adhered to the circle.
4. Layering – Adhere the dry embossed layer to the card base, then attach the feature on Dimensionals. Glue the leaves into place.
5. Add the sentiment – heat emboss the sentiment with Versamark ink and White WOW Emboss Powder.
6. Finishing touches – some of the flowers from the Extraordinary Flora Washi Tape is added for an extra pop of colour.

Many of us also participate in the Heart of Christmas blog hop that goes live every Monday night, where we showcase Christmas inspiration in the lead up to Christmas. We would love you to follow us!
Thanks for dropping by. I hope you join me next Wednesday for Flirty Flamingo inspiration.
Product List @stampinupofficial
Stamps: Extraordinary Flora*
Dies: Christmas Greetings, Extraordinary Flora* Stylish Shapes
Ink: Garden Green, Granny Apple Green, Misty Moonlight, Versamark
Paper: Basic White, Early Espresso, Woven Textures DSP, Basic White C6 Envelopes
Other: White WOW Emboss Powder, Neutral Matt Dots, Exaordinary Flora Washi Tape, Traditional Wreath 3D Embossing Folder, Blending Brushes, Acrylic Blocks, Paper Snips, Bone Folder, Paper Trimmer, Multipurpose Glue, Mini Stampin’ Dimensionals, Glue Dots, Tear & Tape, Stampin’ Cut & Emboss Machine, Take Your Pick Tool, Simply Shammy, Heat Tool.
*can be purchased together as a bundle to save 10%

Don’t forget to Follow My Blog to receive blog updates and all the latest news and specials!