Wow, what a wonderful time I had last weekend in Sydney for OnStage, the Annual event for demonstrators!
I flew up on Friday, leaving cold Melbourne (16 degrees) and arriving in Sydney to 30+ degrees. Thankfully I was picked up by a wonderful team member, Cathy and she drove me back to her home north of Manly. She and her hubby needed to head out for a short time, so I was more than comfortable sitting with her gorgeous dog, Superman, on the back deck over looking the pool with a lovely sea breeze.

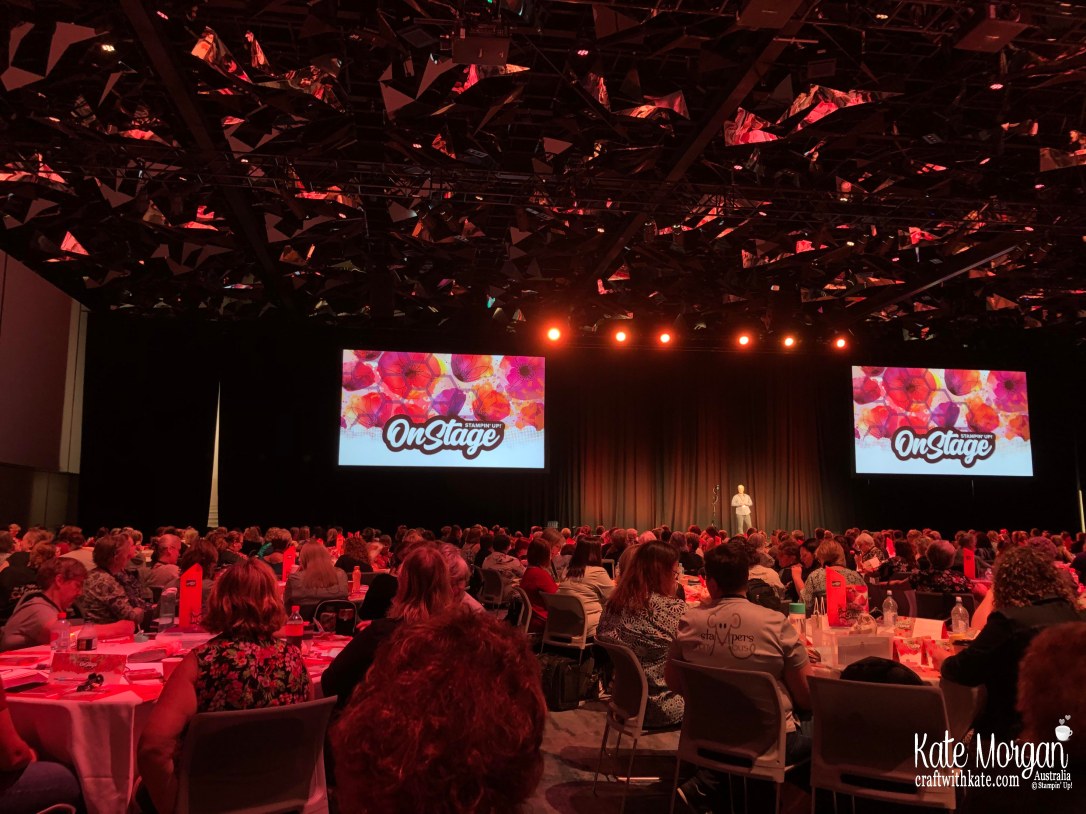
Saturday we were up and gone by 7am to head into Darling Harbour to the ICC. The event began and here is our view of the stage with 600+ other demo friends.
Early on in the morning, we received our new Mini catalogue and Sale-a-bration brochure to ogle over. It sure is an amazing catalogue and our first comments were, after picked our jaws up off the floor, “we are in trouble!”.


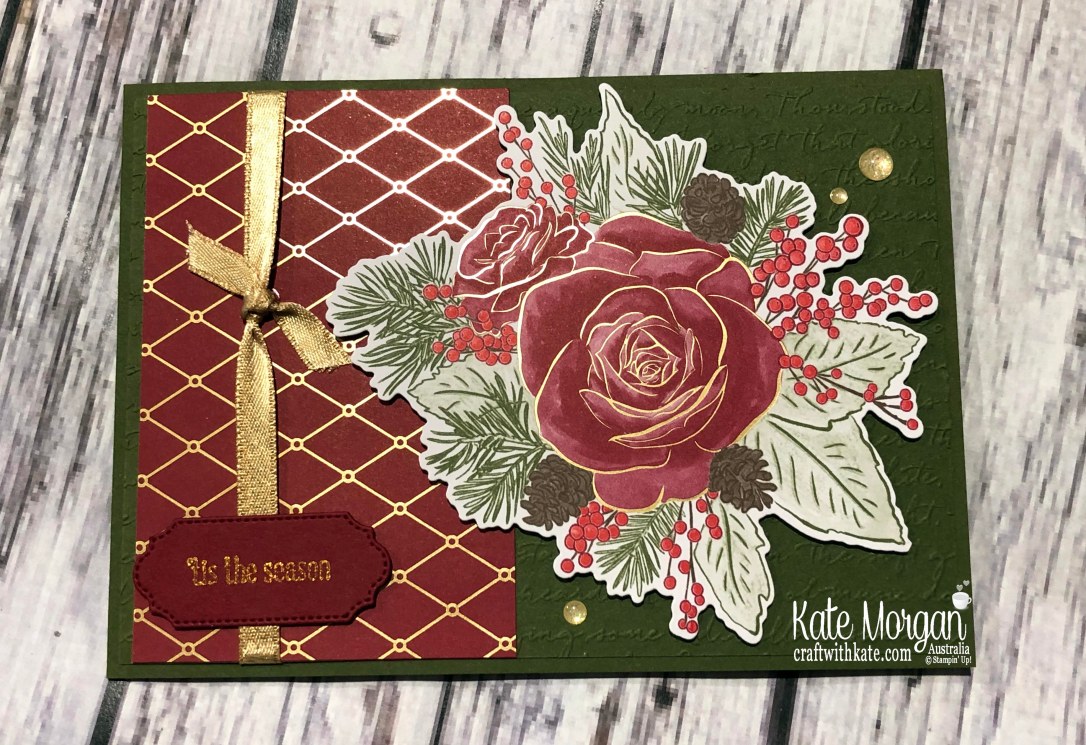
During the day, after some of the product demonstrations, we get to create 4 x Make N Takes. Here are a couple of them. The first one uses the Peaceful Poppies Suite, absolutely gorgeous 💗

This one is the Parisian Blossoms Suite, I adore the Champagne Rhinestones!

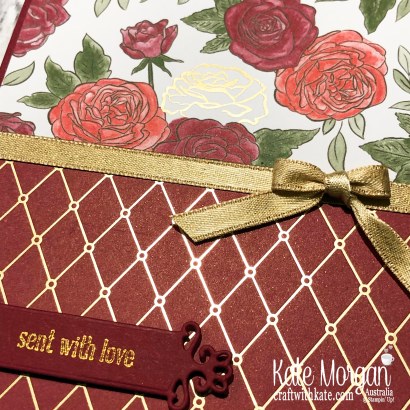
and these are the 3″ x 3″ Notecards & envelopes from the Best Dressed Suite


Here is a photo of Cathy & I at the event, I love this pic of us!

Our backpack we received when arriving for Registration, with lots of goodies inside, including a Stamp Set, pens, notebook and more!

Another part of attending these events is, we are able to place a Product Purchase Premiere order. A select group of products can be purchased within 3 days of the event for those who attended. Mine arrived late yesterday!!!! Here’s a sneak peek of what I ordered!

I hope you enjoyed seeing some of what being a Stampin’ Up! Demonstrator can bring. Attending these events is definitely a highlight for me, catching up with so many like-minded people and making life long friends. If you have ever thought about joining, do it, you won’t be disappointed xx
2019-2020 Annual Catalogue ends 2 June 2020
2019 Holiday catalogue ends 2 January 2020
Be sure to download a PDF copy from my SU Catalogue Library page today.
Don’t forget to Follow My Blog to receive blog updates and join my Newsletter Subscription for all the latest news and specials!


 Shimmer Ribbon")


")
")


 Classic Weave Ribbon")


")


")
")


 Reversible Ribbon")