Gift Ideas, Handmade Cards, Techniques & Tutorials

Wildflower Fields Card Box

Dear Crafters,

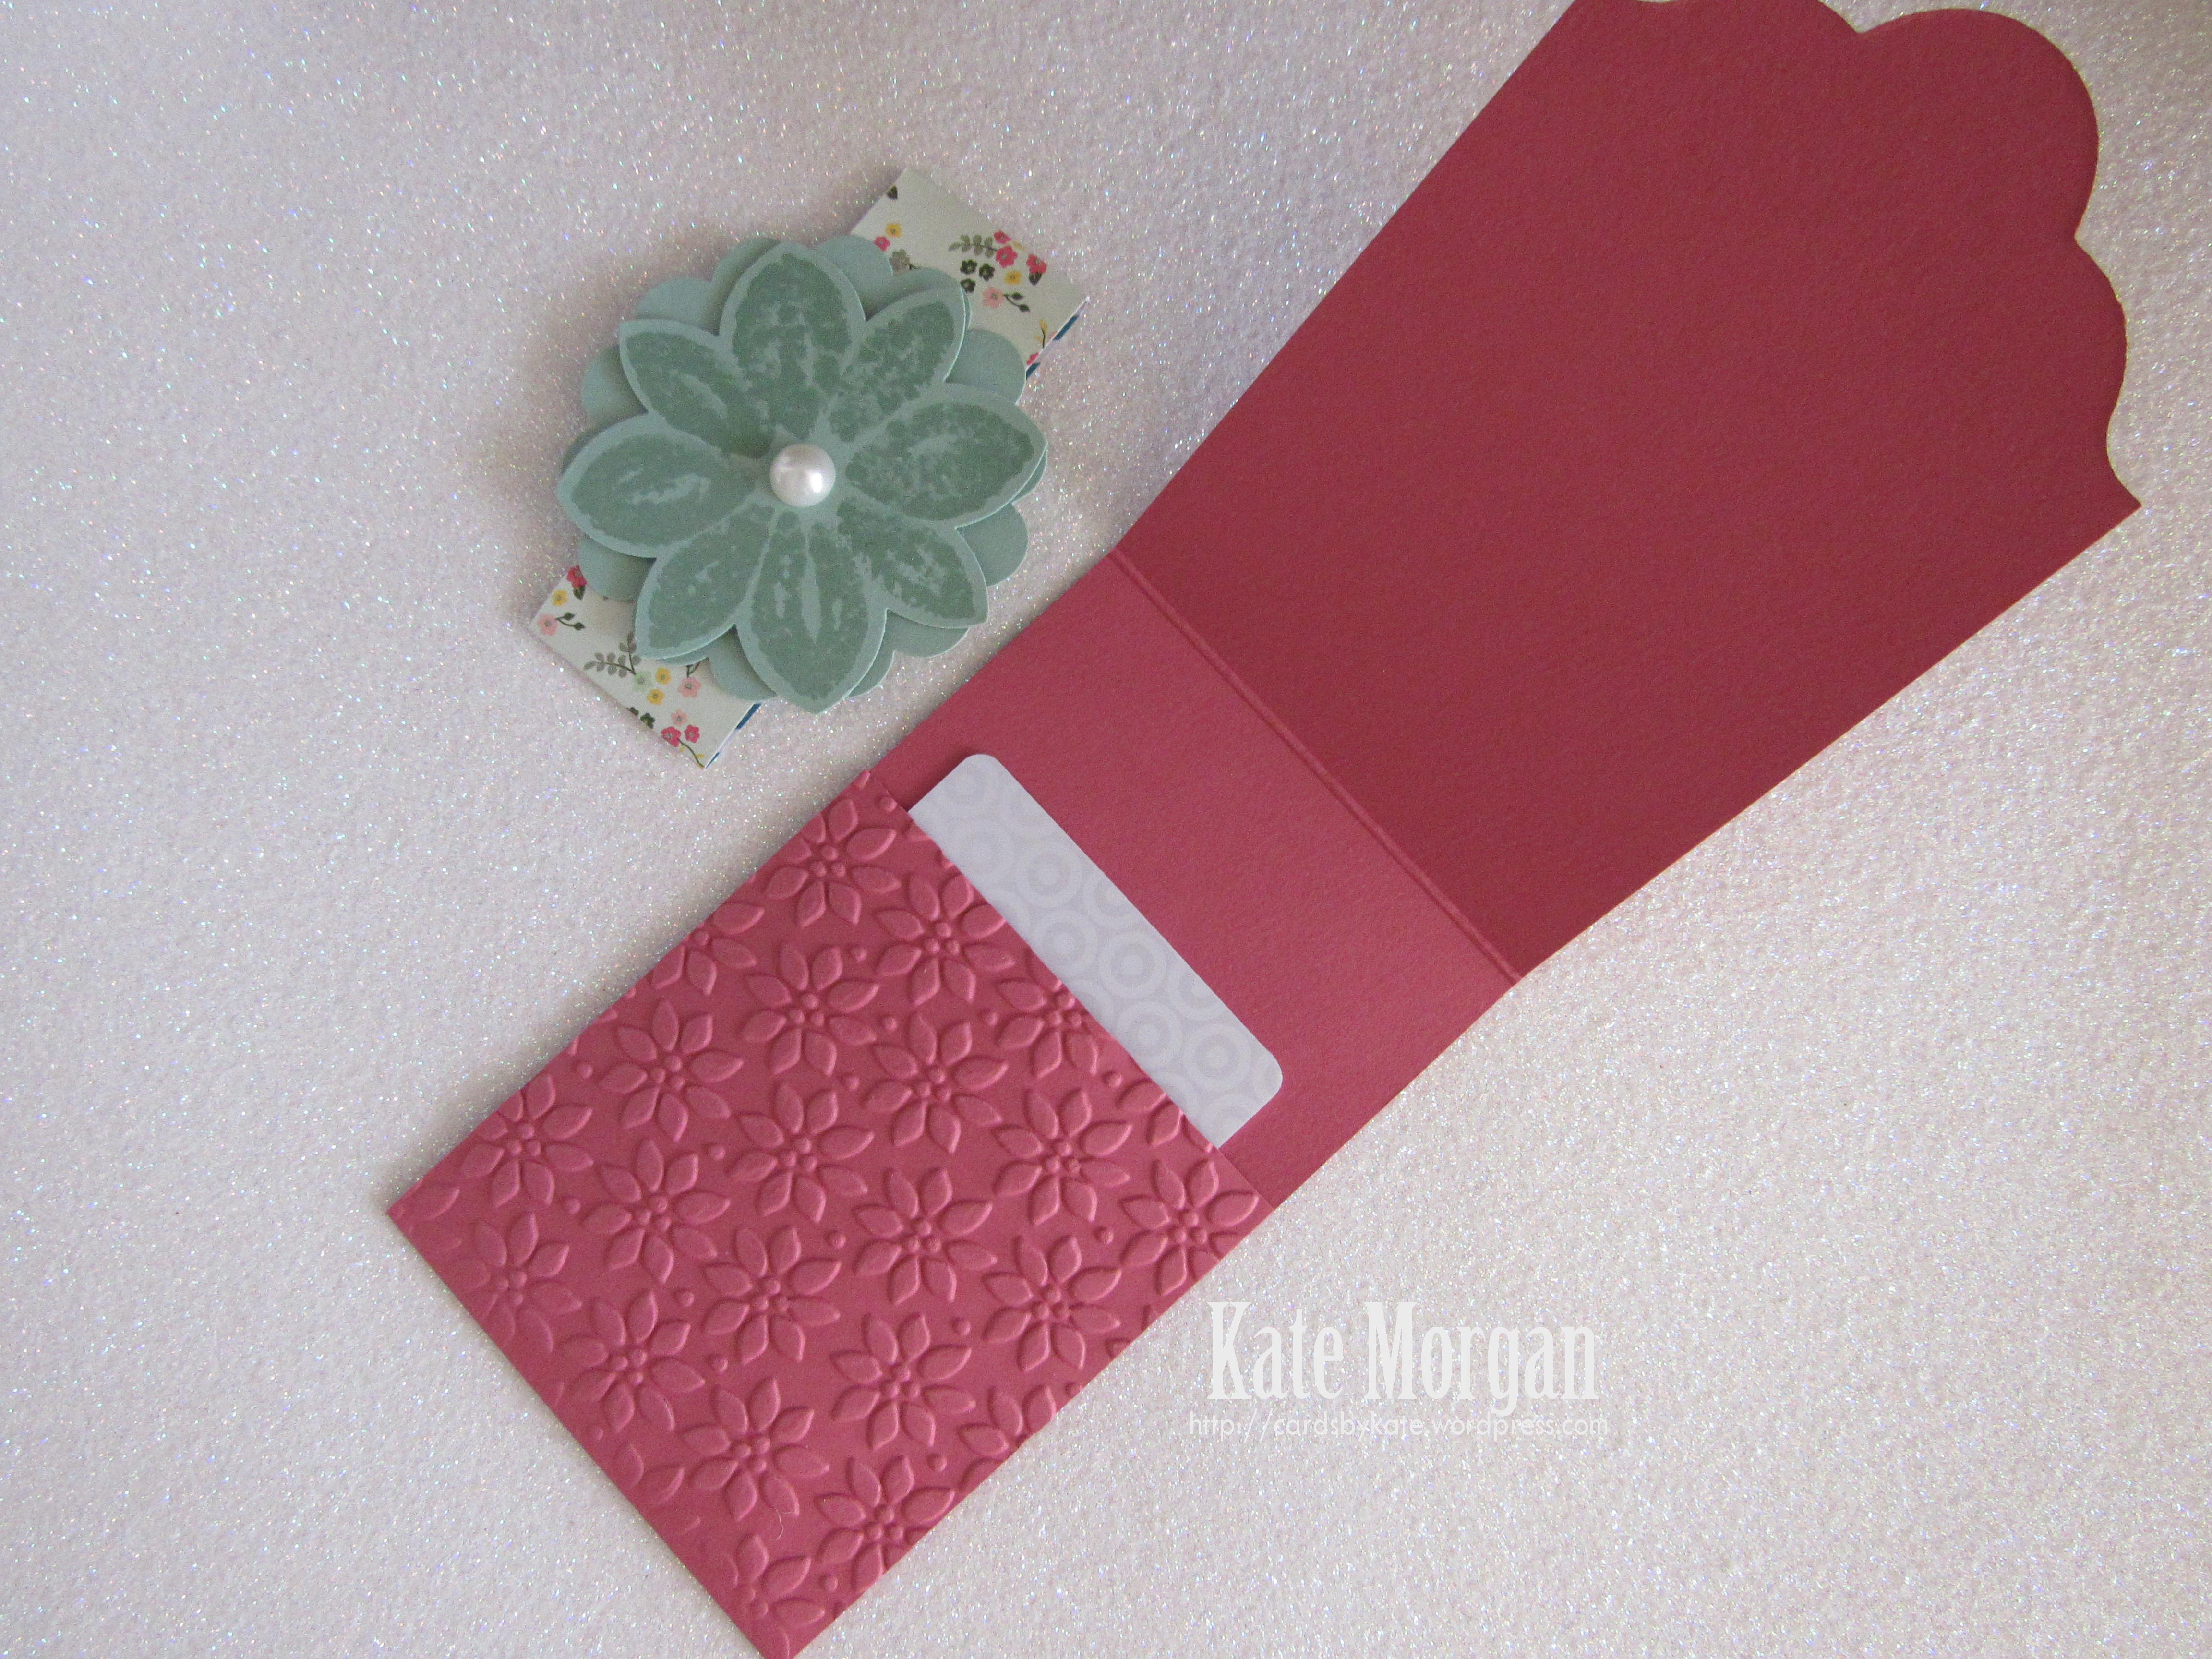
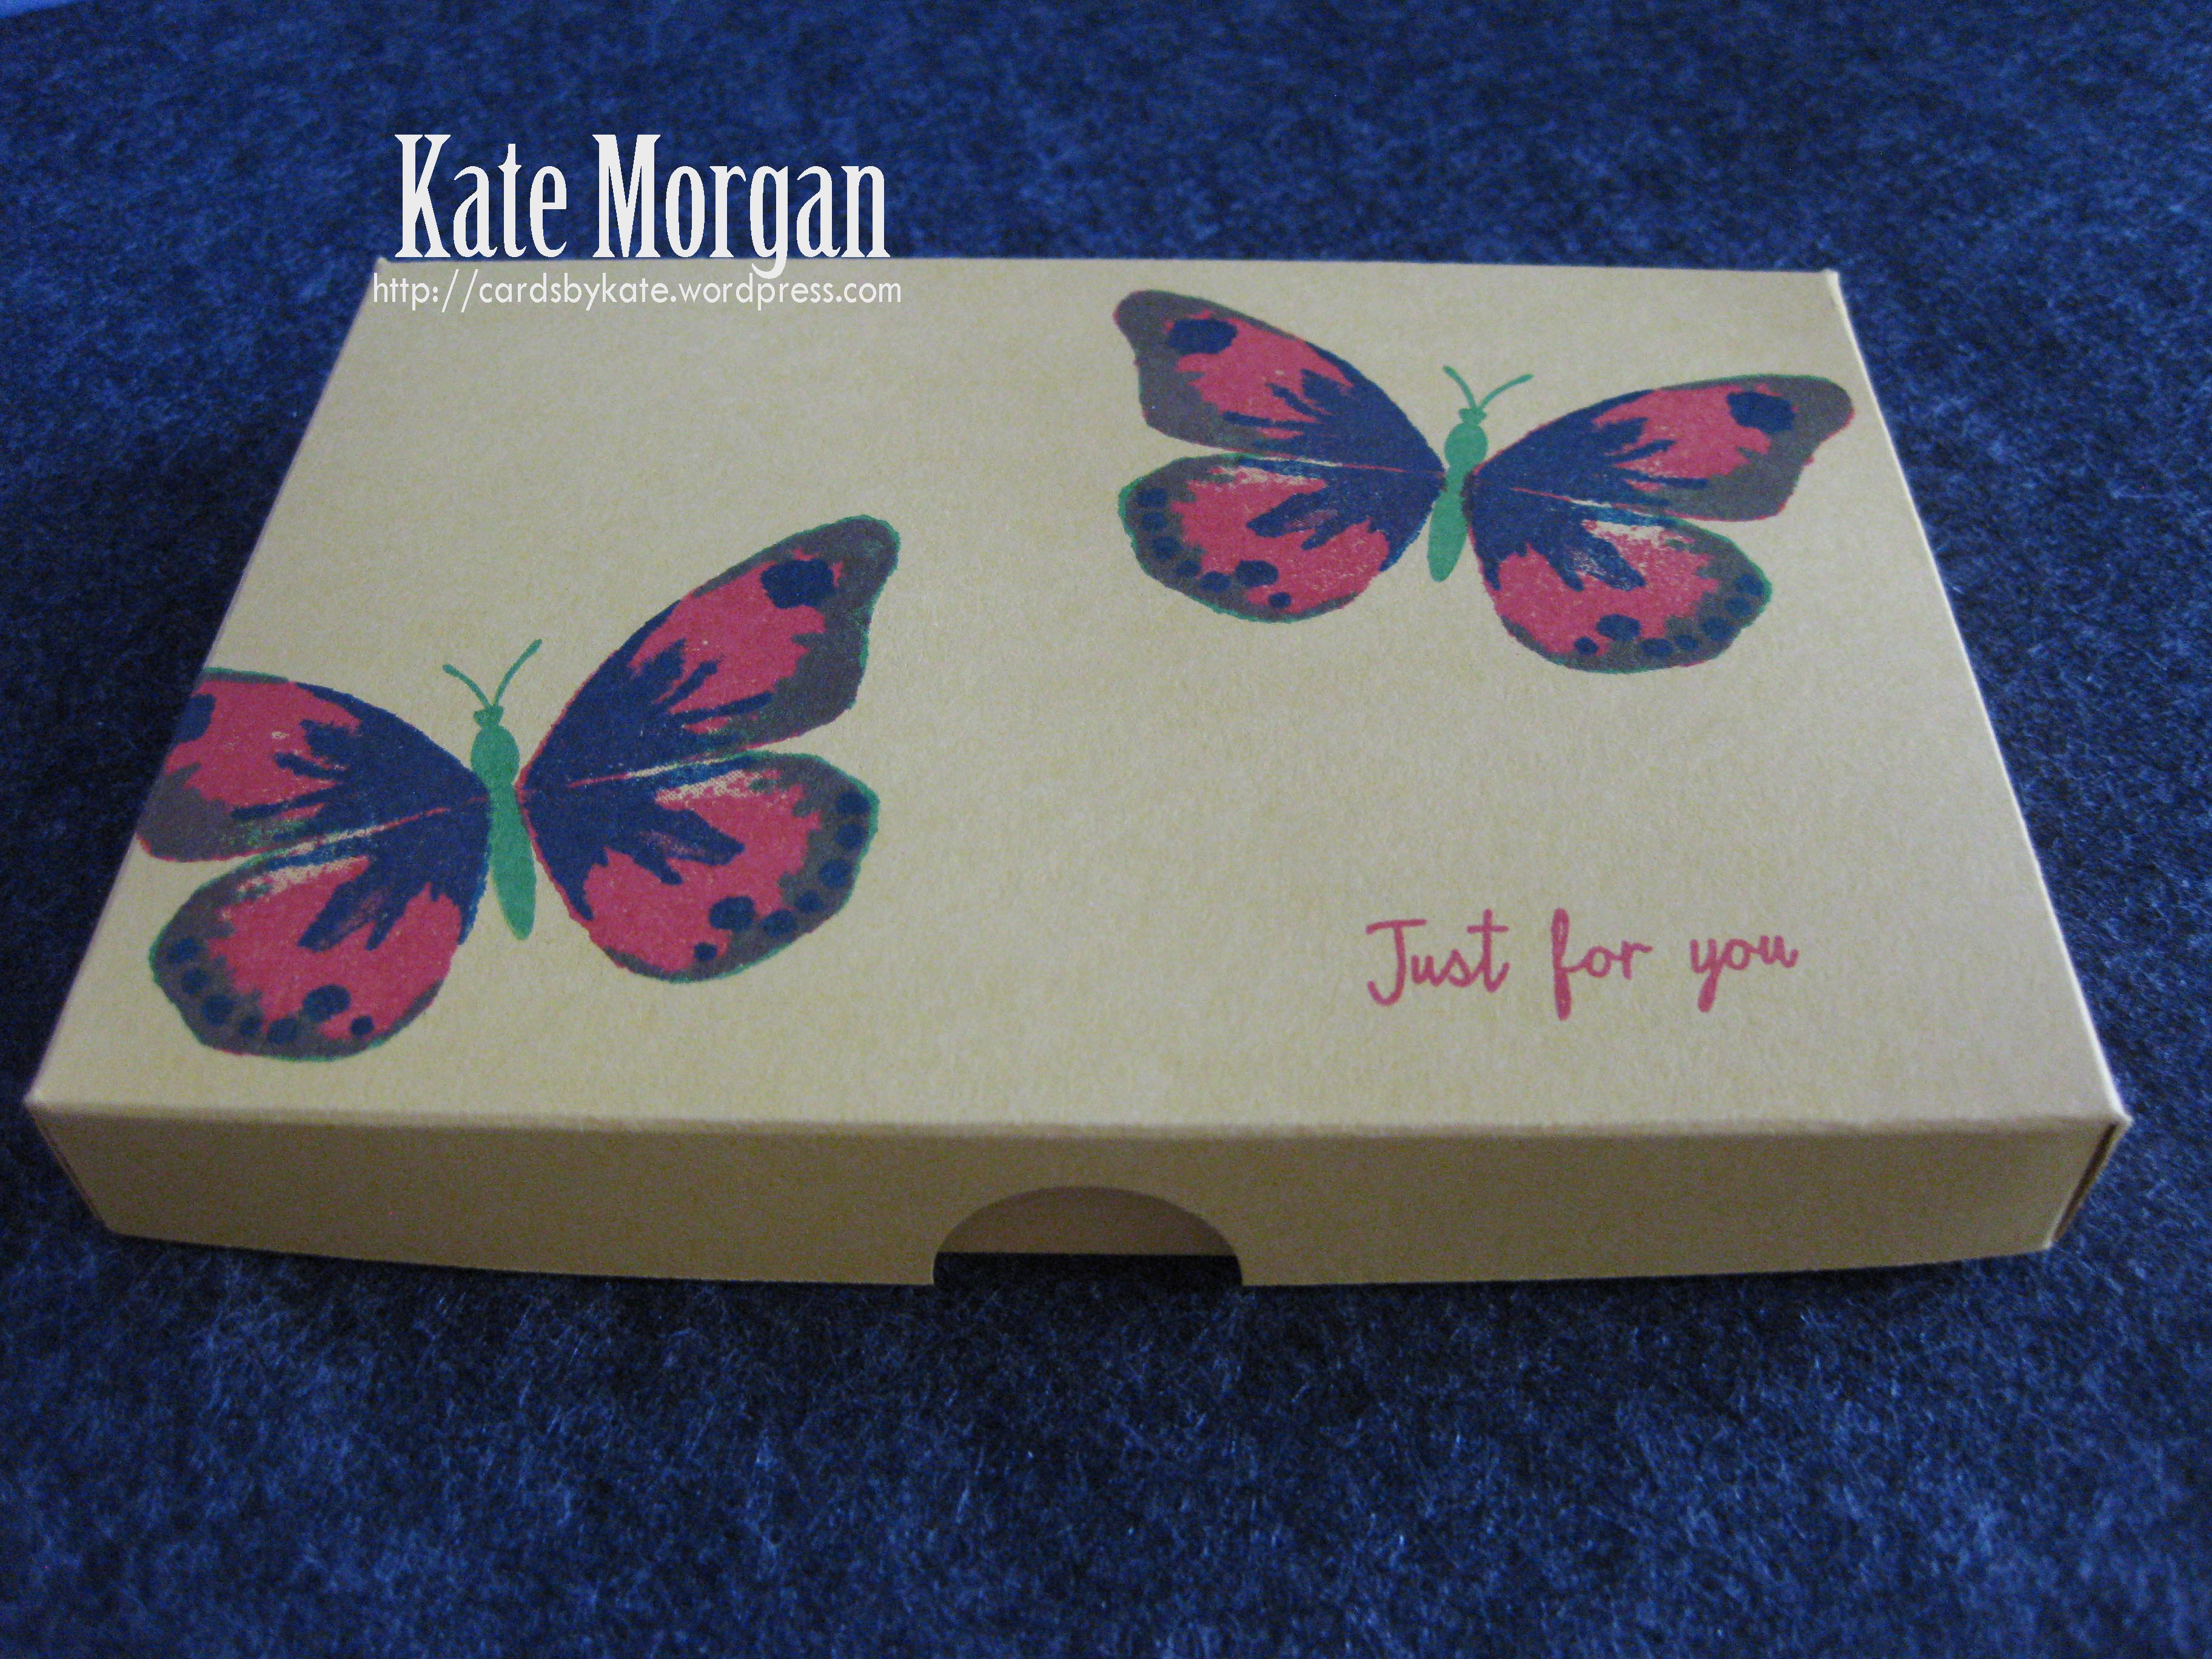
Today I share a gift idea in the way of a large envelope/card box to place some cards and envelopes in to give as a lovely gift to someone.

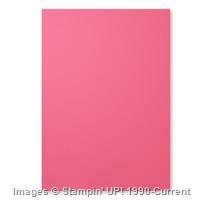
I have used Blackberry Bliss, this stunning rich colour coordinates with the Wildflower Fields Designer Series Paper that you can choose for free with any $90 order during Saleabration.

Card Envelope Project Wildflower Fields DSP #stampinup

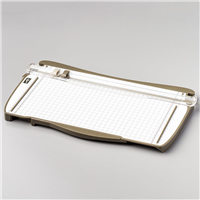
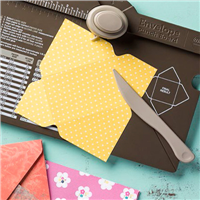
This envelope can hold 6 A5 cards and C6 envelopes. It is really just a thicker envelope that I made using the diagonal plate with the Simply Scored.

I started with an 11″ x 11″piece of cardstock and scored on the diagonal plate at 3-1/2″ and 5-1/2″. Tip: Score from the ruler along the top and the sides so you don’t have to turn your card stock.

Turn the card stock 90 degrees and score both sides diagonally at 4-1/2″ an 6-1/2″.

Card Envelope Project Wildflower Fields DSP #stampinup

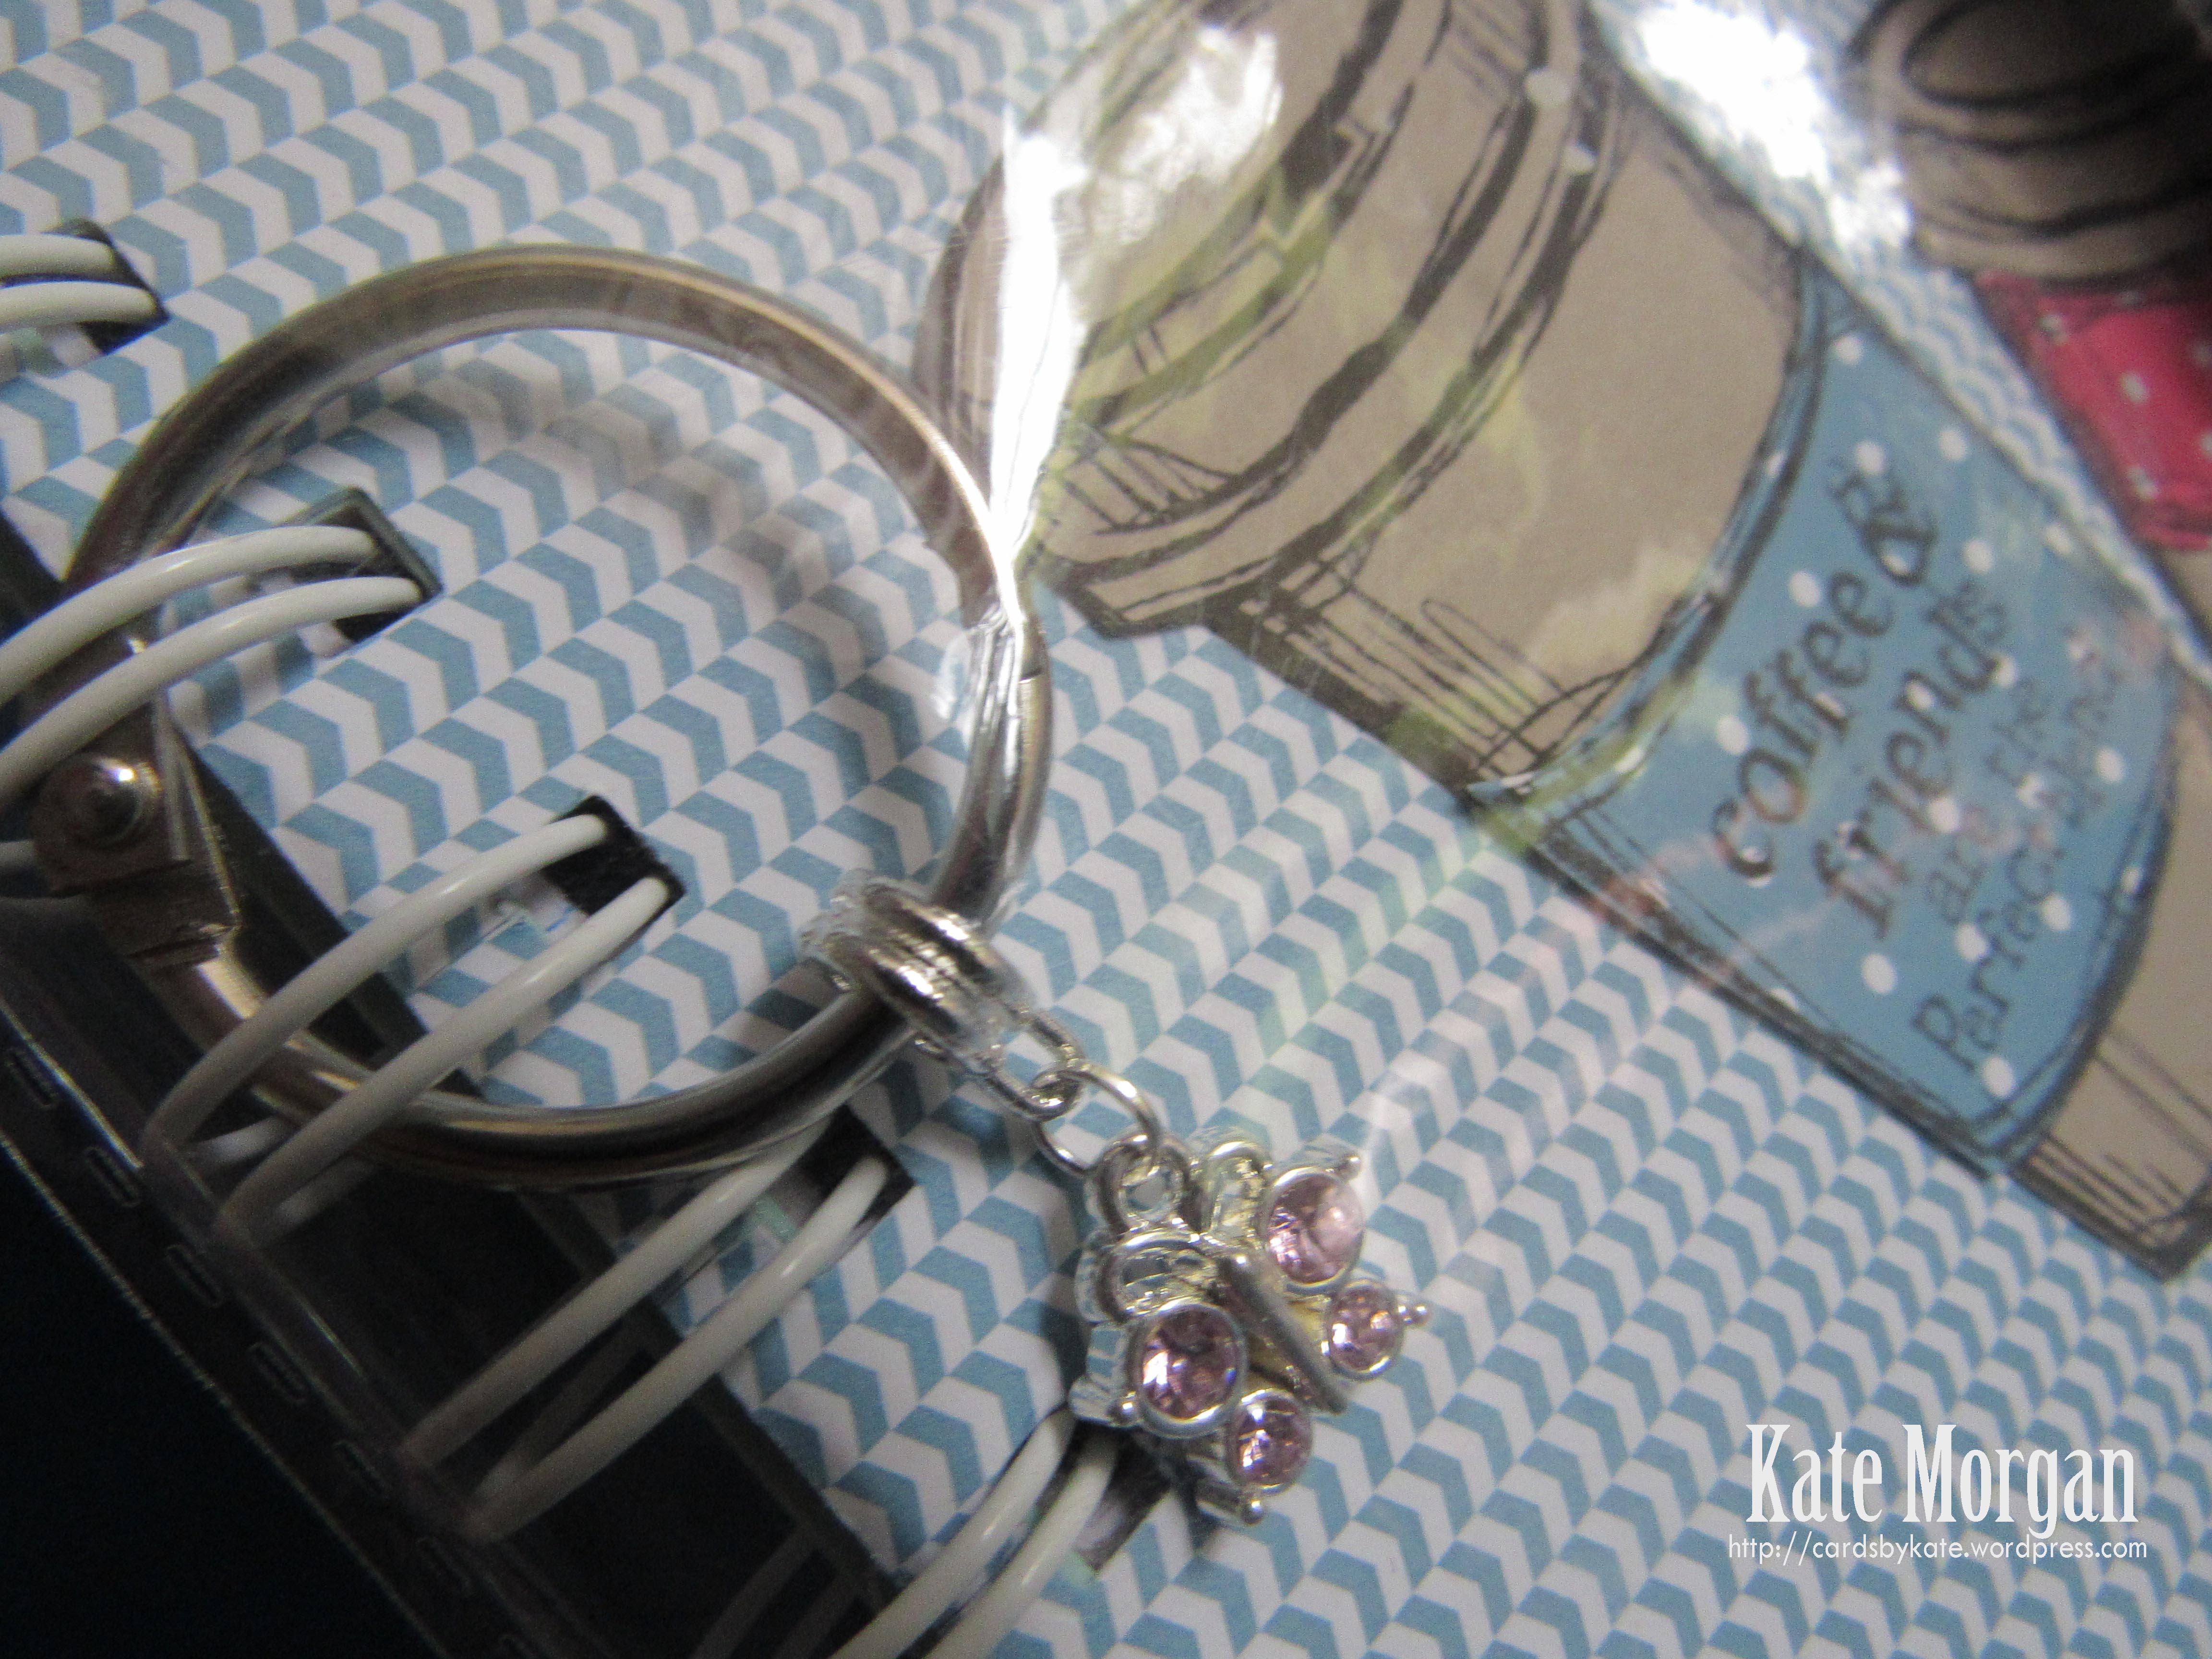
I have used a retired brad as the closer on this one, the flap folds down and underneath it to hold it closed.

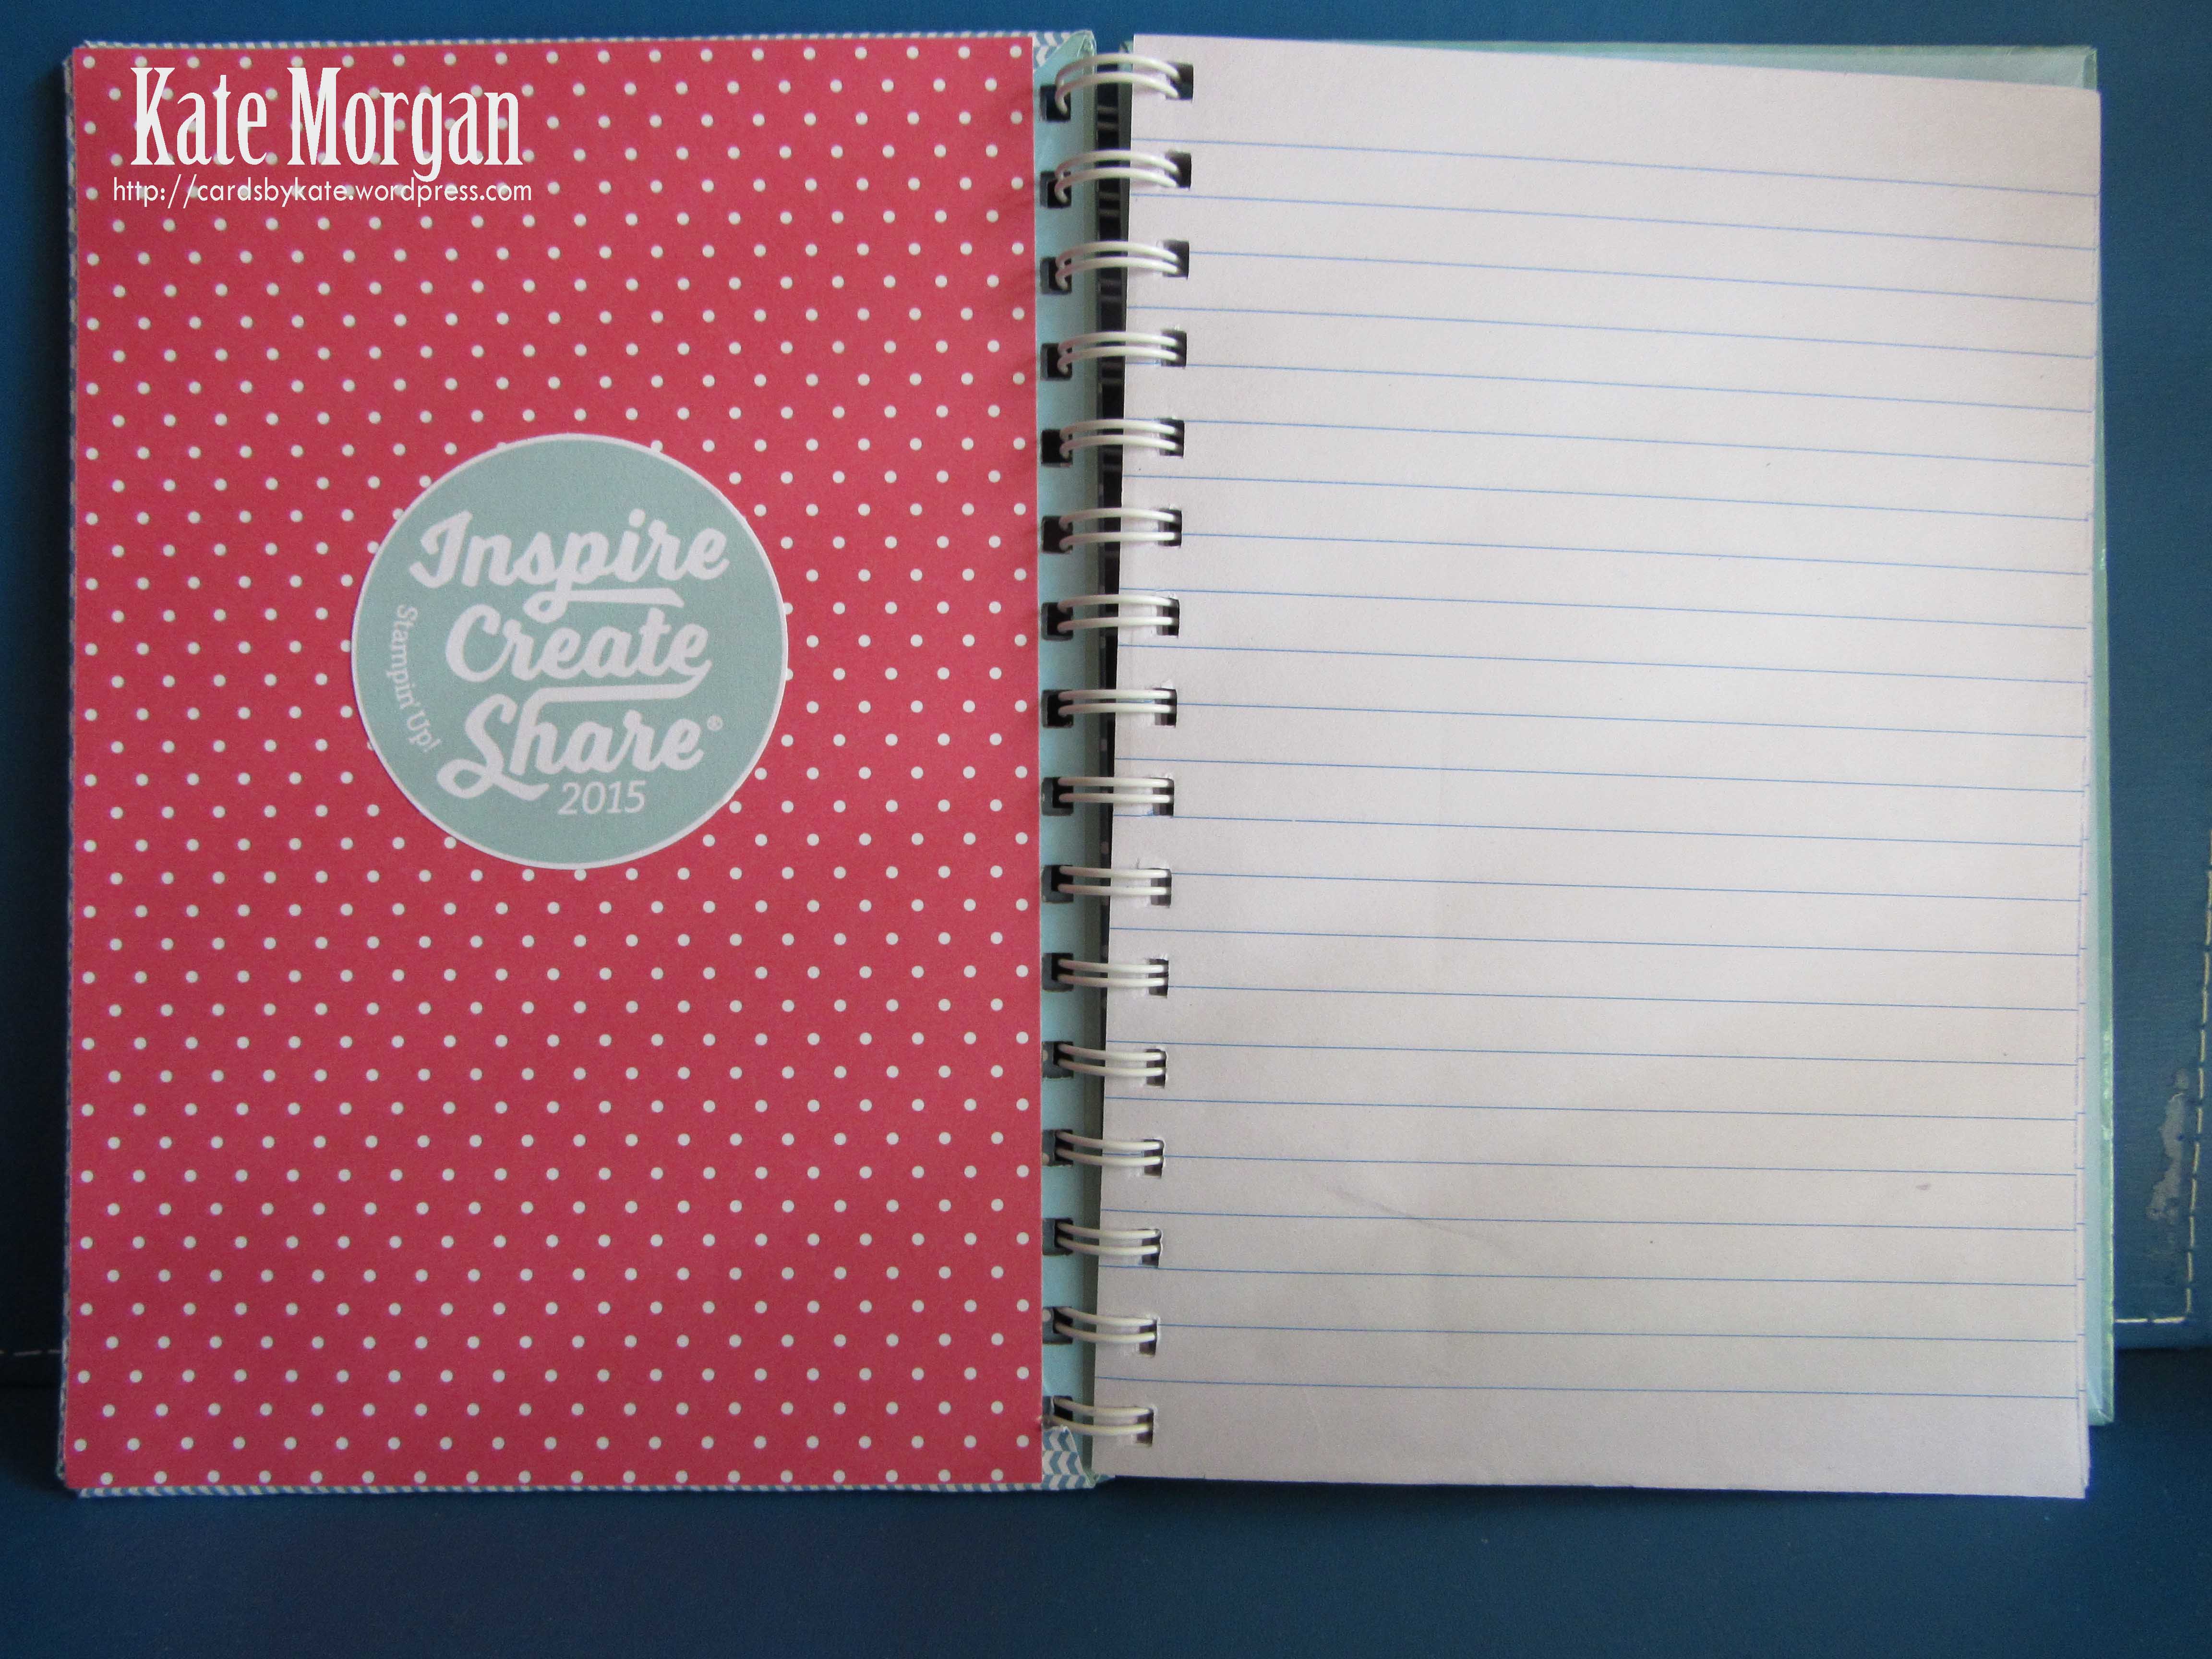
I have even put a piece of DSP on the back to dress it up and show off this gorgeous DSP!

Card Envelope Project Wildflower Fields DSP #stampinup

Isn’t it a lovely way to give some cards to someone as a gift?!!!

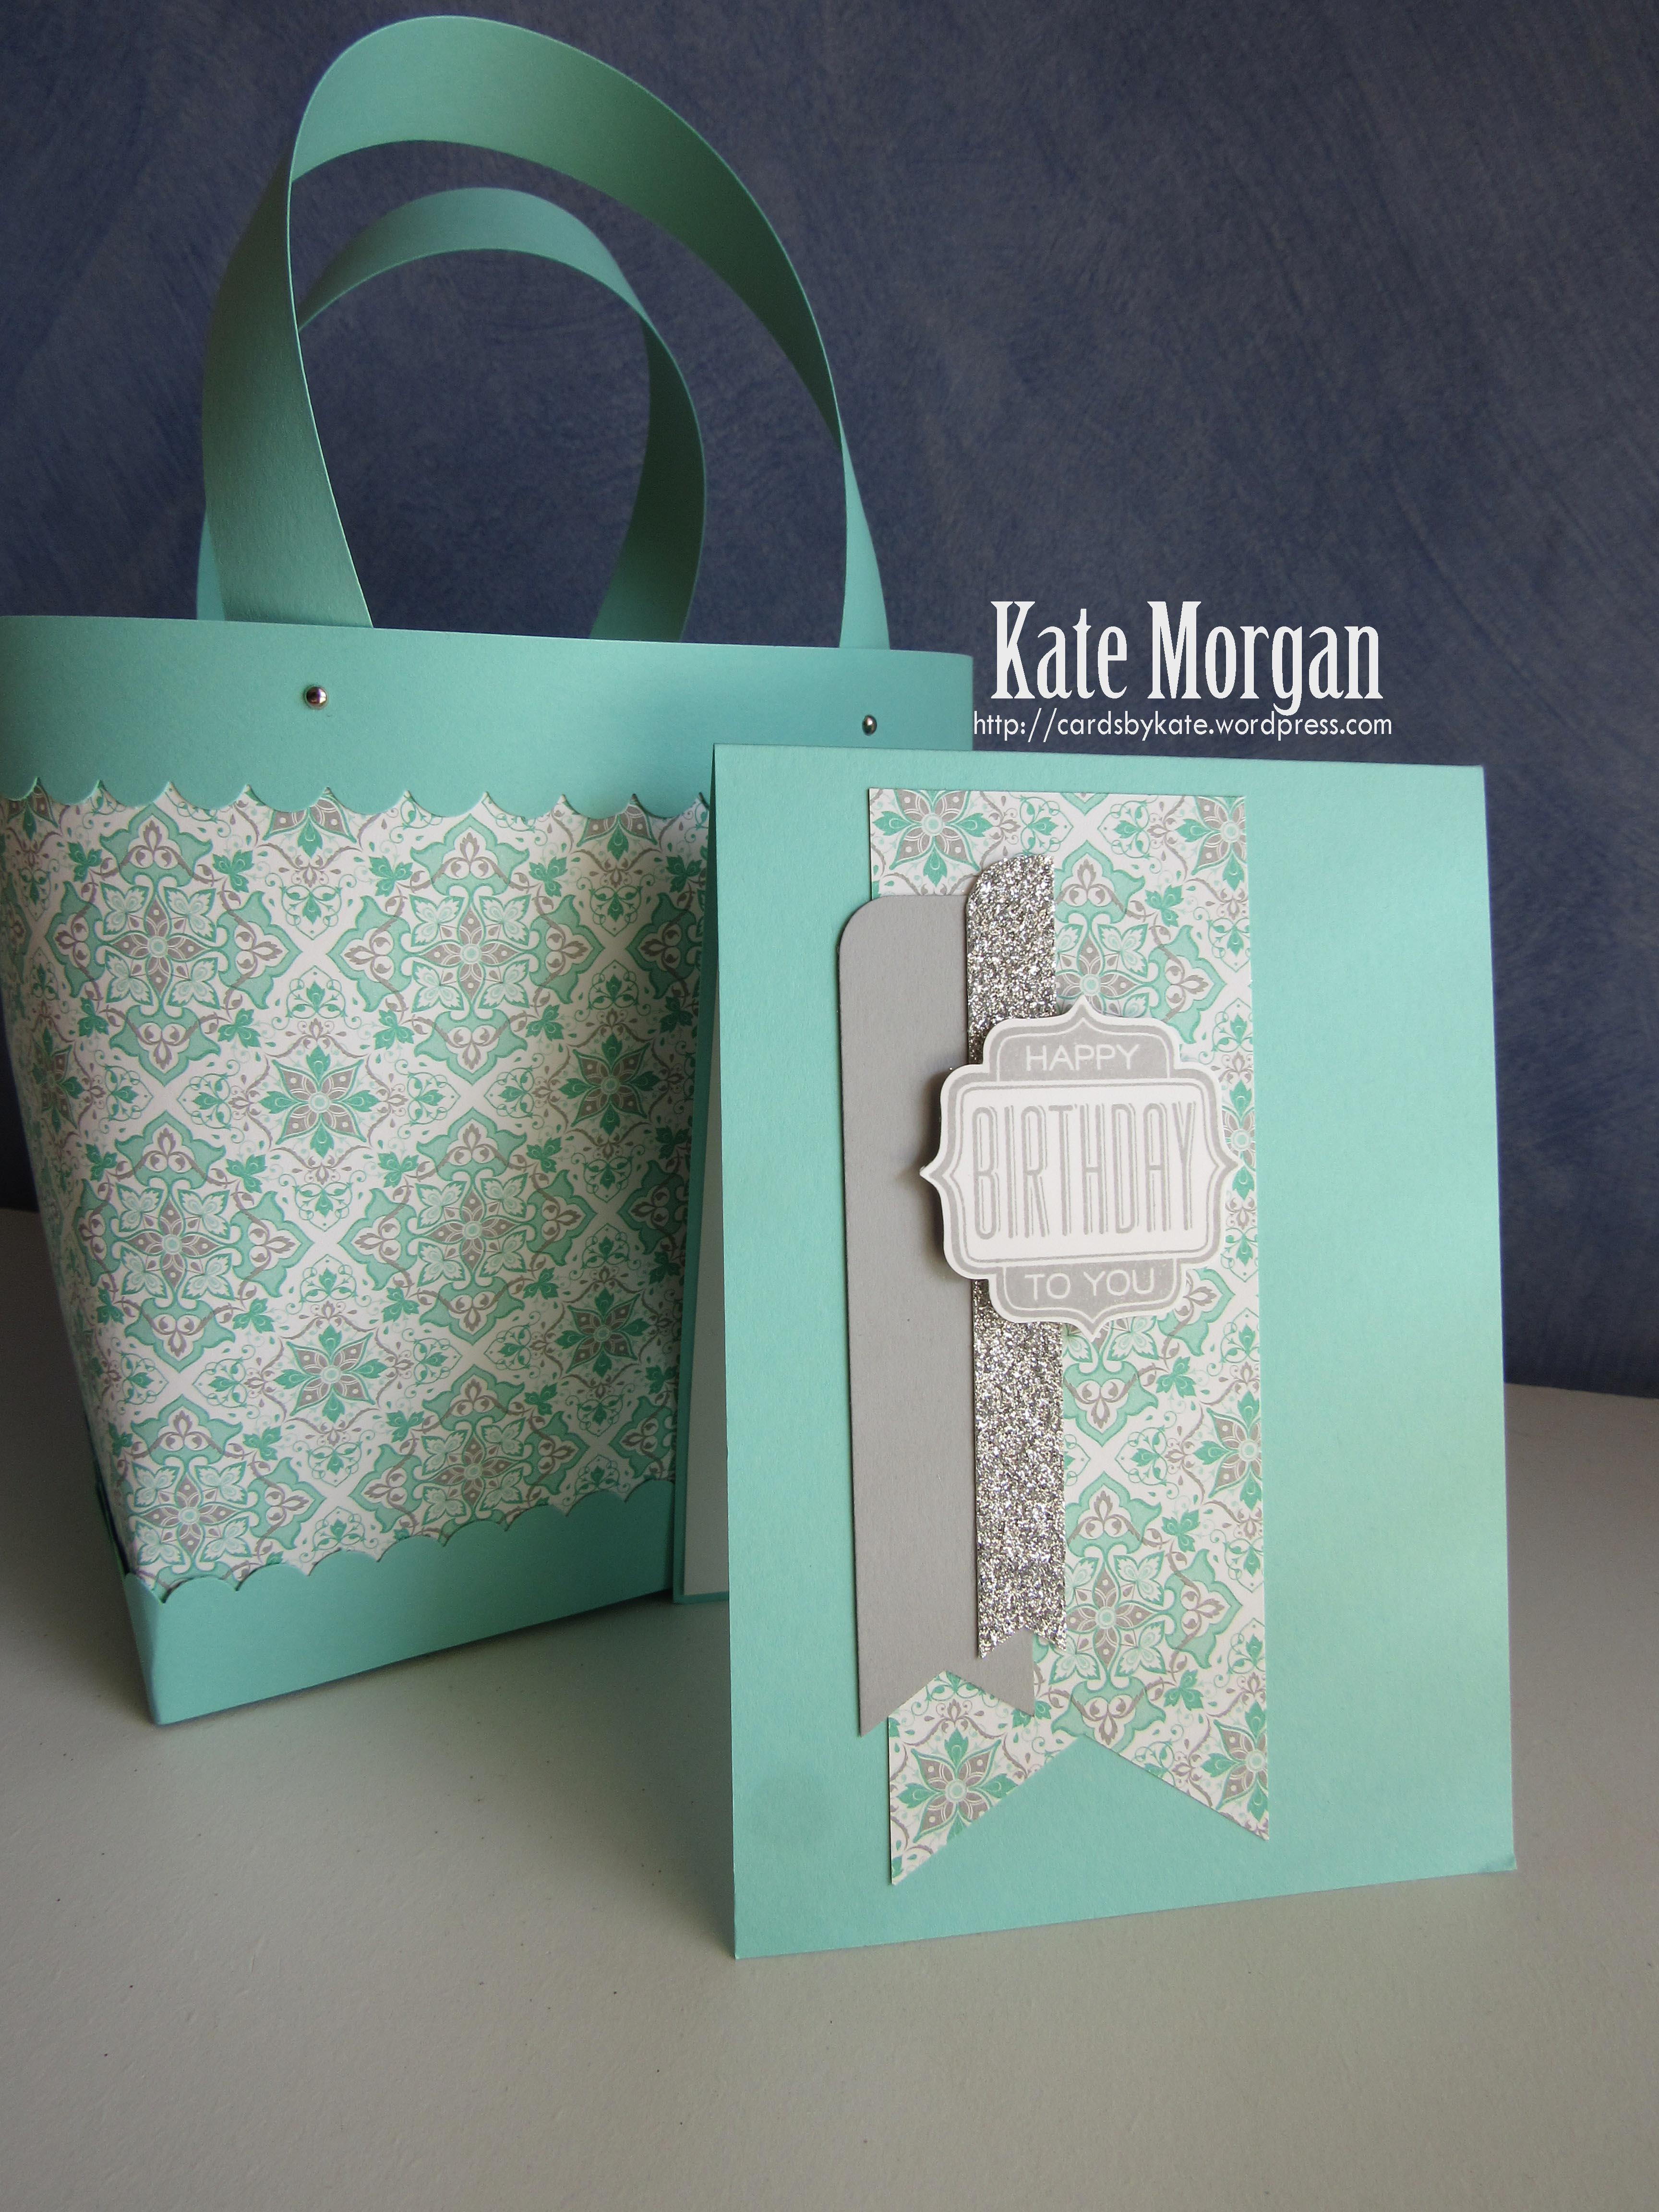
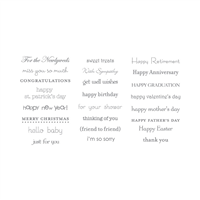
And here are the matching cards I made to go inside with the Flowering Fields stamp set

IMG_4348 IMG_4350

IMG_4351 IMG_4353

IMG_4420 IMG_4422

IMG_4430 IMG_4432

IMG_4425 IMG_4429

All Catalogues, Clearance Rack & Weekly Deals are available online here! They are full of amazing new products and wonderful full colour picture inspiration. It is a must have for anyone interested in Ink, Paper and Stamps!

Shop Online 24/7 for products

Don’t forget to Follow My Blog to receive blog updates and join my Newsletter Subscription for all the latest news and specials!

Enjoy the many perks of being a Demonstrator (even just for yourself as a Hobby Demonstrator) by joining my friendly team, click HERE for details.

Happy Stamping!

Name Banner

Calendar Card, Designer/Patterned/Specialty Papers (DSP), feminine, Flowers, Gift Ideas

Perpetual Desk Calendar

Dear Crafters,

With the start of the new year, I thought I would share this idea with you, a Perpetual Desk Calendar!

Perpetual Desk Calendar Birthday Bouquet DSP Scallop Tag Topper punch #stampinup Occasions 2016 @cardsbykate

As you can see, I photographed it last year (lol) on 30th December!

I have used the Birthday Bouquet DSP with my favourite In Colour, Mint Macaron!

The tags are cut using the Scallop Tag Topper punch. I made one for each day of the week.

Perpetual Desk Calendar Birthday Bouquet DSP Scallop Tag Topper punch #stampinup Occasions 2016 @cardsbykate

I also made another 6 with the months, but these ones are double sided!!!

Perpetual Desk Calendar Birthday Bouquet DSP Scallop Tag Topper punch #stampinup Occasions 2016 @cardsbykate    Perpetual Desk Calendar Birthday Bouquet DSP Scallop Tag Topper punch #stampinup Occasions 2016 @cardsbykate

Here is the main construction of the box before I added the tags.

Perpetual Desk Calendar Birthday Bouquet DSP Scallop Tag Topper punch #stampinup Occasions 2016 @cardsbykate  Perpetual Desk Calendar Birthday Bouquet DSP Scallop Tag Topper punch #stampinup Occasions 2016 @cardsbykate

The tags fit in on either side and the cubes sit in front!

Perpetual Desk Calendar Birthday Bouquet DSP Scallop Tag Topper punch #stampinup Occasions 2016 @cardsbykate  Perpetual Desk Calendar Birthday Bouquet DSP Scallop Tag Topper punch #stampinup Occasions 2016 @cardsbykate

I cased this idea from Laura Mackie in the UK, thank you.


All Catalogues, Clearance Rack & Weekly Deals are available online here! They are full of amazing new products and wonderful full colour picture inspiration. It is a must have for anyone interested in Ink, Paper and Stamps!

Shop Online 24/7 for products

Don’t forget to Follow My Blog to receive blog updates and join my Newsletter Subscription for all the latest news and specials!

Enjoy the many perks of being a Demonstrator (even just for yourself as a Hobby Demonstrator) by joining my friendly team, click HERE for details.

The excitement has begun, Happy Stamping!

Name Banner


Birthday, feminine, Flowers, Gift Ideas, Kids Cards

Gift Card Holder

Dear Crafters,

Gift Card Holder #stampinup

Today I share a couple of gift card holders (cased from Claire Daly) which are very simple to make.

You can create 3 of these from 1 x A4 sheet of cardstock by cutting it vertically at 7cm x 29.7cm!

I used the Lots of Labels Framelits to die cut the end of the card, then score it at 3-1/8″ and 7-3/4″.

Emboss the opposite end to the framelit cut end and adhere Stampin’ Up! Tear and Tape to create a pouch. (This tape can be cut vertically so you have a very thin strip, otherwise the gift card won’t fit in!)

Create a belly band that slips over to hold it shut and decorate however you like. I have used the 2-3/8″ Scallop circle punch and added some embellishments. The ice-cream is the Sprinkles of Life stamp set which can be found on the back page of the AC.

Gift Card Holder #stampinup

and here it is open with the gift card inside!

Gift Card Holder #stampinup

Please leave a comment below if you like my card today.

All Catalogues, Clearance Rack & Weekly Deals are available online here! They are full of amazing new products and wonderful inspiration. It is a must have for anyone interested in Ink, Paper and Stamps!

Shop Online 24/7 for products

Don’t forget to Follow My Blog to receive blog updates and join my Newsletter Subscription for all the latest news and specials!

Happy Stamping,
Name Banner
Birthday, feminine, Flowers, Gift Ideas

Happy Birthday Ang!

Dear Crafters,

Today I share a project with you that I made for a friends birthday yesterday, that uses some retired DSP along with Daffodil Delight card stock. My friends favourite colour is Blue, so I had to make it with these colours for her birthday.

#stampinup Gift Bag     #stampinup crazy About You Birthday

This cute bag uses only 1 sheet of DSP and A4 card stock.  How cute is it? It is so sturdy and quite large, so it will easily hold a gift.

Here is the coordinating card that I made to go with it.

#stampinup crazy About You Birthday

Please leave a comment below if you like my project today.

All Catalogues, Clearance Rack & Weekly Deals are available online here! They are full of amazing new products and wonderful inspiration. It is a must have for anyone interested in Ink, Paper and Stamps!

Shop Online 24/7 for products

Don’t forget to Follow My Blog to receive blog updates and join my Newsletter Subscription for all the latest news and specials!

Happy Stamping,
Name Banner
Birthday, Designer/Patterned/Specialty Papers (DSP), feminine, Gift Ideas, Handmade Cards

Gift Bag of Cards

#stampinup Gift Bag & Cards

Dear Crafters,

Today I share a project with you that uses some recently retired card stock and DSP, but I love these colours and miss them lots.

Coastal Cabana is the main colour here, with Smoky Slate and Silver Glimmer card, but these projects can be made with anything you may already have at home!

#stampinup Gift Bag

This cute bag uses only 1 sheet of DSP and A4 card stock.  Ho cute is it? Inside you can see some A5 cards and matching C6 envelopes. It is so sturdy and quite large, as it will hold 10-12 cards depending on the amount of embellishments on the cards.

Here are two of the coordinating cards that I made to go inside.

#stampinup Gift Bag & Cards     #stampinup Gift Bag & Cards

This would make such a cute gift idea!!!!


Please leave a comment below if you like my project today.

All Catalogues, Clearance Rack & Weekly Deals are available online here! They are full of amazing new products and wonderful inspiration. It is a must have for anyone interested in Ink, Paper and Stamps!

Shop Online 24/7 for products

Don’t forget to Follow My Blog to receive blog updates and join my Newsletter Subscription for all the latest news and specials!

Happy Stamping,
Name Banner
Birthday, Butterflies, feminine, Gift Ideas

Tin of Cards

Dear Crafters,

Today I share the amazing Tin of Cards with the coordinating stamp set!


This fun printed tin gives you plenty of room to store the cards that you make in this kit, plus room for more. Kit includes enough card bases and accents for 16 cards, 4 each of 4 designs. Complete the kit using the Tin of Cards Stamp Set (item #138946). Stamps, ink, and adhesive sold separately. Instructions included.
* 16 card bases and envelopes
* 1 printed tin box with lid, 6-3/4″ x 4″ x 5-3/8″
* 10 sheets of 4-1/4″ x 6-1/4″ Designer Series Paper, 2 ea. of 5 designs
* 4 die-cut Designer Series Paper strips
* Gold Glimmer Paper hearts
* Die-cut accents
* Printed acetate sheet
* Gold foil strips
* Metallic gold thread
* 1 sheet clear star epoxy stickers
* Gold epoxy hearts
* 4 wood die cuts
* 9 file tab dividers
* Coordinates with the Tin of Cards Stamp Set (item 138946)

Coordinating colors: Bermuda Bay, Calypso Coral, Crushed Curry, Mint Macaron, Wild Wasabi, White

Let’s get started!

I began with stamping each of the dividers in Jet Black Stazon.

Tin of Cards

Then I stamped the cute little border around each of the dividers with Mint Macaron ink to match the colour of the tin!

Tin of Cards

Now I have the dividers sorted, time to get making the 16 cards, 45 of each design.

This first card is all pre-stamped except for the banner which I stamped with Mint Macaron ink.

Tin of Cards

I cannot tell you just how quick and easy these cards are to make and the instructions are very easy to follow.

This next card I adhered the yellow strip and then stamped the crosses above and below. I stamped the happy birthday with Stazon ink and added the gold glimmer heart that was already punched for me!

Tin of Cards

Sorry about the reflections in this card, but that gold is so shiny, it was impossible not to get reflections. The hardest part about putting this one together is getting the twine to sit exactly how you want it behind the circle image!!!

Tin of Cards

And for the last design, has to be my favourite because it has butterflies!

This one was a bit more stamping, but still super easy and I love the look of this one.

Tin of Cards

Click Here to watch the YouTube video on this product, Tin of Cards!

What do you think of this Tin of Cards set? I was very pleased with just how wonderful and easy this was to create in one afternoon. I would love for you to leave a comment also.


All Catalogues, Clearance Rack & Weekly Deals are available online here! They are full of amazing new products and wonderful inspiration. It is a must have for anyone interested in Ink, Paper and Stamps!

Shop Online 24/7 for products

Don’t forget to Follow My Blog to receive blog updates and join my Newsletter Subscription for all the latest news and specials!

Happy Stamping,

Name Banner

Butterflies, Gift Ideas

Gift Box for a set of Cards & Envelopes

Dear Crafters,

Today I share with you a gift box for a set of cards & envelopes and stamped with the Watercolour Wings stamp set.

Stampin Up Watercolour Wings Gift Box of Cards

I started with a 12″ x 12″ sheet of cardstock and cut it down to 8″ x 11-1/2″.

Score the long side at ¾”, 5-3/8”, 6-1/8”, 10-¾”.

Score the short side at 7-1/4”.

Stamp your images as shown.

Stampin Up Watercolour Wings Gift Box of Cards


Place short edge back on Simply Scored and score at ¾” (through the butterfly) so it gives a wrap around effect. Fold and burnish all the score lines. Cut notches and add adhesive as shown. I put the base together first then used the 1″ circle punch for the notch at the front, before adhering the lid together.

Stampin Up Watercolour Wings Gift Box of Cards

I stamped the butterfly starting with Watermelon Wonder, the second image in Cucumber Crush, then the final image in Island Indigo. This is what it looks like when opened up with cards and envelopes inside!

Stampin Up Watercolour Wings Gift Box of Cards


Please leave a comment below, if you enjoyed this gift box and why not have a go at one yourself!

All Catalogues, Clearance Rack & Weekly Deals are available online here! The catalogues are full of amazing new products and wonderful inspiration. It is a must have for anyone interested in Ink, Paper and Stamps!

Shop Online 24/7 for products

Don’t forget to Follow My Blog to receive blog updates and join my Newsletter Subscription for all the latest news and specials!

Happy Stamping,

Name Banner

Designer/Patterned/Specialty Papers (DSP), Gift Ideas

Convention Gifts

Dear Crafters,

Well as you know I am back from Convention and now I wanted to share with you the little gifts I made for my two roomies!

Convention Gifts

I started with some A5 notebooks which were spiral bound and covered them with DSP. I knew that one of my roomies favourite colour is blue and the other loves oranges and purples, so they are the colours I chose!

Convention Gift  Convention Gift

I also added some DSP to the biro, by pulling out the ink and sliding in the dsp around it.

Convention Gift  Convention Gift

I also made some scissor bling for each of them that they can put on their scissors when they return home! There is nothing worse than not being able to identify your own scissors when crafting with a group of friends.

Convention Gift Scissor Bling  Convention Gift Scissor Bling

I know both the ladies loved their gifts and even used their pen and notebook to write their wish list when we received the catalogue on the first day of Convention!

2015-2016 Annual Catalogue

And here is a sneak peek at one of cards I made with a new product, I Think You’re Great Stamp Set and new 2015-2017 In Colours.

2015-2016 1st project

All Catalogues, Clearance Rack & Weekly Deals are available online here! They are full of amazing new products and wonderful inspiration. It is a must have for anyone interested in Ink, Paper and Stamps!

Shop Online 24/7 for products

Don’t forget to Follow My Blog to receive blog updates and join my Newsletter Subscription for all the latest news and specials!

Happy Stamping,

Name Banner

feminine, Gift Ideas

Gift Card Holder with EPB

Dear Crafters,

Today I share with you some gift ideas created using the Envelope Punch Board (EPB)!

I am using Crisp Cantaloupe and Strawberry Slush cardstock as they are my favourite 2013-2015 In Colours and I will be so disappointed when they retire shortly.

Gift Card Holder EPB Mini Post It Note Holder

The base card is Crisp Cantaloupe with a layer of Strawberry Slush then some Designer Series Paper Stack called All Abloom.

Here is the Gift Card Holder in the closed position.

Gift Card Holder with EPB

Open it up and you get this!

EPB Gift Card Holder  EPB Gift Card Holder

I love the All Abloom DSP Stack and the little sentiment on the punched labels and the flower with the rhinestone finishes it off!

Gift Card Holder with EPB

I also made a Mini Post It Note Holder in the same colours!!!

EPB Mini Post It Note Holder

I would love you to comment below with your thoughts on these projects.

All Catalogues, Clearance Rack & Weekly Deals are available online here! They are full of amazing new products and wonderful inspiration. It is a must have for anyone interested in Ink, Paper and Stamps!

Shop Online 24/7 for products

Don’t forget to Follow My Blog to receive blog updates and join my Newsletter Subscription for all the latest news and specials!

Happy Stamping,

Name Banner

Easter, Gift Ideas, Kids Cards

Easter Basket

Dear Crafters,

Welcome to Friday and today being Good Friday, also means Happy Easter!

So to celebrate, I have some cute little Easter baskets to show you.

I did share these with you in an Easter Blog Hop a couple of weeks ago, but I didn’t share any instructions at the time on how to make them.

So here are some cute little baskets that my girls gave to their teachers on the last day of Term for Easter. I used the Designer Series Papers, because they are double sided and they are so pretty.

Easter Basket  Easter Basket

These are only small. Add small strips of cellophane inside then add 3 little solid eggs. The girls loved giving these to their teachers.

What you need:

4 strips DSP: 5-1/2″ x 3/4″ (basket)

1 strip DSP: 5-1/2″ x 1/2″ (handle)

1 strip DSP 7-1/4″ x 1/2″ (top)

1 x 1-3/4″ circle punched (base)

Step 1 – Add Sticky Strip or Fast Fuse to the “Top” (longest length) as shown below.

IMG_0972

Step 2 – Start adding the strips for the basket, starting at one end and lining them up against each other.

IMG_0973

Step 3 – take the first strip and fold it around next to the fourth strip (see below)

IMG_0974

Step 4 – Repeat with the remaining strips and join the top together.

IMG_0975

Step 5 – Now you have your basket shape

IMG_0976

Step 6 – Push down gently from the top to squash it a little and add the circle punch to the bottom.

IMG_0977

Step 7 – Add the handle with some brads and fill with your favourite mini eggs!

I hope you enjoy making some of these Easter Baskets yourself.

Happy Easter,

Name Banner