Hello crafty friends,
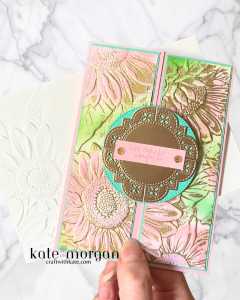
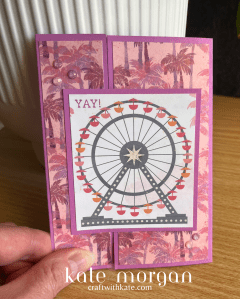
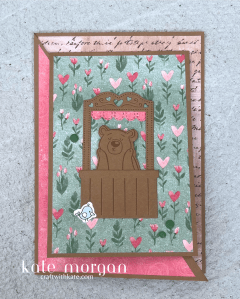
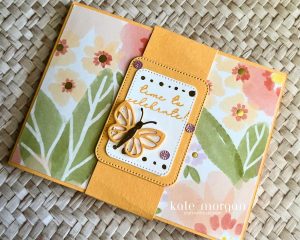
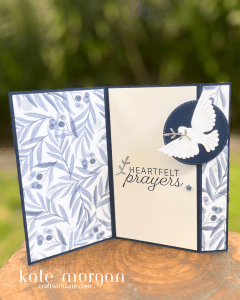
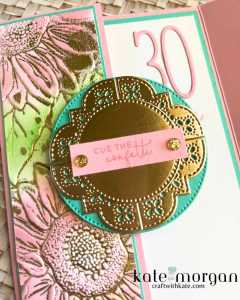
The front feature is a Summer Splash circle [Stylish Shapes dies] with Gold Foil pieces [Beautifully Celebrated dies] adhered with another circle of Gold Foil onto top. The sentiment [Banner Sayings] is stamped onto the same colour card and cut out using the Three Banner Punch. This is adhered on Dimensionals, but only place them on one half of the circle.
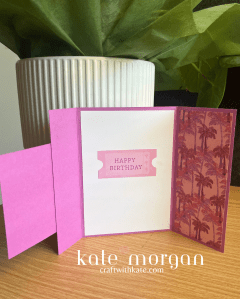
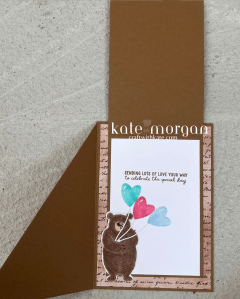
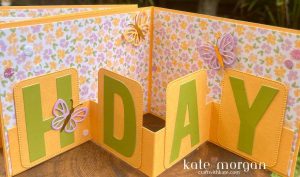
As you open the card you can see that front feature only adhered to the left panel.
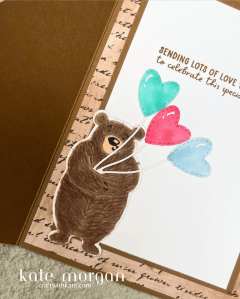
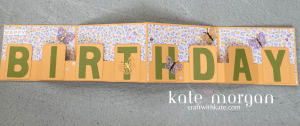
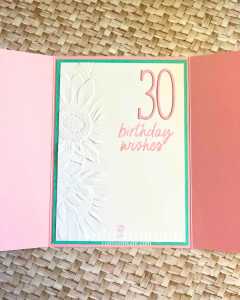
On the inside is a Summer Splash layer with a Basic White layer partially embossed with the Sunflower 3D EF (and the side on the envelope as you can see in the first pic). The sentiment [Simply Said] is stamped in Pretty in Pink and the numbers [Alphabet A La Mode dies] added at the top.
Thanks for dropping by.
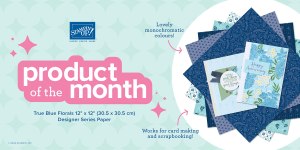
Be sure to add the Product of the Month (POM) for $9 when you add $125+ in product to your cart.
Product List @stampinupofficial
Stamps: Banner Sayings*, Simply Said
Dies: Alphabet A la Mode, Beautifully Celebrated, Stylish Shapes
Ink: Pretty in Pink, Summer Splash, Versamark
Paper: Basic White, Gold Foil, Pretty in Pink, Summer Splash, Basic White C6 Envelopes
Other: Blending Brushes, Gold WOW Emboss Powder, Sunflower 3D Embossing Folder, Three Banner Punch*, 12 Days of Christmas Advent Calendar Gems, Acrylic Blocks, Bone Folder, Paper Trimmer, Multipurpose Glue, Stampin’ Dimensionals,Tear & Tape, Stampin’ Cut & Emboss Machine, Take Your Pick Tool, Simply Shammy, Heat Tool.
*can be purchased together as a bundle to save 10%

Don’t forget to Follow My Blog to receive blog updates and all the latest news and specials!