Just a quick reminder about the Buy 3 Get 1 Free offer on selected Designer Series Papers. This is offer is from 1 – 31 October only.
Why not get together with a friend and share the packs and save on postage at the same time! Links to my online store can be found at the bottom of this post.
My top picks are the Petal Garden, Wood Textures and Daisy Delight, but it really depends on what your favourite colours are.
There is also the Be Merry Christmas papers ideal for this time of year with Christmas not too far away!
Don’t forget to Follow My Blog to receive blog updates and join my Newsletter Subscriptionfor all the latest news and specials!
My project today uses the Beachy Little Christmas stamp set and the Merry Little Christmas Designer Series Paper.
I began by stamping the shell images on the base card with the coordinating Crumb Cake ink. Next I added a small strip of the Merry Little Christmas Designer series paper and a piece of burlap ribbon.
I stamped the tree image in crumb cake ink and coloured it with the Clear Wink of Stella Glitter Brush before die cutting it with the oval and sponging the edge.
The sentiment is also stamped in Crumb Cake ink and sponged the edges before adding it with dimensionals. I think using predominantly crumb cake on this card, resonates with me as being the sand at the beach.
A full list of product can be found at the end of this post!
I hope you have enjoyed my Heart of Christmas post and I look forward to sharing more Christmas inspiration with you next Wednesday! If you would like to see what others in our team have created, you can view the participant list over on the blog of our leader, Claire Daly.
Don’t forget to Follow My Blog to receive blog updates and join my Newsletter Subscriptionfor all the latest news and specials!
My Eclipse card today uses the Painted Harvest stamp set and Large Letters Framelits dies, with the following colour combination.
I made this card for one of my favourite teachers from my school days, whom I also ended up working with until her Retirement, Patsy. She is such an amazing person who has so much to deal with but gets on with life, without any fuss. She was such an inspiration to me back in the 80s when she taught me Home Economics; cooking and sewing in Tasmania!
I still keep in touch with Patsy and every year I send her a card for her Birthday and Christmas. So here is her card for this year. I wish you all the best health and love today and always, Patsy. Happy Birthday!
The Eclipse card is a very popular technique at the moment and it works beautifully with this stamp set. The ribbon is retired but it was the perfect 1/4″ cotton ribbon in Pumpkin Pie to coordinate perfectly!
A full list of product can be found at the end of this post!
Don’t forget to Follow My Blog to receive blog updates and join my Newsletter Subscriptionfor all the latest news and specials!
Tonight the Art with Heart team girls are sharing some wonderful ideas to inspire you with our Designer Series Papers. This month is the start of the new Stampin’ Up! year and we have a special promotion on our Designer Series Paper, buy 3 get 1 FREE for the month of October and there is no limit!
If you’re already hopping, then you just came to me from the talented, Ros Davidson. If you’re just joining, great! Use the “next” button at the end of my post to hop all the way around. Blog Hops are full circles, so you can start hopping here and then at the end of each post there is a link to the next one. There is also a list of participants at the end in case of any broken links.
Now let’s get started!
Project #1
The Wood Textures DSPis awesome, especially for masculine cards and projects. Here is an example where I have used it as a feature at the bottom of the card. To me, it acts a bit like a fence with the hot air balloons travelling above!
Wood Textures DSP
Project #2
This is the Petal Garden DSP, isn’t it stunning?!!! I just love this one. You can do so much with these papers and both sides of every double sided page is worthy of use. Here I have created two very simple cards showcasing the gorgeous floral patterns with the shimmer ribbon, Pretty Label punch and the sentiment is from the Happy Birthday Gorgeous stamp set.
Petal Garden DSP
Project #3
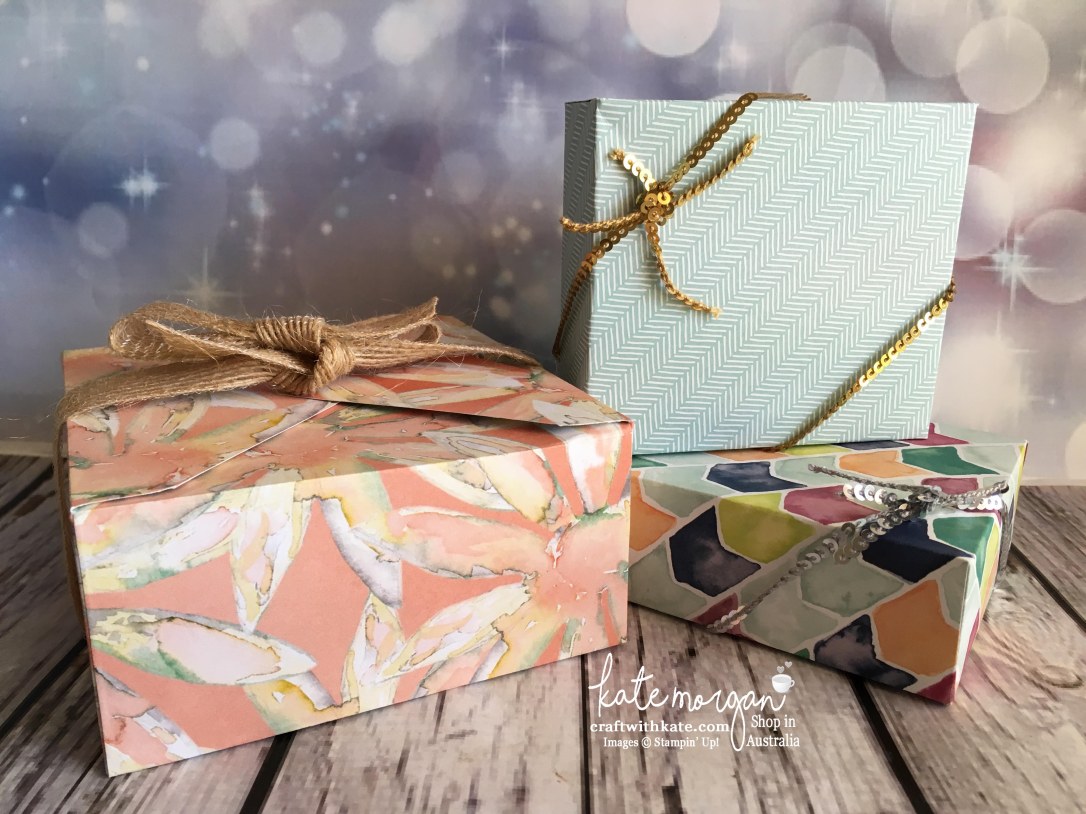
I have created some 3D boxes as gift wrapping for some very special birthdays coming up this week. These boxes are very easy to create using the Envelope Punch Board and some of our stunning DSPs. The one on the left uses a pattern from the Delightful Daisy DSP. The top one is from the Coffee Break DSP and one underneath, is from the Naturally Eclectic DSP. I have decorated them with the new mini sequin trim and the burlap ribbon.
Project #4
Here is a 12″ x 12″ Scrapbooking page using the gorgeous Whole Lot of Lovely DSP. This was a gorgeous day trip during our recent driving holiday up to Sydney. One of our favourite places to visit, is the Licorice and Chocolate Factory in Junee. As you can see, we did stock up just a little at the shop on our way out!!! I also used some gold foil with the Decorative Ribbon Border punch and the Birthday Blossoms & Brushwork Alphabet stamp sets.
Whole Lot of Lovely DSP
Thanks for visiting today.
Don’t forget to email me at craftwithkate@live.com.au to request your copy of any Catalogue or to ask about joining the Art With Heart team.
Now it’s time to follow the blog hop to our next participant, Rachel Palmieri.
If you find a broken link or have come to this blog hop from a different entry point, you can view the participants below:
My project today uses the Carols of Christmas stamp set and the Merry little Christmas Designer Series Paper. #cutitnothoardit
When I opened the pack of Designer papers and saw this piece (that I’ve used as the back layer with the leaves), it was so “in your face” stark, black and white. I needed to soften it to use and so I got out my sponge brayer and added some Old Olive ink to take away that bright white! Sometimes we get so put off by the contrast of black and white and wonder how we will use it, but if you colour the white areas softly, it can totally change the look!
Adding the layer of gold glimmer and the gold bow adds a touch of class!
Click on the image below to view the YouTube video to see more you can create with the Carols of Christmas bundle.
A full list of product can be found at the end of this post!
I hope you have enjoyed my Heart of Christmas post and I look forward to sharing more Christmas inspiration with you next Wednesday! If you would like to see what others in our team have created, you can view the participant list over on the blog of Tina Gillespie.
Don’t forget to Follow My Blog to receive blog updates and join my Newsletter Subscriptionfor all the latest news and specials!
Today I share another card using the amazing, Climbing Orchid Bundle on page 21 of the Annual Catalogue, and by purchasing the stamp set and framelits together, you save an extra 10%.
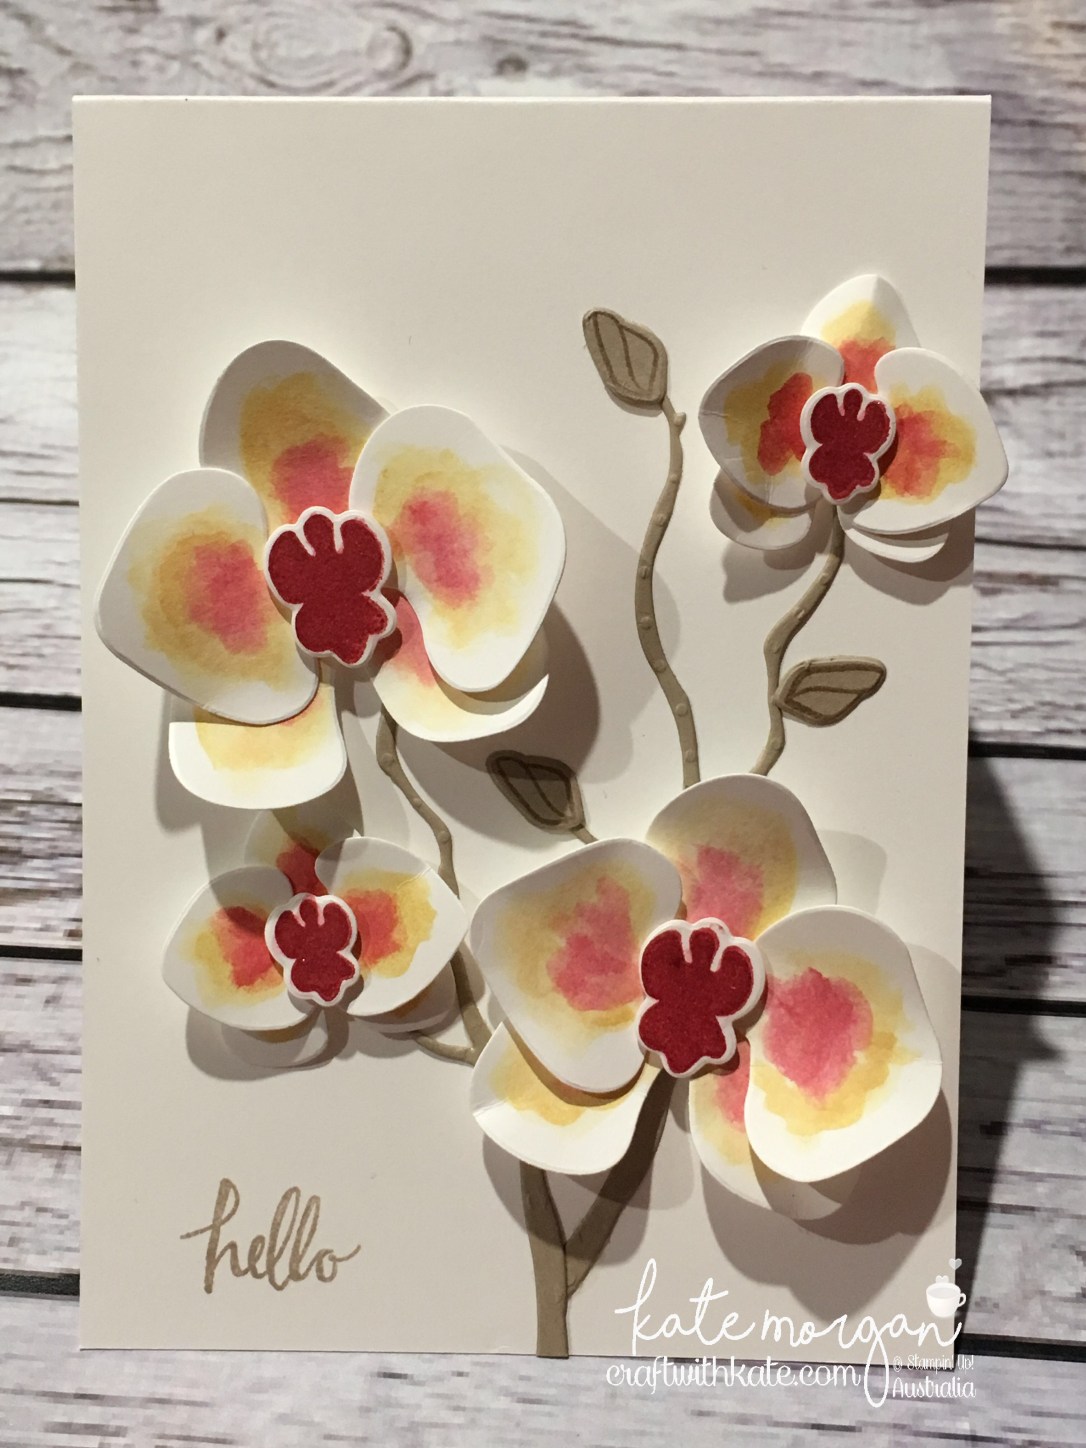
This card, I did something a bit backwards…. I die cut all the pieces first before colouring or stamping! Yes, I know it sounds a little weird but you will see why in a minute.
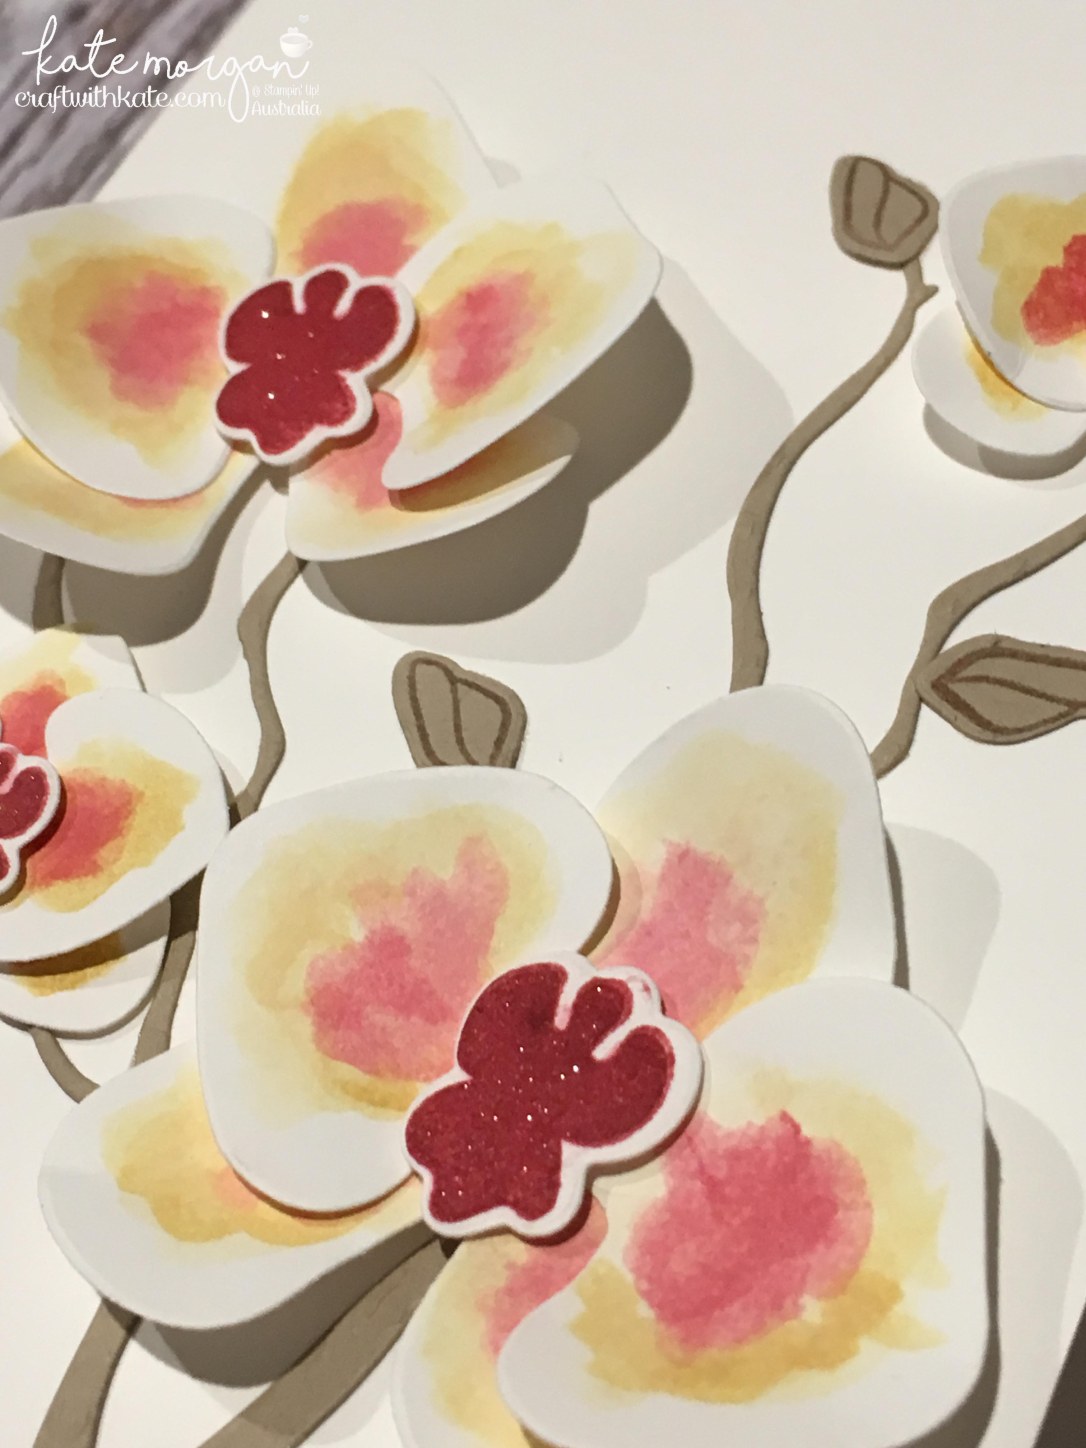
I love the softness of the watercolouring of these flowers. I used an Aquapainter to apply ink to each of the petals allowing each colour to dry before adding the next. The stem is die cut using the branch from the Seasonal Layers Thinlits!
The centre is a little dark so I added some Wink of Stella to glimmer it up!
I wasn’t sure about adding a sentiment to the front of the card, but I think “hello” can be used for so many occasions, I went with that!
What do you think of this watercolour look? Will you give it a try???
A full list of product can be found at the end of this post!
Don’t forget to Follow My Blog to receive blog updates and join my Newsletter Subscriptionfor all the latest news and specials!
It’s less than a week until my sisters birthday, and I know she loves orchids as she has been successfully growing them for many years. When I saw the Climbing Orchid Bundle on page 21 of the Annual Catalogue, I knew I had to purchase it! By purchasing the stamp set and framelits together, you save an extra 10%.
I’m not sure if I will give this card to her or make some more, but this is my first play and it certainly won’t be my last ♥
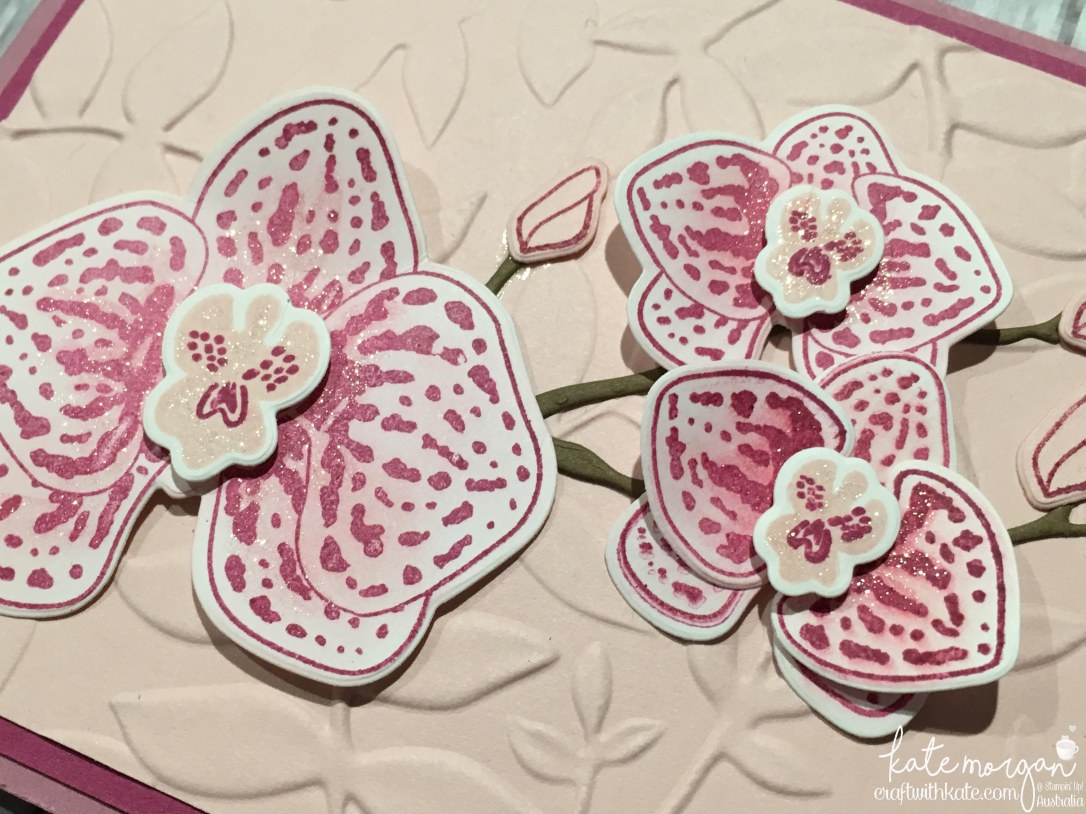
I love the softness of the colouring on these flowers. I used a sponge dauber to lightly colour the petals with Powder Pink, then Berry Burst ink before applying some Wink of Stella. The stem is die cut using the branch from the Seasonal Layers Thinlits!
The top photo is a little dark and the one below, is a little bright, but I was trying to show you the Wink of Stella glimmer on the flowers!
Check out that embossing on the Powder Pink background, isn’t it gorgeous?!! This is the new Dynamic Textured Embossing Folder, Layered Leaves.
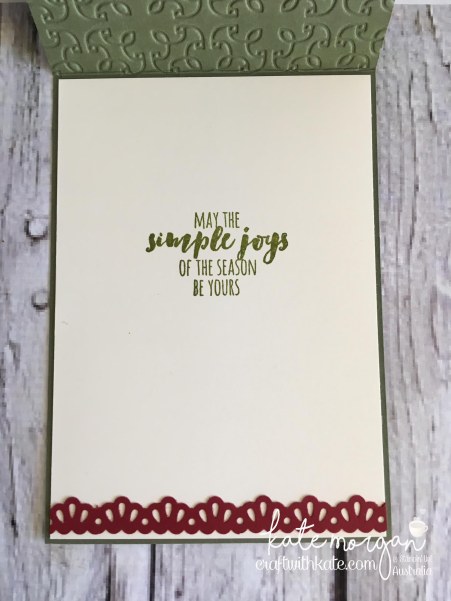
I wasn’t sure about adding a sentiment to the front of the card, so I decorated the inside and added the “enjoy today” sentiment with another small orchid!
A full list of product can be found at the end of this post!
Don’t forget to Follow My Blog to receive blog updates and join my Newsletter Subscriptionfor all the latest news and specials!
Welcome to Week 19 of The Heart of Christmas: Handmade Inspiration from the Art with Heart team!
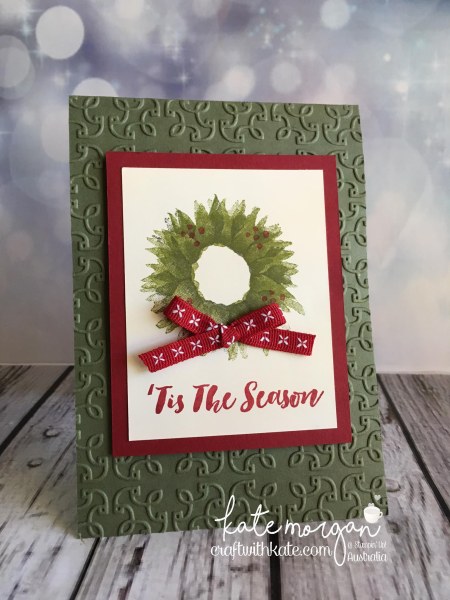
My project today uses the Painted Harvest & Christmas Pines stamp sets to create this Christmas card!
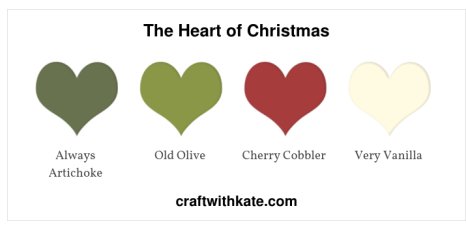
Look at me using Always Artichoke, a colour I very rarely use…. in fact, I think it is the 2nd time ever, that it’s been opened and you know what, I actually don’t mind it for a Christmas colour!
I have stamped the sunflower image in Always Artichoke, and twice with Old Olive. The berries are stamped in Cherry Cobbler. How pretty is that coordinating double stitched ribbon bow?!!! So pretty!
The Garden Trellis Textured Impressions Embossing Folder just finishes this card off perfectly. I just love that added texture.
I love how versatile our stamp sets can be. Who would have thought to use a sunflower image for a Christmas wreath?!!! Not me…. but there are plenty of amazingly creative people out there on Pinterest who inspired me.
The full product list is provided at the end of the post!
I hope you have enjoyed my Heart of Christmas post and I look forward to sharing more Christmas inspiration with you next Wednesday! If you would like to see what others in our team have created, you can view the participant list over on the blog of our leader, Claire Daly.
Don’t forget to Follow My Blog to receive blog updates and join my Newsletter Subscriptionfor all the latest news and specials!
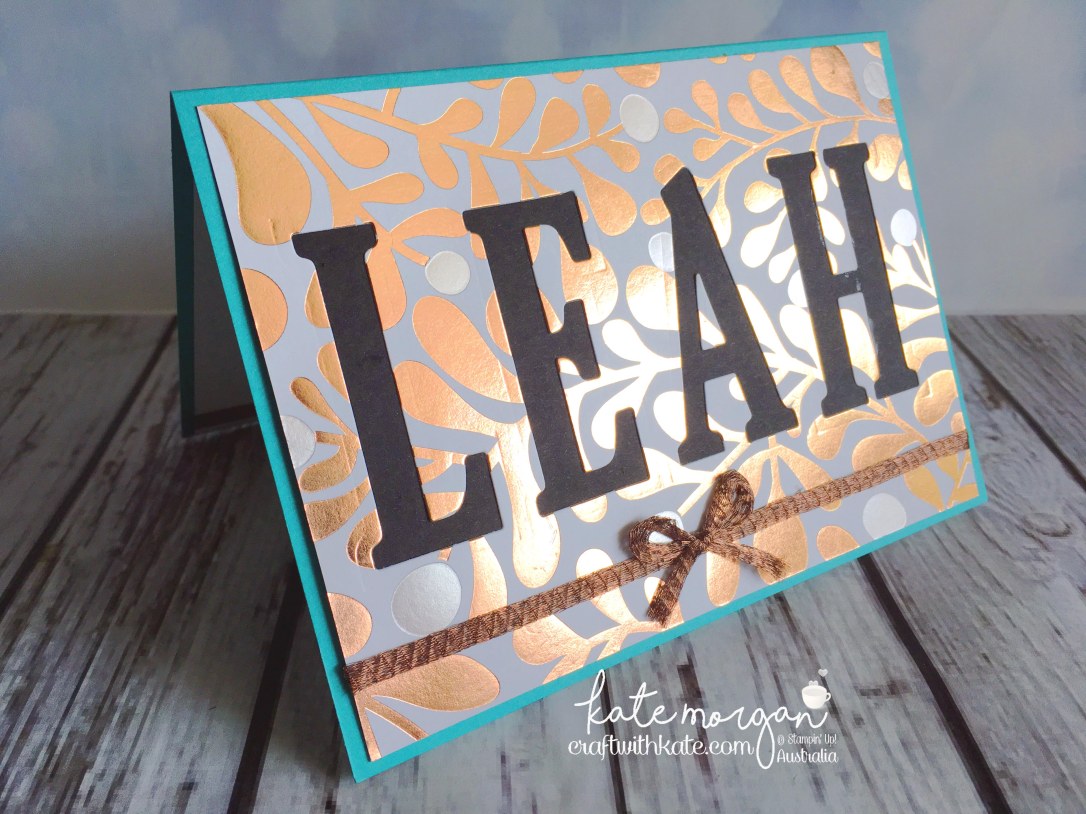
My project today has no stamping, can you believe that?!!! When you see it, you will see why!
I am using the Large Letters Framelits dies, and the Year of Cheer Specialty Designer Series Paper & Washi Tape. #cutitnothoardit
With this DSP, you don’t need to do a lot, as it is simply stunning with its metallic patterns. It is my niece’s birthdays coming up next month, so I was needing to make some cards for their special day. Here is one I was going to make using the Eclipse technique, but I loved how the letters stood out so much with some black cardstock behind the DSP, I didn’t want to put the letters back on top!
Just check out that metallic shine!!!! And the copper trim is just the perfect match and finishing touch with the bow.
The inside of the card is finished with some strips of Washi Tape.
Check out this video to see more on the Year of Cheer Suite!
A full list of product can be found at the end of this post!
Don’t forget to Follow My Blog to receive blog updates and join my Newsletter Subscriptionfor all the latest news and specials!
It is the first week of the school holidays here in Melbourne and I have been in desperate need of updating my memory keeping albums, and I have to say, I am very happy to be up to date again!!! Yay me!!!
But, today I am sharing a page from earlier this year when we took the girls out to the Yarra Valley Chocolaterie & Ice-creamery. I booked them in to the kids class “become a Junior Chocolatier” many months ago. It only ran for 1 hour and they got to create their own chocolates. As you can see by the smiles on their faces, they loved it!!! They even got to keep their apron and chefs hat and got a certificate as well.
When we got home, I asked them to write on one of the Project Life cards, their own thoughts of their experience and I incorporated this into my page. This way, I not only have their memories written down, but they have done it in their own handwriting!
This is what they said:
Don’t forget to Follow My Blog to receive blog updates and join my Newsletter Subscriptionfor all the latest news and specials!


 Burlap Ribbon")


 I made this card for one of my favourite teachers from my school days, whom I also ended up working with until her Retirement, Patsy. She is such an amazing person who has so much to deal with but gets on with life, without any fuss. She was such an inspiration to me back in the 80s when she taught me Home Economics; cooking and sewing in Tasmania!