Welcome to the Colour Creations Instahop. You can follow us on Instagram starting @craftwithkate. Each week we will showcase the Stampin’ Up! colours in alphabetical order.
Week 44 – Pumpkin Pie
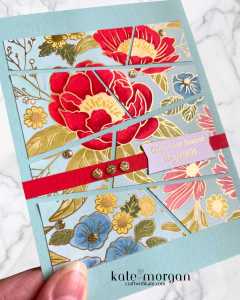
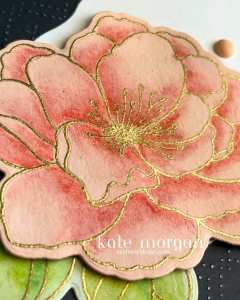
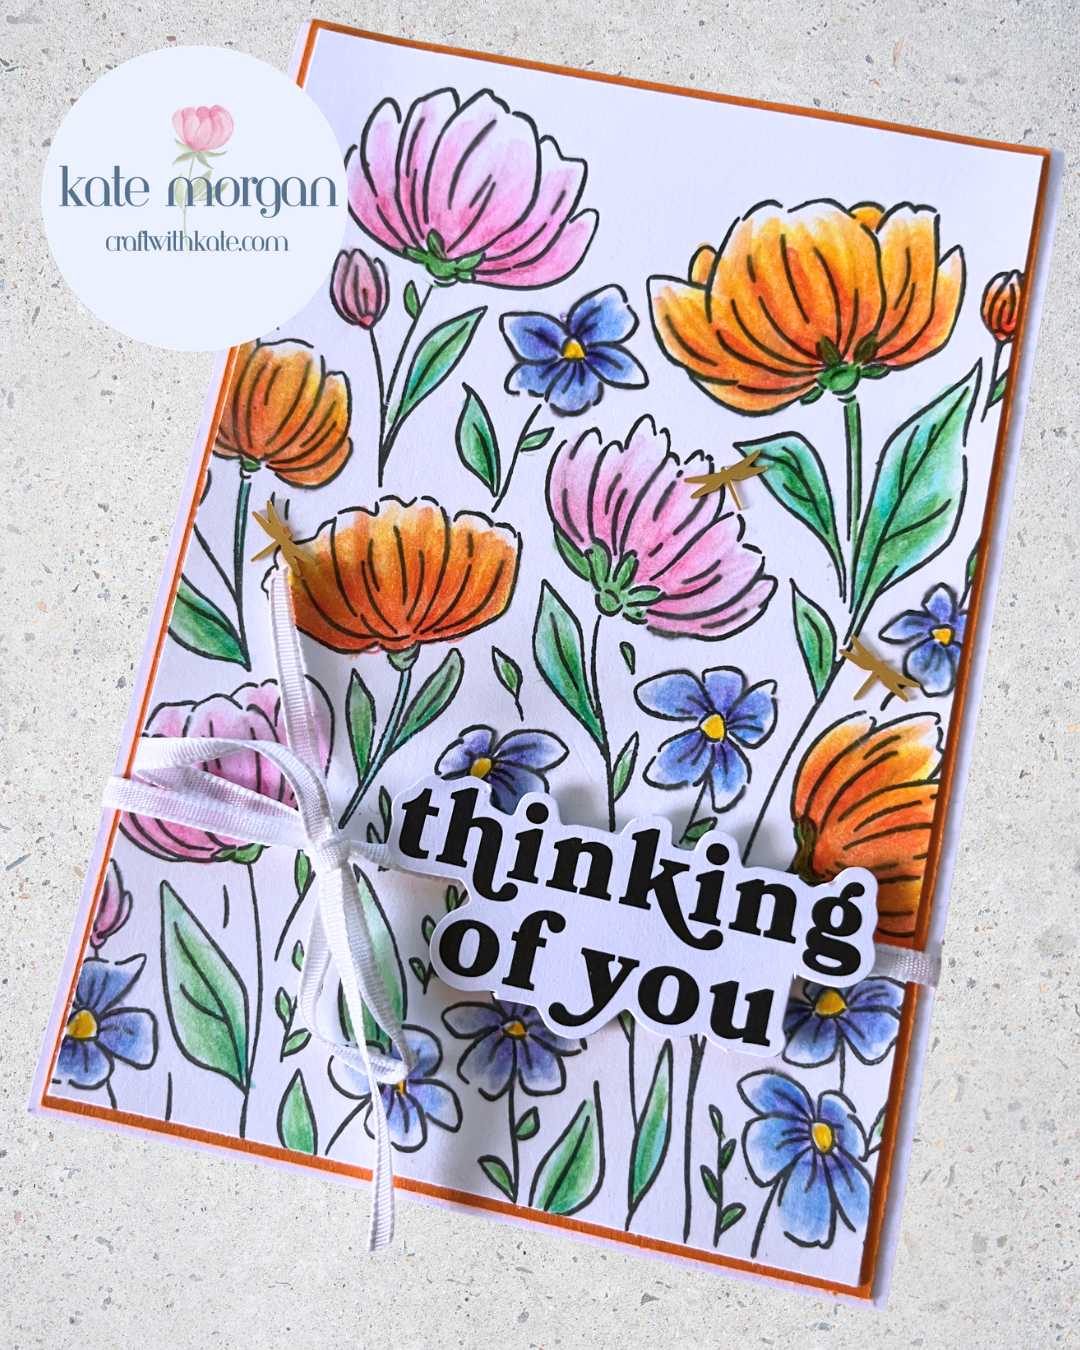
These handmade cards features the new Flowers Fair stamp set (a large background stamp) was the first to catch my eye in the new release products for March. I see so many possibilities for ways to colour these gorgeous flowers.
My first card is stamped in Black Memento ink onto white card and coloured with Watercolor Pencils, then I used a Blender Pen to blend the colour to make it more vibrant.
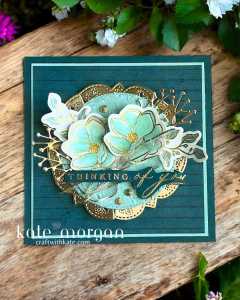
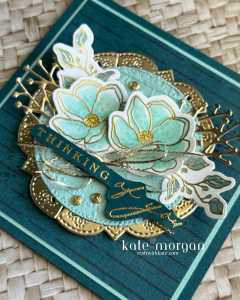
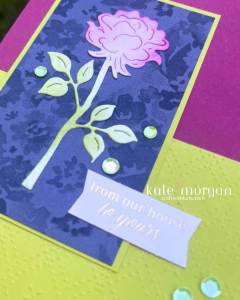
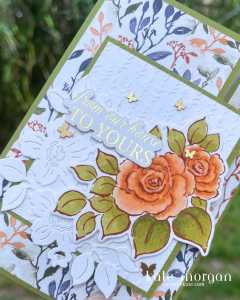
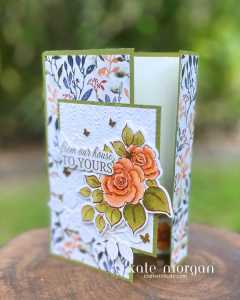
The second card I stamped in Versamark ink onto Basic Black card, added White Emboss Powder and melted it with the Heat Tool. Using the Craft White ink refill, I added a few drops onto a Clear Acrylic Block and using a brush, filled in all the images.
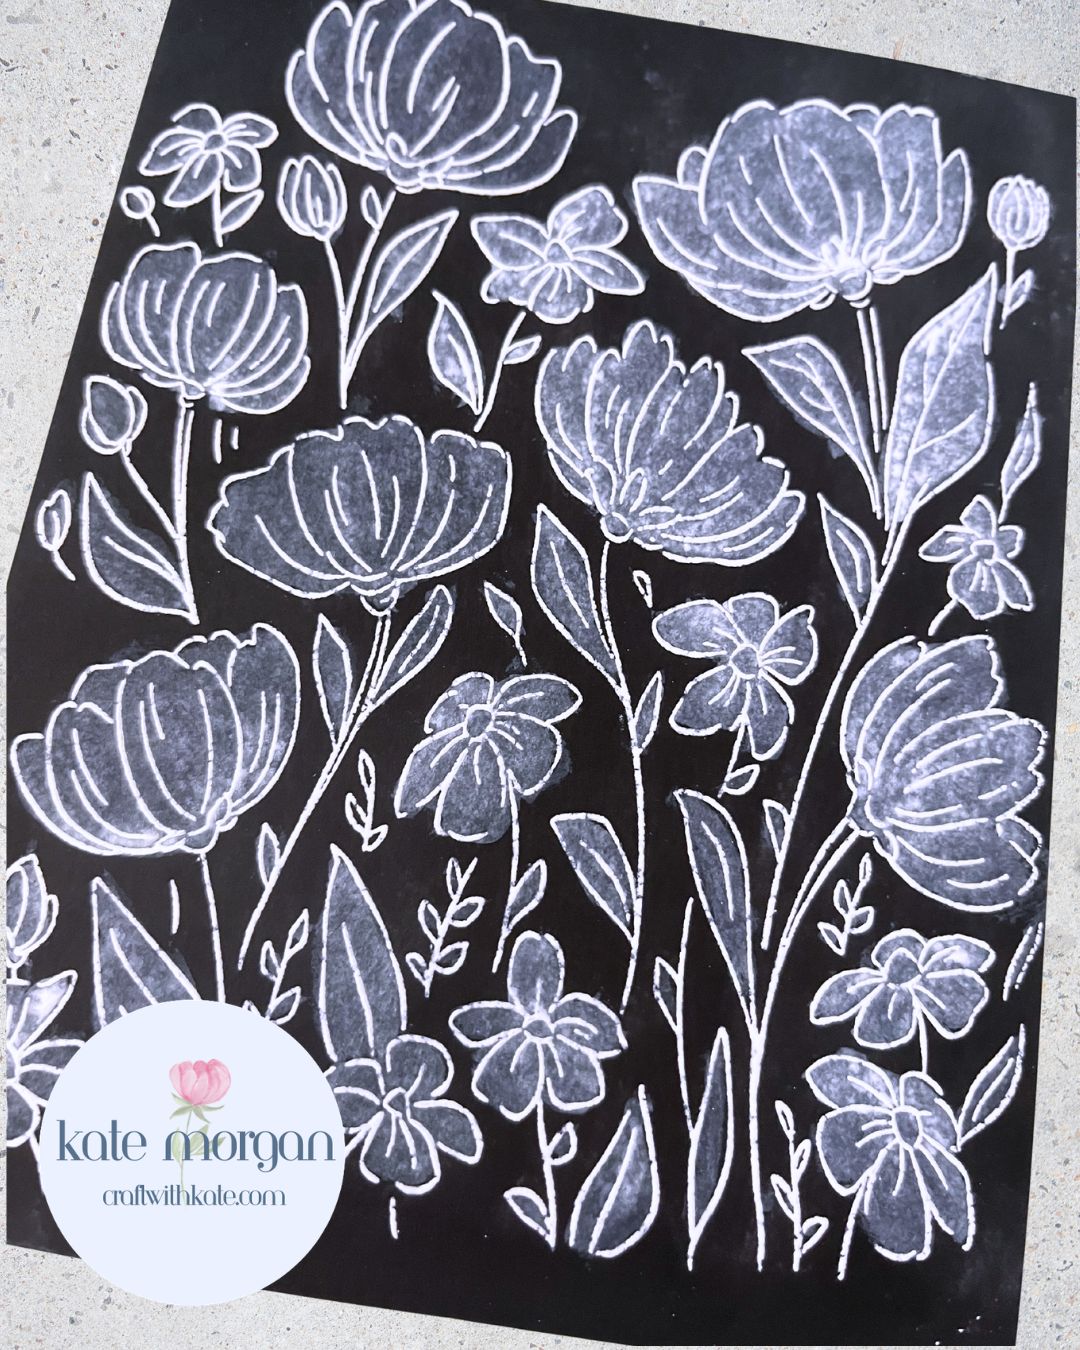
The White outlines were coloured using Blends Combo Markers and once dry, the images are filled with Wink of Stella (it’s hard to see the sparkle in the photo).
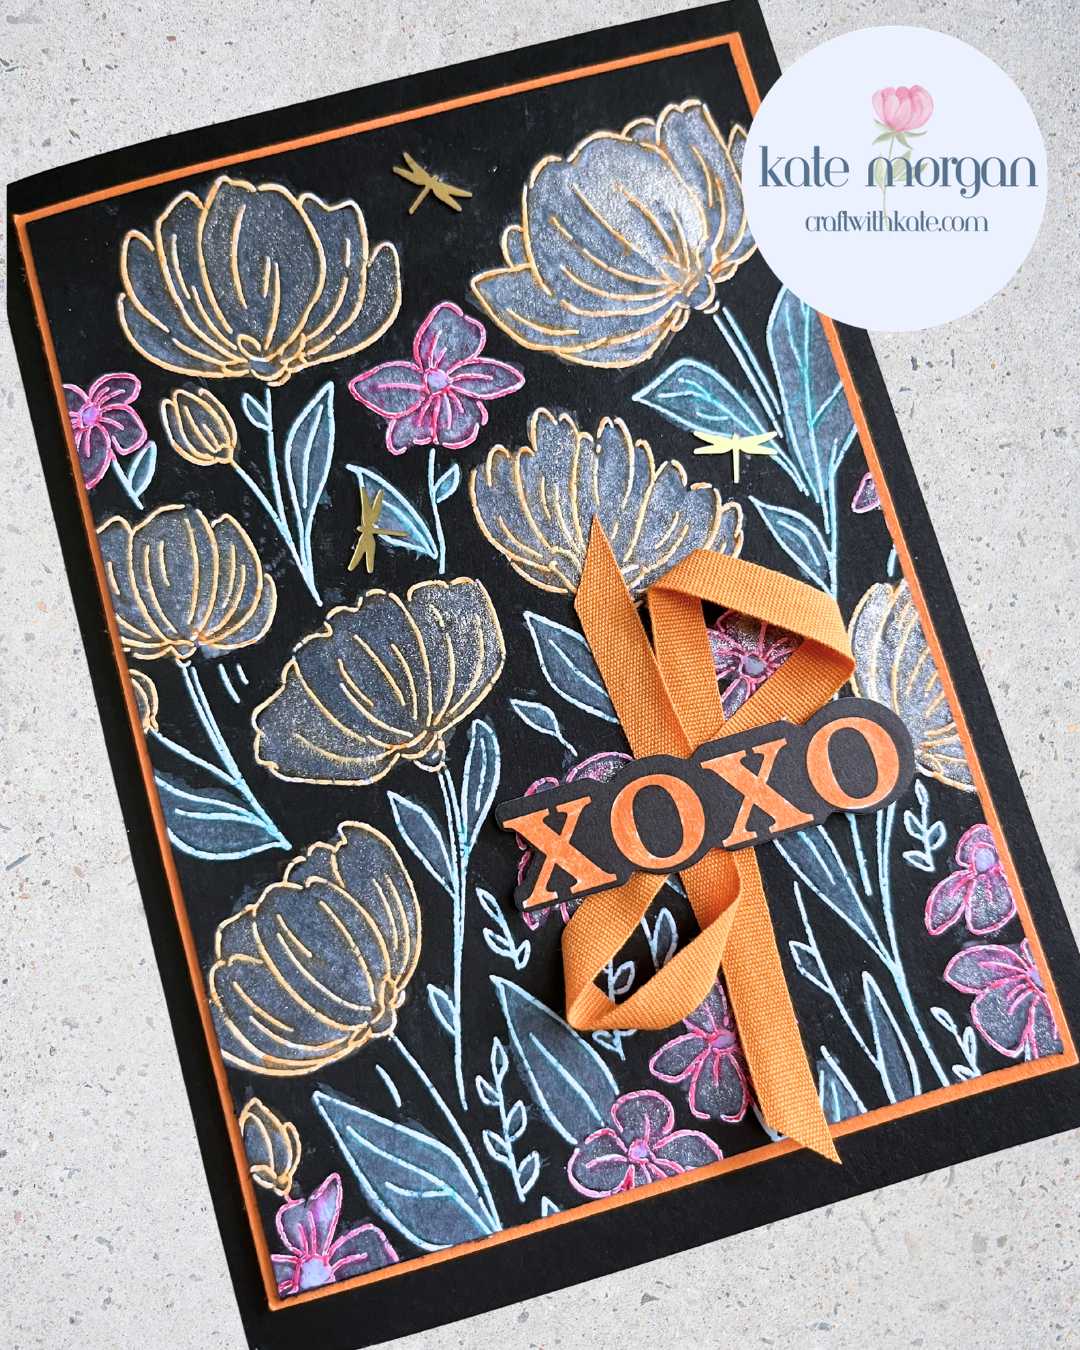
Both image layers are mounted onto a layer of Pumpin Pie cardstock then onto the card base. The sentiments are from the Greetings For All Mix & Match Ephemera Pack and some retired ribbons. To finish off, I added a few of the little gold Dragonflies I had in my stash!
Thanks for dropping by. I hope you join me next week for Real Red inspiration.
Be sure to add the Product of the Month (POM) for $9 when you add $125+ in product to your cart.
Product List @stampinupofficial
Stamps: Flowers Fair
Ink: Craft White Refill, Memento Black, Versamsrk
Paper: Basic Black, Basic White, Pumpkin Pie, Basic White C6 Envelopes
Stampin’ Blends Markers: Pumpkin Pie, Summer Splash, Strawberry Slush
Other: Greetings For All Mix & Match Ephemera Pack, Birds & Dragonflies Embellishments, Watercolor Pencils Assortment 1 & 2, White Emboss Powder, Wink of Stella, Blender Pens, Acrylic Blocks, Bone Folder, Paper Trimmer, Multipurpose Glue, Mini Stampin’ Dimensionals, Glue Dots, Tear & Tape, Take Your Pick Tool, Simply Shammy, Heat Tool.

Don’t forget to Follow My Blog to receive blog updates and all the latest news and specials!