I’m thrilled you are here to join us each Wednesday evening for the AWHT Colour Creations Blog Hop showcasing the full range of 50+ gorgeous Stampin’ Up! colours.
Week 30 – Highland Heather
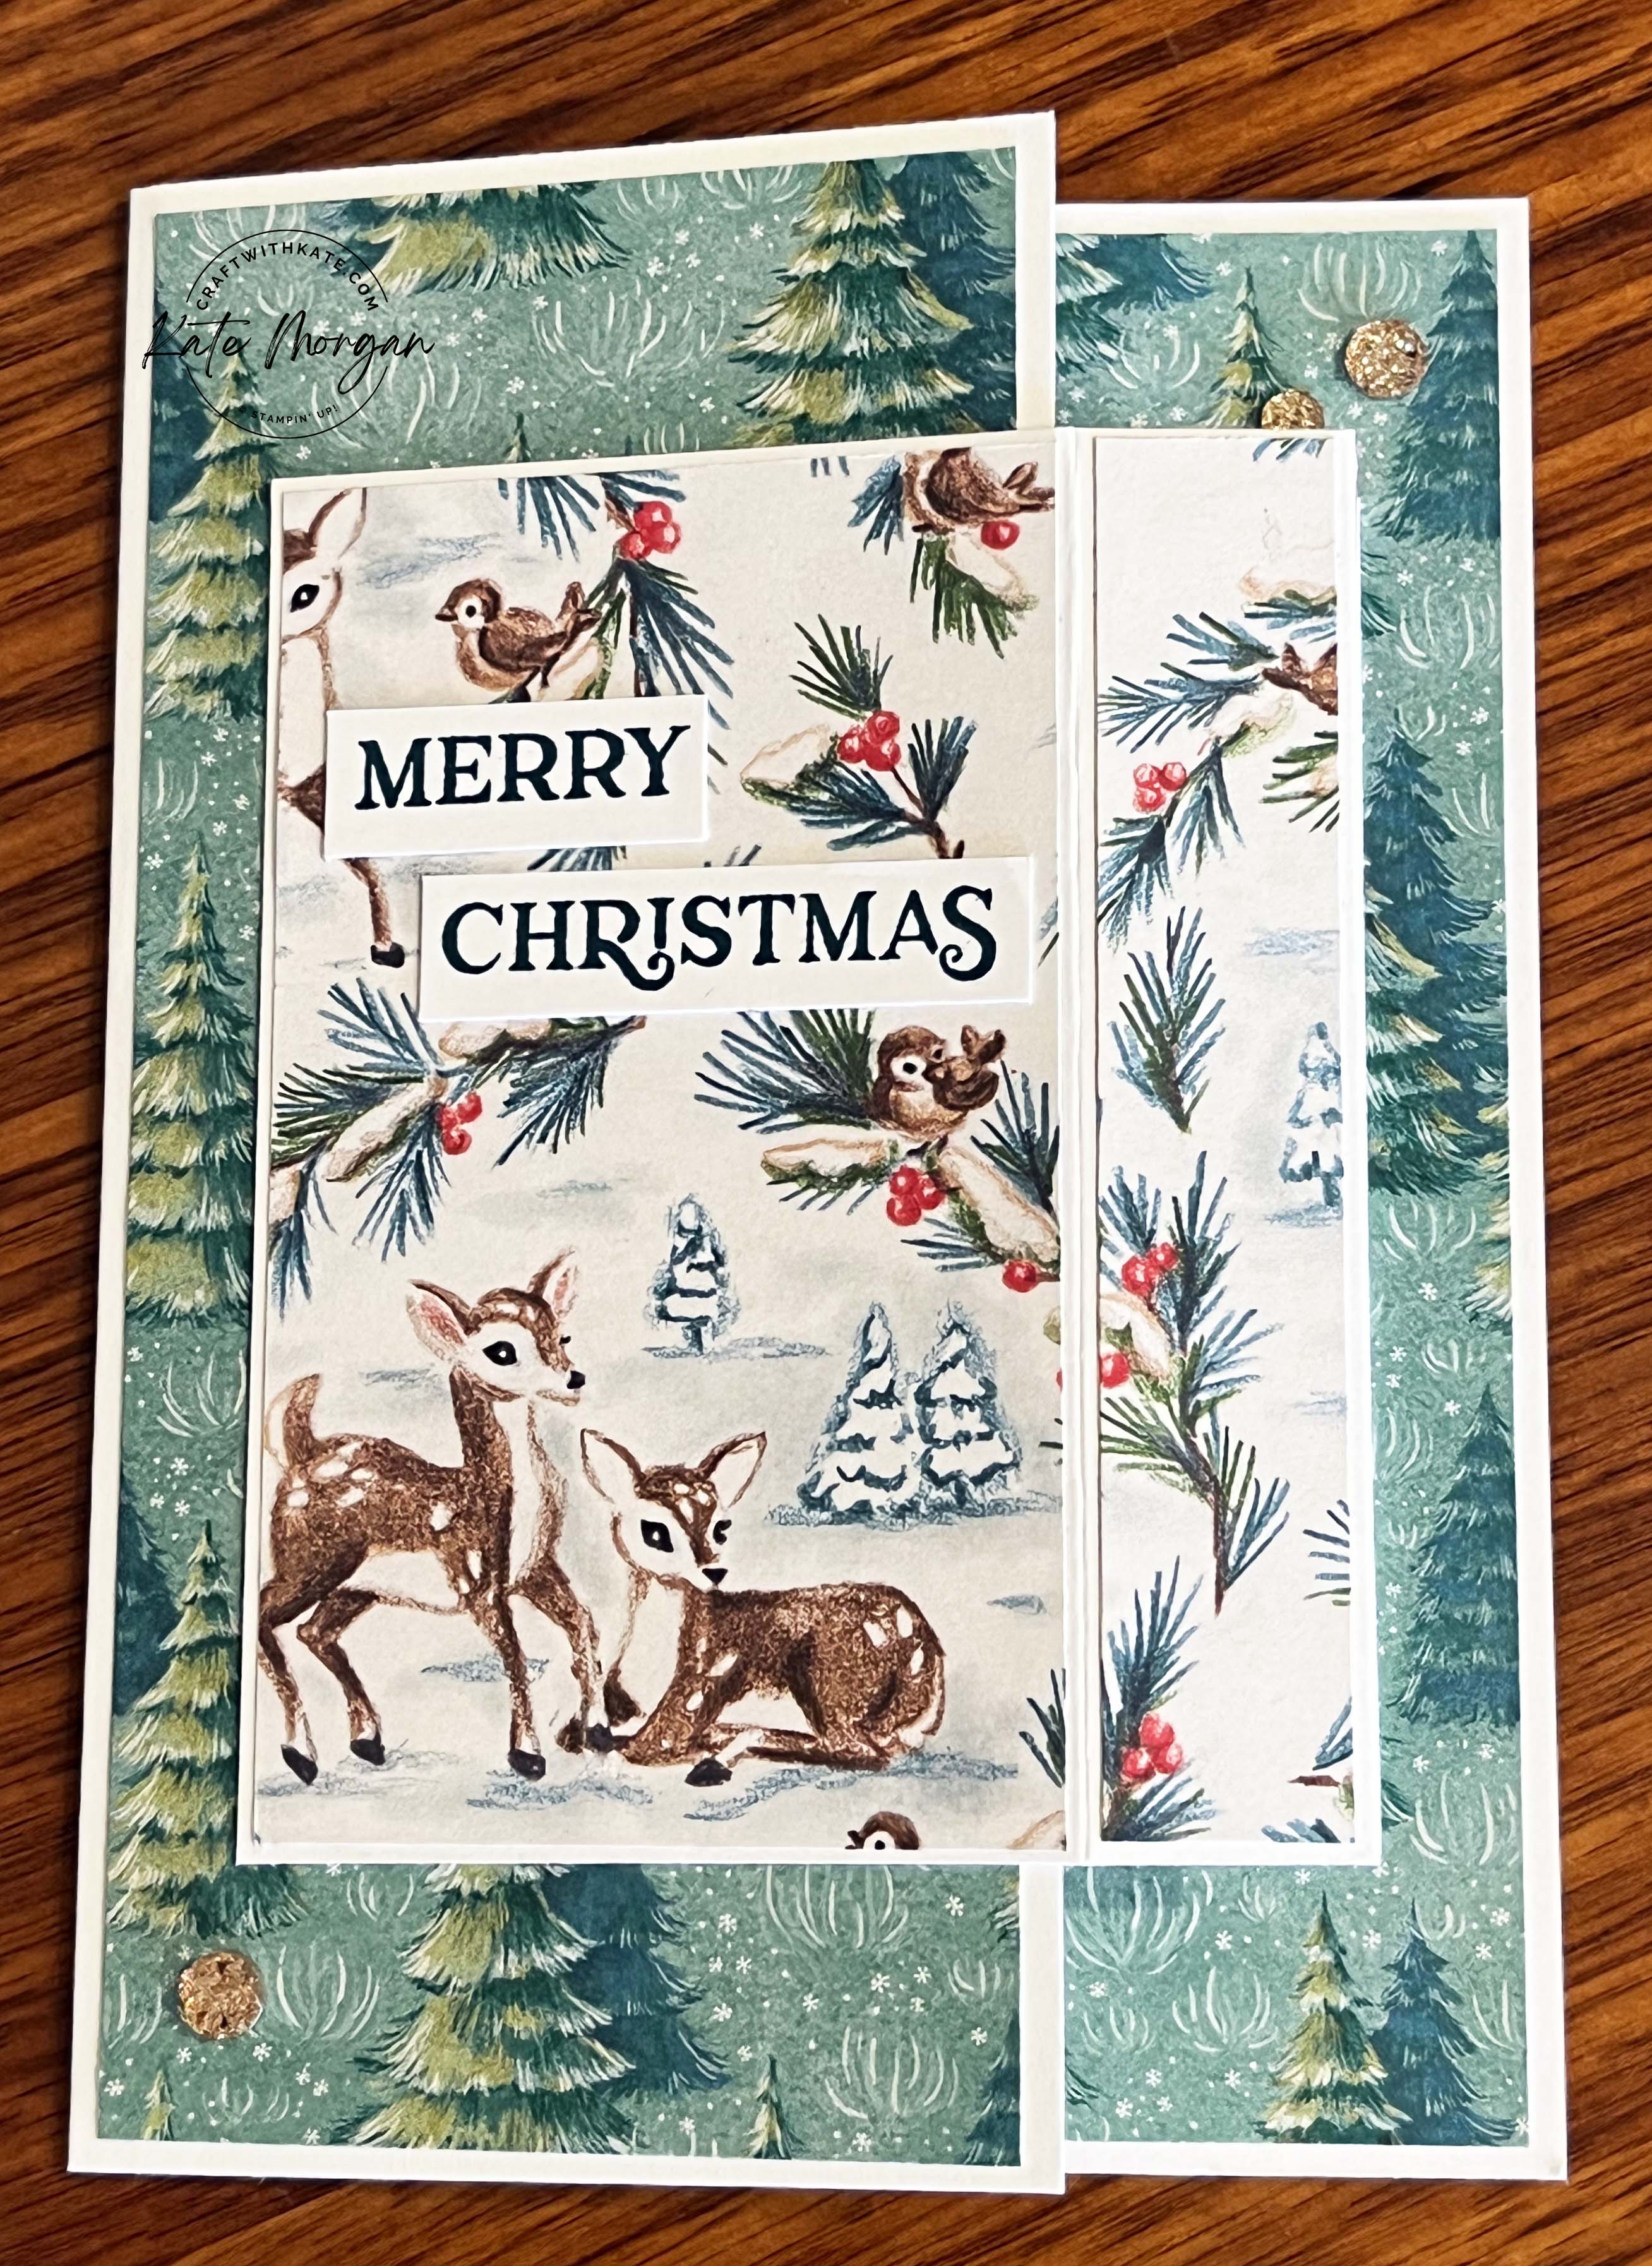
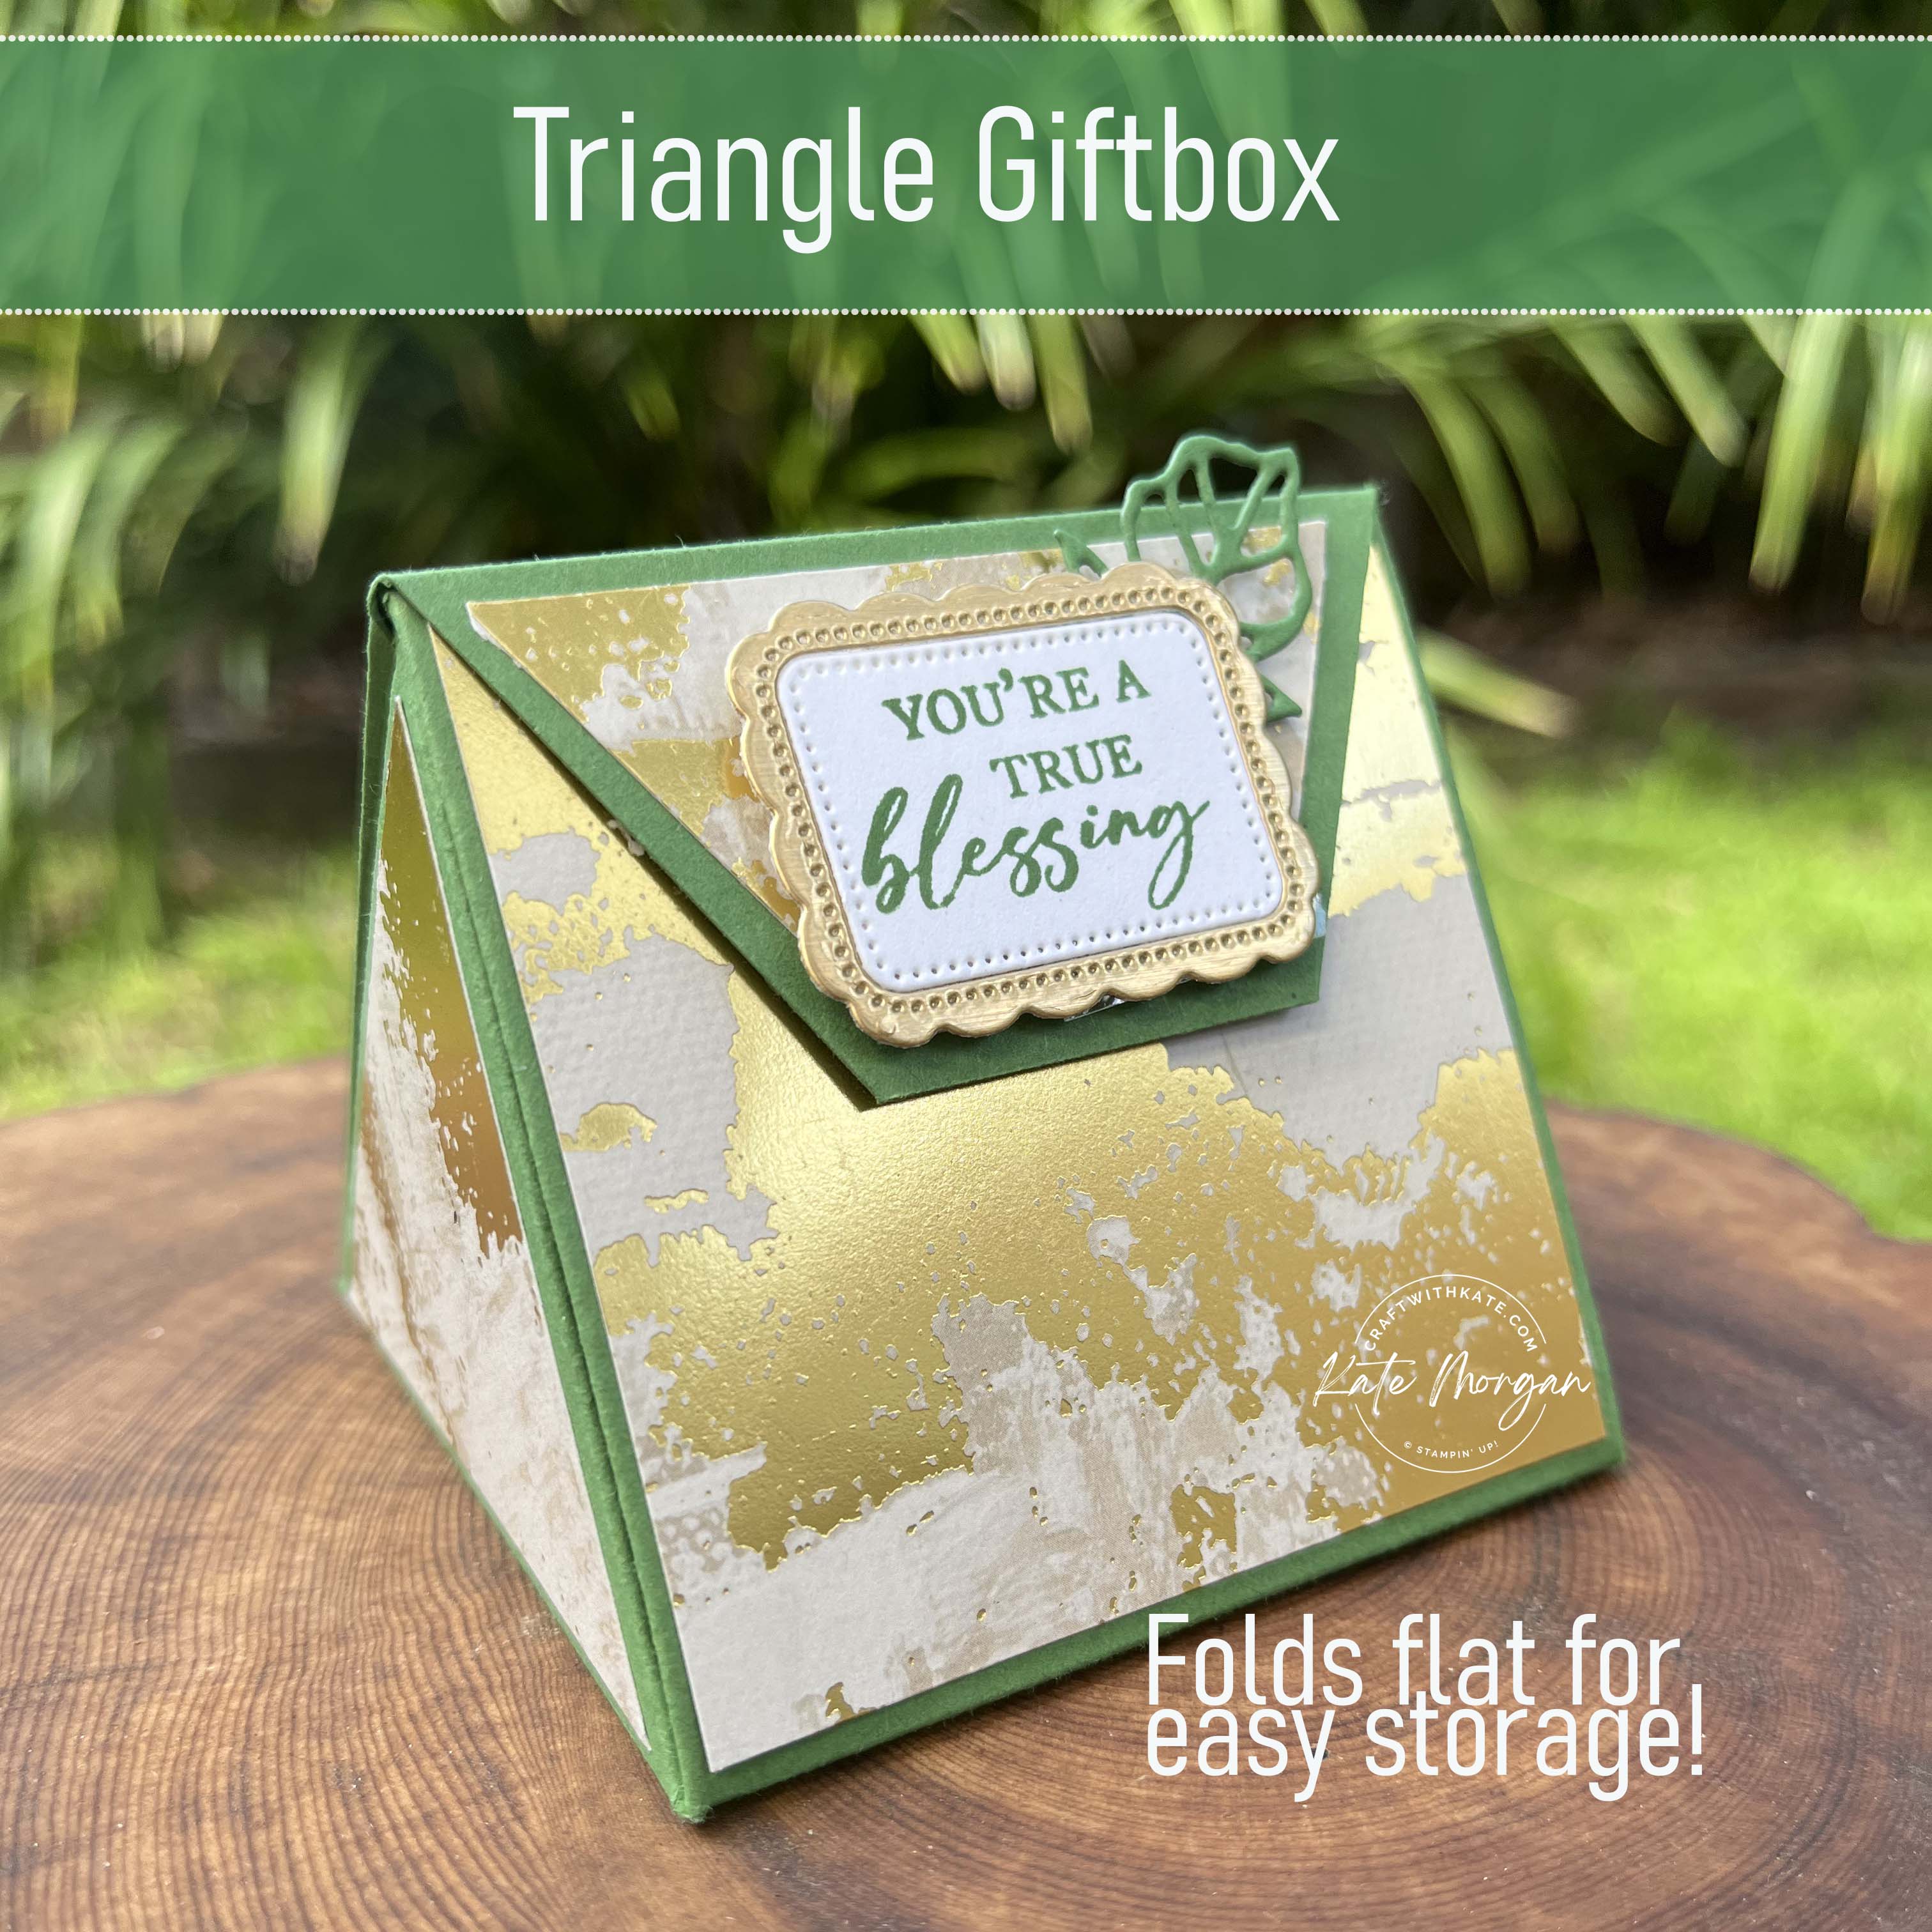
Today I feature the Umbrella Days bundle, new to the Online Exclusives section of the store.
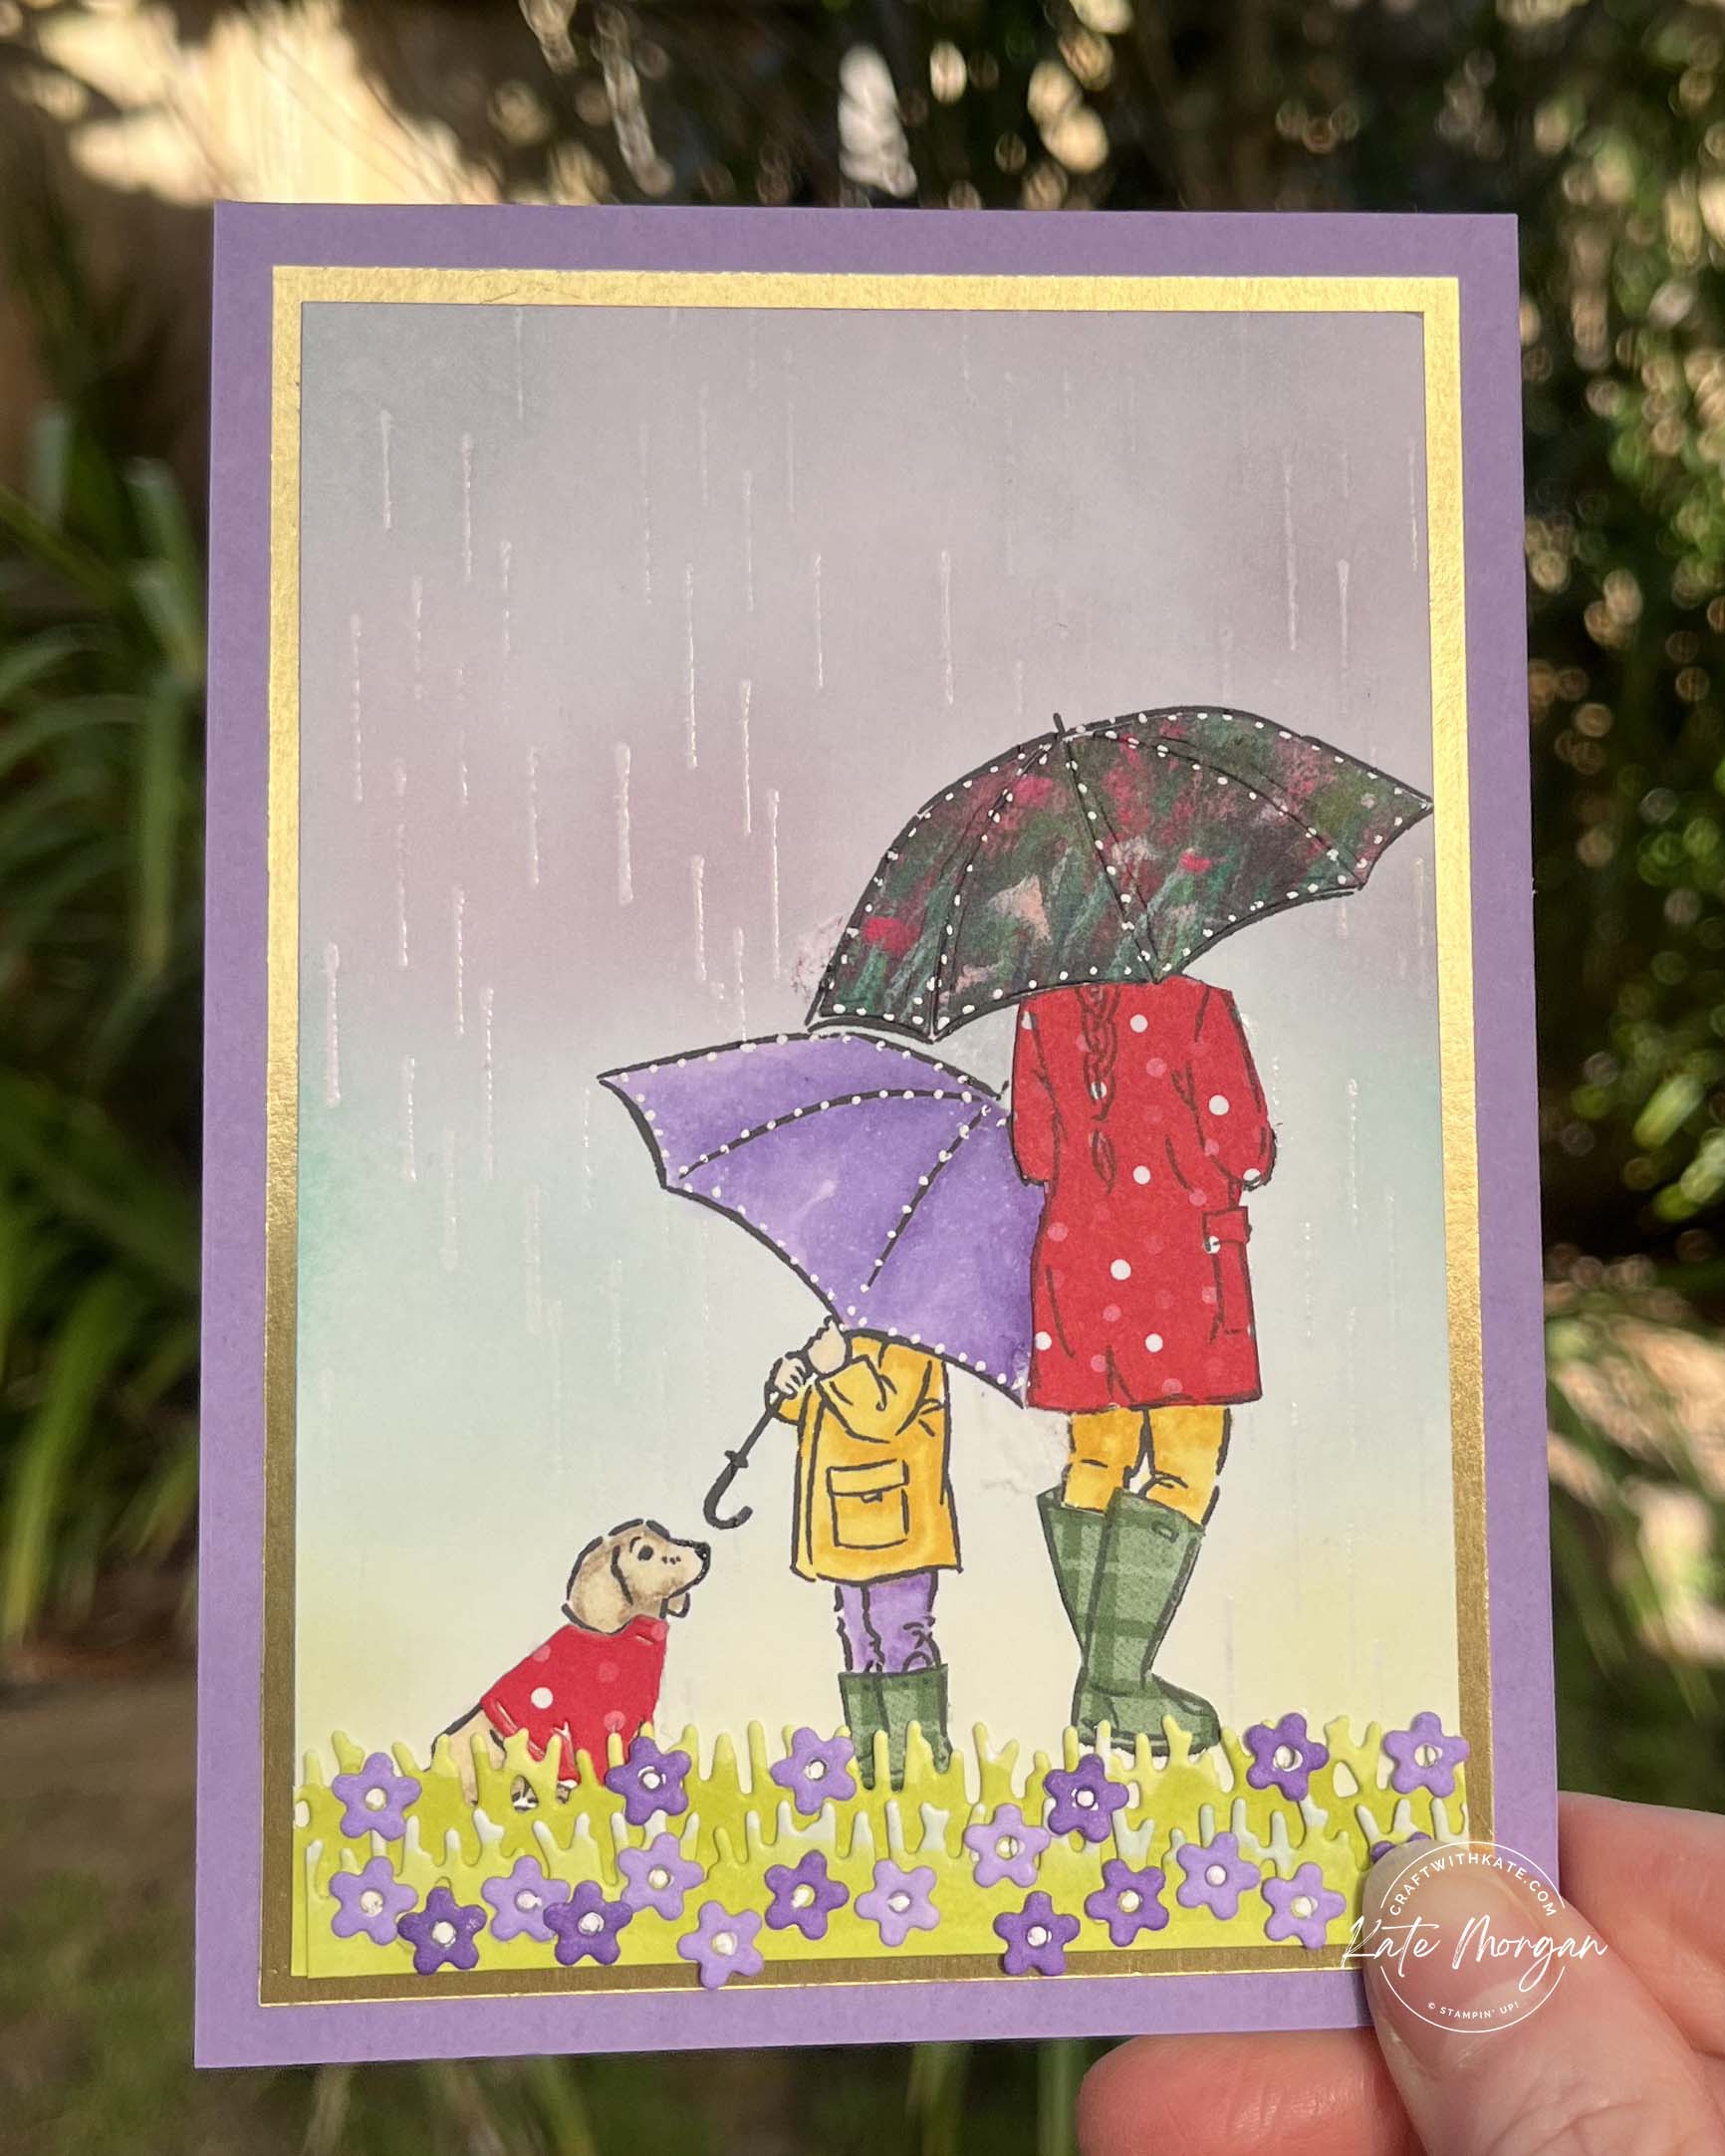
I first stamped the larger girl image and then masked her by stamping onto masking paper and cutting it out to place over the top of the previously stamped image. This is so when I stamped the smaller child, I could have it to appear behind the larger image. But warning, don’t be like me, and forget to take a little stickyness away from the masking paper. Ooops, I ripped the card when I was removing it.
The dog was stamped last. To try and cover up my booboo, I decided to add some paper piecing! Stamping the images onto Designer paper and then cutting out sections, eg the coat, to glue over the stamped image. I did this for the umbrella, coat and boots of the large image, the boots of the child and the coat for the dog! The rest were coloured with Stampin’ Blends Combo Markers.

I wanted to add the rain, so stamped the rain in Versamark ink, added clear emboss powder and melted it with my Heat Tool. I used a blending brush to add colour from the bottom to top using Lemon Lime Twist, Pool Party & Highland Heather.
I cut two strips of grass and coloured them with Blends Combo Markers; Lemon Lime Twist & Soft Sea Foam. The little flowers were coloured using Highland Heather.
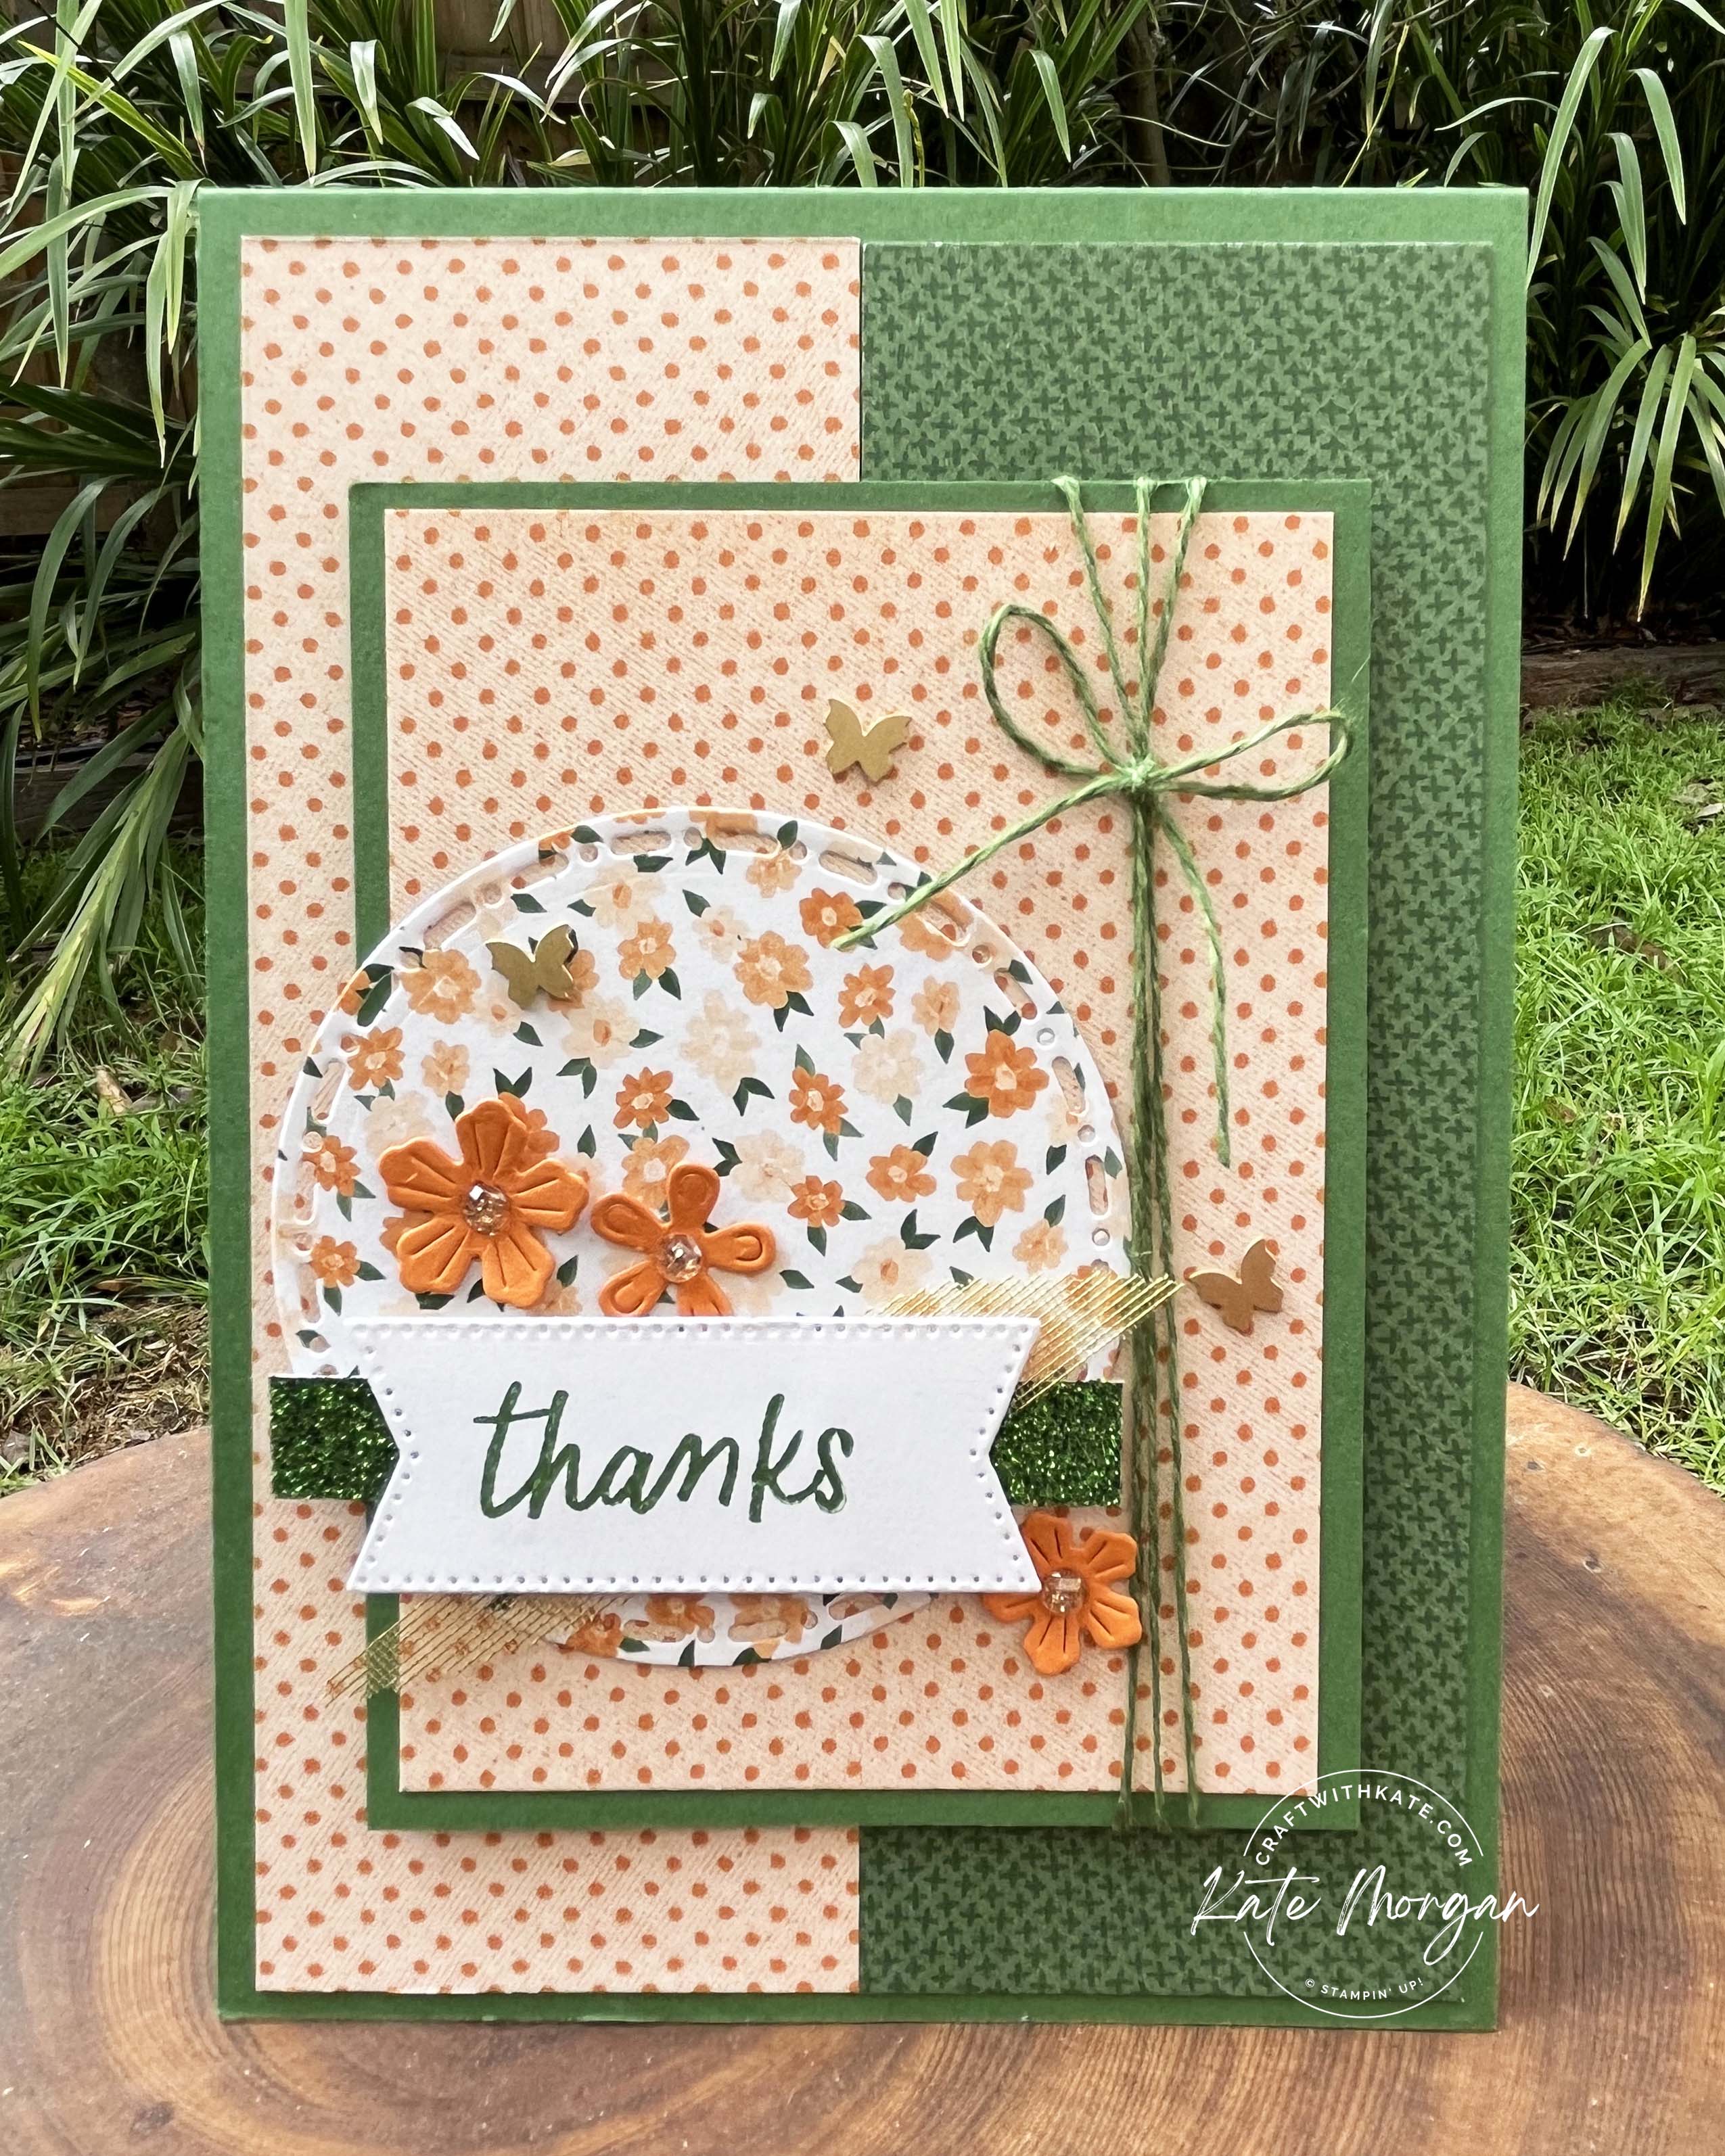
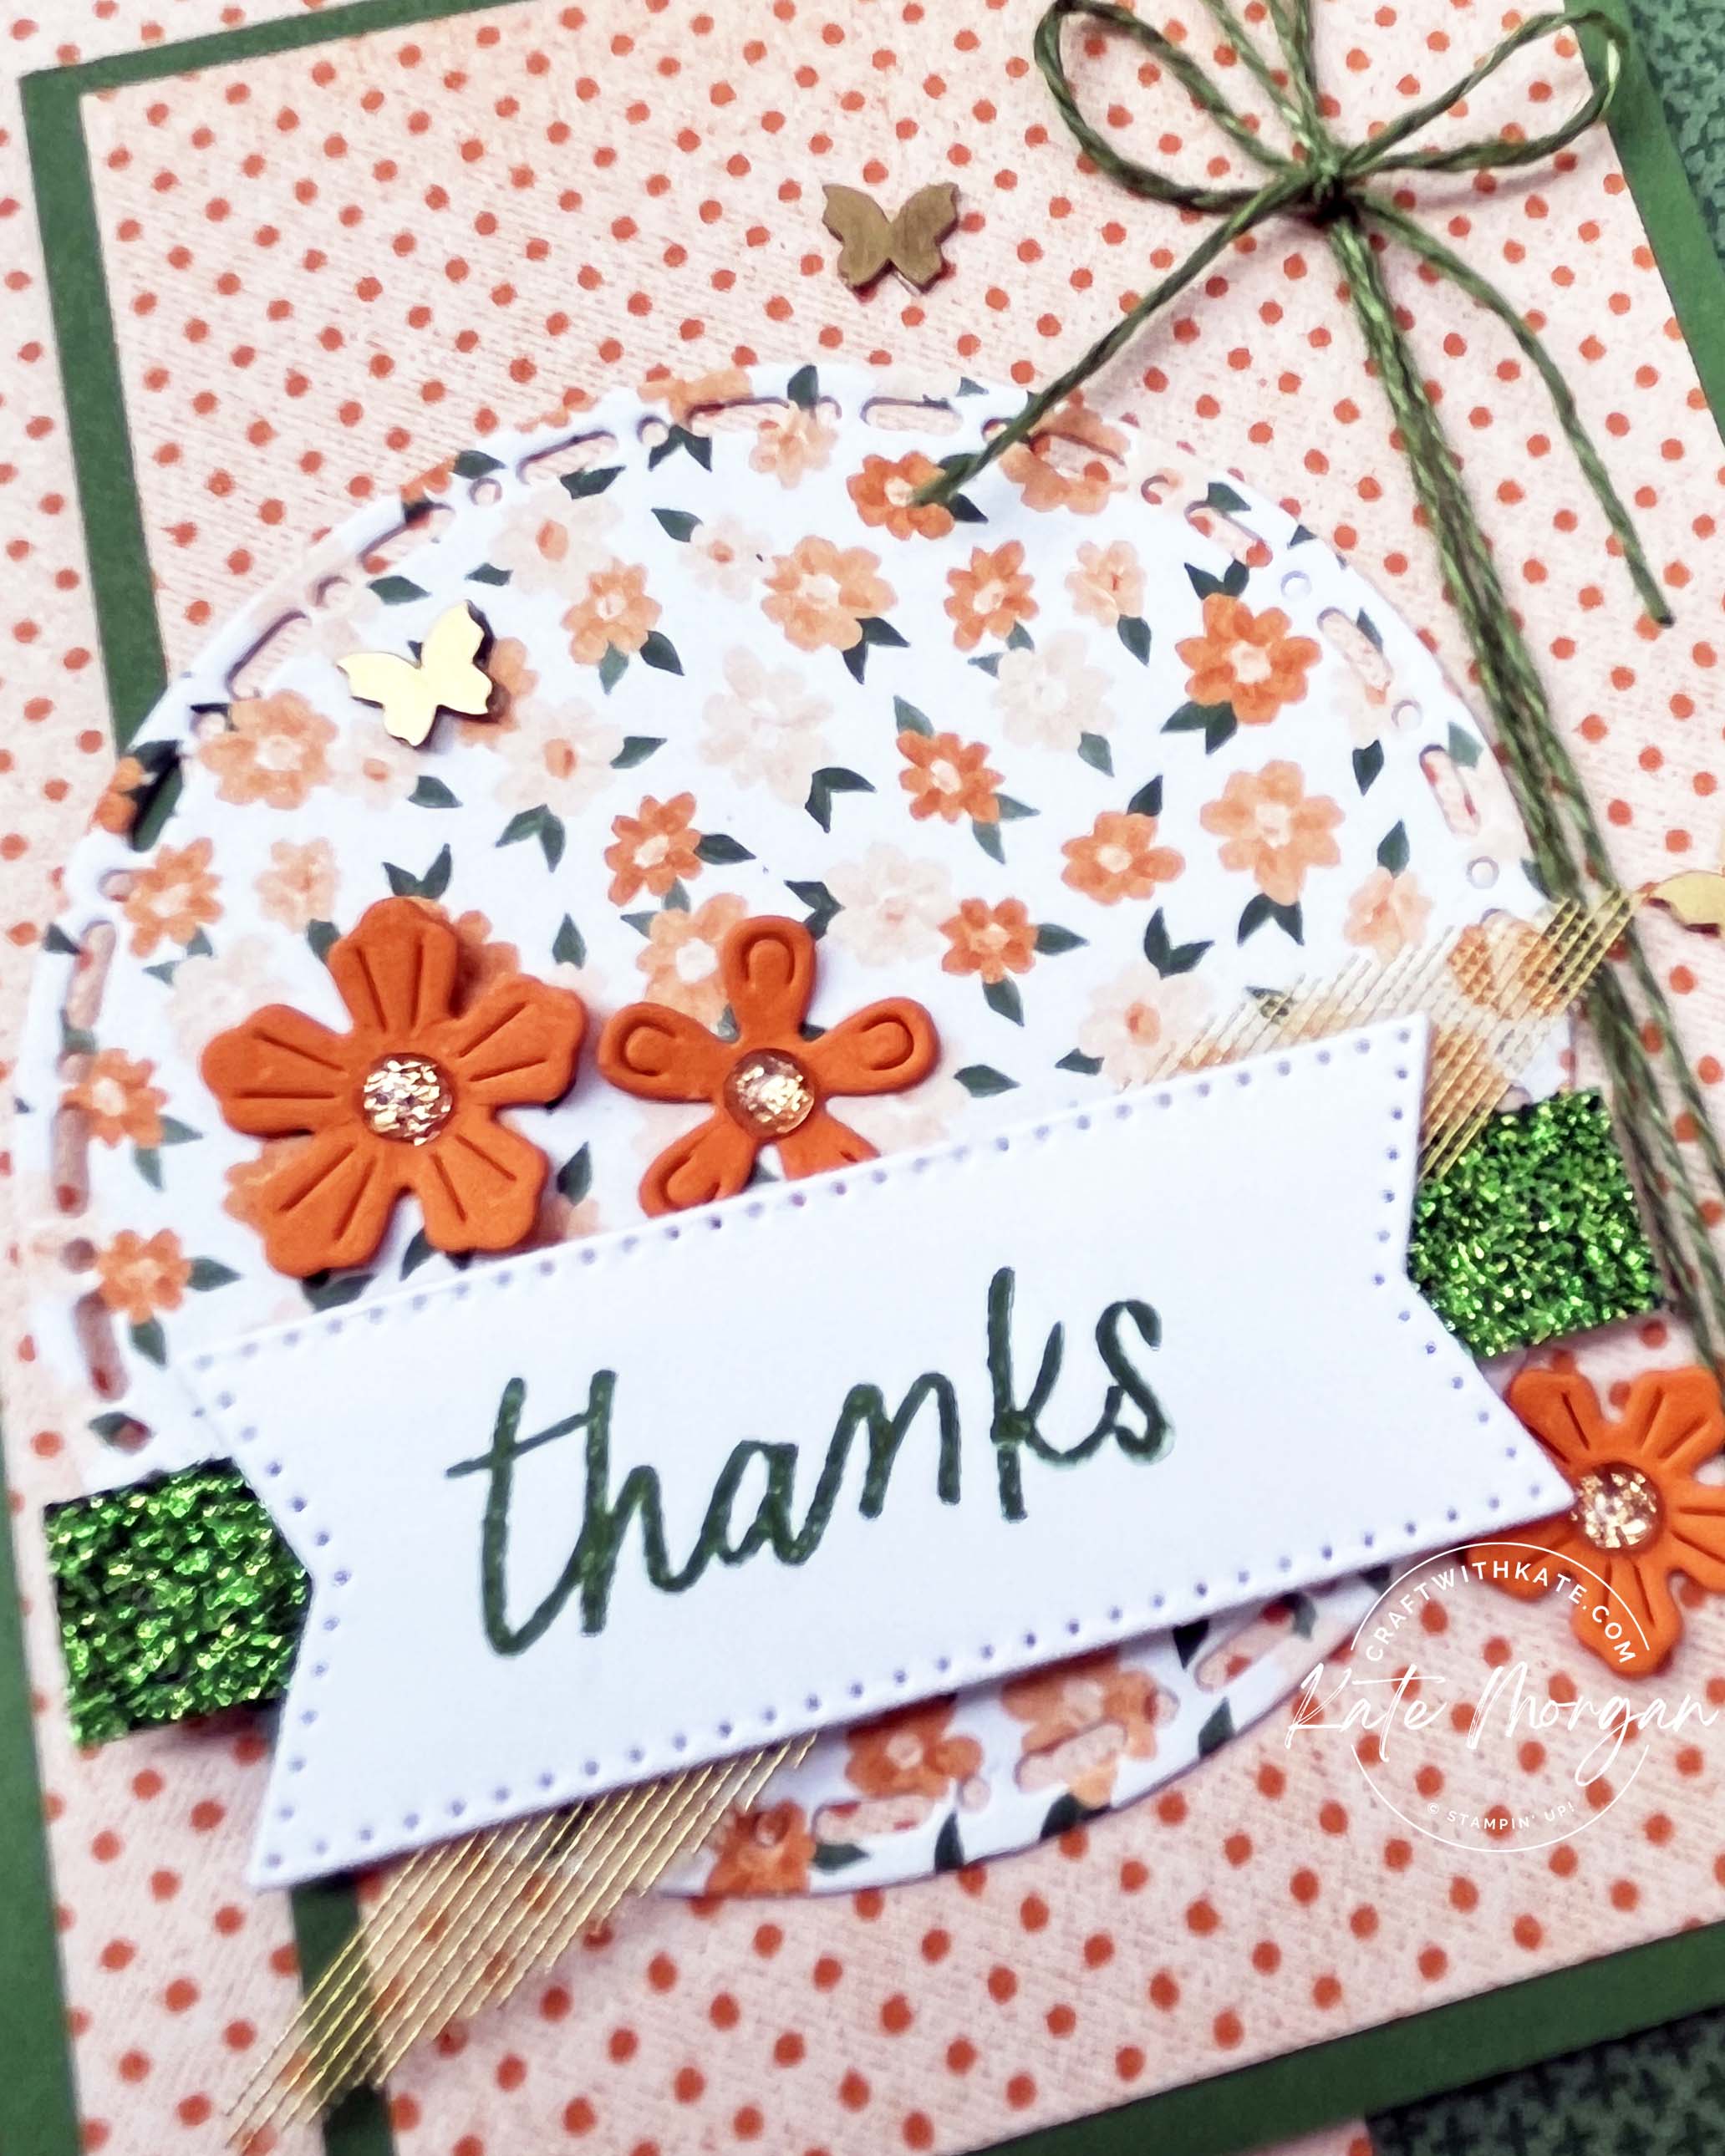
This layer is added to Gold Foil and to a Highland Heather card front. Some dots were added using a White Gelly Pen.

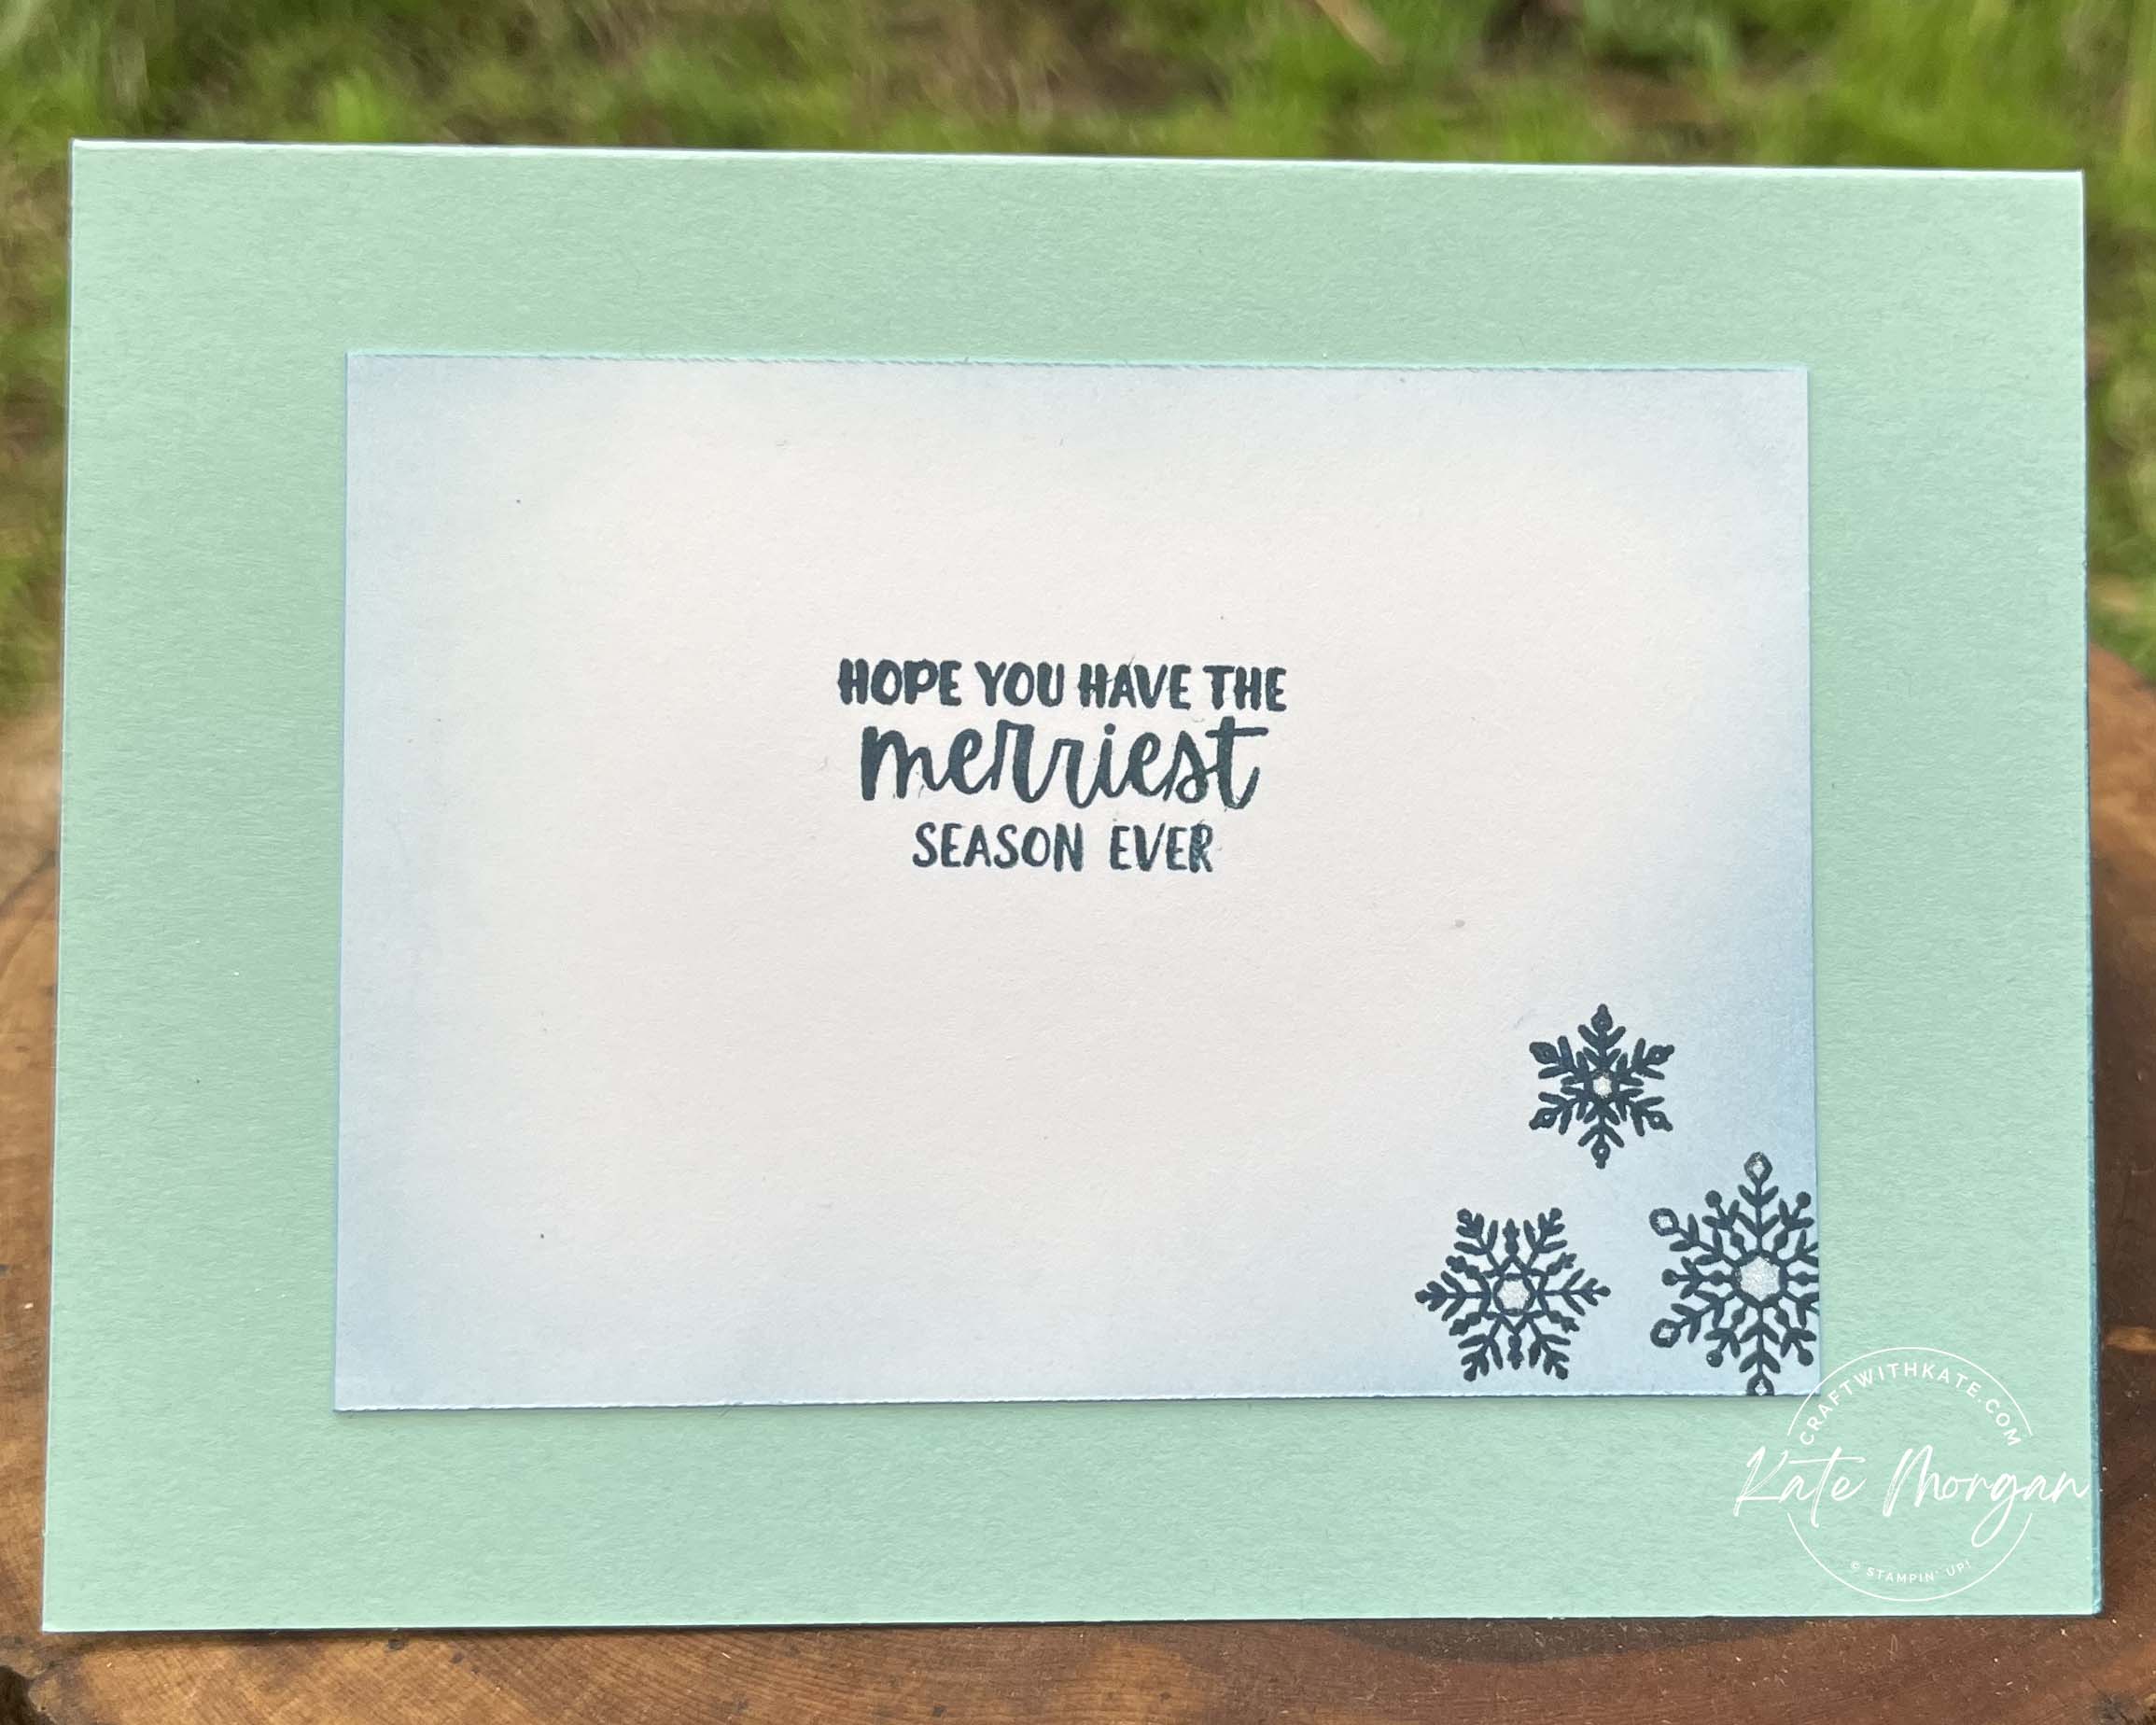
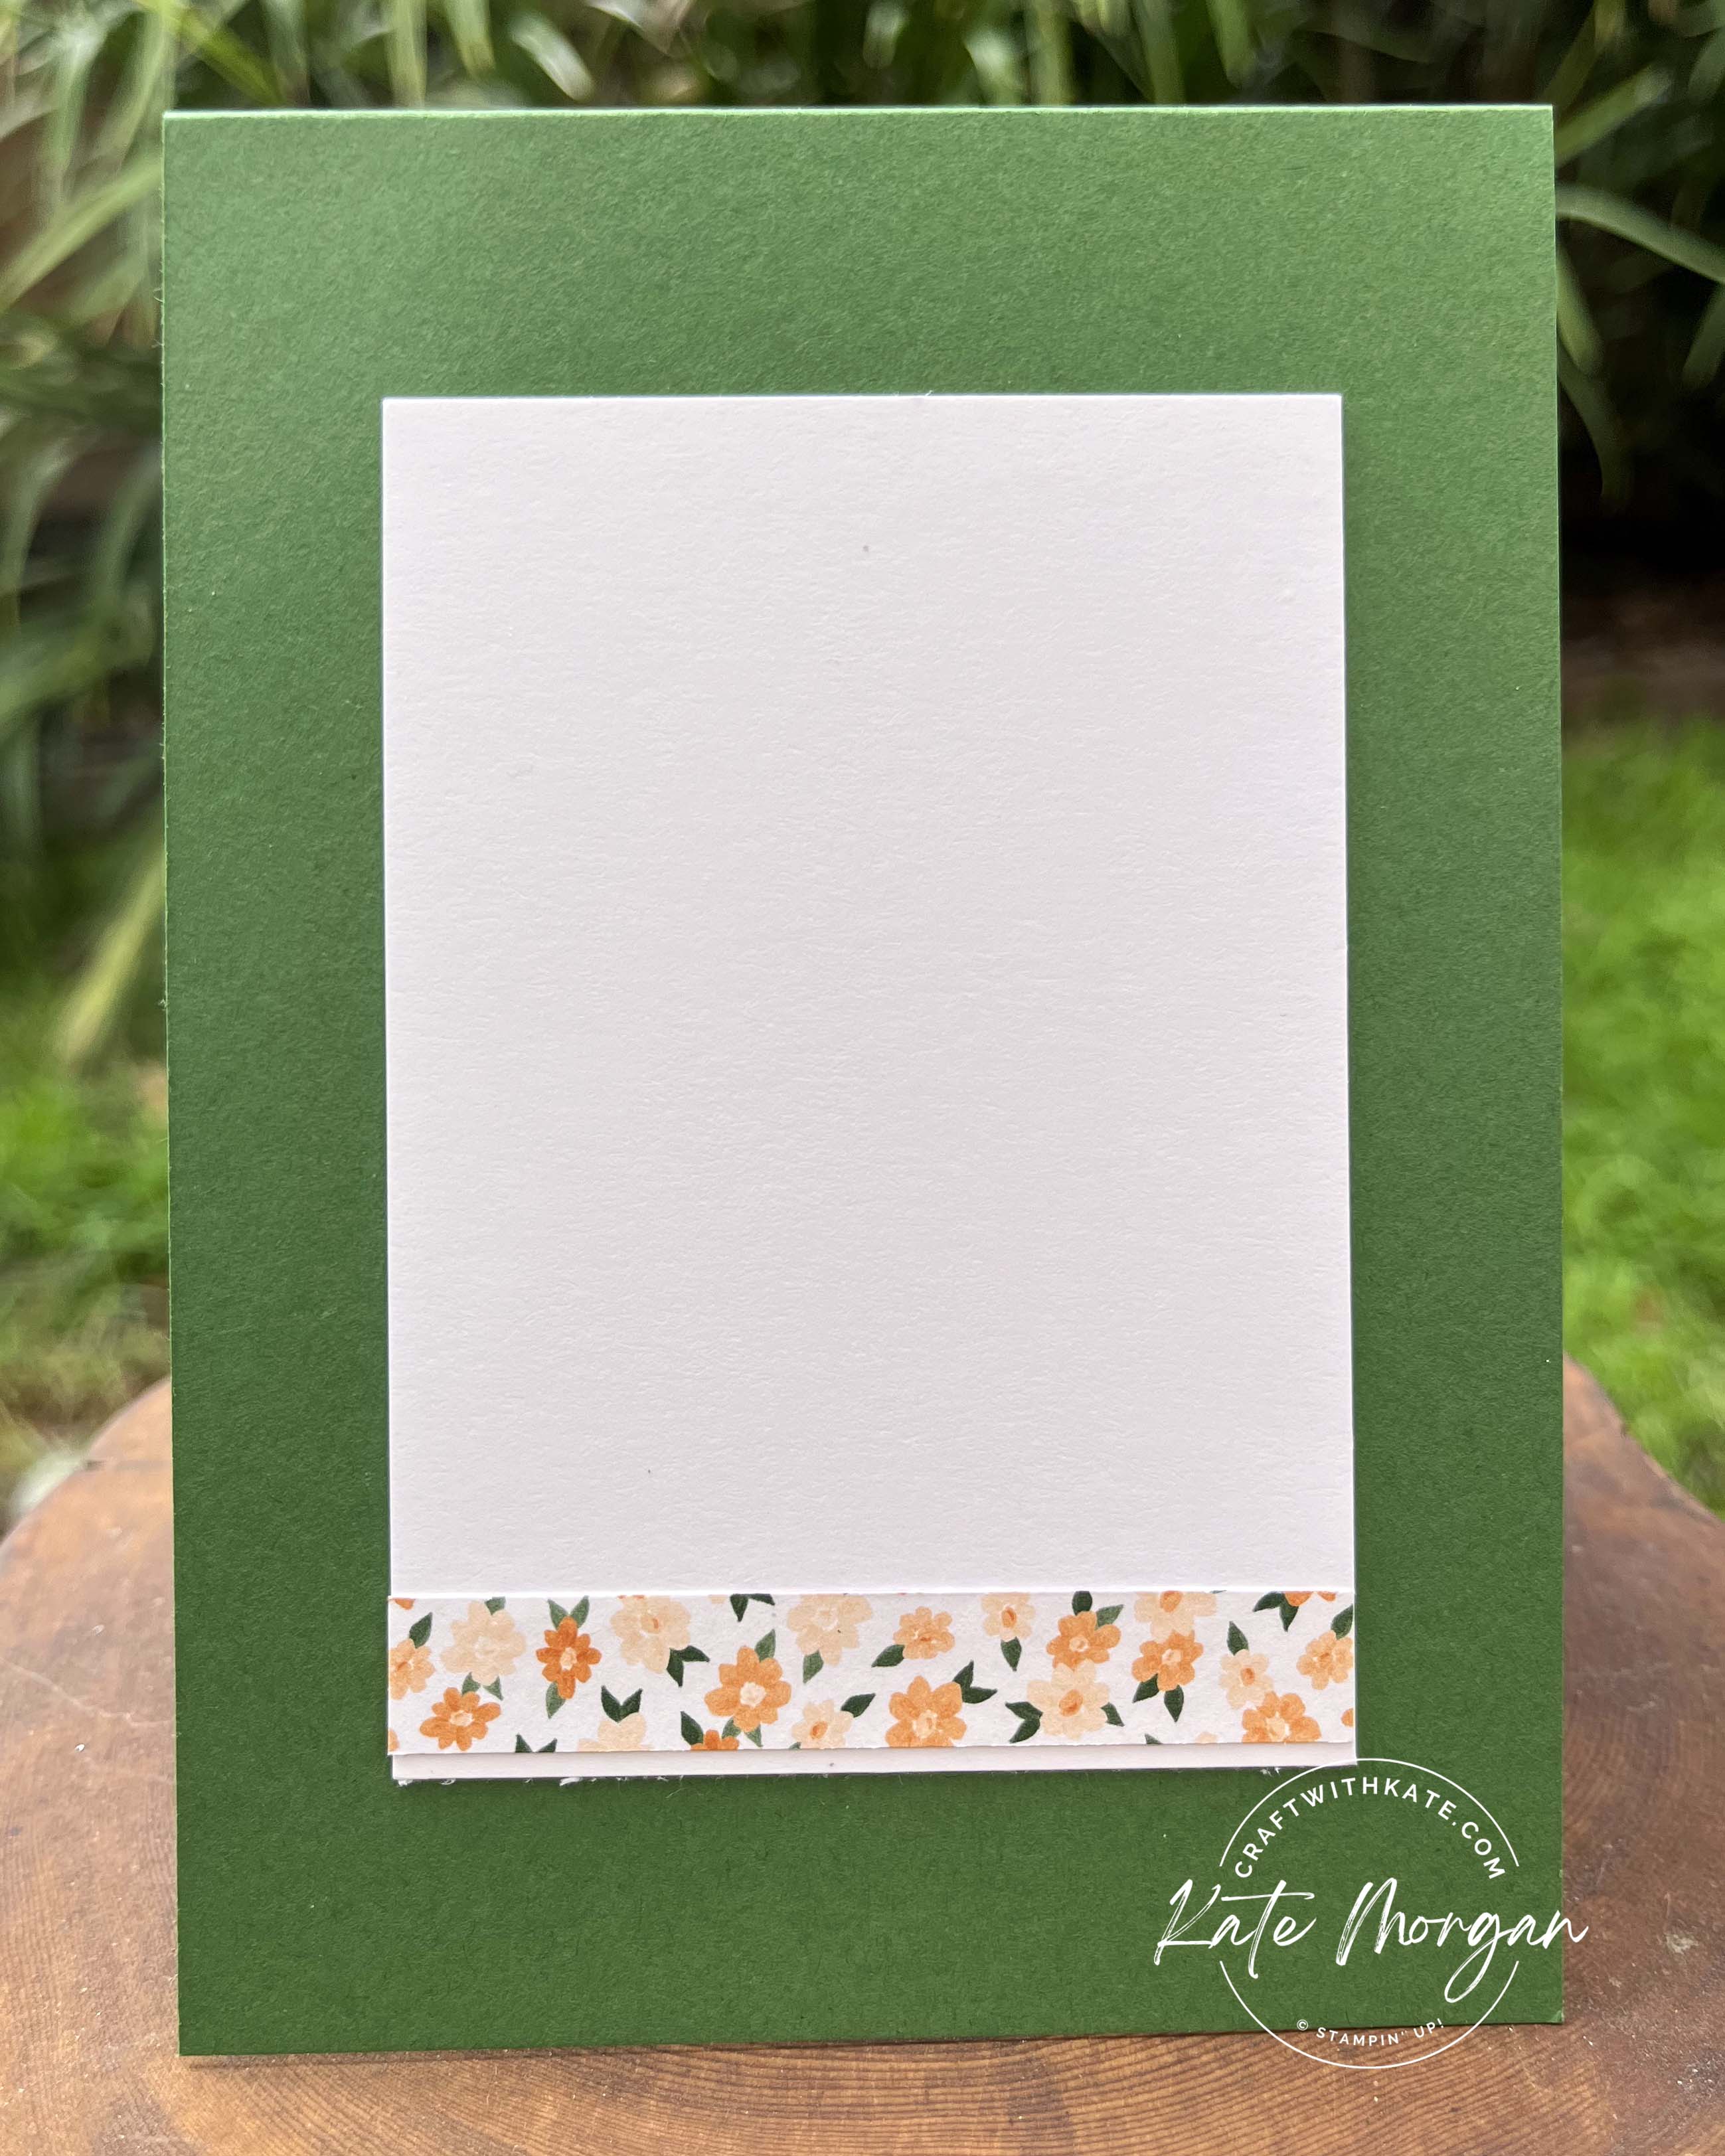
On the inside is a 14cm x 28cm Basic White insert scored at 4.5cm & 9cm from either end. Some Meandering Meadows Designer Series paper is added to 3 of the 4 panels and a Wanted to Say die cut sentiment in the centre. This was then mounted to another Highland Heather card base (14.5cm x 10.5cm).
Thanks for dropping by. I hope you join me next Wednesday for inspiration using Lemon Lime Twist.
Please enjoy the wonderful inspiration of our next team member, Di Furniss.

The full list of participants for this week can be viewed on Cathy Proctor’s blog.
Product List
Stamps: Umbrella Days*
Dies: Umbrella Days*, Wanted to Say
Card/DSP/Specialty Paper: Highland Heather, Basic White, Gold Foil, Take a Bow DSP, To Market DSP, Meandering Meadow DSP, Basic White C6 Envelopes
Inks: Black Memento, Highland Heather, Lemon Lime Twist, Pool Party, Versamark
Stampin’ Blends Combo Markers: Crumb Cake, Daffodil Delight, Highland Heather, Lemon Lime Twist, Soft Sea Foam
Accesories/Adhesives/Tools: Masking Paper, Paper Snips, Bone Folder, Paper Trimmer, Multipurpose Glue, Tear & Tape, Glue Dots, Stampin’ Dimensionals, Stampin’ Cut & Emboss Machine, Heat Tool, Take Your Pick Tool, Simply Shammy, Water Painters, White Gelly Pen (non SU)
*can be purchased together as a bundle to save 10%

Don’t forget to Follow My Blog to receive blog updates and all the latest news and specials!