Welcome to the Colour Creations Instahop. You can follow us on Instagram starting @craftwithkate. Each week we will showcase the Stampin’ Up! colours in alphabetical order.
Week 27 – Highland Heather
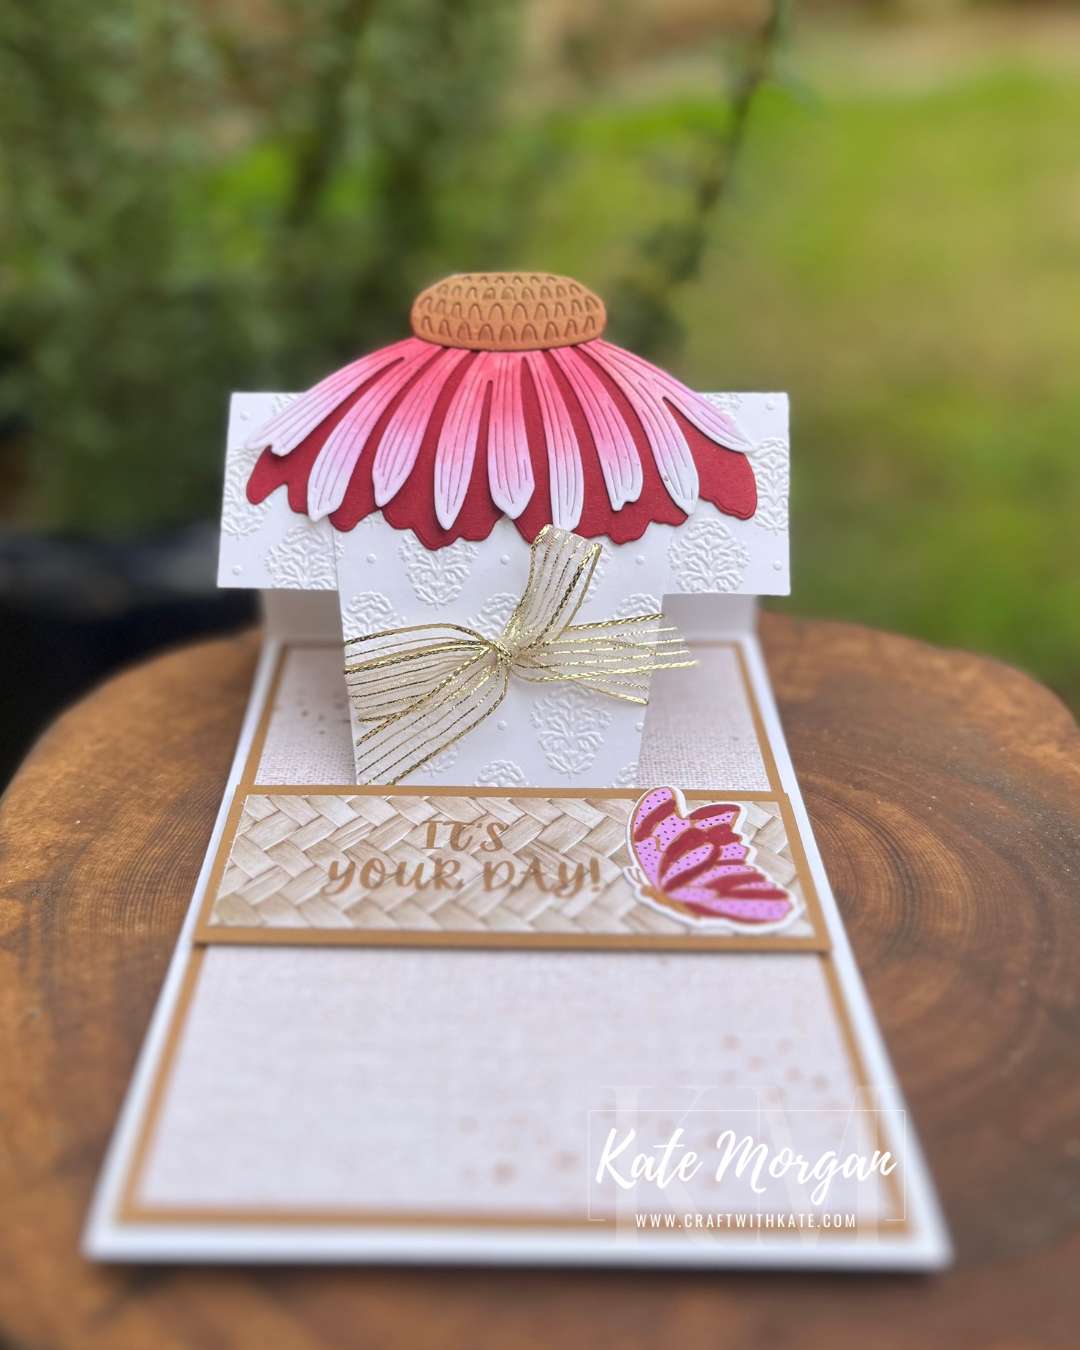
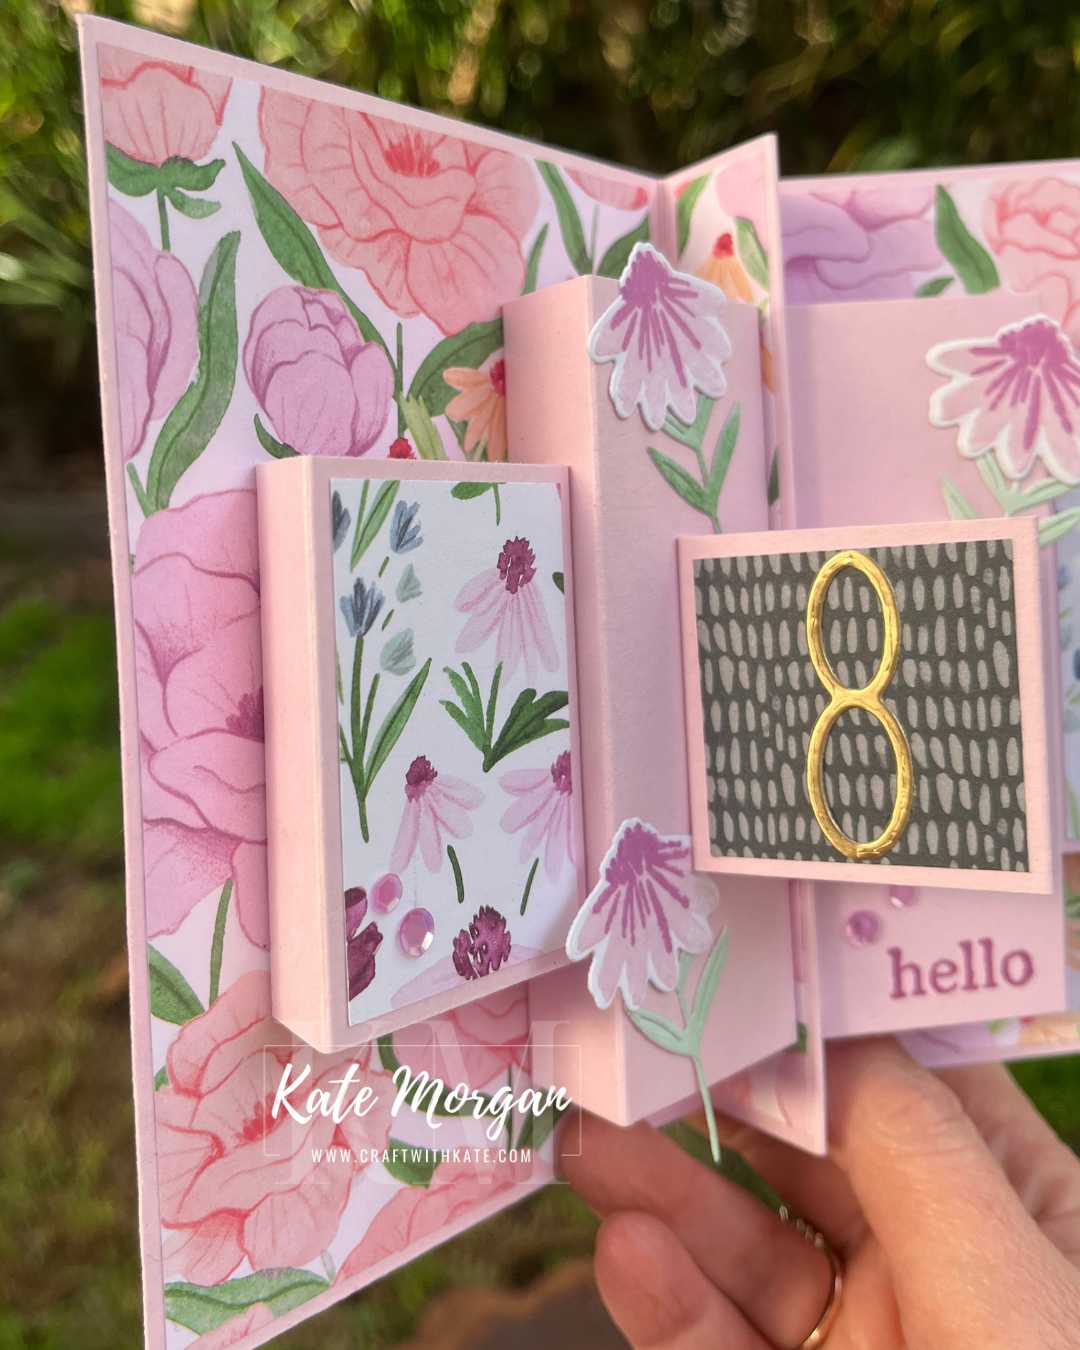
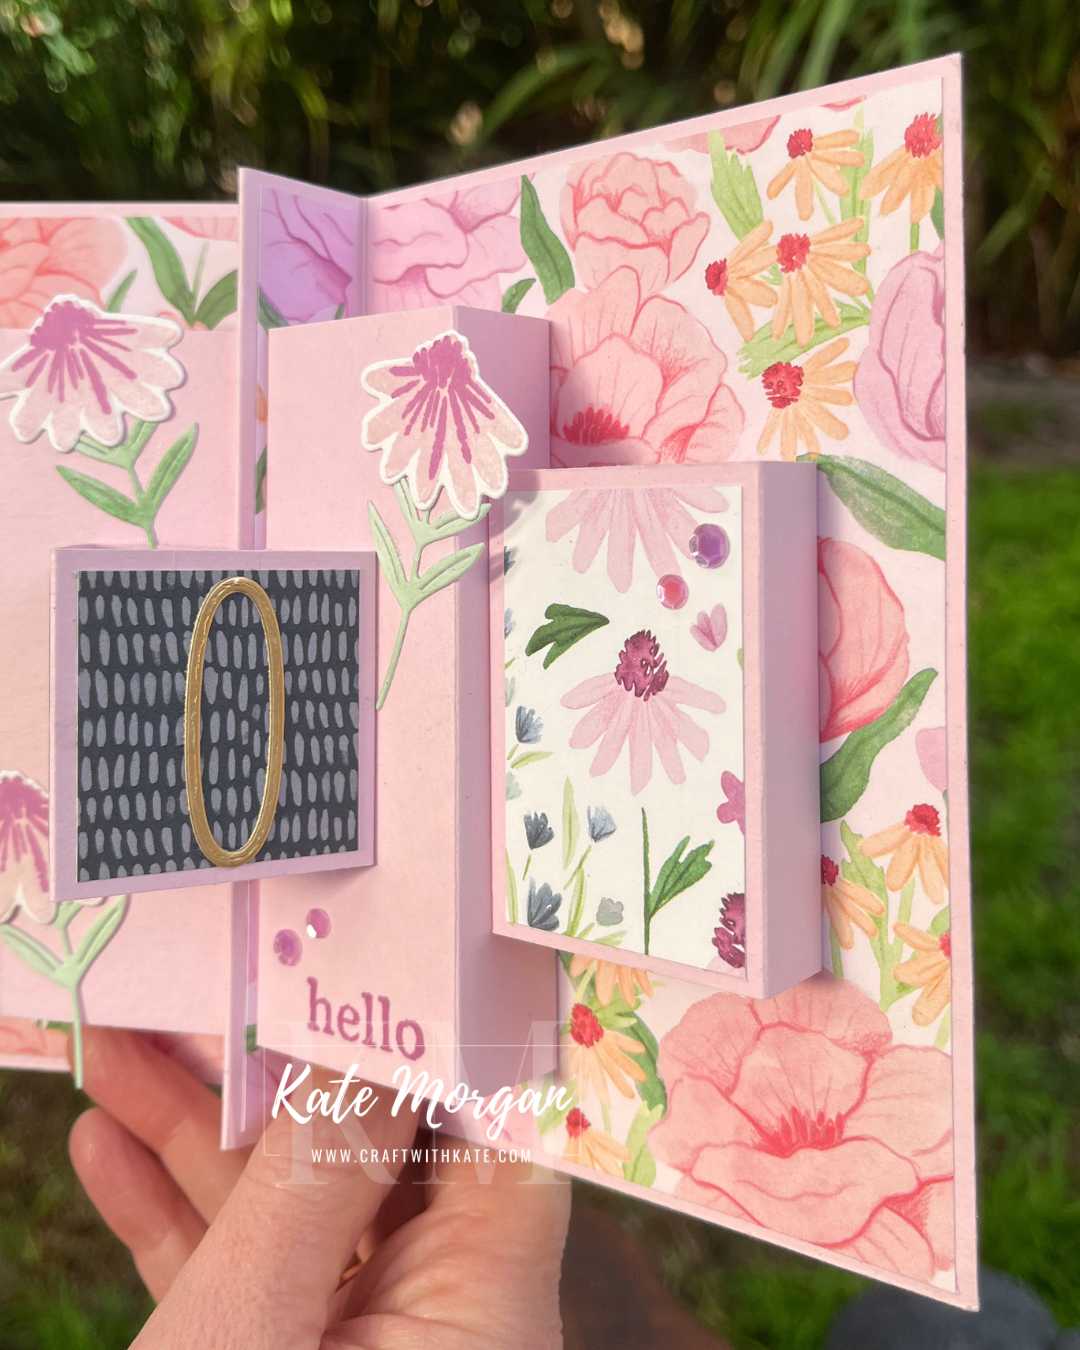
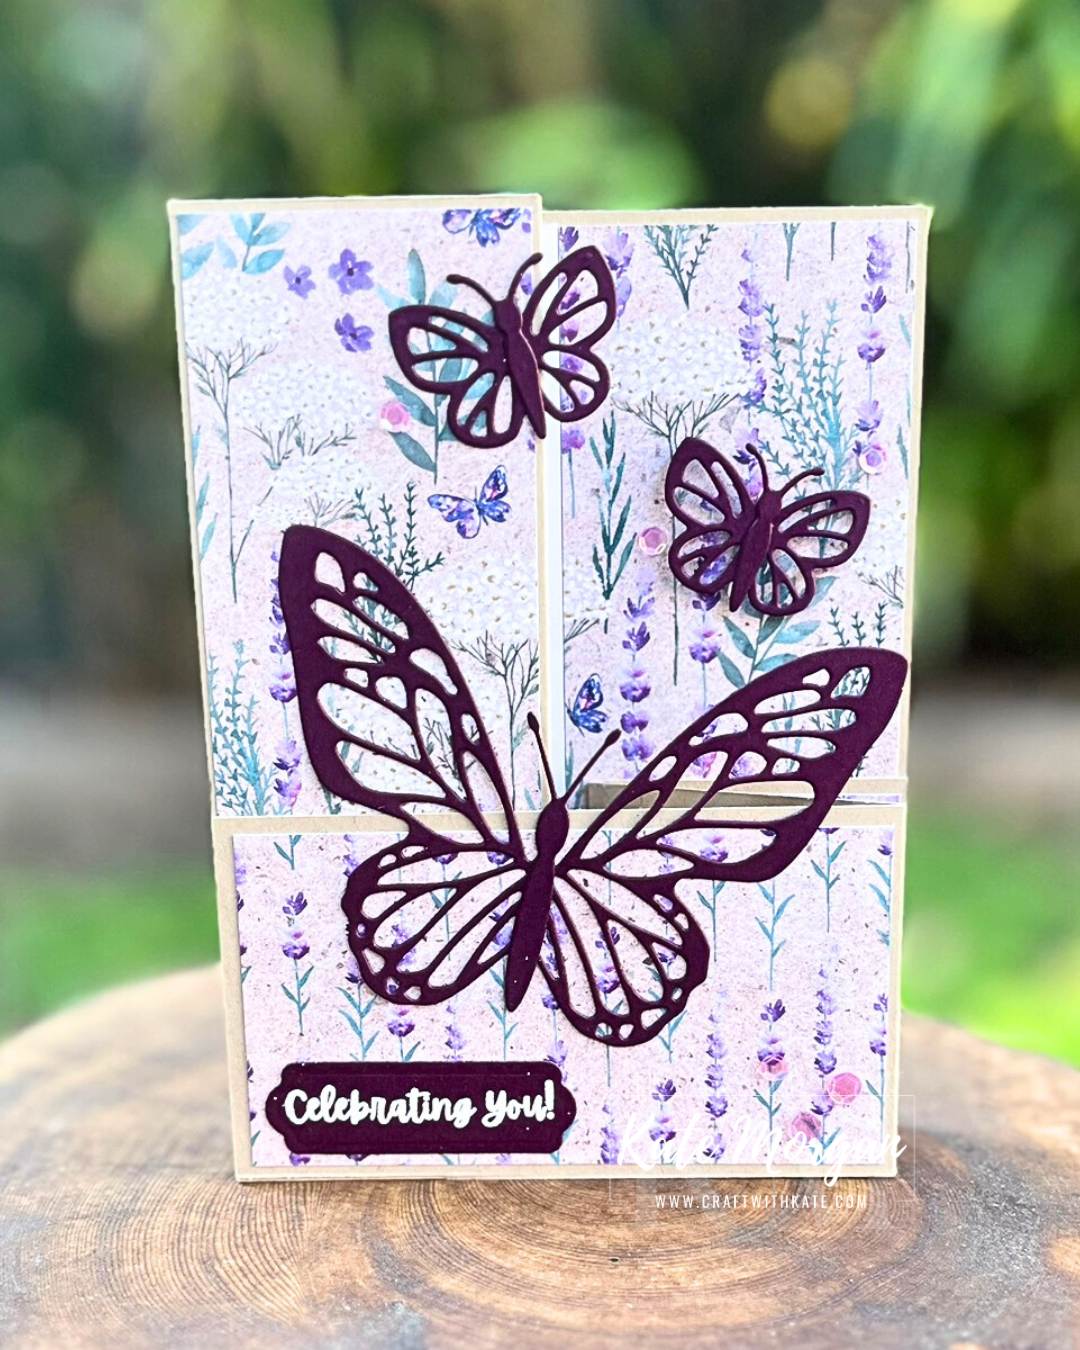
This handmade card heavily features the Perennial Lavender Designer Series Paper in a clever fun fold design and measures 5¾” x 5¾”, so I will show you how to create a 6″ x 6″ matching envelope!


because this card won’t fit into a standard envelope, I had to create my own!

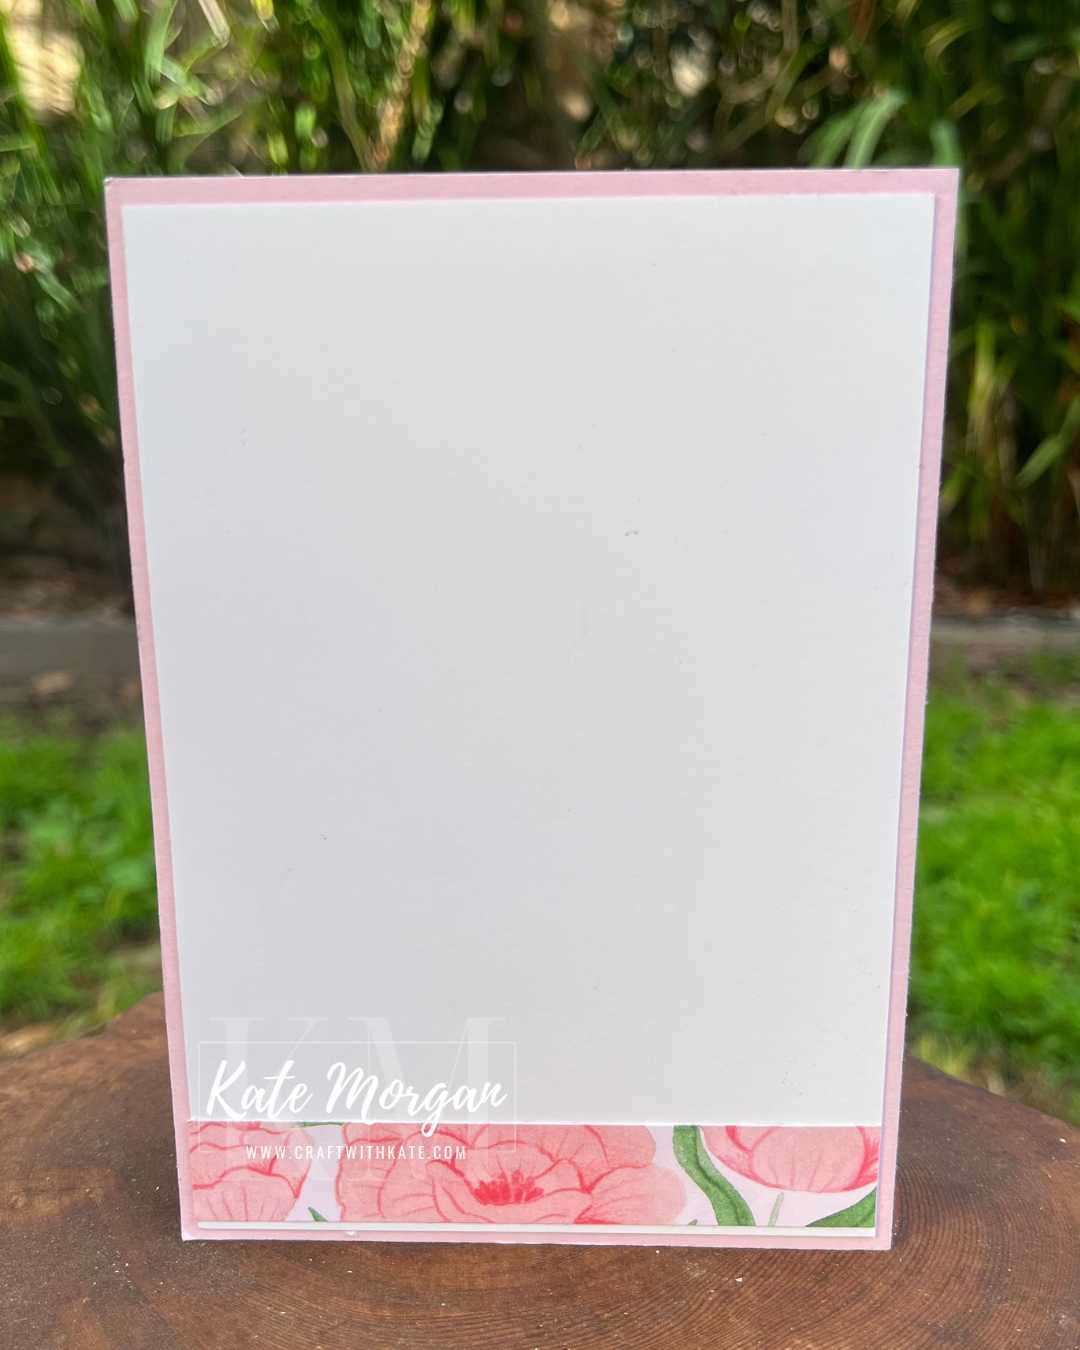
How you can make this matching envelope
Start with a piece of patterned paper 9½” x 9½”. Pencil mark each of the 4 sides at 4¾” and score between each one. Where each of the scorelines crossover, cut away this section. Add Tear & Tape/adhesive as shown, fold in the sides before the bottom section with the adhesive.

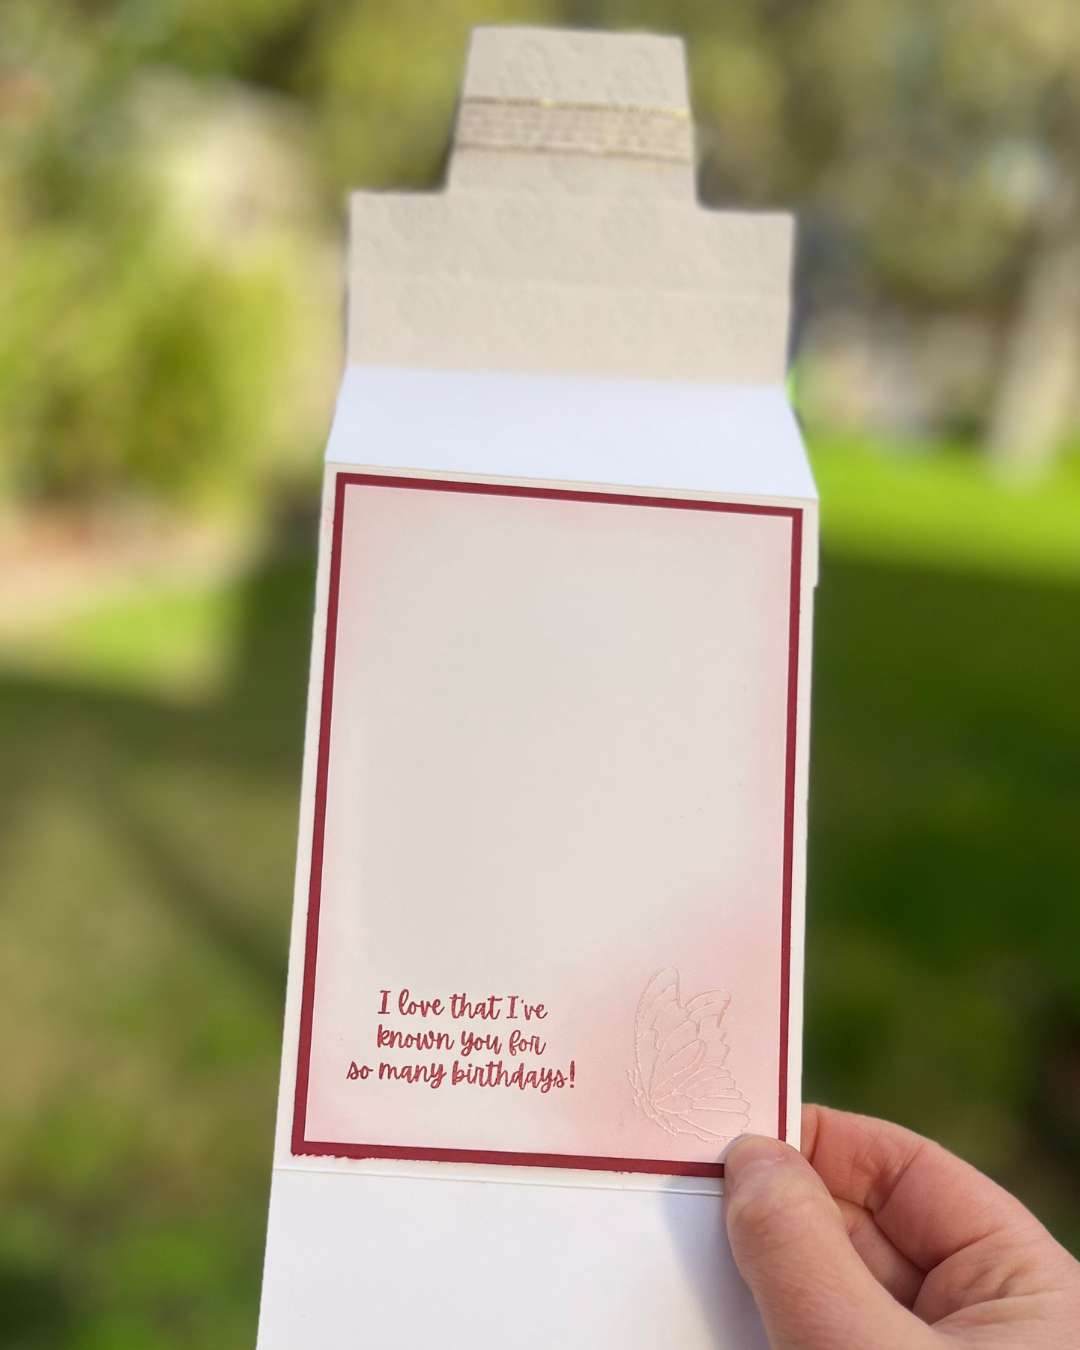
Thank you to Verna Mullen, Stampin Notes for the instructions for this Star Gate Fold card design.
Many of us also participate in the Heart of Christmas blog hop that goes live every Monday night, where we showcase Christmas inspiration in the lead up to Christmas. We would love you to follow us!
Thanks for dropping by. I hope you join me next Wednesday for Lemon Lime Twist inspiration.
Product List @stampinupofficial
Stamps: Extraordinary Flora
Dies: Beautiful Butterflies, Stylish Shapes
Ink: Highland Heather, Versamark
Paper: Basic White, Highland Heather, Perennial Lavender DSP, Basic White C6 Envelopes
Other: Metallic Textures Rub-ons, White WOW Emboss Powder, Blending Brushes, Acrylic Blocks, Paper Snips, Bone Folder, Paper Trimmer, Multipurpose Glue, Glue Dots, Tear & Tape, Stampin’ Cut & Emboss Machine, Take Your Pick Tool, Simply Shammy.
*can be purchased together as a bundle to save 10%

Don’t forget to Follow My Blog to receive blog updates and all the latest news and specials!