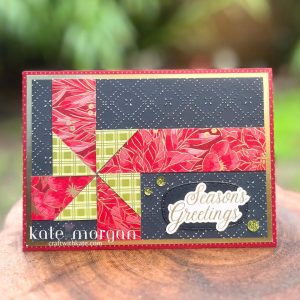
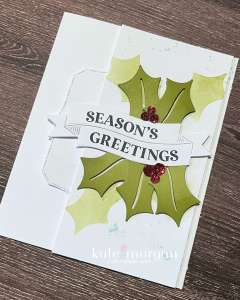
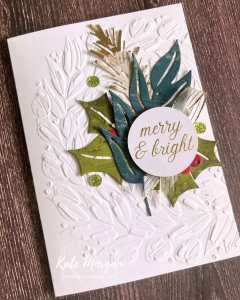
This handmade card features the Peace on Earth bundle and Peaceful Garden Designer Series Paper.
Start with a Cloud Cover card base, 29.7cm x 10.5cm, scored @ 14.8cm. Dry emboss the card front with the Peaceful Greenery 3D Embossing Folder. Die cut a Basic White label, stamp the sentiment [Traditional Labels stamp set] in Misty Moonlight ink and again in Cloud Cover ink but slighty offset to create a shadow effect. Adhere it to the card. Die cut the doves and envelopes in Basic White and the branch is cut from some Peaceful Garden Glimmer.
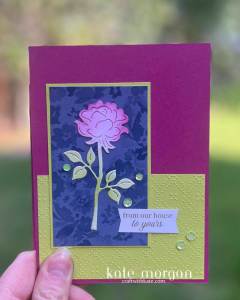
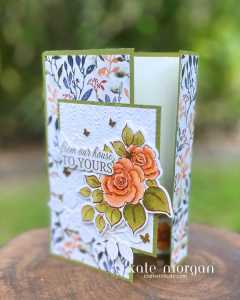
As you open the card you see this amazing accordian patterned paper unfold.


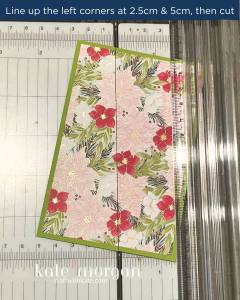
To create this, start with a piece of DSP 25.5cm x 10cm and score at 8cm, 10.5cm, 13cm, 15.5cm, 18cm, 20.5cm & 23cm.
Glue the left panel in place, fold up the accordian section, holding it tight, add glue to the final panel, and fold the back of the card closed onto the front. Hold it for a few seconds to dry then you can add the Basic White panel [10cm x 5.7cm] to the inside.
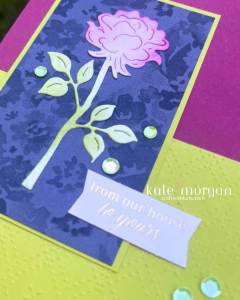
Add a sentiment to one of the folds; I’ve added one from the Greetings For You Mix & Match Ephemera Pack.
I was inspired by Laura of Southridge Studios and I wanted to create my own with metric measurements.
Many of the Art with Heart Team participate in the Colour Creations Instagram hop that goes live every Wednesday night. We showcase one SU colour each week. We would love you to follow us!
Product List
Stamps: Peace on Earth*, Traditional Labels
Dies: Peace on Earth*
Paper: Basic White, Cloud Cover, Peaceful Garden Glimmer, Peaceful Garden DSP, Basic White C6 Envelopes
Ink: Misty Moonlight, Cloud Cover
Other: Peaceful Greenery EF, Greetings For You Mix & Match Ephemera Pack, Acrylick Blocks, Paper Snips, Bone Folder, Paper Trimmer, Multipurpose Glue, Stampin’ Dimensionals, Take Your Pick Tool.
*can be purchased together as a bundle to save 10%

Don’t forget to Follow My Blog to receive blog updates and all the latest news and specials!