
Welcome to the Colour Creations Instagram Hop. You can follow us on Instagram starting @craftwithkate. Each week we will showcase the Stampin’ Up! colours in alphabetical order.
Week 16 – Cloud Cover
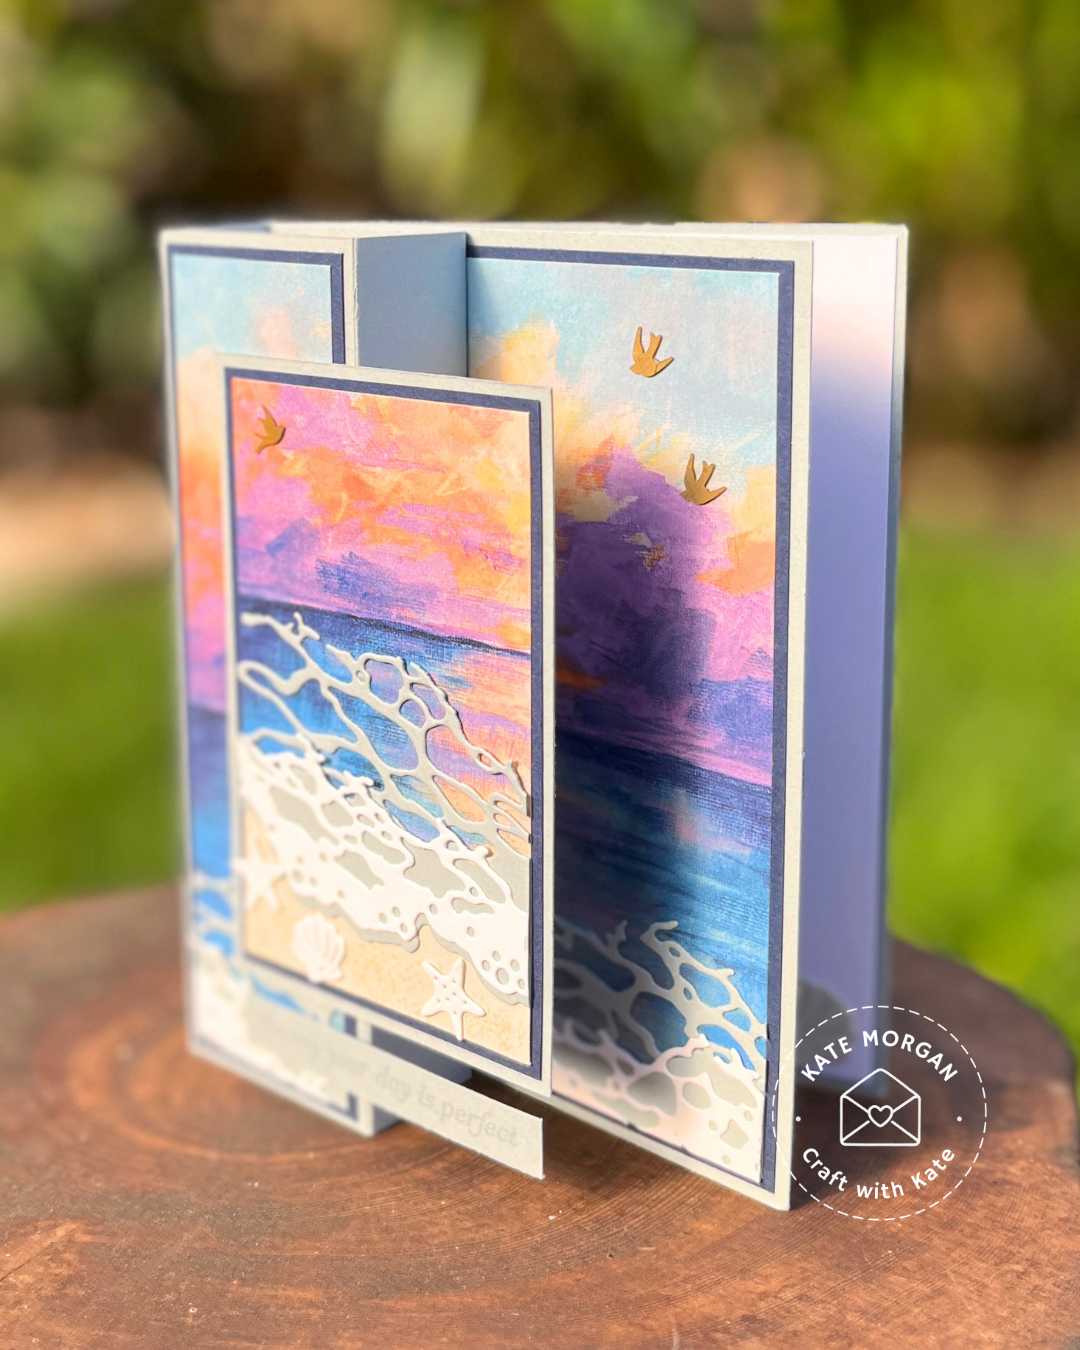
My card this week is a pillar card using the Rolling Waves dies and the Scenic Coast Specialty DSP that is perfect for a masculine birthday.
A Cloud Cover card base with Night of Navy matt layers behind the Scenic Coast SDSP. I’ve also used Basic Beige card for the sand, Basic White and Cloud Cover to die cut the waves. I added some shells to the sand and the inside of the card and some small gold birds to the sky.


I didn’t want to just have the message panel on the back visible, so I created a tab on one side and adhered this to the back of the card to hide my mesage (computer printed). Some more die cut shells added in the corner.
Measurements
Card base: 25cm x 14.5cm
Cloud Cover: 7cm x 10.5cm (front), 7cm x 1.5cm (sentiment), 14.5cm x 12.5cm (back) plus extra for die cutting
Night of Navy: 13.9cm x 10.1cm, 13.9cm x 4.1cm, 6.6cm x 10.1cm
DSP: 13.5cm x 9.7cm, 13.5cm x 3.9cm, 9.7cm x 6.4cm
Basic White: 10.6cm x 14.1cm (message) plus extra for die cutting
Crumb Cake: 6.4cm x 5cm
- Score the card base by scoring @ 4.5cm, 7cm, 11.5cm, 14cm.
- Before adhering the left column, I adhered the Night of Navy matt cardstock pieces in place.
- Die cut the waves from Cloud Cover card and the ‘foam’ die from Basic White card a couple of times and adhere together.
- Add a piece of Crumb Cake card to the bottom of the 9.7cm x 6.4cm piece of DSP. To work out the size, hold the waves across the DSP and see where to cut it on an angle so it is hidden behind the waves.
- Use Crumb Cake ink to stamp some of the texture for the sand.
- Adhere the wave die cuts across the bottom of each piece of DSP and cut off the excess with scissors. Use these on the DSP for the column.
- Adhere each of the DSPs to the matt card.
- Adhere the largest panel to the inside of the card base,
- Fold the scored column into a cube and add glue to the end piece to adhere against the centre scoreline.
- Push the column flat to the right and hold for the panel to set.
- While the column is flat, add glue to the reverse side of the feature panel (remember only along the side that will adhere to the column). Centre it between the top and bottom of the card and ensure it doesn’t go past the card base while pushed flat!
- Stamp your sentiment and adhere on the column below the main feature.
- Take the Cloud Cover 14.5cm x 12.5cm and score the short side @ 11cm.
- Add glue to the tab and adhere to the back along the spine of the card.
- Add the Basic White sentiment panel (I printed mine from my computer).
- Add some die cut shells and gold bird embellishments.
Thanks for dropping by. I hope you join us next week for Coastal Cabana.
Be sure to add the Product of the Month (POM) for $9 when you add $125+ in product to your cart.
Product List @stampinupofficial
Stamps: Rolling Waves*
Dies: Rolling Waves*
Ink: Basic Beige, Cloud Cover
Paper: Basic White, Basic Beige, Cloud Cover, Night of Navy, Scenic Coast Specialty DSP, Basic White C6 Envelopes
Other: Adhesive-backed Dragonflies & Birds, Acrylic Blocks, Bone Folder, Paper Trimmer, Multipurpose Glue, Tear & Tape, Stampin’ Cut & Emboss Machine, Take Your Pick Tool, Simply Shammy.
*can be purchased together as a bundle to save 10%

Don’t forget to Follow My Blog to receive blog updates and all the latest news and specials!


