I’m thrilled you are here to join us each Wednesday evening for the AWHT Colour Creations Blog Hop showcasing the full range of 50+ gorgeous Stampin’ Up! colours.
Week 32 – Lemon Lolly
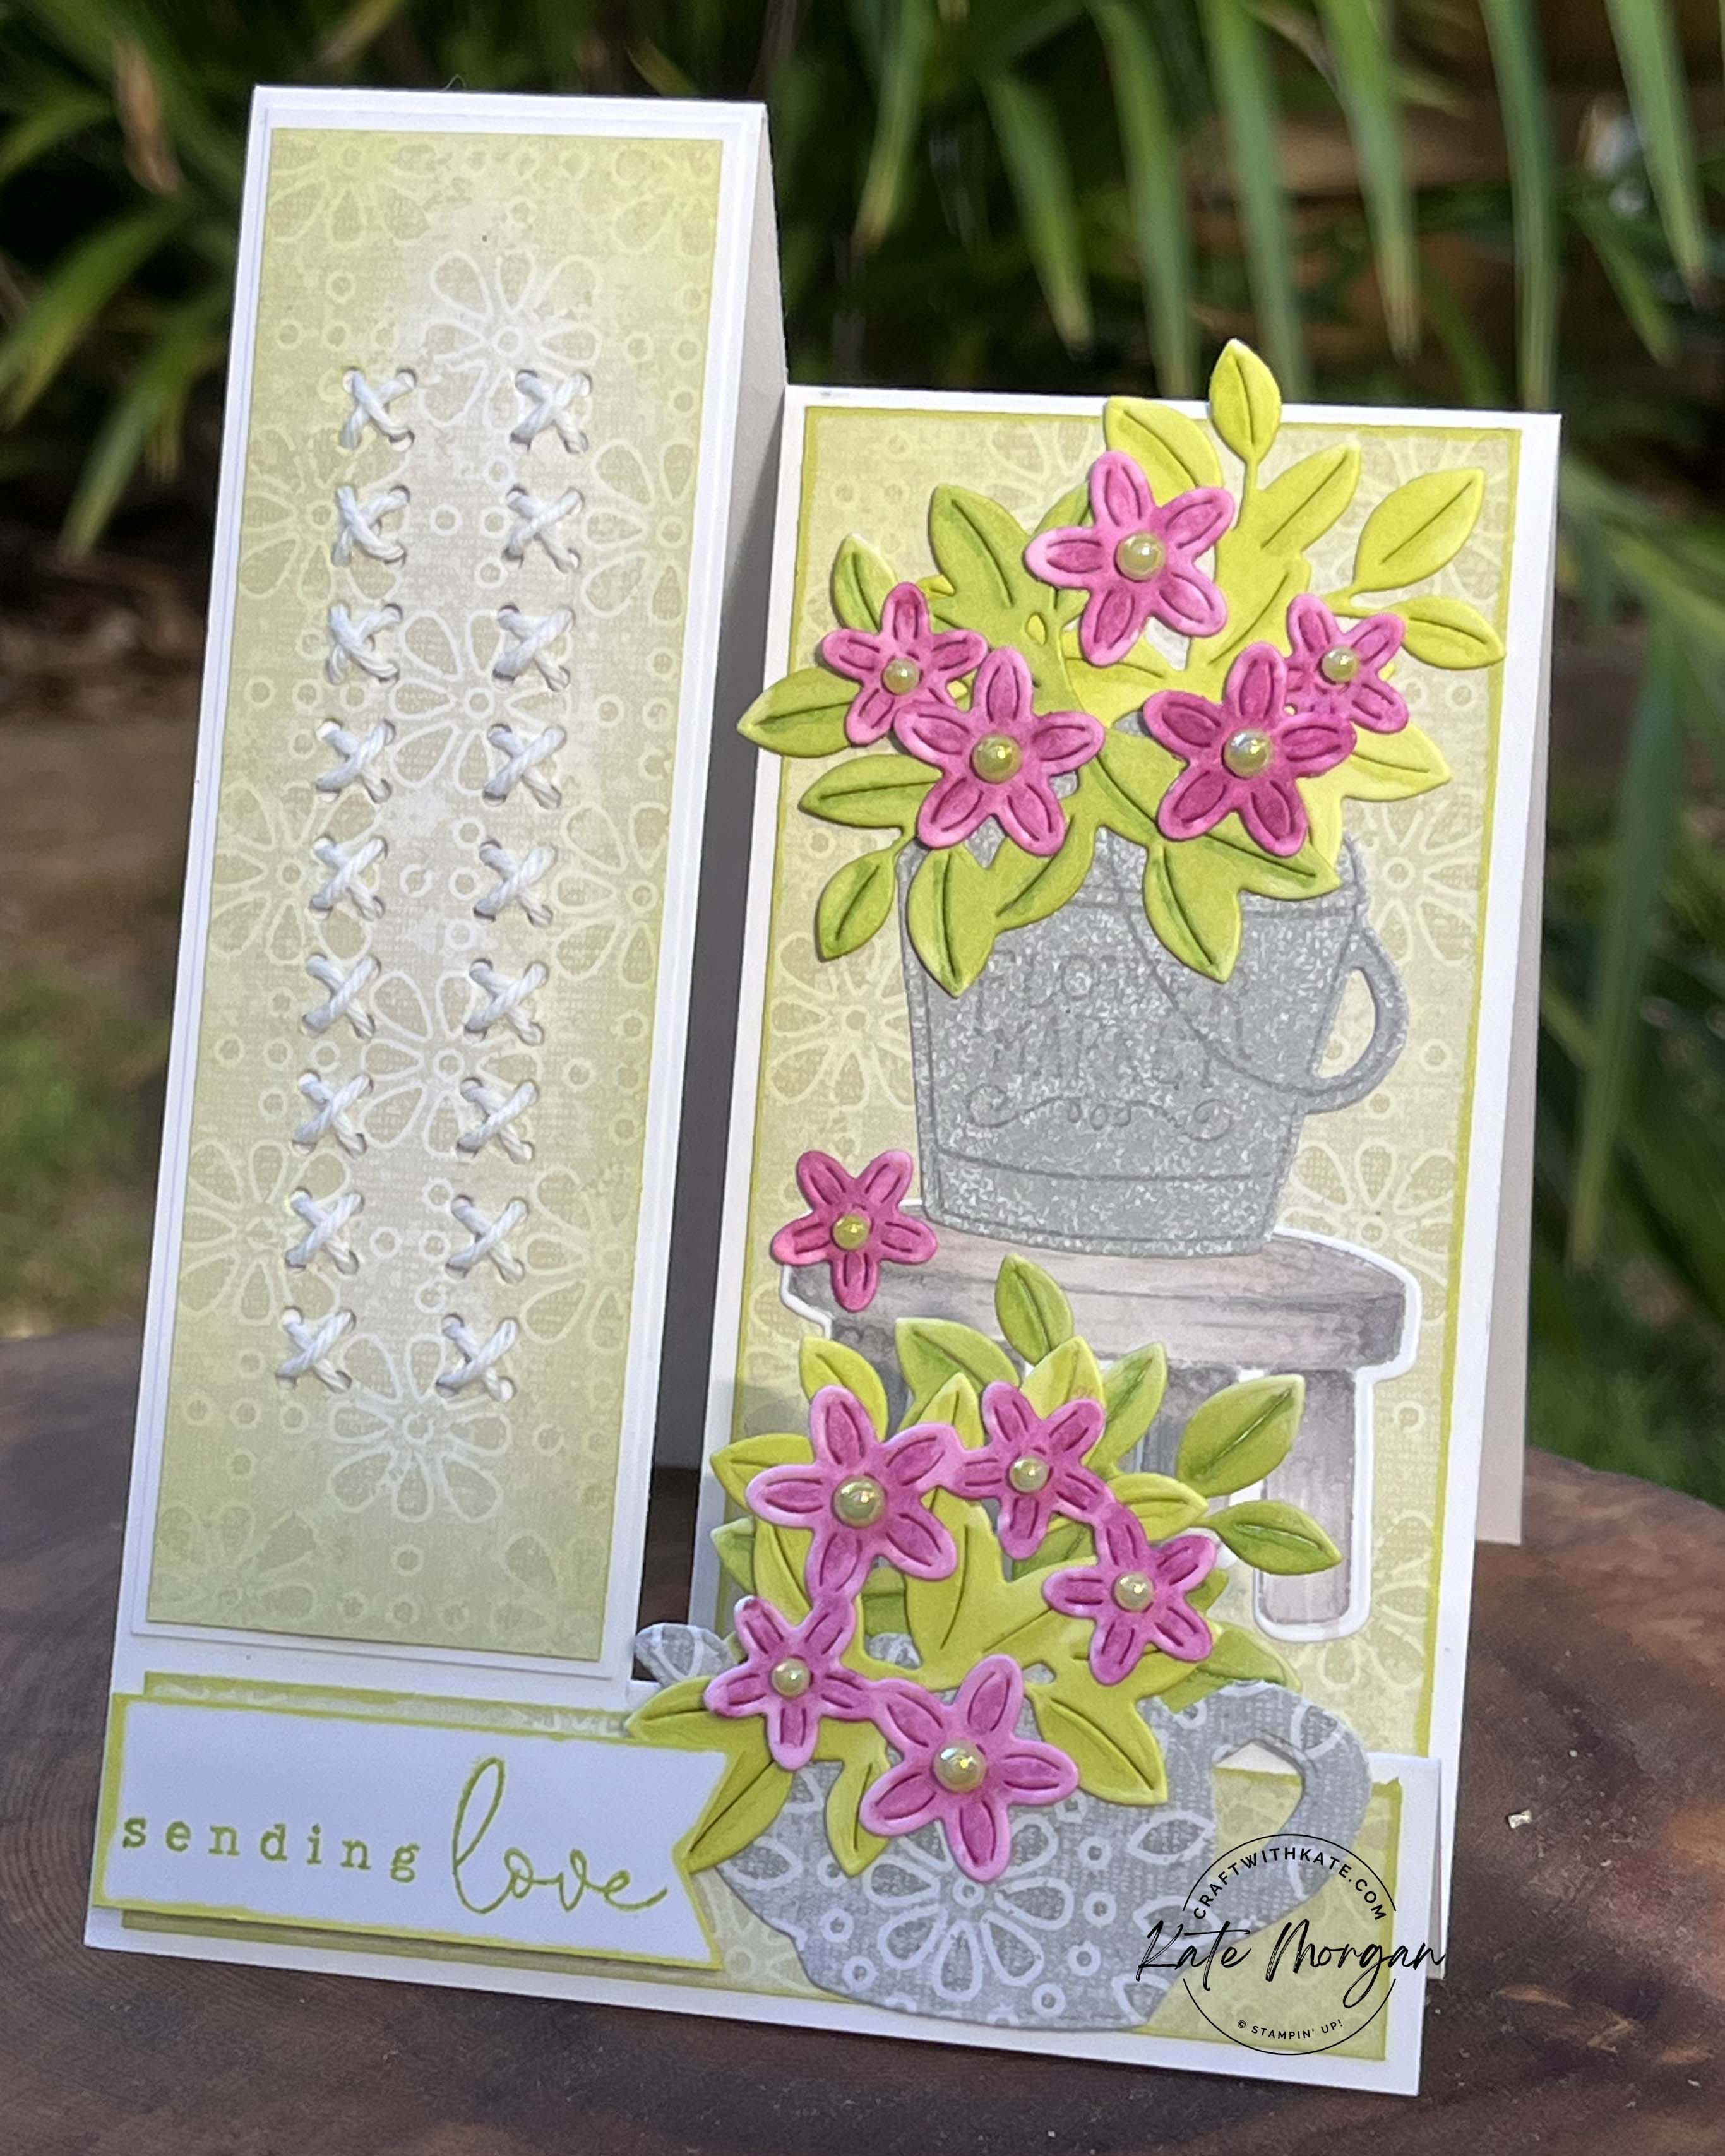
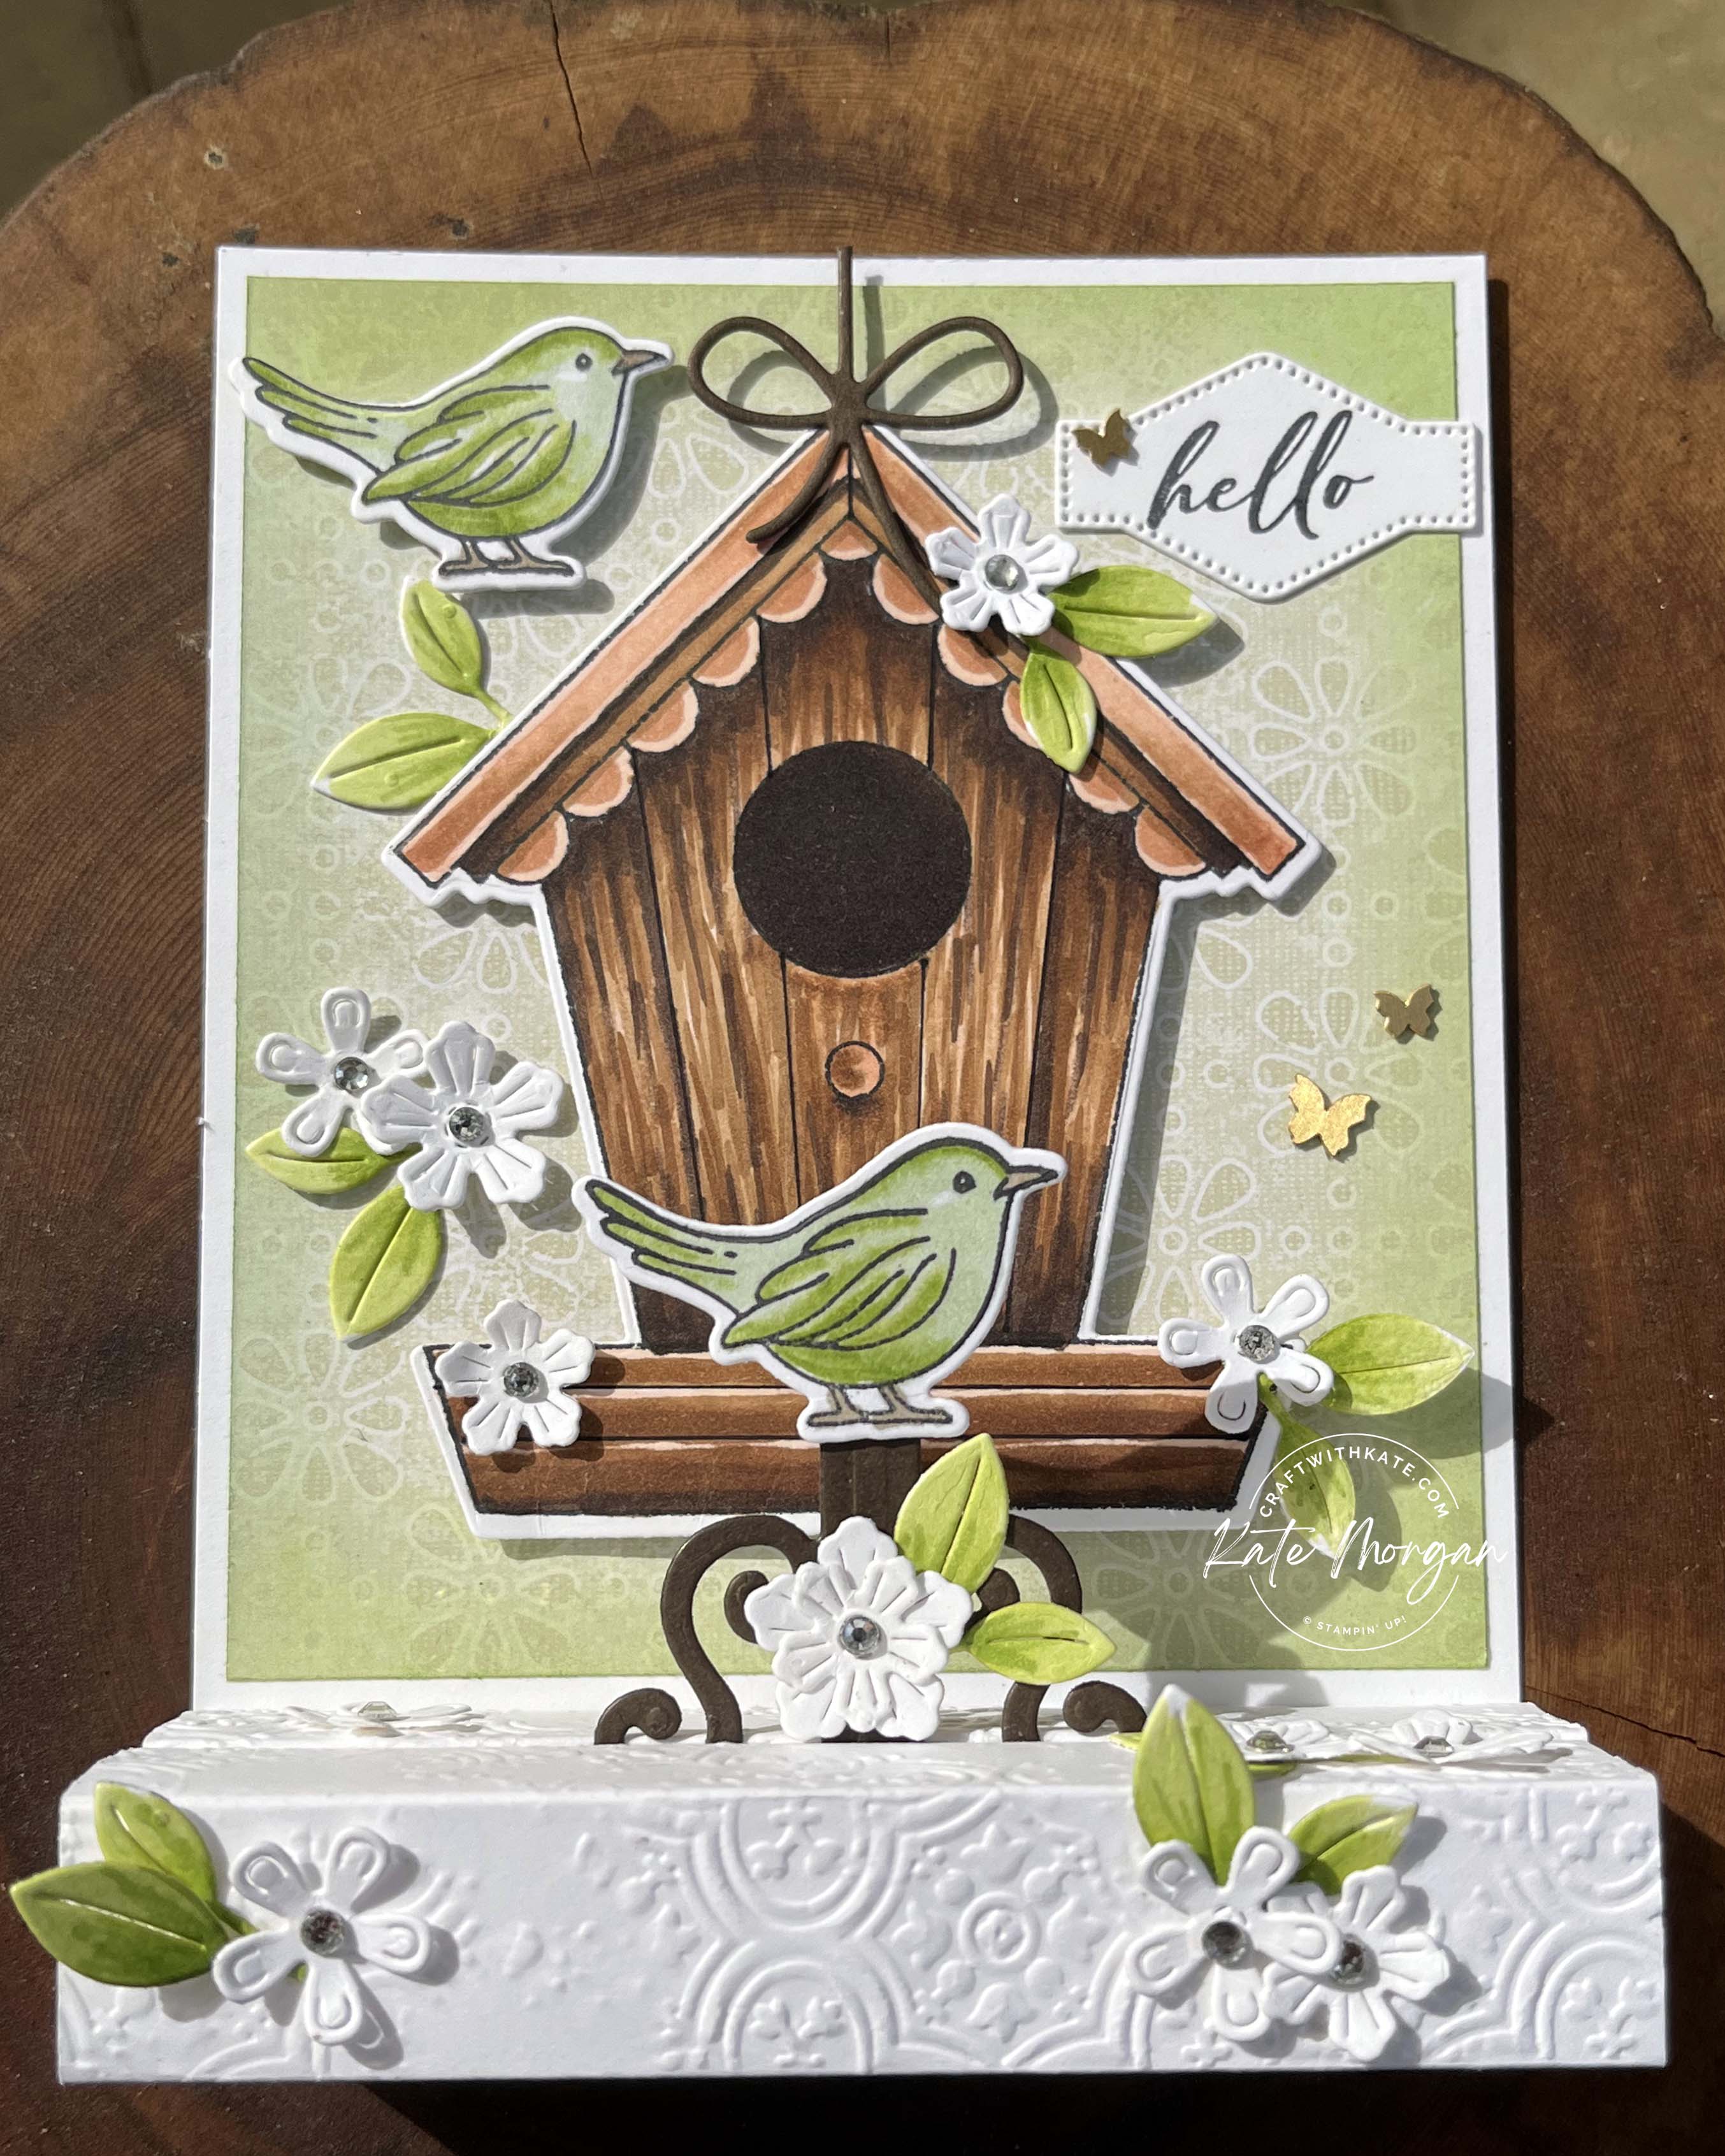
Today I feature the Cake Celebrations Bundle available in the Online Exclusives section of the store. I love the soft pastel colours of this card!
A Lemon Lolly card base with 2.5cm cut off the right side of the card. This strip is dry embossed with the Distressed Tile 3D Embossing Folder and adhered to the inside right of the card. A piece of Basic White card is also embossed and adhered to the card front.
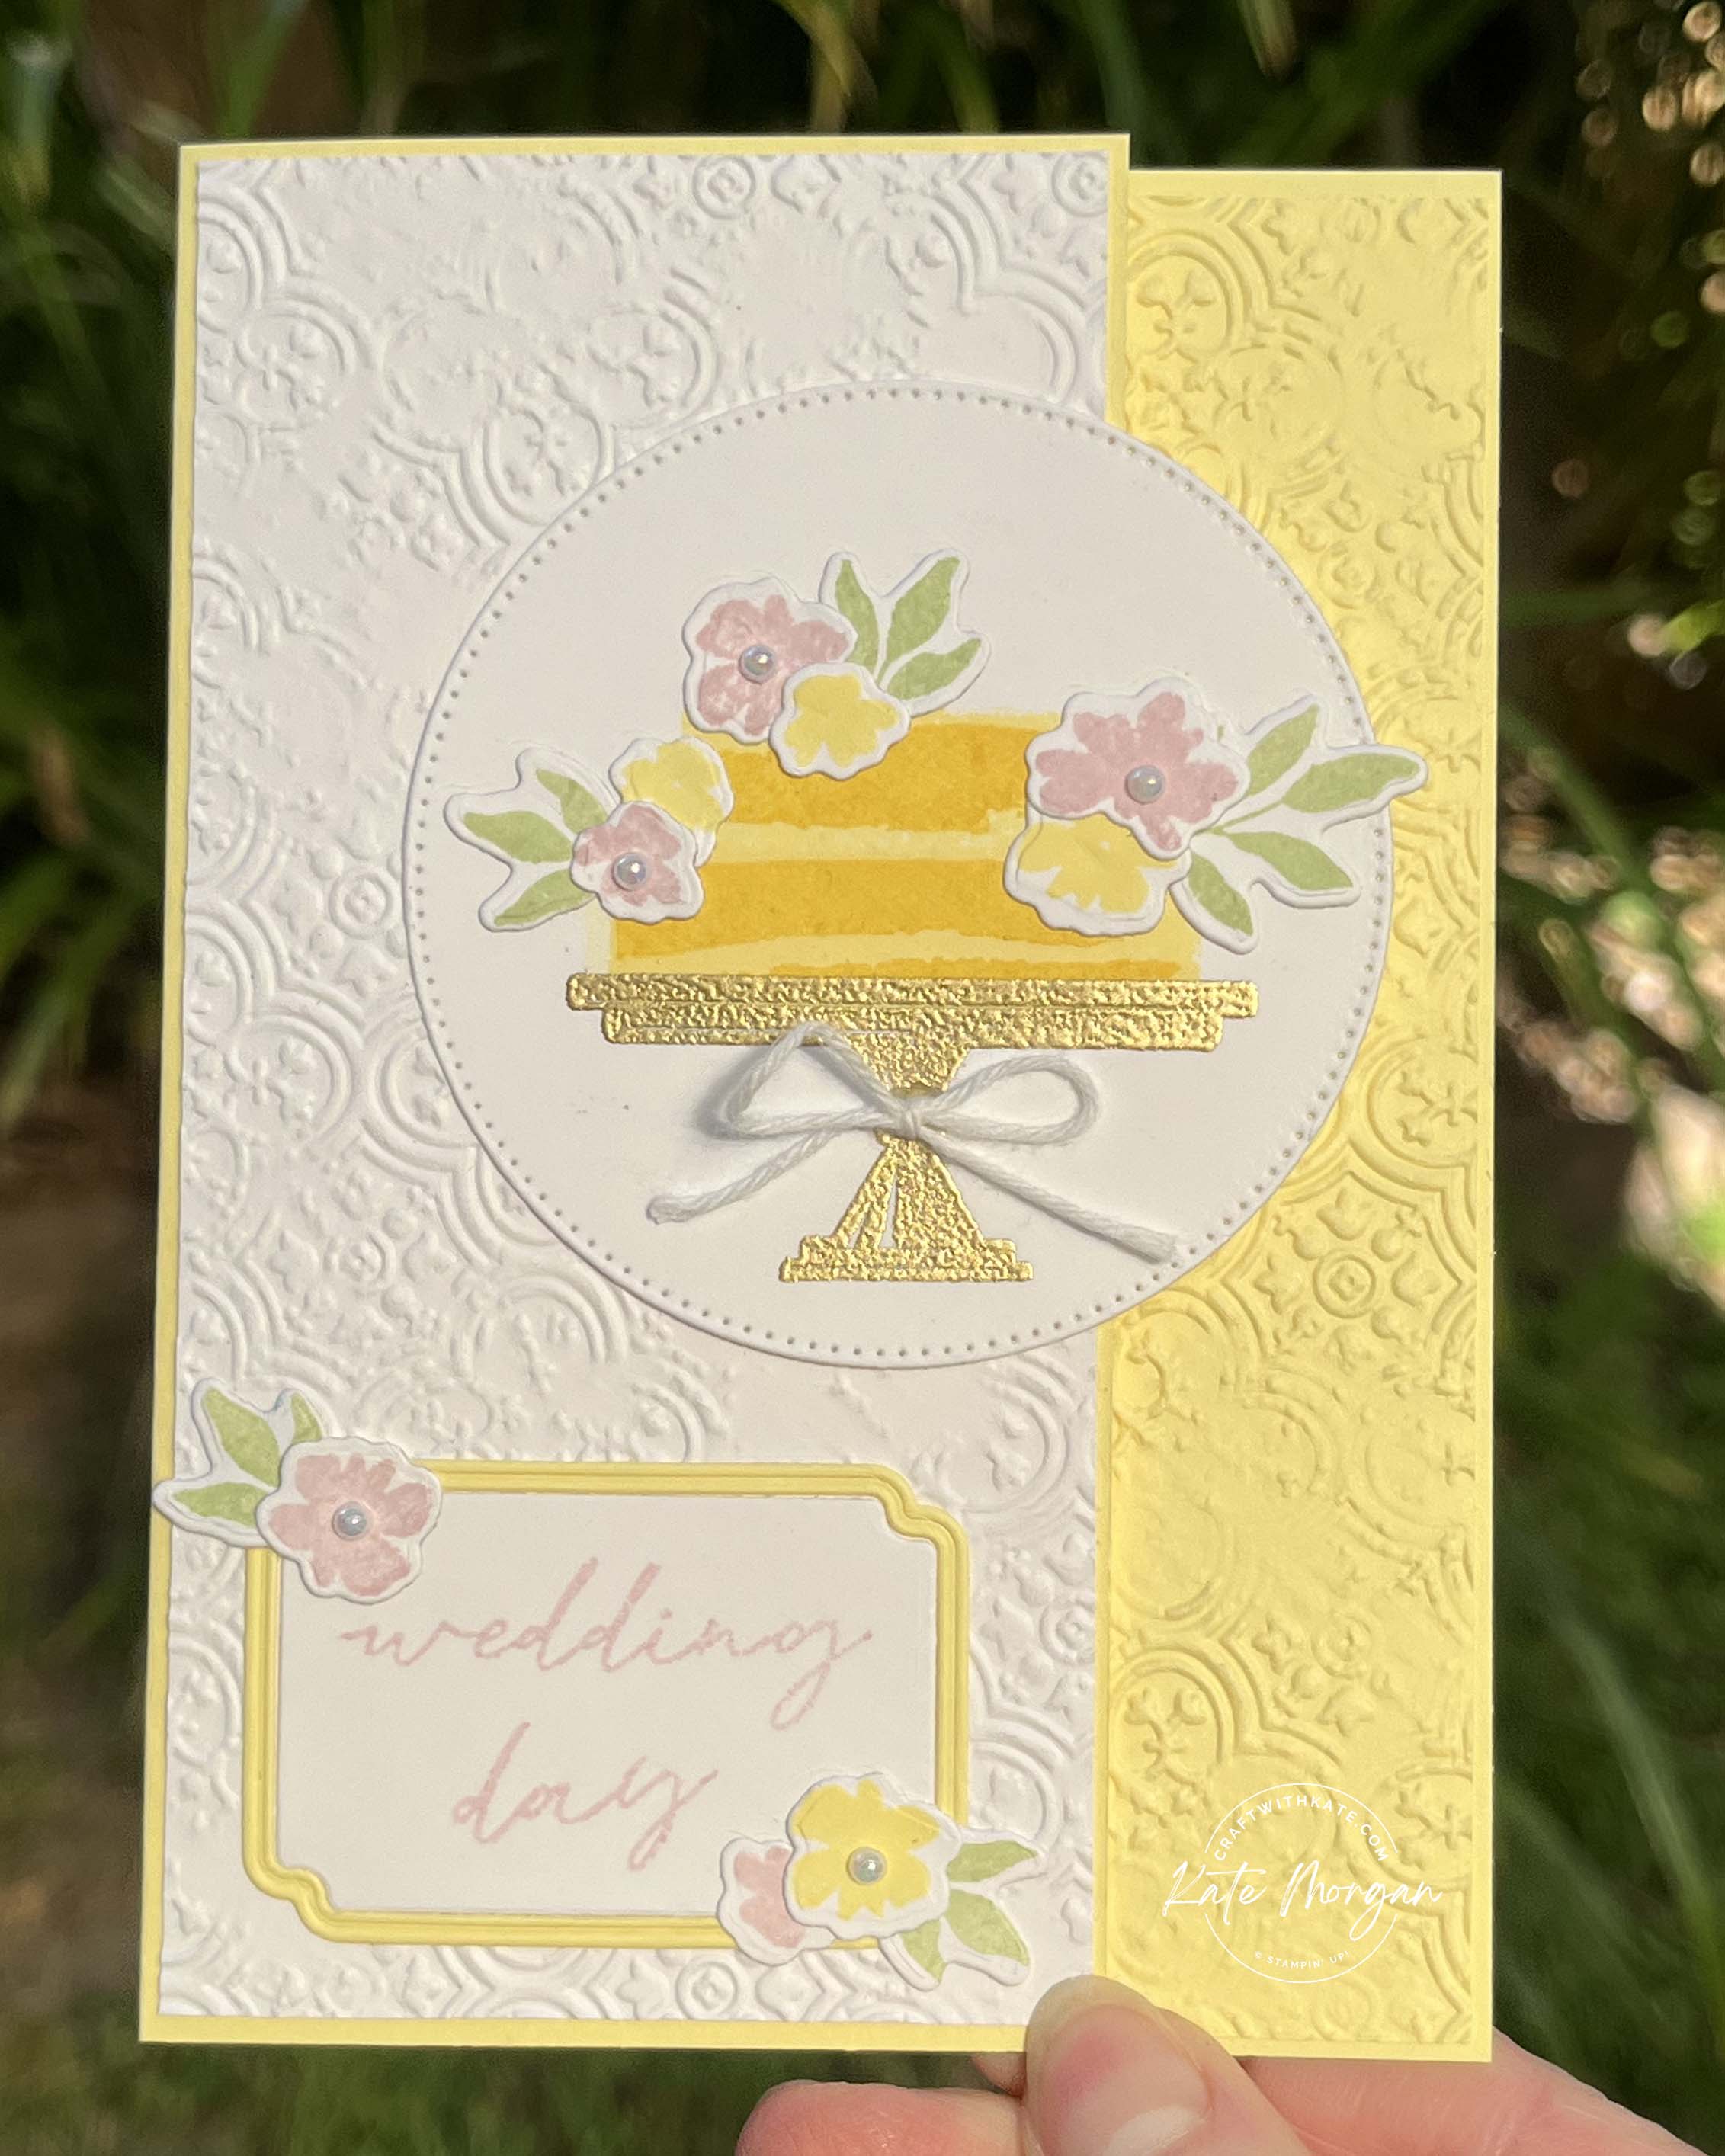
The sentiment is stamped and die cut using the Unbounded Love dies. The Lemon Lolly frame is part of the same die, which I die cut twice in both colours. Some more flowers are added.
A large circle [Stylish Shapes dies] is stamped with the cake layers in Lemon Lolly and Daffodil Delight inks. The stand is stamped in Versamark ink with Gold Emboss Powder added and melted with my Heat Tool. How pretty does it look?!!! The flowers and leaves are stamped in Soft Sea Foam, Lemon Lolly and Bubble Bath inks, die cut and glued to the cake. A White Baker’s Twine bow is added with a glue dot.

The circle is adhered to the edge of the card. A Basic White insert is added inside next to the embossed panel.

Thanks for dropping by. I hope you join me next Wednesday for inspiration using Lost Lagoon.
Please enjoy the wonderful inspiration of our next team member, Di Furniss.

The full list of participants for this week can be viewed on Cathy Proctor’s blog.
Product List
Stamps: Cake Celebrations*
Dies: Cake Celebrations*, Stylish Shapes, Unbounded Love
Card/DSP/Specialty Paper: Basic White, Lemon Lolly, Basic White C6 Envelopes
Inks: Bubble Bath, Daffodil Delight, Lemon Lolly, Soft Sea Foam, Versamark
Embellishments: Iridescent Pearls, White Twine
Accesories/Adhesives/Tools: Metallic Gold Emboss Powder, Distressed Tile 3D Embossing Folder, Paper Snips, Bone Folder, Paper Trimmer, Multipurpose Glue, Tear & Tape, Glue Dots, Stampin’ Dimensionals, Stampin’ Cut & Emboss Machine, Heat Tool, Take Your Pick Tool, Simply Shammy, Water Painters
*can be purchased together as a bundle to save 10%

Don’t forget to Follow My Blog to receive blog updates and all the latest news and specials!