Welcome to the Heart of Christmas blog hop for 2025!
I’m thrilled you are here to join us each Monday evening for the AWHT Heart of Christmas Blog Hop showcasing Stampin’ Up! seasonal products.
Week 10
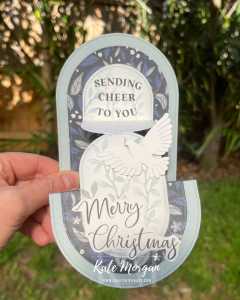
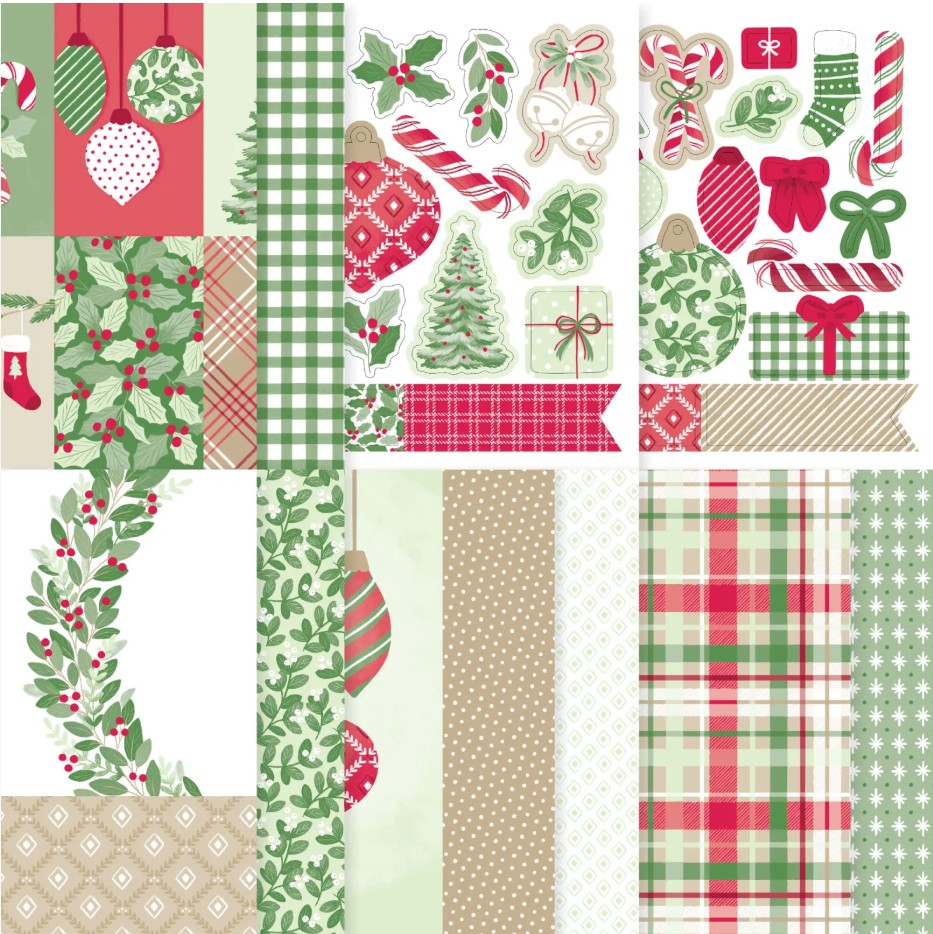
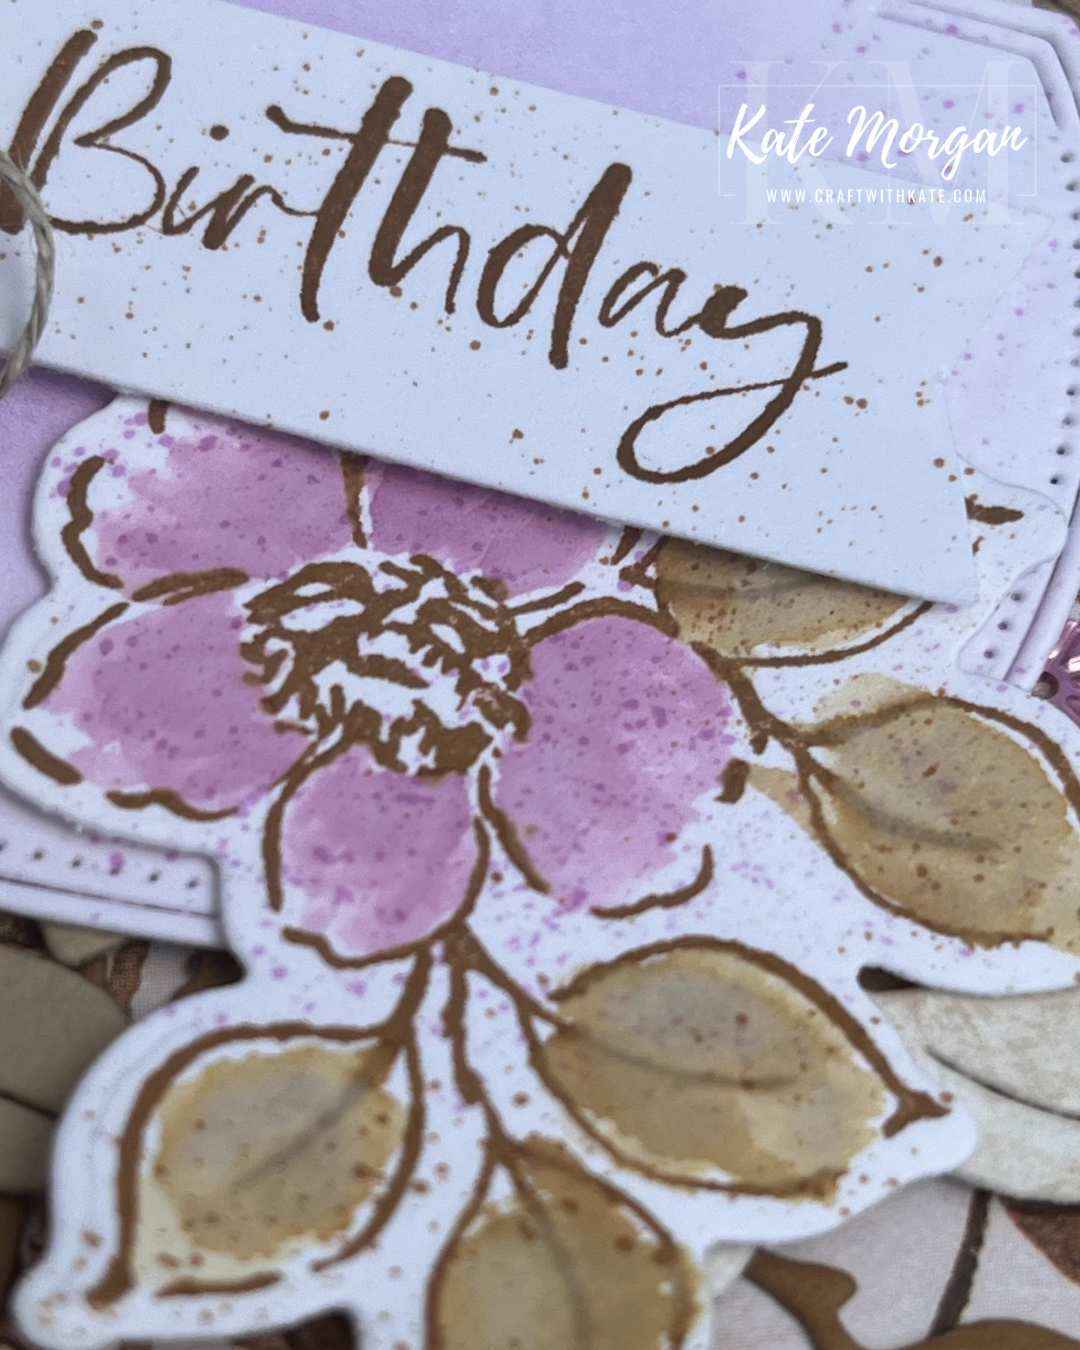
These handmade cards are very easy to replicate and the Peaceful Garden Designer Series Paper (DSP) is so beautiful, we want them to be the focus!
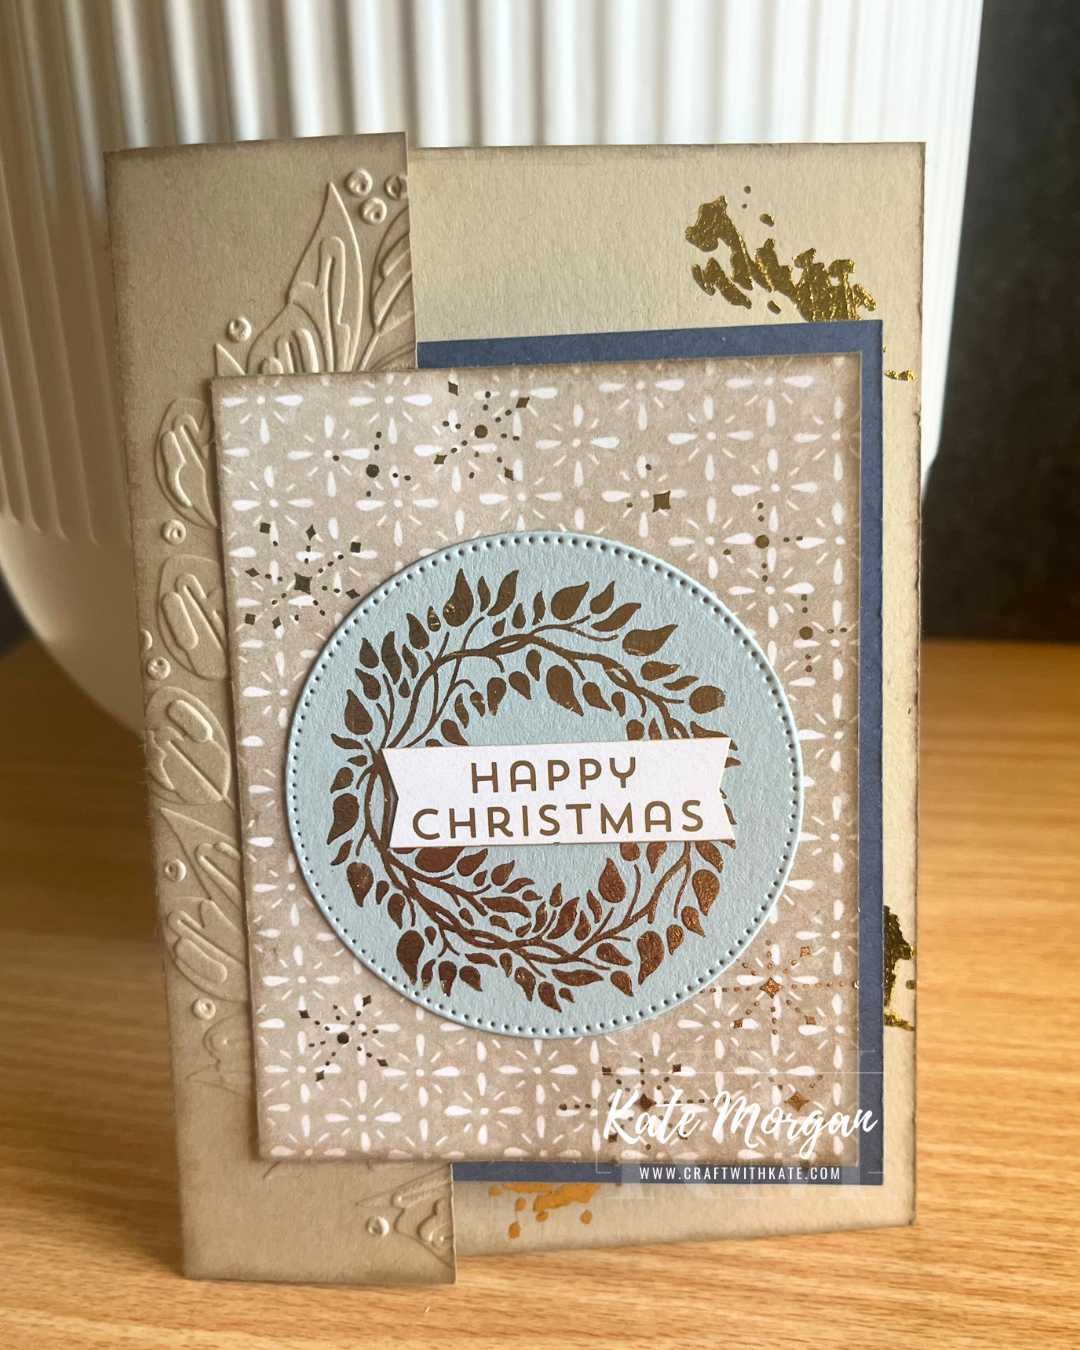
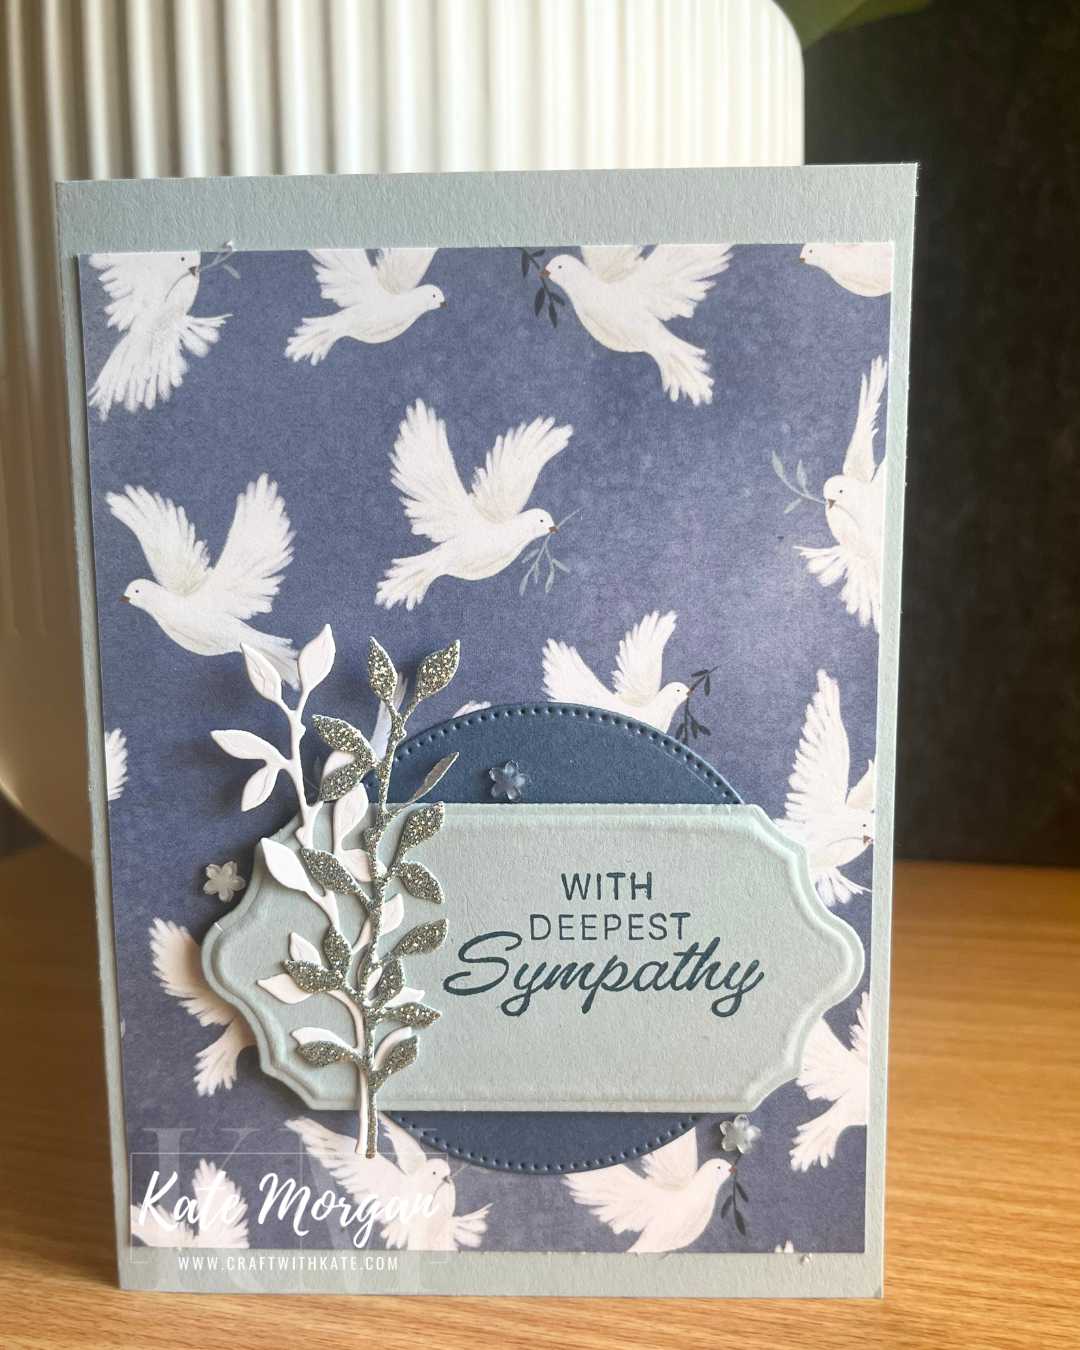
Card 1 – is a top folding card that measures 21cm x 11cm, scored at 10.5cm. Add the card & Designer Paper layers and the circle feature attaches at the top. This is a Cloud Cover Spotlight on Nature die with a Stylish Shapes die circle of the Designer Paper inside. The Traditional Labels die banner is stamped and added on Dimensionals with a Glimmer leaf diecut behind on the right. Some Hues of Blue Flowers are added to finish.

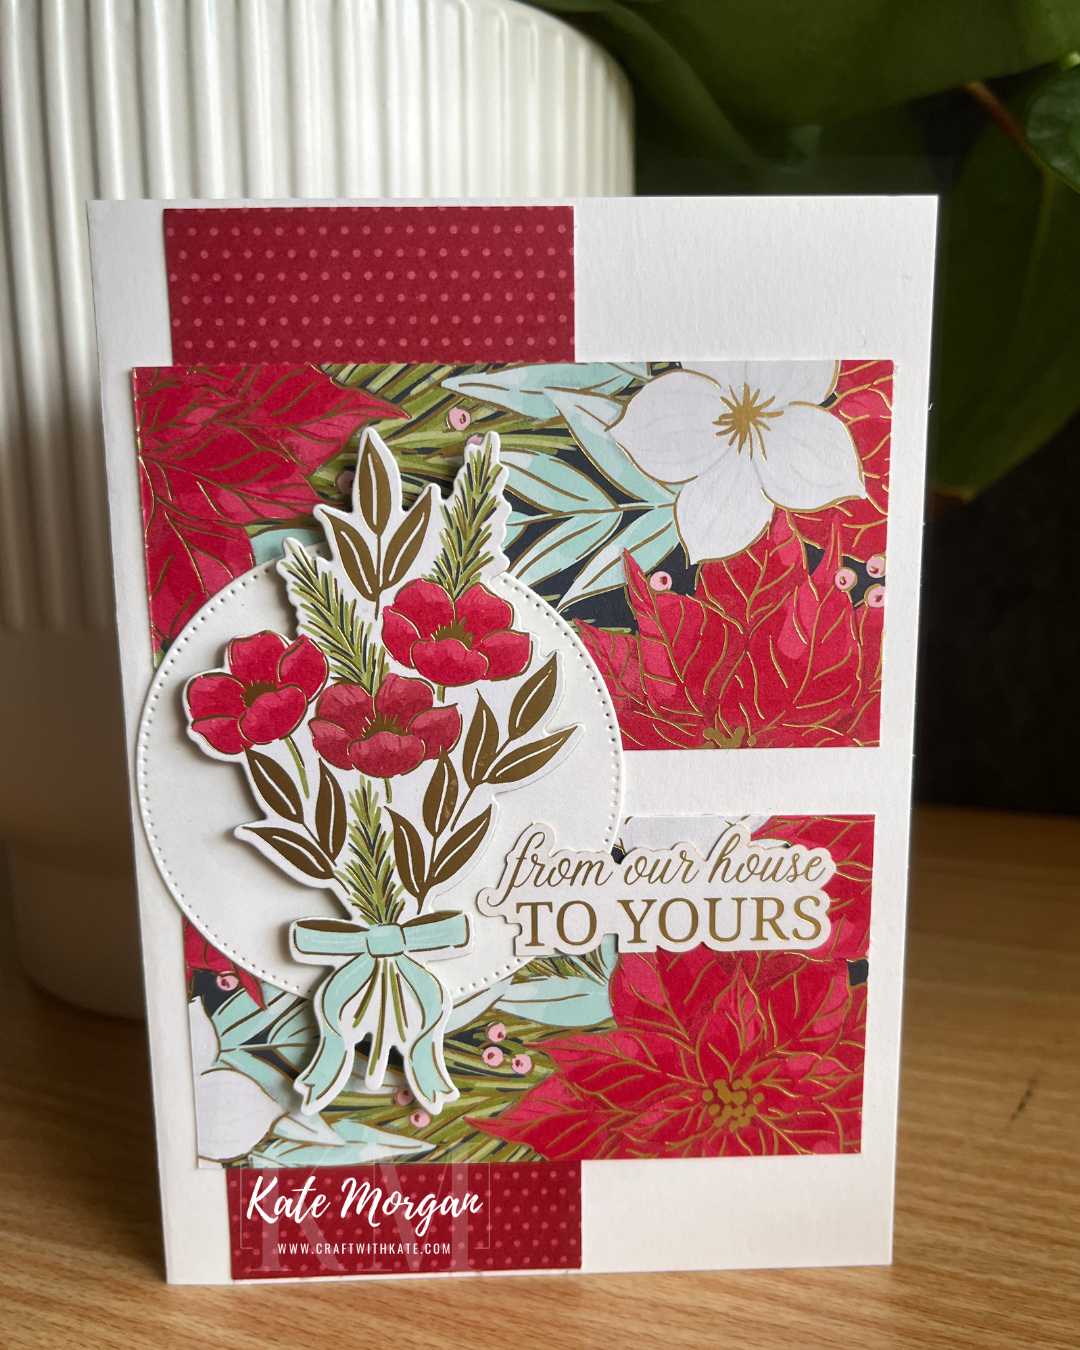
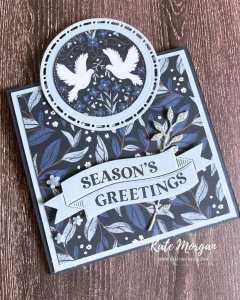
Card 2 – is a side folding card that measures 21cm x 14.8cm, scored at 10.5cm. Add the Secret sea layer [14.6cm x 9cm], the Designer Paper [14.4cm x 5.8cm] and a strip of Glimmer [14.4cm x 2.5cm]. Stamp the sentiment onto Mistry Moonlight card in Versamark ink, add White Emboss Powder and melt with a Heat Tool. Add some White Craft ink refill to an Acrylic Block and add some drops of water using a Water Painter. Make sure the tip isn’t too wet, and gently tap it against a Bone Folder to gently add the splatters. Once dry, diecut the two circles and adhere them together then onto the card. Add a white dove to one side and some embellishments to the other.
Many of us also participate in the Colour Creations Instagram hop that goes live every Wednesday night. We showcase one SU colour each week. We would love you to follow us!
Thanks for dropping by. I hope you join me next Monday for more Chrismas inspiration.
Please enjoy the wonderful inspiration of our next team member, Andrea Sargent.

The full list of participants for this week can be viewed on Sharon Davern’s blog.
Product List
Stamps: Peace on Earth*, Traditional Labels*
Dies: Peace on Earth*, Spotlight on Nature, Stylish Shapes, Traditional Labels*
Ink: Secret Sea, Versamark, White Craft Refill
Paper: Basic White, Cloud Cover, Misty Moonlight, Secret Sea, Peaceful Garden DSP, Peaceful Garden Glimmer Paper, Basic White C6 Envelopes
Other: Hues of Blue Flowers, Neutral Matte Dots, White WOW Emboss Powder, Acrylic Blocks, Paper Snips, Bone Folder, Paper Trimmer, Multipurpose Glue, Mini Stampin’ Dimensionals, Glue Dots, Tear & Tape, Stampin’ Cut & Emboss Machine, Take Your Pick Tool, Simply Shammy, Heat Tool, Water Painters.
*can be purchased together as a bundle to save 10%

Don’t forget to Follow My Blog to receive blog updates and all the latest news and specials!