
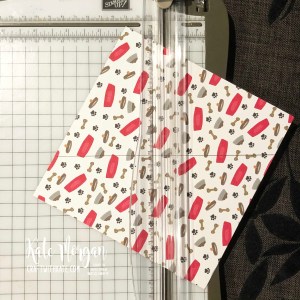
I have 4 cards for you today that are created from one piece of 6″ x 6″ designer paper (beware of directional designs).
Simply place the designer paper in your trimmer with the top right corner lined up with the 3cm (from the left) and the bottom right corner lined up at the 3cm mark on the right side of the trimmer and cut. Then holding the two pieces of paper together, carefully rotate it and line it up again in the same position and cut (see below).
You should then have 4 pieces like this
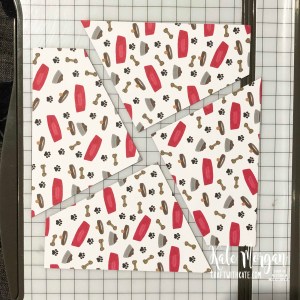
So now that you have your 4 x pieces, you can cut your 4 x card bases in accordance with what orientation best suits. I have done 2 landscape and 2 portrait. I glued the patterned paper to the cards first, then embossed the card fronts with different patterned folders. Next I die cut some of the images from the patterned paper with the coordinating dies and some of the images are stamped and coloured with watercolour pencils and a blender pen.

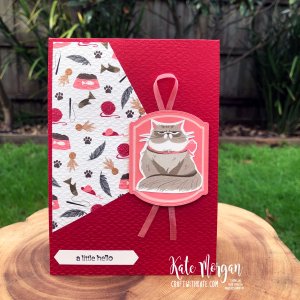
All the sentiments on these cards are stamped using the Itty Bitty Greetings Stamp Set and cut with the Classic Label Punch.

This black cat is simply punched using the Cat Punch and adhered with dimensionals.

This next one has a die cut Flirty Flamingo piece behind the cat and you can see the white border drawn around it. This is done by leaving the die on top of the die cut piece and using the White Chalk Marker, trace around the inside of the die twice!
On the inside, I stamped them all the same – using the Stamparatus made this super easy and quick. Once the stamps are setup on the stamparatus all together, ink them all at once and stamp on 4 separate inserts!

A full list of products can be found at the end of this post.
2020 August-December Mini Catalogue ends 4 January 2021
Be sure to download a PDF copy from my SU Catalogue Library page today.
Don’t forget to Follow My Blog to receive blog updates and join my Newsletter Subscription for all the latest news and specials!


Product List


