Blog Hop/Instagram Hop, Designer/Patterned/Specialty Papers (DSP), feminine, Flowers, Handmade Cards, Stampin' Up!

Shaded Spruce: Greenery Lane

Welcome to the Colour Creations Instahop. You can follow us on Instagram starting @craftwithkate. Each week we will showcase the Stampin’ Up! colours in alphabetical order.

Week 46 – Shaded Spruce

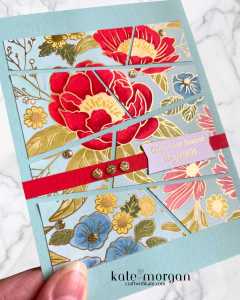
This handmade card features the Greenery Lane Bundle, Lovely & Beautiful Specialty DSP & the Perennial Lavender DSP.  On a Shaded Spruce card base, I first cut the piece of Perennial Lavender DSP, then a strip of the Specialty paper for the top section, but before adhering it I added a small piece of torn Shaded Spruce card to the bottom edge then adhered it to the larger piece. I added the Faux Ribbon and wrapped around some Linen Thread and tied it in a bow, before adhering this layer to the card base.

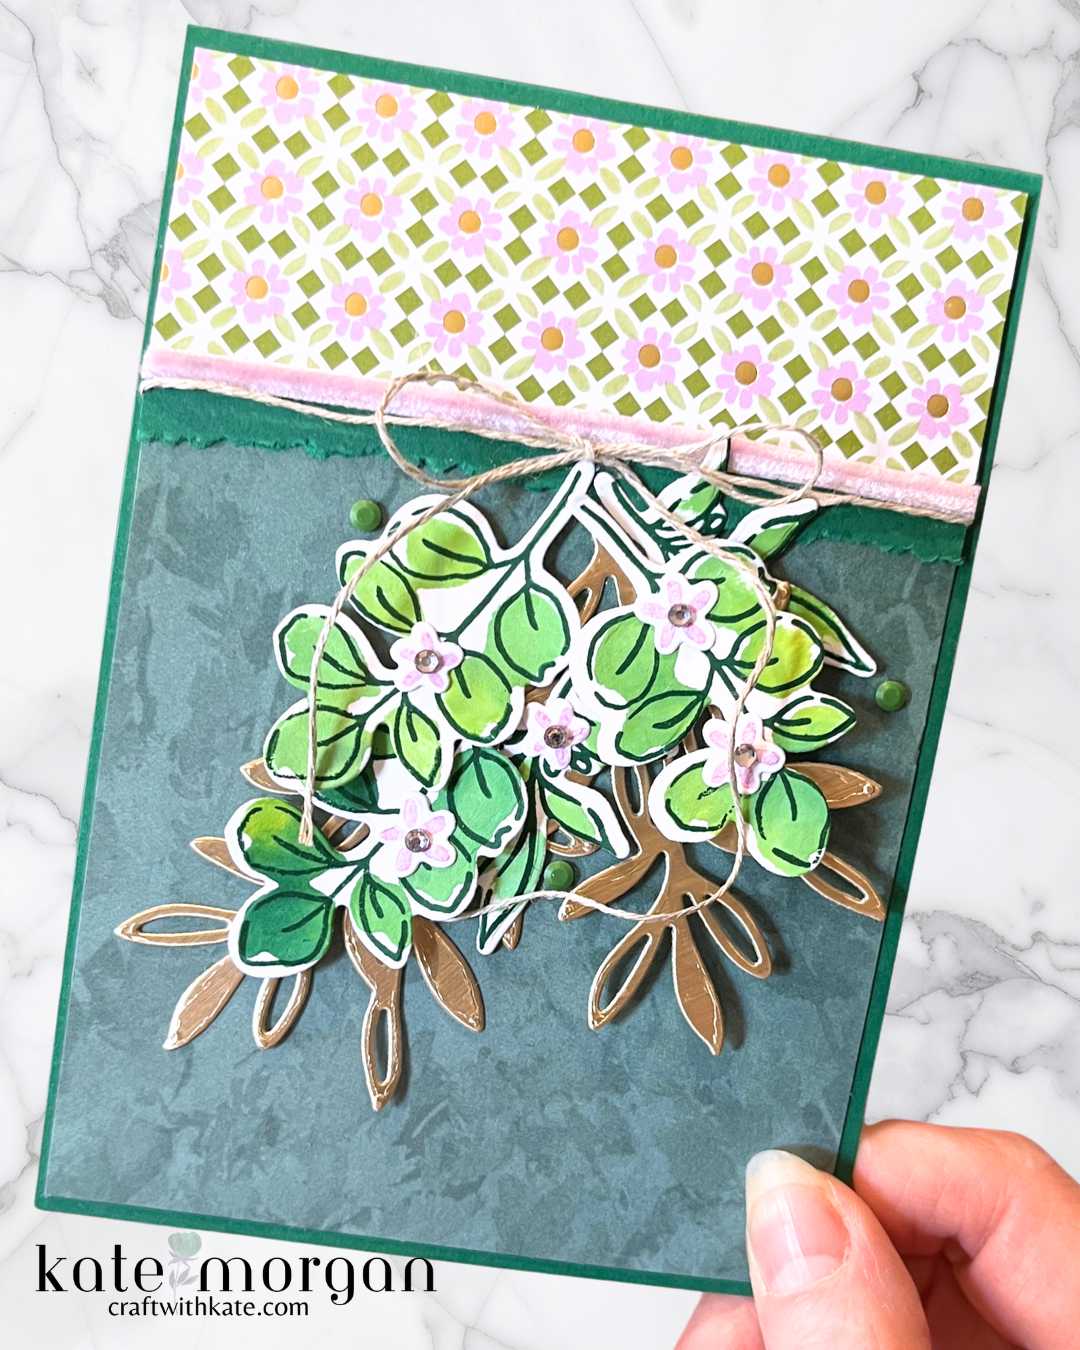
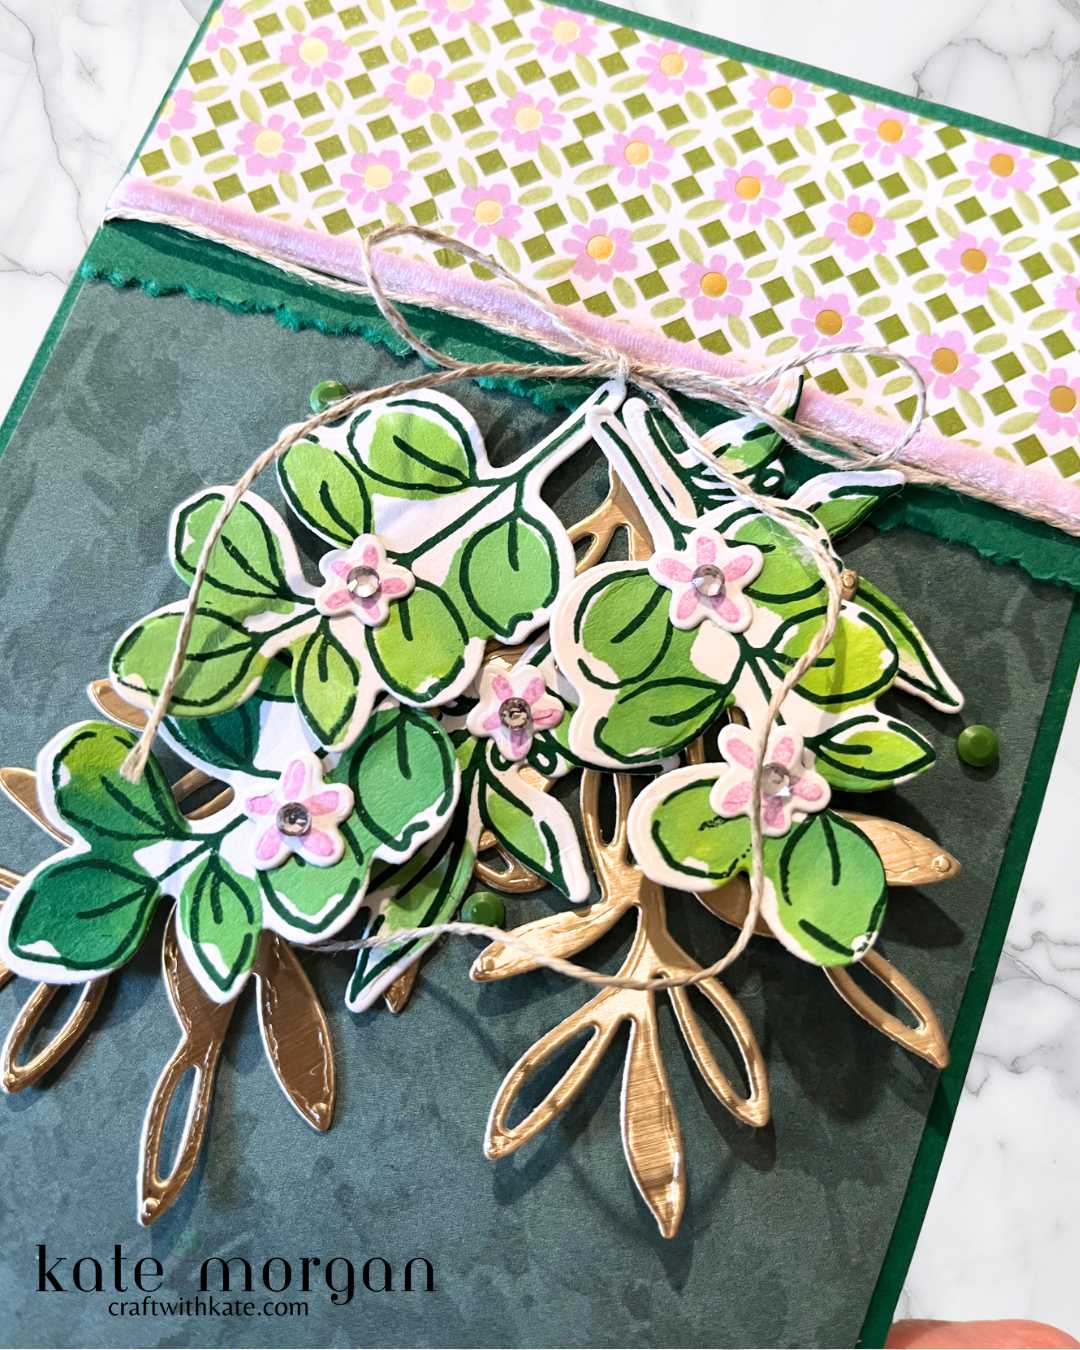
For the leaves, I added drops of ink refill onto an acrylic block and spritzed it with some water and used this to stamp the leaves. Pamela Blackwell, one of the Stampin’ Up! Artisans shared this technique recently. Once dry, I stamped over them with the outine stamp in Shaded Spruce ink. The flowers are stamped in Fresh Freesia and have Rhinestone Jewels in the centre that I coloured with the Fresh Freesia Blends Marker. Some larger leaves behind were diecut from Champagne Foil. I haven’t added a sentiment as yet. When I know who will receive this card, I’ll add an appropriate sentiment at that time.

On the inside another leaf with a couple of flowers added to the corner. This same treatment is also on the front corner of the envelope!

Thanks for dropping by. I hope you join me next week for Shy Shamrock inspiration.

Did you know that Paper Pumpkin is now available in Australia?

click the image to find out all the details how you can receive a kit delivered to your door every month!

Be sure to add the Product of the Month (POM) for $9 when you add $125+ in product to your cart.

Product List @stampinupofficial
Bundle:
Greenery Lane
Ink: Shaded Spruce, Lemon Lime Twist, Fresh Freesia
Paper: Basic White, Shaded Spruce, Perennial Lavender DSP, Lovely & Beautiful Specialty DSP, Champagne Foil, Basic White C6 Envelopes
Stampin’ Blends Markers:  Fresh Freesia
Other: Linen Thread, Dear Dots, Fresh Freesia Faux Ribbon, Rhinestone Basic Jewels, Spritzer, Acrylic Blocks, Bone Folder, Paper Trimmer, Multipurpose Glue, Stampin’ Dimensionals, Glue Dots, Tear & Tape, Stampin’ Cut & Emboss Machine, Take Your Pick Tool, Simply Shammy, Heat Tool.
*can be purchased together as a bundle to save 10%


Be sure to download a PDF copy of current catalogues from my SU Catalogue Library page.

Don’t forget to Follow My Blog to receive blog updates and all the latest news and specials!

Birthday, Blog Hop/Instagram Hop, Designer/Patterned/Specialty Papers (DSP), Handmade Cards, Markers for Colouring, Stampin' Up!

Poppy Parade: Lovely & Beautiful Mosaic Card

Welcome to the Colour Creations Instahop. You can follow us on Instagram starting  @craftwithkate. Each week we will showcase the Stampin’ Up! colours in alphabetical order.

Week 43 – Poppy Parade

This handmade card features the Lovely & Beautiful Specialty Designer Series Paper (DSP) with not a stamp, die or inkpad to be seen!

This is a very simple card if you love a bit of colouring, but of course, you could just use a pretty piece of paper if you wish. The cutting is random but with that mosaic look for something a little different. By minimising the use of Poppy Parade elsewhere, makes the red flowers pop the most!

How you can re-create this card

  1. Using Blends Combo Markers, colour a piece of the white & gold foiled DSP, 9.5cm x 10cm. I coloured the background using the Light Pool Party Blend to match the card base. This helps the brighter colours pop.
  2. Score a piece of Pool Party card stock in half and burnish. 21cm x 14.9cm, scored @ 10.5cm.
  3. Place the DSP into your trimmer and cut it into random pieces. I started with slanted horizontal ones then went back and cut them inin two vertically on angles. Try to keep them in order as you go, as it will be easier to put it all back together like a jigsaw puzzle.
  4. Adhere the pieces to your card base leaving a small gap between each one.
  5. Cut a narrow strip of Poppy Parade card and adhere it across the card and trim the edges.
  6. Add the sentiment [Greetings For You Mix & Match Ephemera] and some embellishments [12 Days of Christmas Advent Calendar] to finish.

Thanks for dropping by. I hope you join me next week for Pretty in Pink inspiration.

Be sure to add the Product of the Month (POM) for $9 when you add $125+ in product to your cart.

Product List @stampinupofficial
Stamps:
Nil
Dies: Nil
Ink: Nil
Paper: Basic White, Pool Party, Poppy Parade, Lovely and Beautiful Specialty DSP, Basic White C6 Envelopes
Stampin’ Blends Markers:  Azure Afternoon L, Balmy Blue L, Lemon Lolly D, Lost Lagoon, Old Olive, Pretty in Pink, Pool Party, Poppy Parade
Other: Greetings for You Mix & Match Ephemera Pack, Acrylic Blocks, Bone Folder, Paper Trimmer, Multipurpose Glue, Mini Stampin’ Dimensionals, Glue Dots, Tear & Tape, Stampin’ Cut & Emboss Machine, Take Your Pick Tool, Simply Shammy, Heat Tool.
*can be purchased together as a bundle to save 10%


Be sure to download a PDF copy of current catalogues from my SU Catalogue Library page.

Don’t forget to Follow My Blog to receive blog updates and all the latest news and specials!