Techniques & Tutorials

Sponging & Masking Technique

Good morning Stampers,

This morning I want to share with you the Sponging and Masking Technique.

IMG_3678

To create this card, I cut a piece of Whisper White cardstock 10.5 x 7.5cm.

Then punched a circle out of a post it note ensuring I get most of the sticky back behind my punch. (This is best punched by doing about 4 post it notes at once).

Place the circle post it note onto your small cardstock and then begin the sponging with the lightest colour first (I started with the Blushing Bride).

Start the sponging from off the page and then slowly, in circular motions, move onto the cardstock. Start slowly and build up your colour by going over the area repeatedly.

When you’re ready to add the Tempting Turquoise, start at the bottom of the cardstock and work your way up to blend the colours together. Go back to the first colour to continue blending if need be. When you are happy with your colourings, remove the circle punch!

Next, add your stamped image, in this case I used the Lovely as a Tree Stamp Set, using black ink.

I cut a piece of silver ribbon and stuck it down across one end with Glue Dots. Tie a bow and add this to the ribbon so it looks like once piece of ribbon tied with a bow. This way it uses less ribbon!

Next I stamped my sentiment towards the bottom right corner of the A5 card.

Finally, I added 6 dimensionals to the back of the stamped card and adhered it to the top section of the card.

Stampin’ Up! products used:

Stamp Set: Lovely as a Tree, Simply Sketched (Hostess)

Inkpads: Blushing Bride, Tempting Turquoise, Black

Cardstock: Whisper White

Tools: Paper Trimmer, Circle 1 3/8″ Punch

Accessories:  Glue Dots, Dimensionals, Sponge Daubers, Silver Ribbon, Post It Note

To purchase any or all of these items, be sure to visit my online store!

Happy stamping,

Kate

Free Product

Party More. Get More.

B1_HostessPromo_demo_Oct0113_global

Dear Stampers,

I am sorry that you have received another message from me today, but……

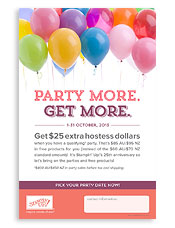
Stampin’ Up! have two amazing offers for you to celebrate the 25th Anniversary this October!

The first one is hosting a party or placing an order with a total sales of $400 (ex gst) and receiving not only $60 of free product, but you choose a further $25 of free product. Yes you heard it, a total of $85 in free product of your choice from the catalogues!

The 2nd amazing offer I will release to you on Friday. All I can say is, if you have a slight interest in joining, you must stay tuned for this incredible offer.

Call, email or message me to find out more.

FlyerTH_HostessPromo_demo_Oct0113_SP

Happy Stamping,

Kate

Masculine

Vintage Masculine Card

Good Morning Crafters,

I am having a good run on Masculine Cards at the moment and really enjoying the challenge.

This card was so simple but I think very effective and I love the grungy sponging around the edges to give that vintage look!

It also uses only two colours; very vanilla & crumb cake!

IMG_3675

Stampin’ Up! products used:

Stamp Set: Simply Stars, En Francais, Sentiment from Itty Bitty Banners

Inkpads: Crumb Cake

Cardstock: Crumb Cake & Very Vanilla

Punches: Decorative Label, Word Window, Large Oval

Tools: Big Shot, Paper Trimmer, Paper Snips, Needlepoint Border Embossing Folder,  Paper Piercing Tool, Mat & Essentials Pack

Accessories:  Tombo Glue, Dimensionals, Crumb Cake Marker, Sponge Dauber


To purchase any of these items, be sure to visit my online store!

Happy stamping,

Kate

Masculine

Embossing Acetate


Good morning Stampers,

I share with you today a Masculine card I made using a piece of acetate that I embossed with the Woodgrain TIEF.

Don’t you agree it gives such an amazing effect?!

My base card is Crumb Cake with the acetate sheet over the top. I also sponged a little crumb cake ink on the back of the acetate sheet for more depth.

I have used the Chevron ribbon for some interest and stamped the good for you from the Banner Greetings Hostess Stamp Set.

Another circle of embossed crumb cake was punched out with a scallop circle punched out of acetate layered over the top (not sure if you can see that?)

IMG_3676

Stampin’ Up! products used:

Stamp Set: Banner Greetings

Inkpads: Crumb Cake

Cardstock: Crumb Cake & Neuturals DSP

Tools: Paper Trimmer, Circle 1 3/4″ Punch, Scallop Circle 2 3/8″ Punch, Paper Snips, Woodgrain TIEF

Accessories: Tombo Glue, Snail Adhesive, Dimensionals


To purchase any of these items, be sure to visit my online store!

Happy stamping,

Kate
Masculine

Brayer Card

Good morning Stampers,

Today for the first time, I had a go at the brayering technique and although I wasn’t overly happy with the outcome, it turned out okay. I think I need lots more practice with this tool as I have seen some amazing cards using the brayer.

IMG_3674

Stampin’ Up! products used:

Stamp Set: By the Tide & Teeny Tiny Sentiments

Inkpads: Pool Party, Bermuda Bay, Tempting Turquoise, Craft White, Tangerine Tango, Raspberry Ripple

Cardstock: Pool Party & Whisper White

Tools: Paper Trimmer, Circle 1″ Punch, Stampamijig, Brayer

Accessories:  Tombo Glue, Dimensionals, Bermuda Bay Marker


To purchase any of these items, be sure to visit my online store!

Happy stamping,

Kate

Butterflies

Butterfly Bundle

Don’t miss out, there is only a couple more days to save 15% by purchasing the Butterfly Bundle!

Dates: 29 August – 30 September, 2013

Offer: Get 15 percent off when you buy this bundled butterfly stamp set and punch!

Bundle Item Page in Catalogue Description Retail Price 15% Savings Price Amount Saved!
135311 90
183
Butterfly Bundle (Clear-Mount)
Papillion Potpourri Clear-Mount Stamp Set
Bitty Butterfly Punch
$53.90 $45.82 $8.08
135312 90
183
Butterfly Bundle (Wood-Mount)
Papillion Potpourri Wood-Mount Stamp Set
Bitty Butterfly Punch
$60.90 $51.77 $9.13

ButterflyBundle_Demo_8.29-9.30.2013_SP


To purchase any of these items, be sure to visit my online store!

Here are a couple of examples using this bundle ~ yes I love butterflies!

IMG_2889 IMG_2869 IMG_2852


Happy stamping,

Kate

Stampin' Up!

Stitches & Craft Show

Morning Stampers,

I want to inform you about the upcoming Stitches and Craft Show that will be held at the Caulfield Racecourse from Thursday 24 – Sunday 27 October. The Show will be open daily from 10.00am – 4.30pm.

FREE PIN  EXHIBITOR LIST  LET’S SHOP!

Make sure you come along and visit me, as I will be on the Stampin’ Up! Stand on Friday 25 October.

Please drop by and say hello and support me in my first ever craft show event!

Further details can be found at http://stitchesandcraft.net.au/Melbourne/

Happy Stamping!

Kate

Christmas, Thinlits Dies

I’m back!

Well hello lovely stampers,

We are back from our wonderful holiday to Phuket, Thailand. I hope you enjoyed the few photos we posted on facebook while we were away. You wouldn’t believe that we took over 900 photos, so there will be lots of Scrapbooking in the near future!

It’s great to be home and able to stamp again!

The new Expressions Thinlits Dies (from the Holiday Catalogue) got a work out this morning and they are wonderful. I was a little worried about easy they were going to release from the die, but they are fantastic. They sure will become a feature on many cards.

I started with this Christmas card using the thinlits and the frosted finishes embellishment with the Winter Frost DSP.

IMG_3653

This card also uses the love thinlits with the Beautifully Baroque Bundle (stamp and coordinating embossing folder). You can purchase these 2 items at 15% off!

IMG_3655

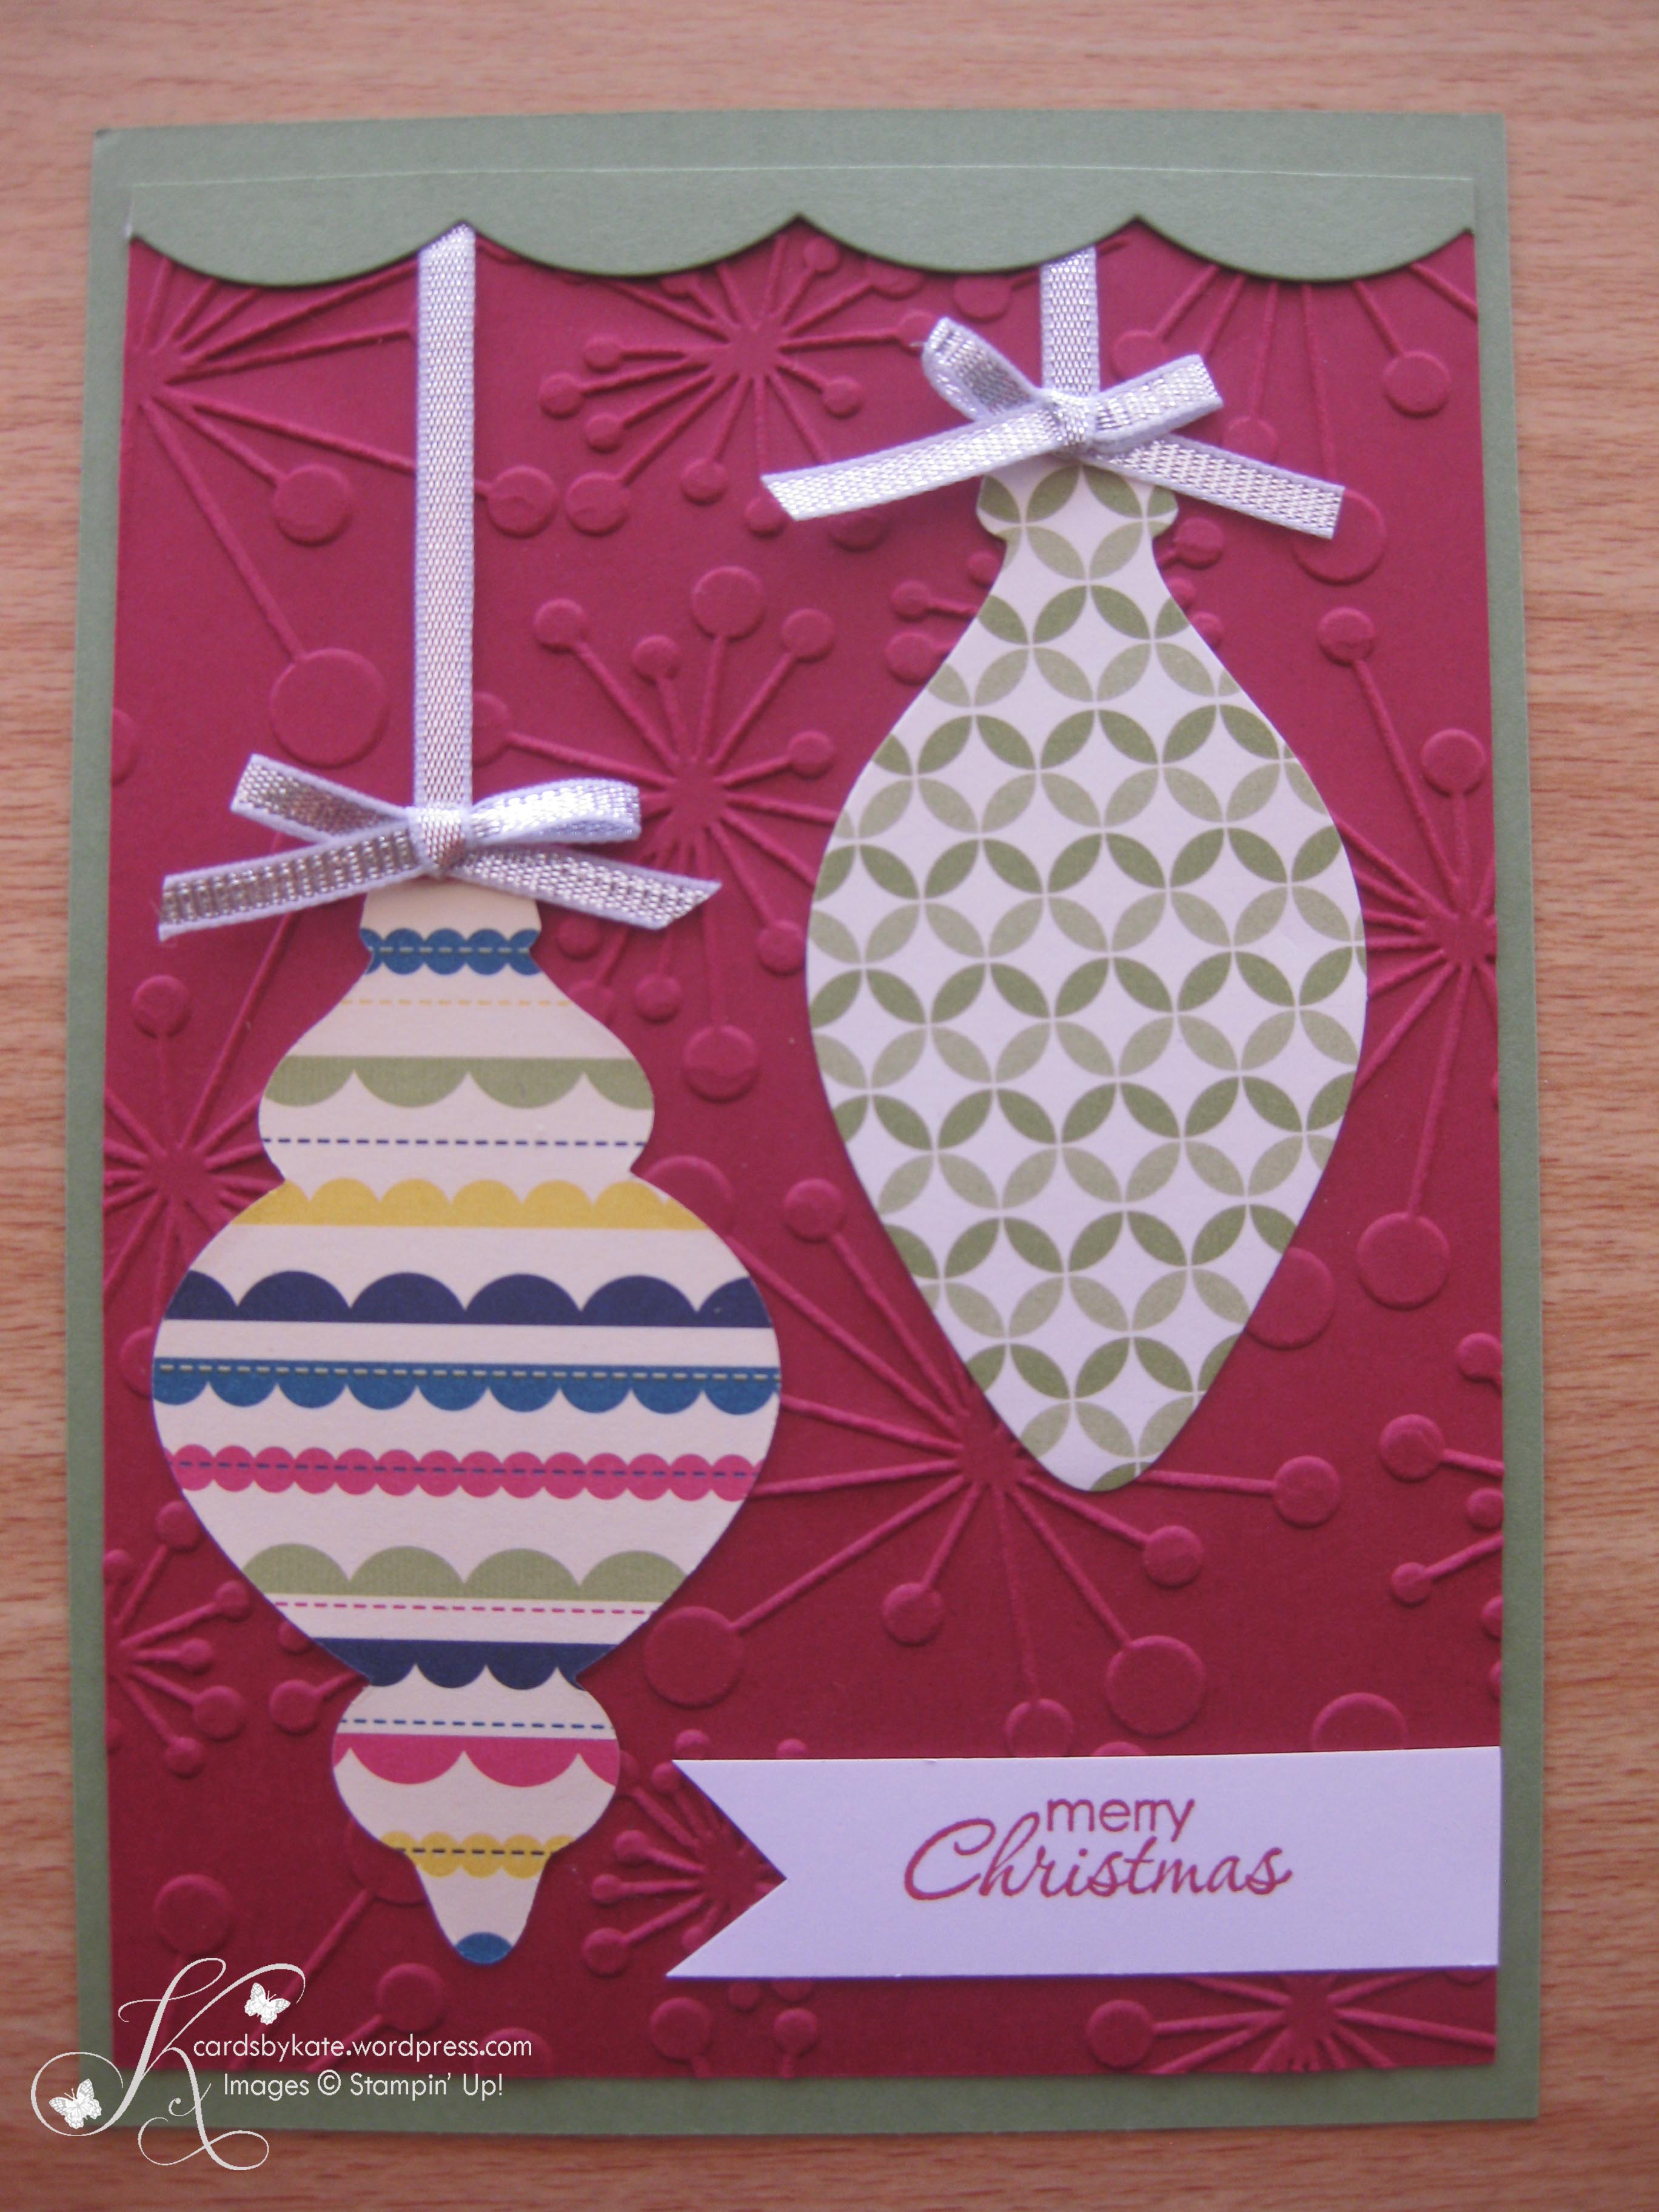
Christmas Card using the dies from the Keepsake Ornament Set and new silver ribbon from the Holiday Catalogue.

IMG_3654

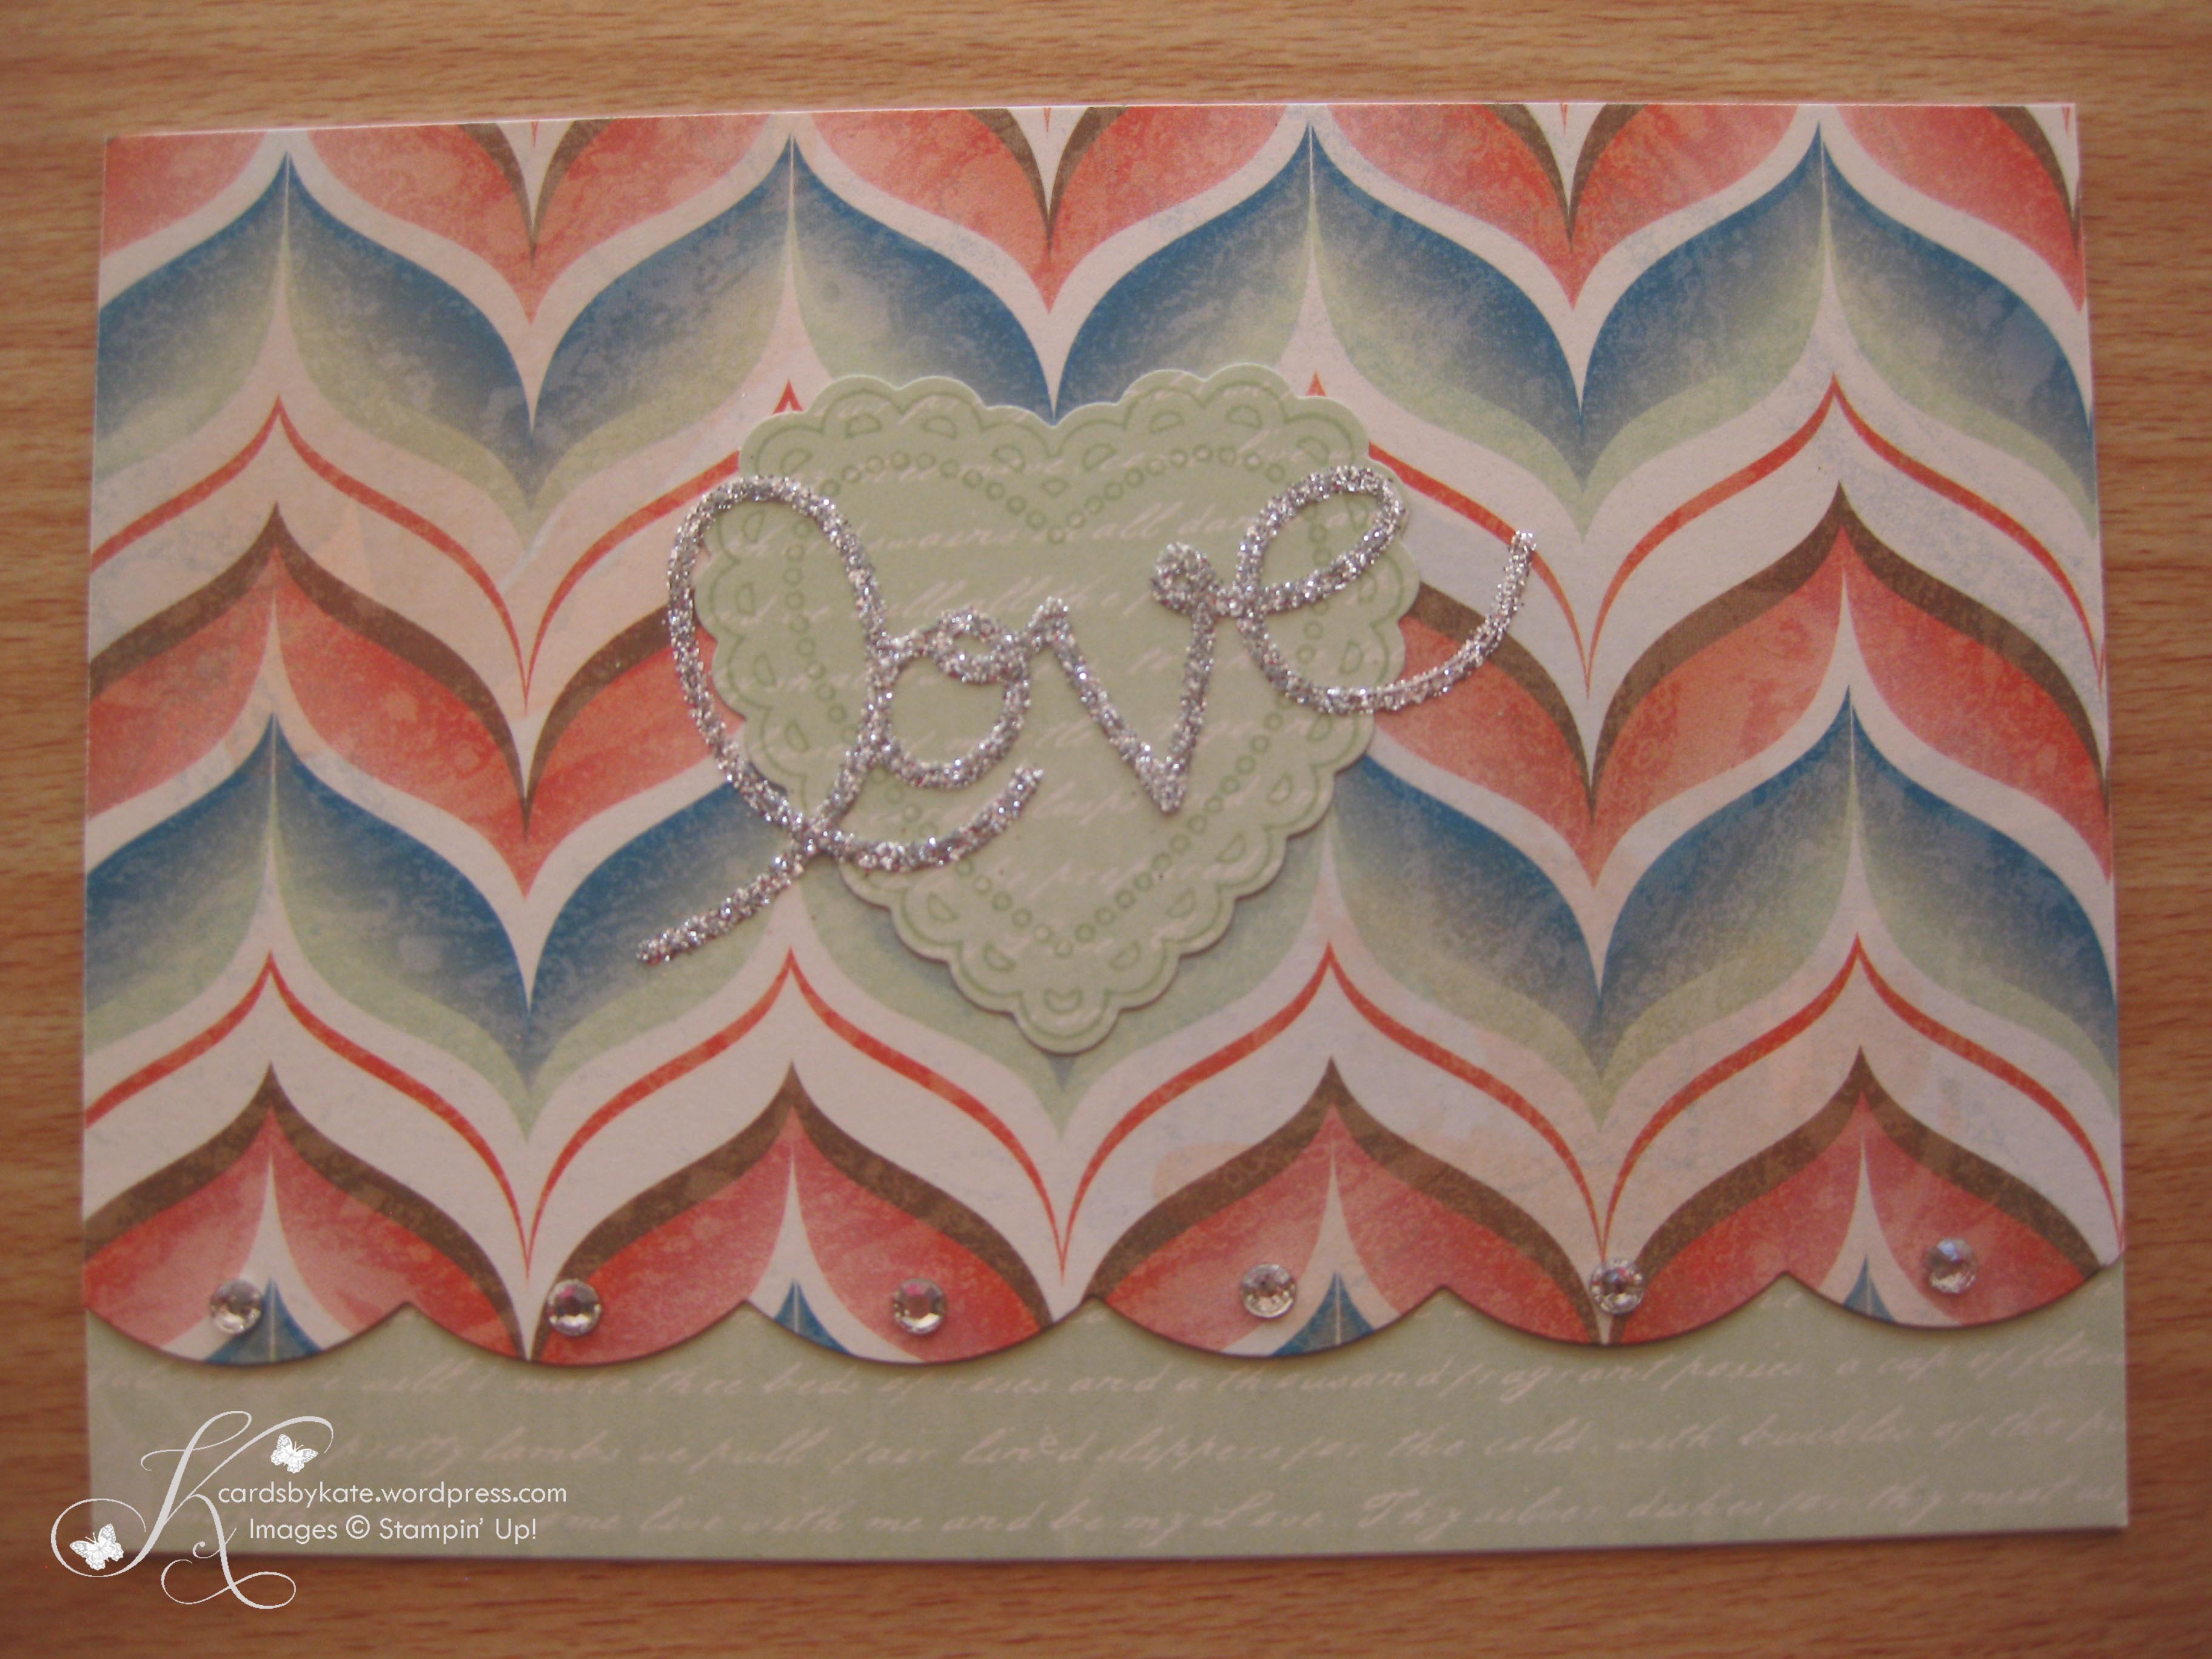
I love this Venetian Romance DSP pack of papers. I have also used the expressions thinlits using multipurpose adhesive sheets and silver glitter over the heart from the Hearts a Flutter Stamp and Die Set.

IMG_3652

These are just a taste of what I have been working on and will have plenty more to share with you in the coming weeks.

To purchase any of these items, be sure to visit my online store!

Happy stamping,

Kate

General

We made it

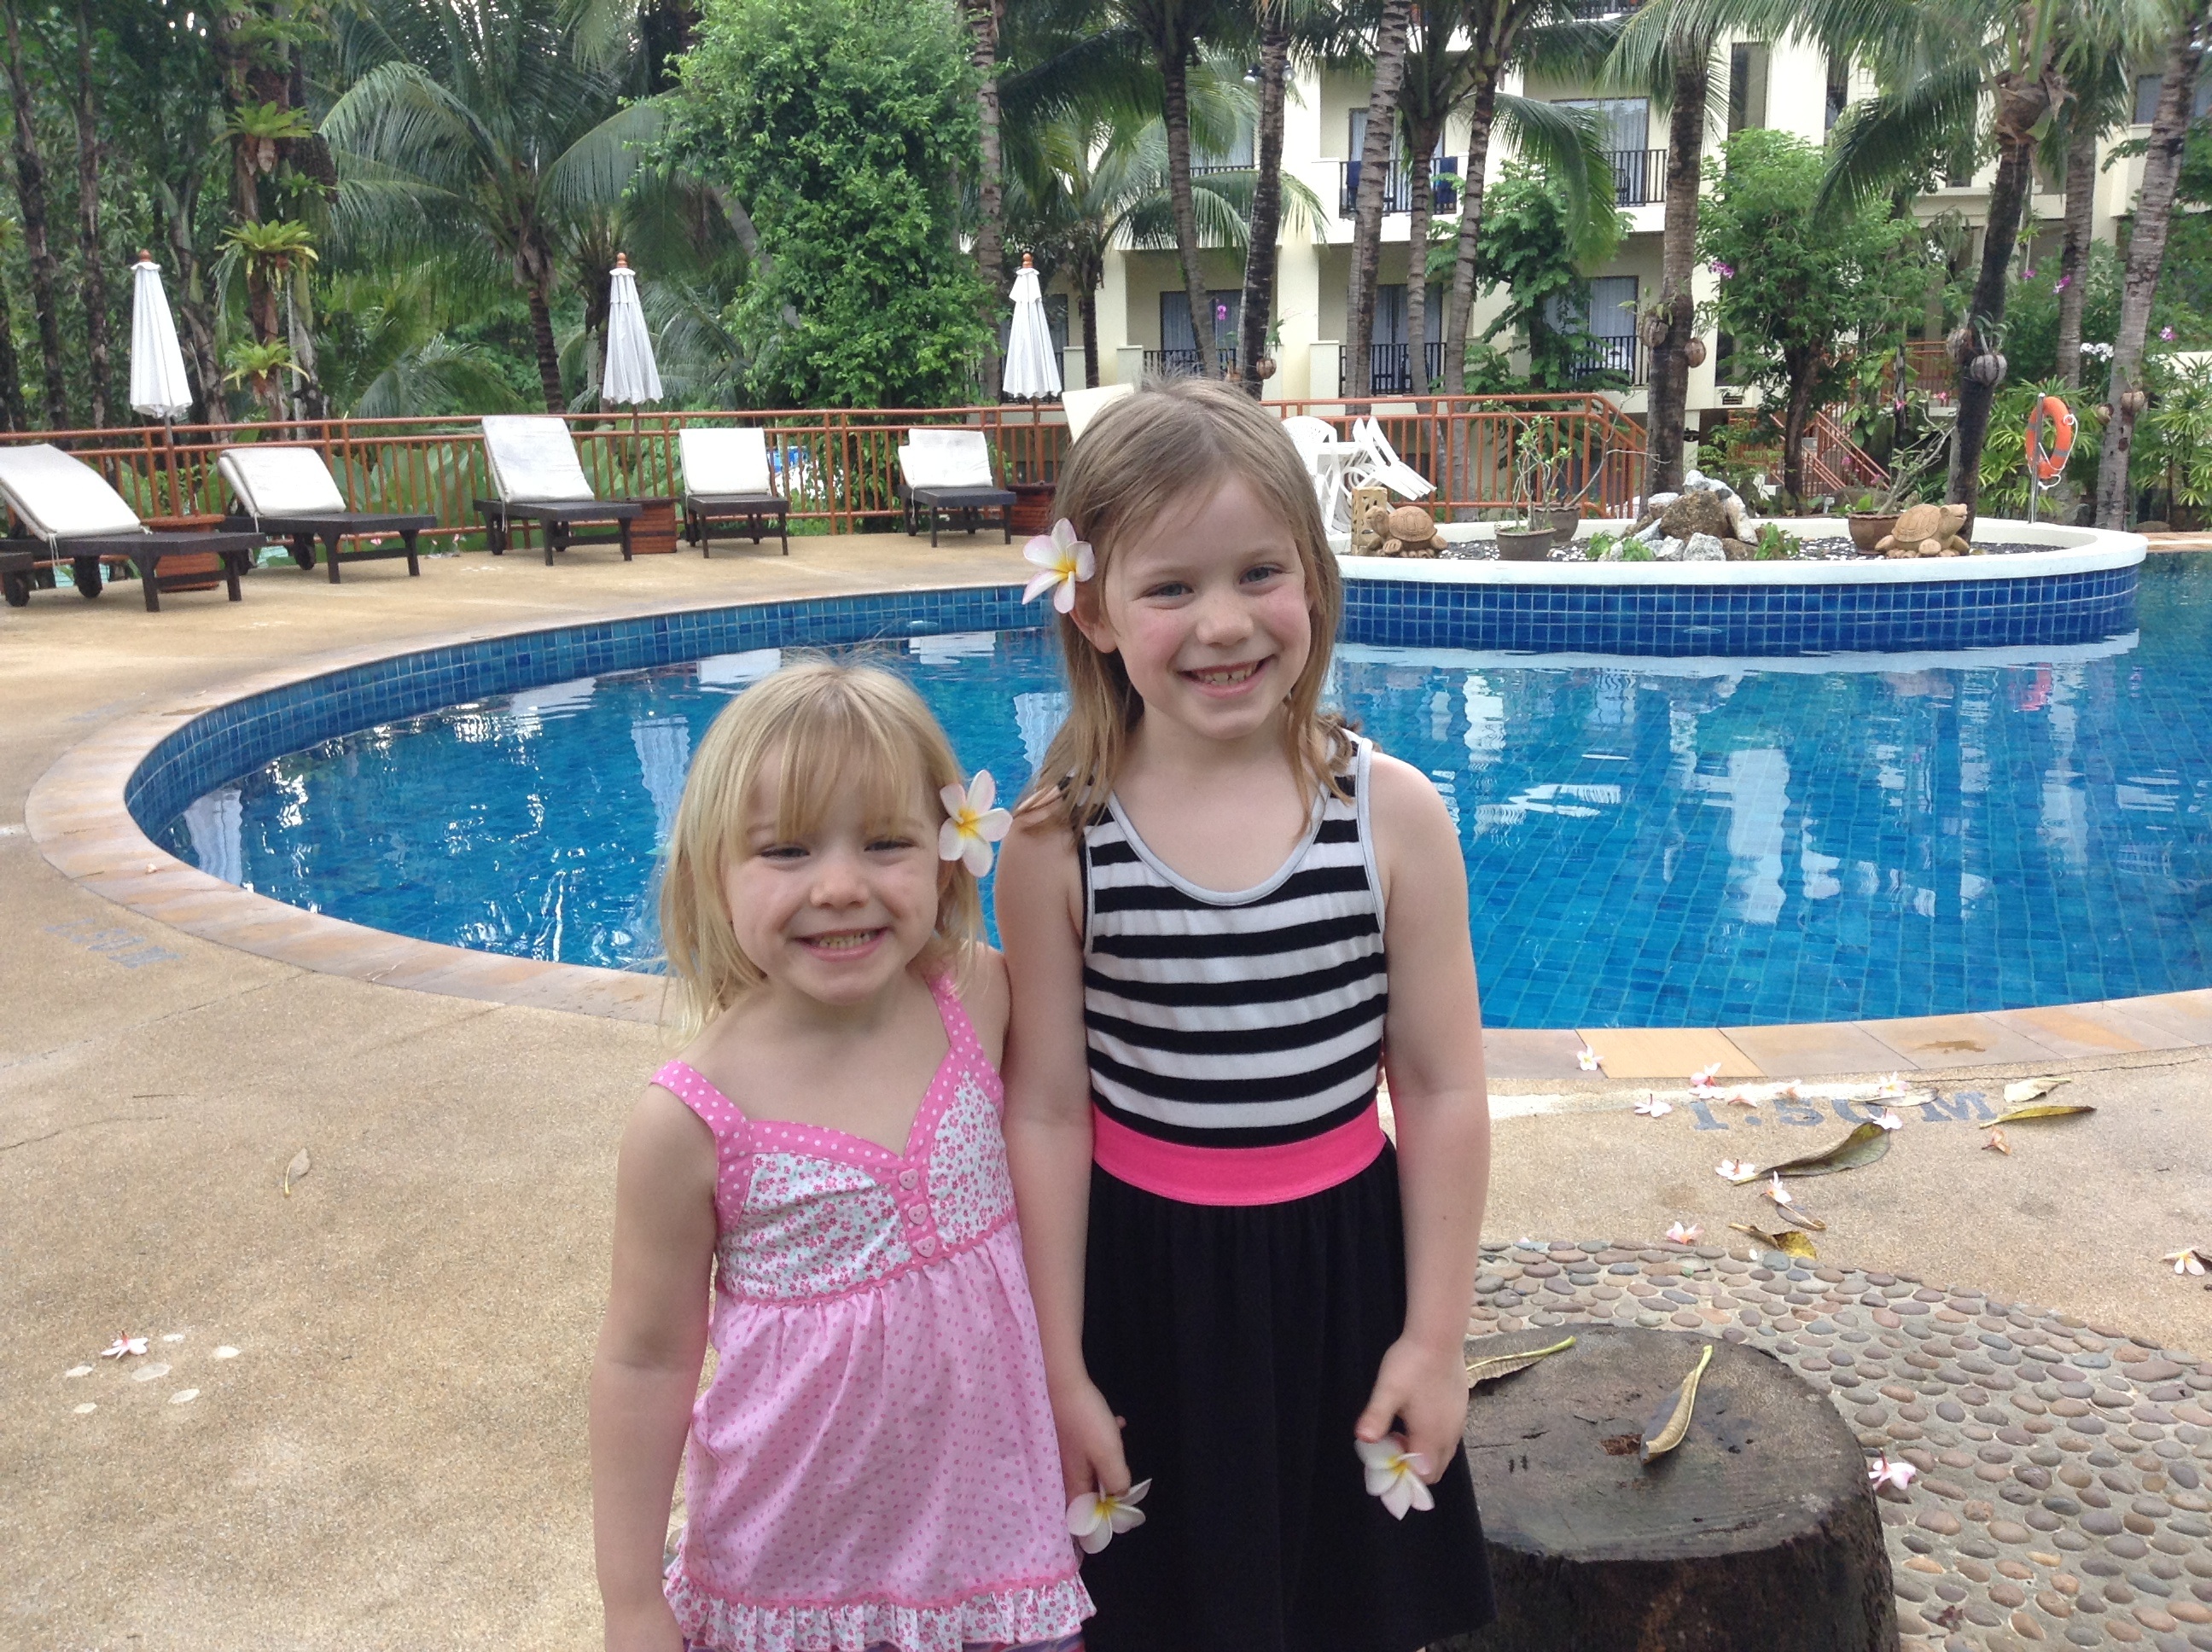
Yes, we have arrived in Phuket for our first ever family holiday!

The weather when we arrived at 8.30pm local time (11.30pm Melb time) was still a balmy 26 degrees. It took another hour of driving in a private vehicle to get to our resort but it was eventful.

The  girls were amazed with all the lights and signs everywhere and the amount of motorbikes with 3 people on each and no protective gear.

image

On our way to breakfast the first morning we saw the magnificence of this beautiful resort – the frangipani’s and the orchids attached to every tree around the resort!

having a wonderful time but using my blog is frustrating over here, so follow my Facebook page to stay up to date with our travels.

ciao for now,

kate

General

Time for a break

Hello lovely stampers,

Well it is time for me to take a short break.

I am heading overseas on a much deserved holiday with my family from 6 – 22 September 2013.

You will not see too many cards or techniques on my blog during the next few weeks, but I will try and post some of our travel experiences on this blog.

I am not sure how I will go without a stamp in sight for over two weeks, but I will be spending some much needed time with my 2 little girls and hubby on our first ever family holiday together!

Have fun stamping while I am gone, and I hope to see lots of your creations very soon.

Happy stamping!

Kate