Dear Crafters,
Today I share this card using the Let the Good Times Roll bundle in the Occasions catalogue. You may remember I shared one earlier in January that was a feminine one, but today is my dads 70th birthday and I thought this was an appropriate card for him, as it brought back wonderful memories of the times he would take me on the rides at the theme parks while my mum & sister looked on in terror!!!! Dad & I loved them!!!
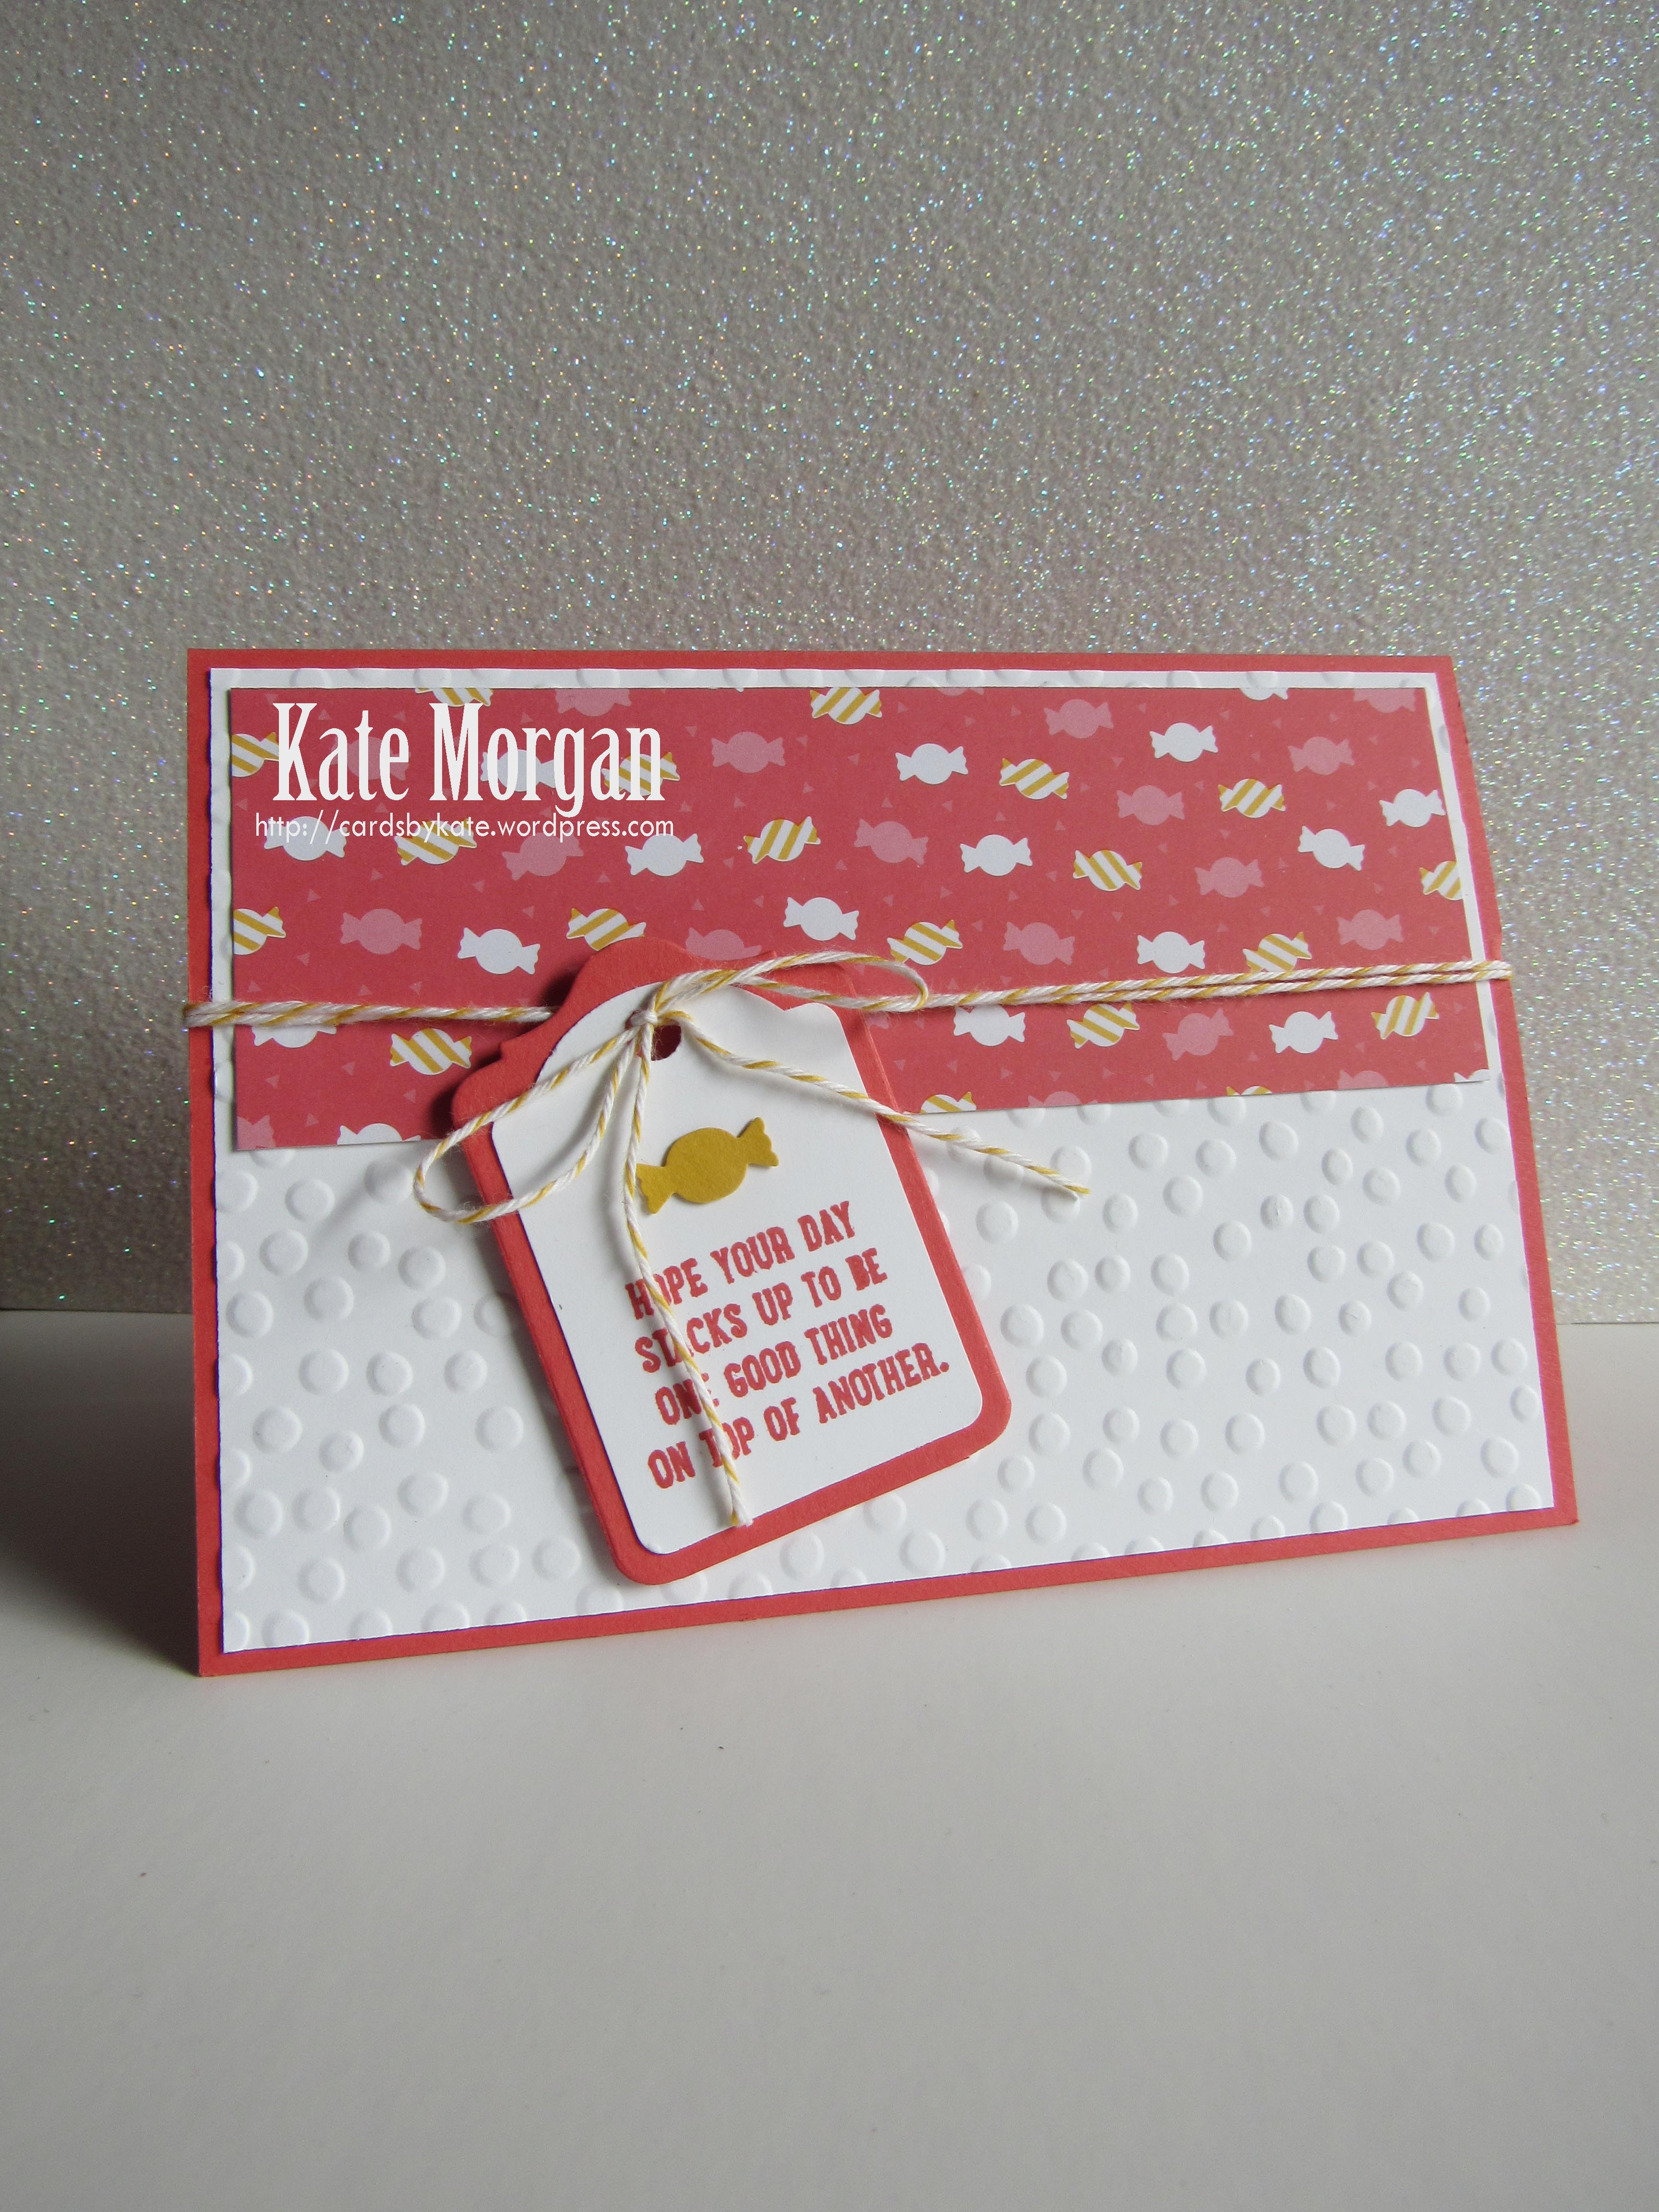
The base card measures 8¼” x 5⅞” and is folded in half.
The Whisper White insert measures 8″ x 5½”.
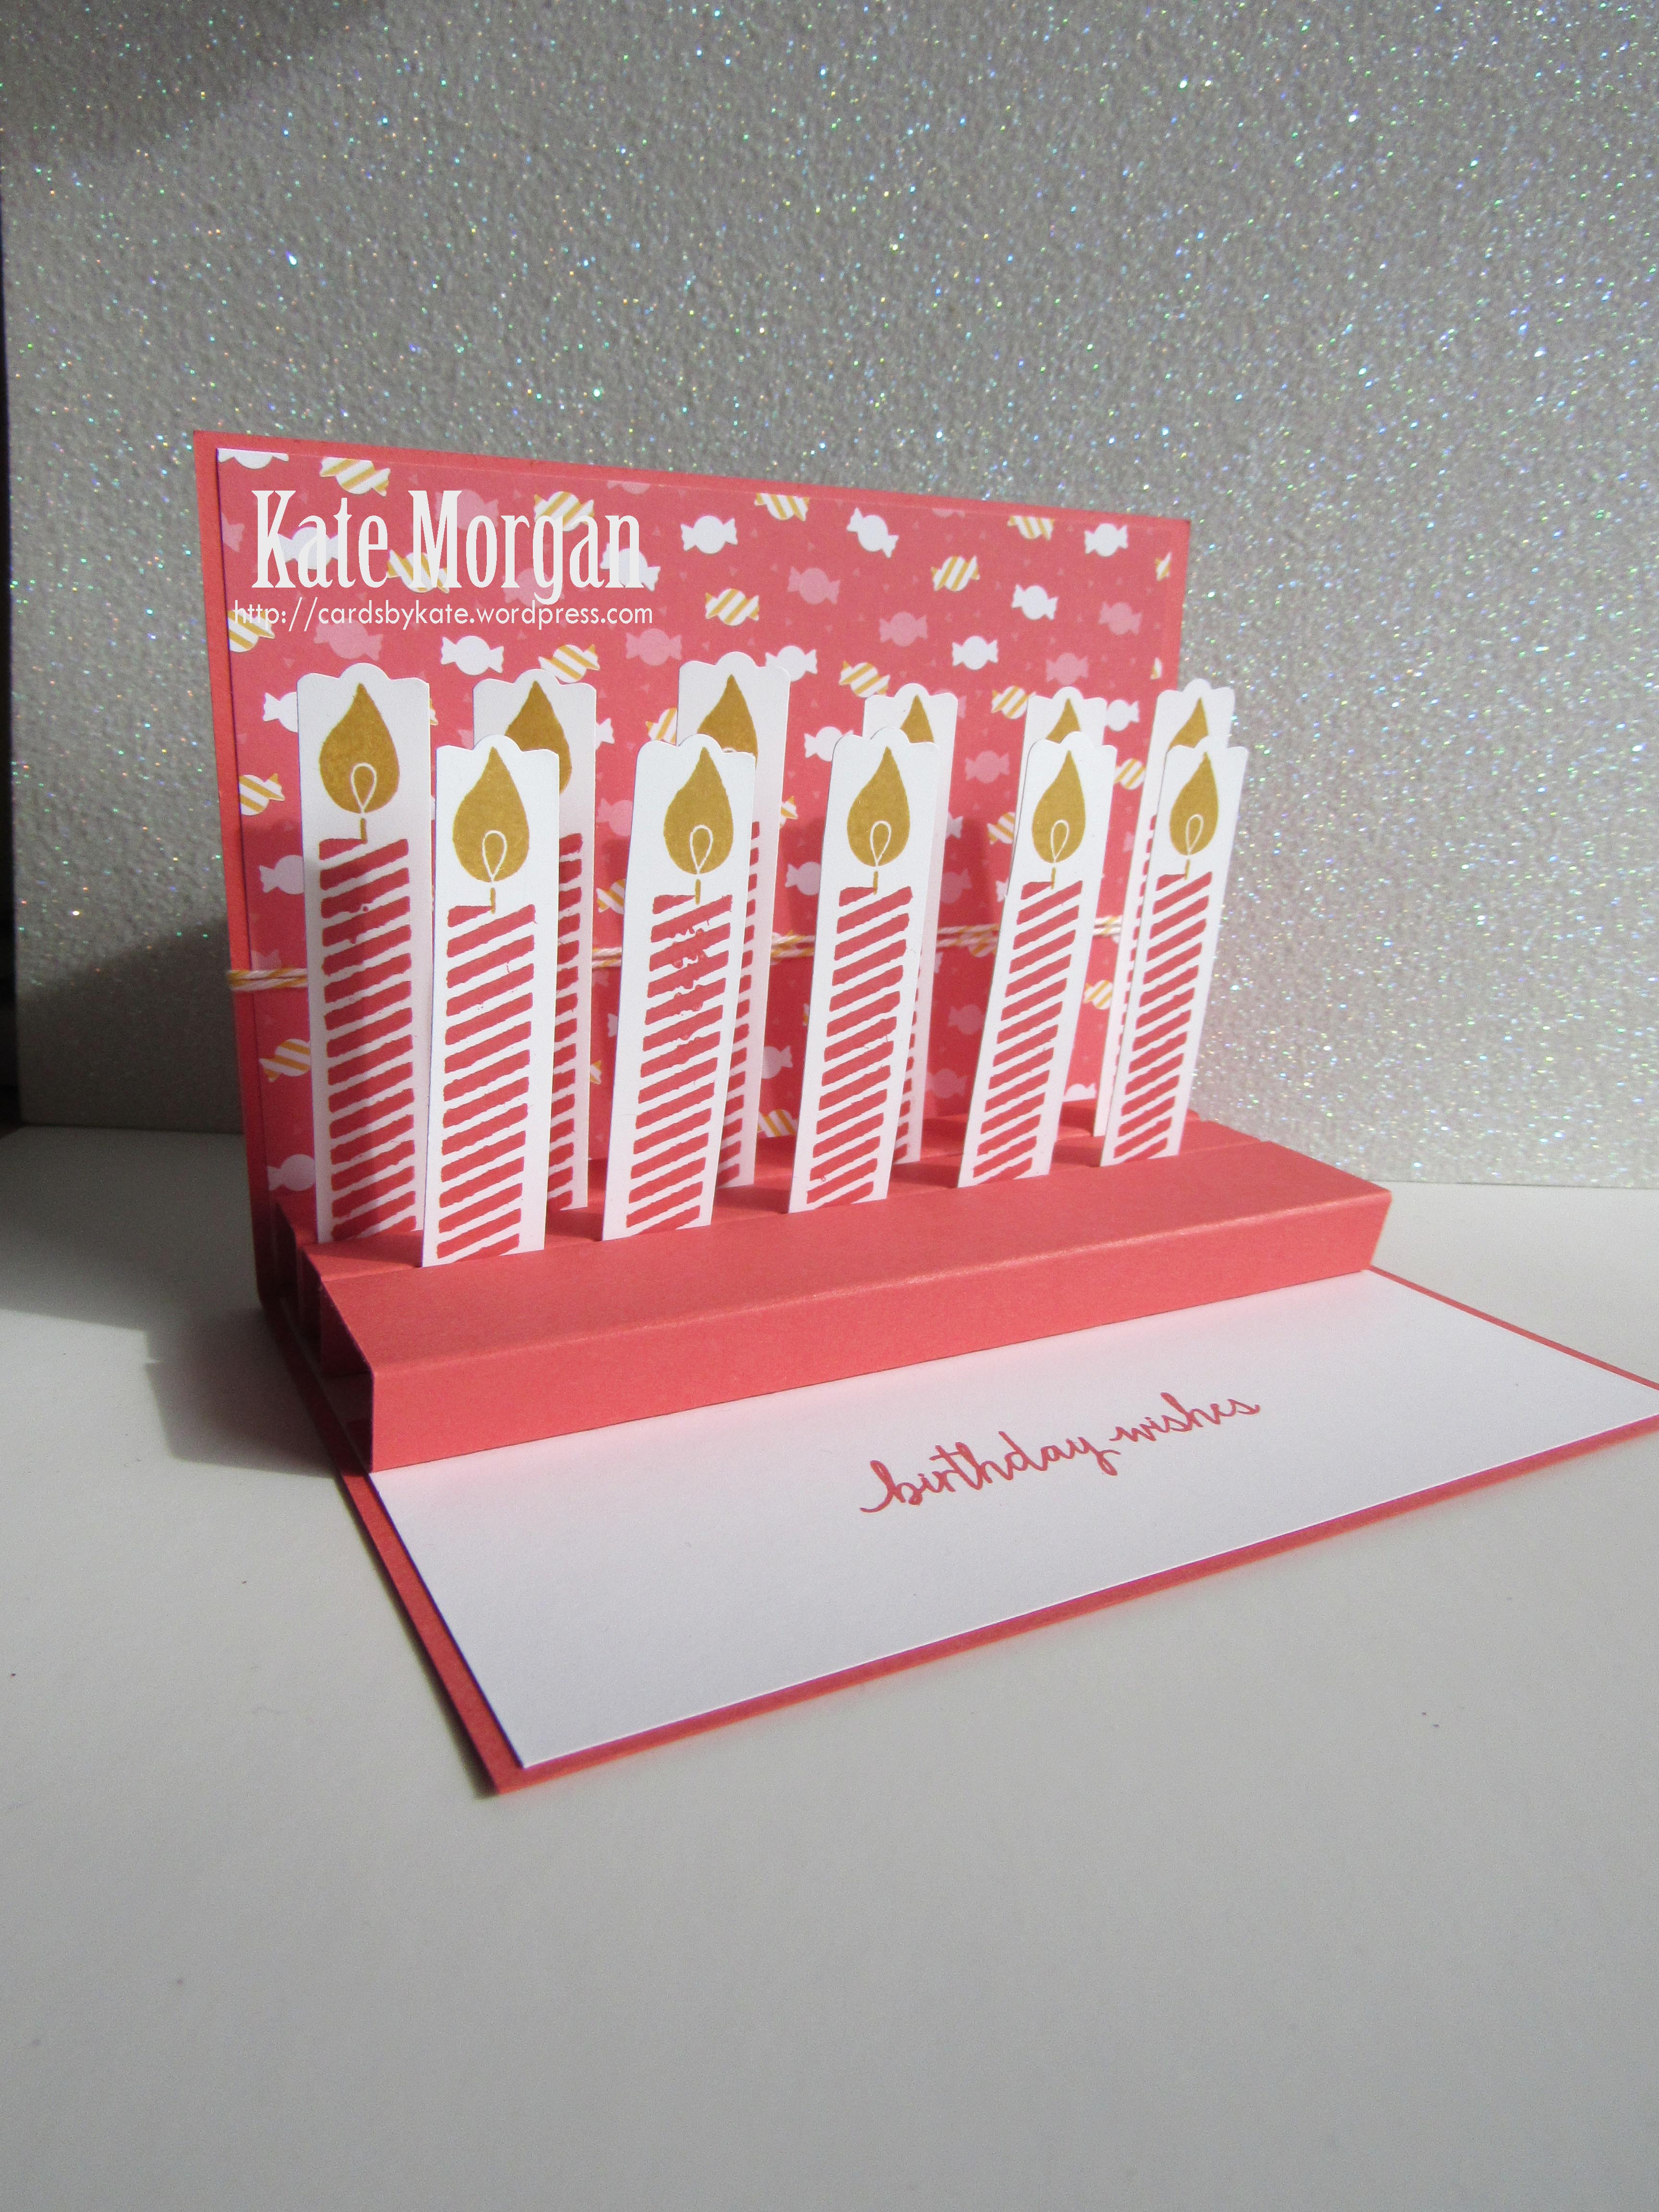
Are you ready to see the magic happen as you open up the card to reveal the 3D pop up inside?

Who wouldn’t get a thrill out of opening this card?!!!! Isn’t it just so cool?!!
This is a 14 piece photopolymer set, so it makes it super easy to line up the stamped images as well as using the coordinating dies to cut them out so no more fussy cutting! I have used lots of colour as I think it is such a fun card that screams colour!
Remember, here are the tips I found when using this bundle:
- use whisper white, not the thick whisper white card, it’s easier to fold the tracks
- do not score your white card all the way through. Only score each side about 1/2″, line up the die and then cut, then use a ruler to score across to the edge of the die cut
- Score along each edge of the tracks and the bottom edge before trying to fold them
- Add an extra layer over the framework of the roller coaster for strength
- it will fold flat, you just need patience in the manipulating of the tracks
- I made a quick 30 second video to show how it folds flat, view here. (I’m not into making videos, so no instructions with it, lol).
- You can also view the YouTube video by Brandi at the Stampin’ Up! home office here to see more about how to create the pop up section!
When you spend $90+ during Sale-a-bration, you get to choose 1 free item from the Sale-a-bration brochure. Go on, have a look, you know you want to!!!
A full list of products can be found at the end of this post!

Join my team during Sale-a-bration and get even more rewards!
Standard Starter Kit + more stamps during Sale-a-bration.
FIRST – Choose $235 in Stampin’ Up! Products for just $169!
SECOND – Choose TWO additional FREE stamp sets*, that’s up to a $174 value!
*You may choose only stamp sets from the annual or occasions catalogues (bundles, kits, Sale-a-bration items cannot be selected as free stamp sets for this promotion).
Sale-a-bration period to earn FREE product: 3rd January – 31st March 2018
Occasions catalogue period: 3rd January – 31st May 2018
Be sure to download a copy of the Occasions catalogue and the Sale-a-bration brochure on my SU Catalogue Library page today.
Don’t forget to Follow My Blog to receive blog updates and join my Newsletter Subscription for all the latest news and specials!
Happy Stamping,


Product List