I’m thrilled you are here to join us each Monday evening for the AWHT Heart of Christmas Blog Hop showcasing Stampin’ Up! seasonal products.
Week 10
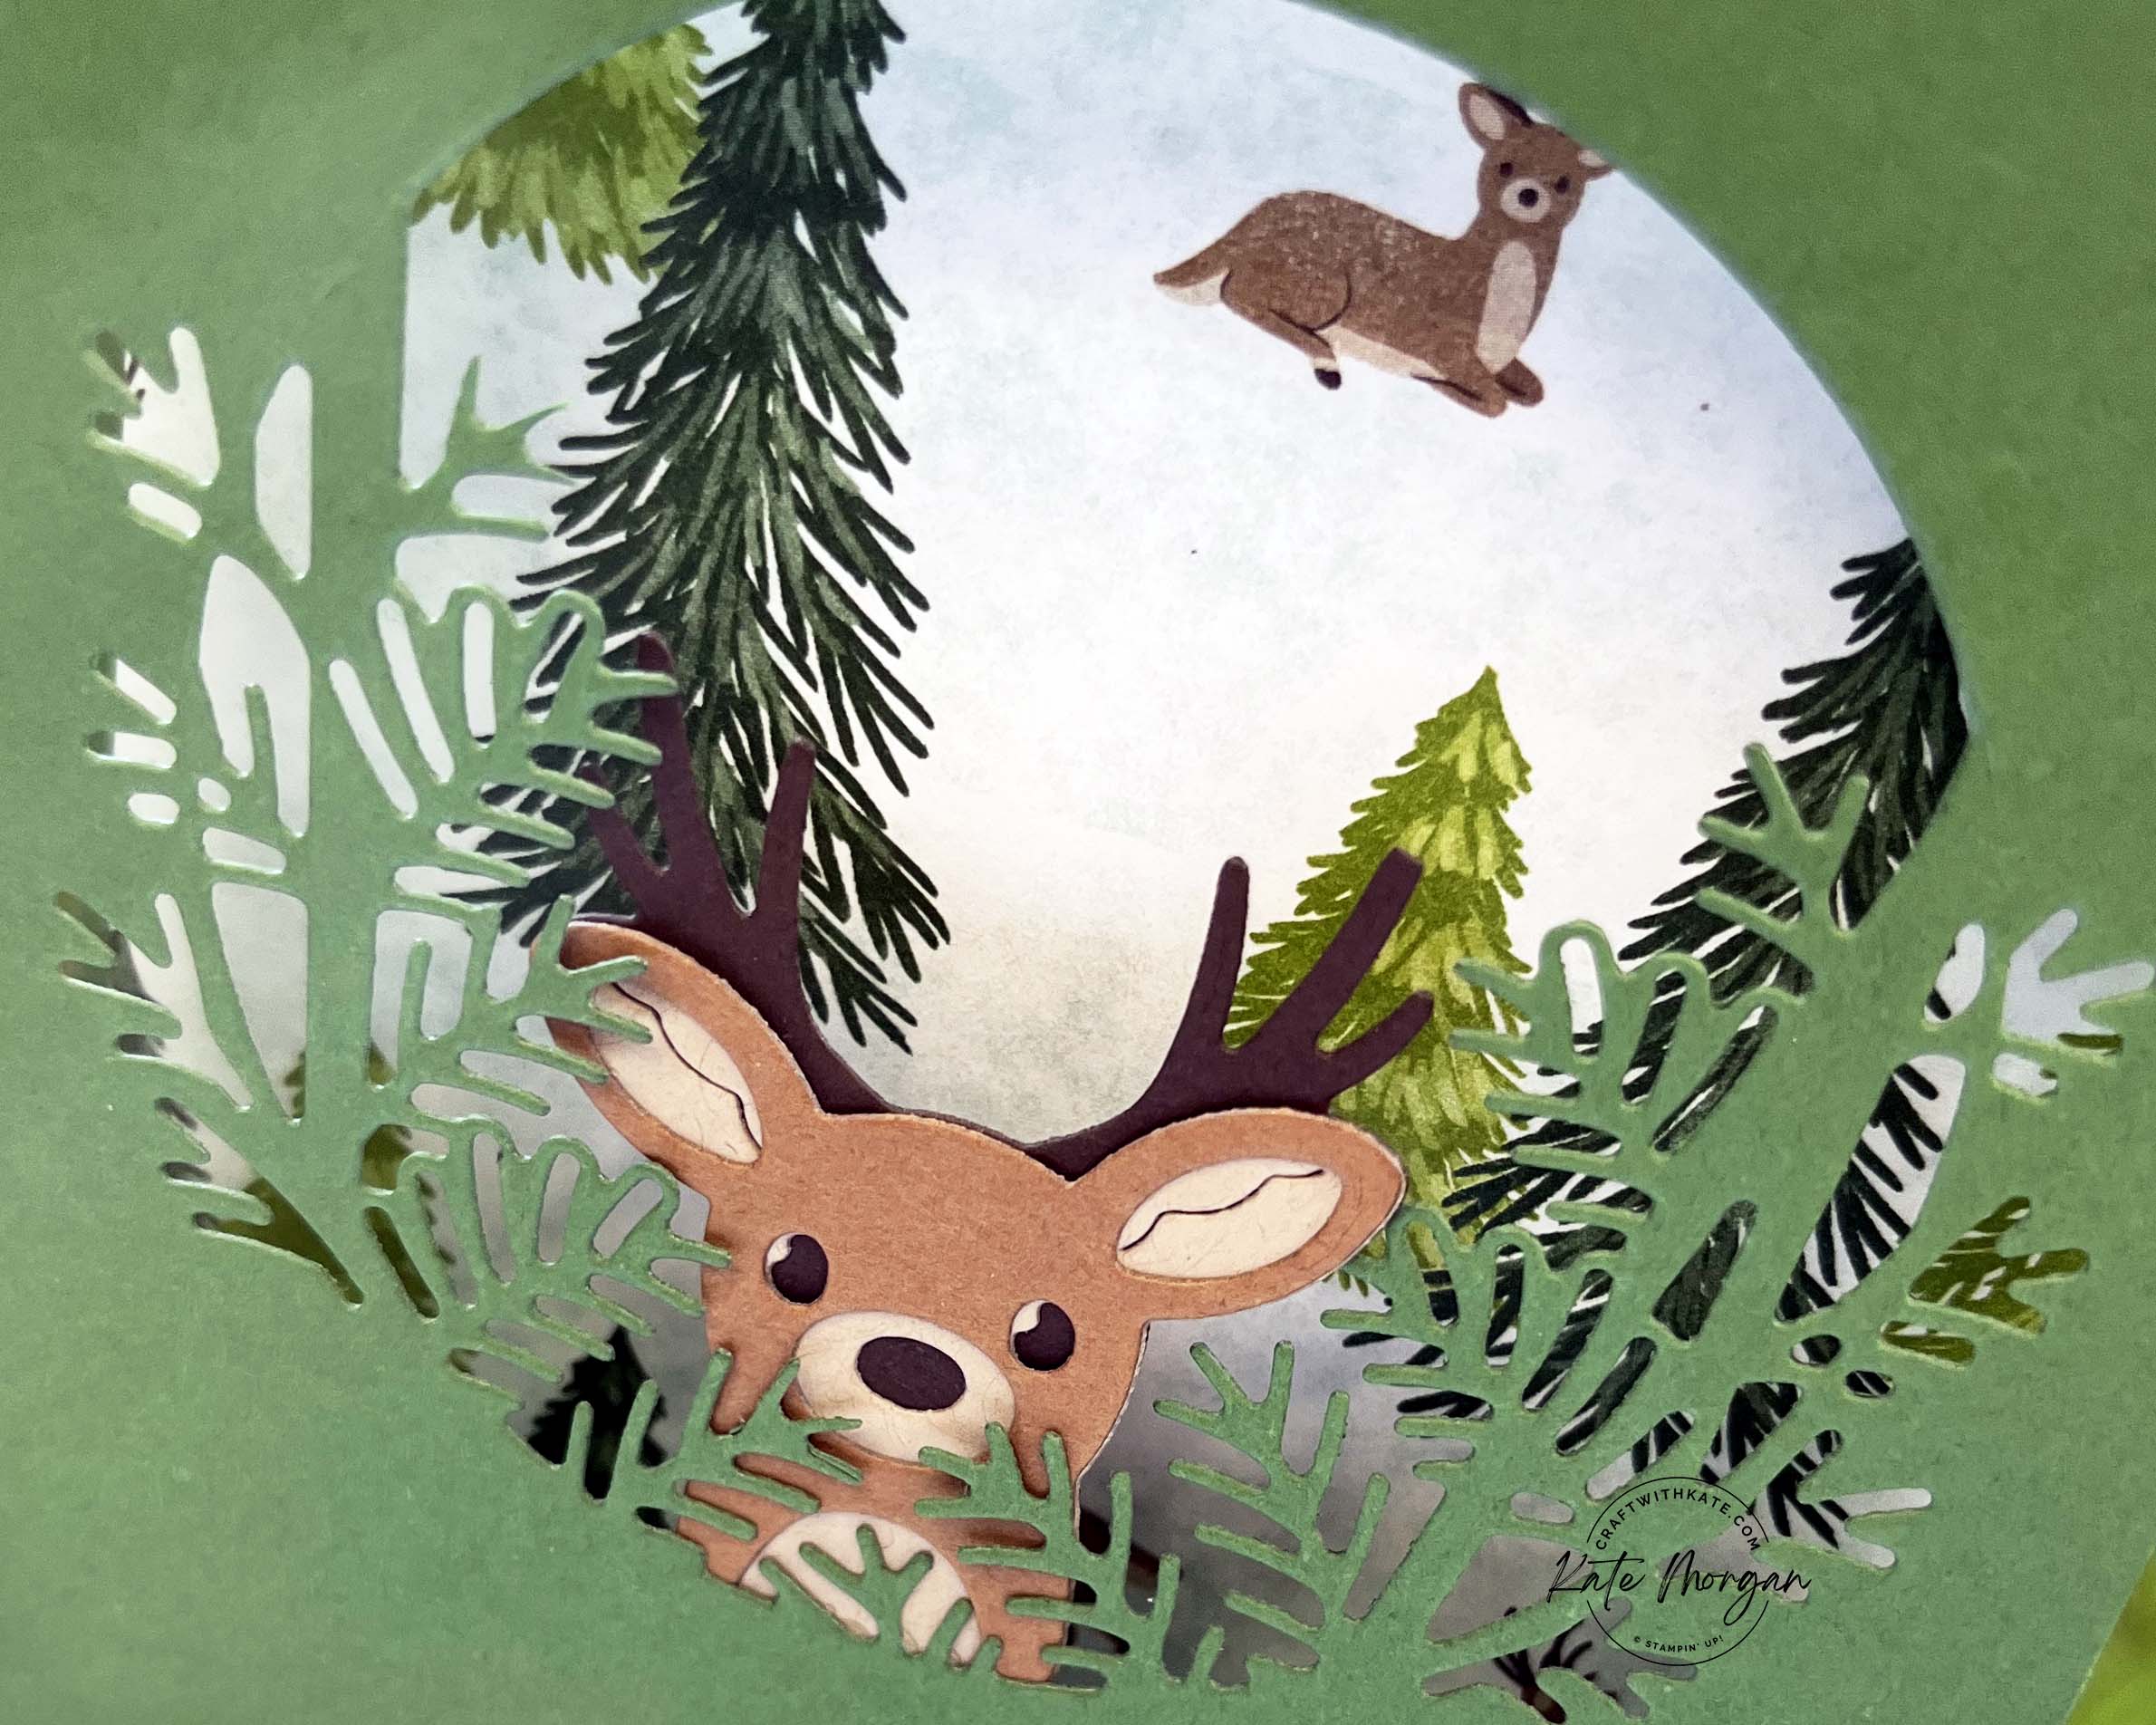
Today I feature the Reindeer Fun bundle with the coordinating Reindeer Days Designer Series Paper (DSP) and the Peaceful Seasons bundle like last week, but I am also featuring the Take a Bow 6″ x 6″ DSP.
Card 1

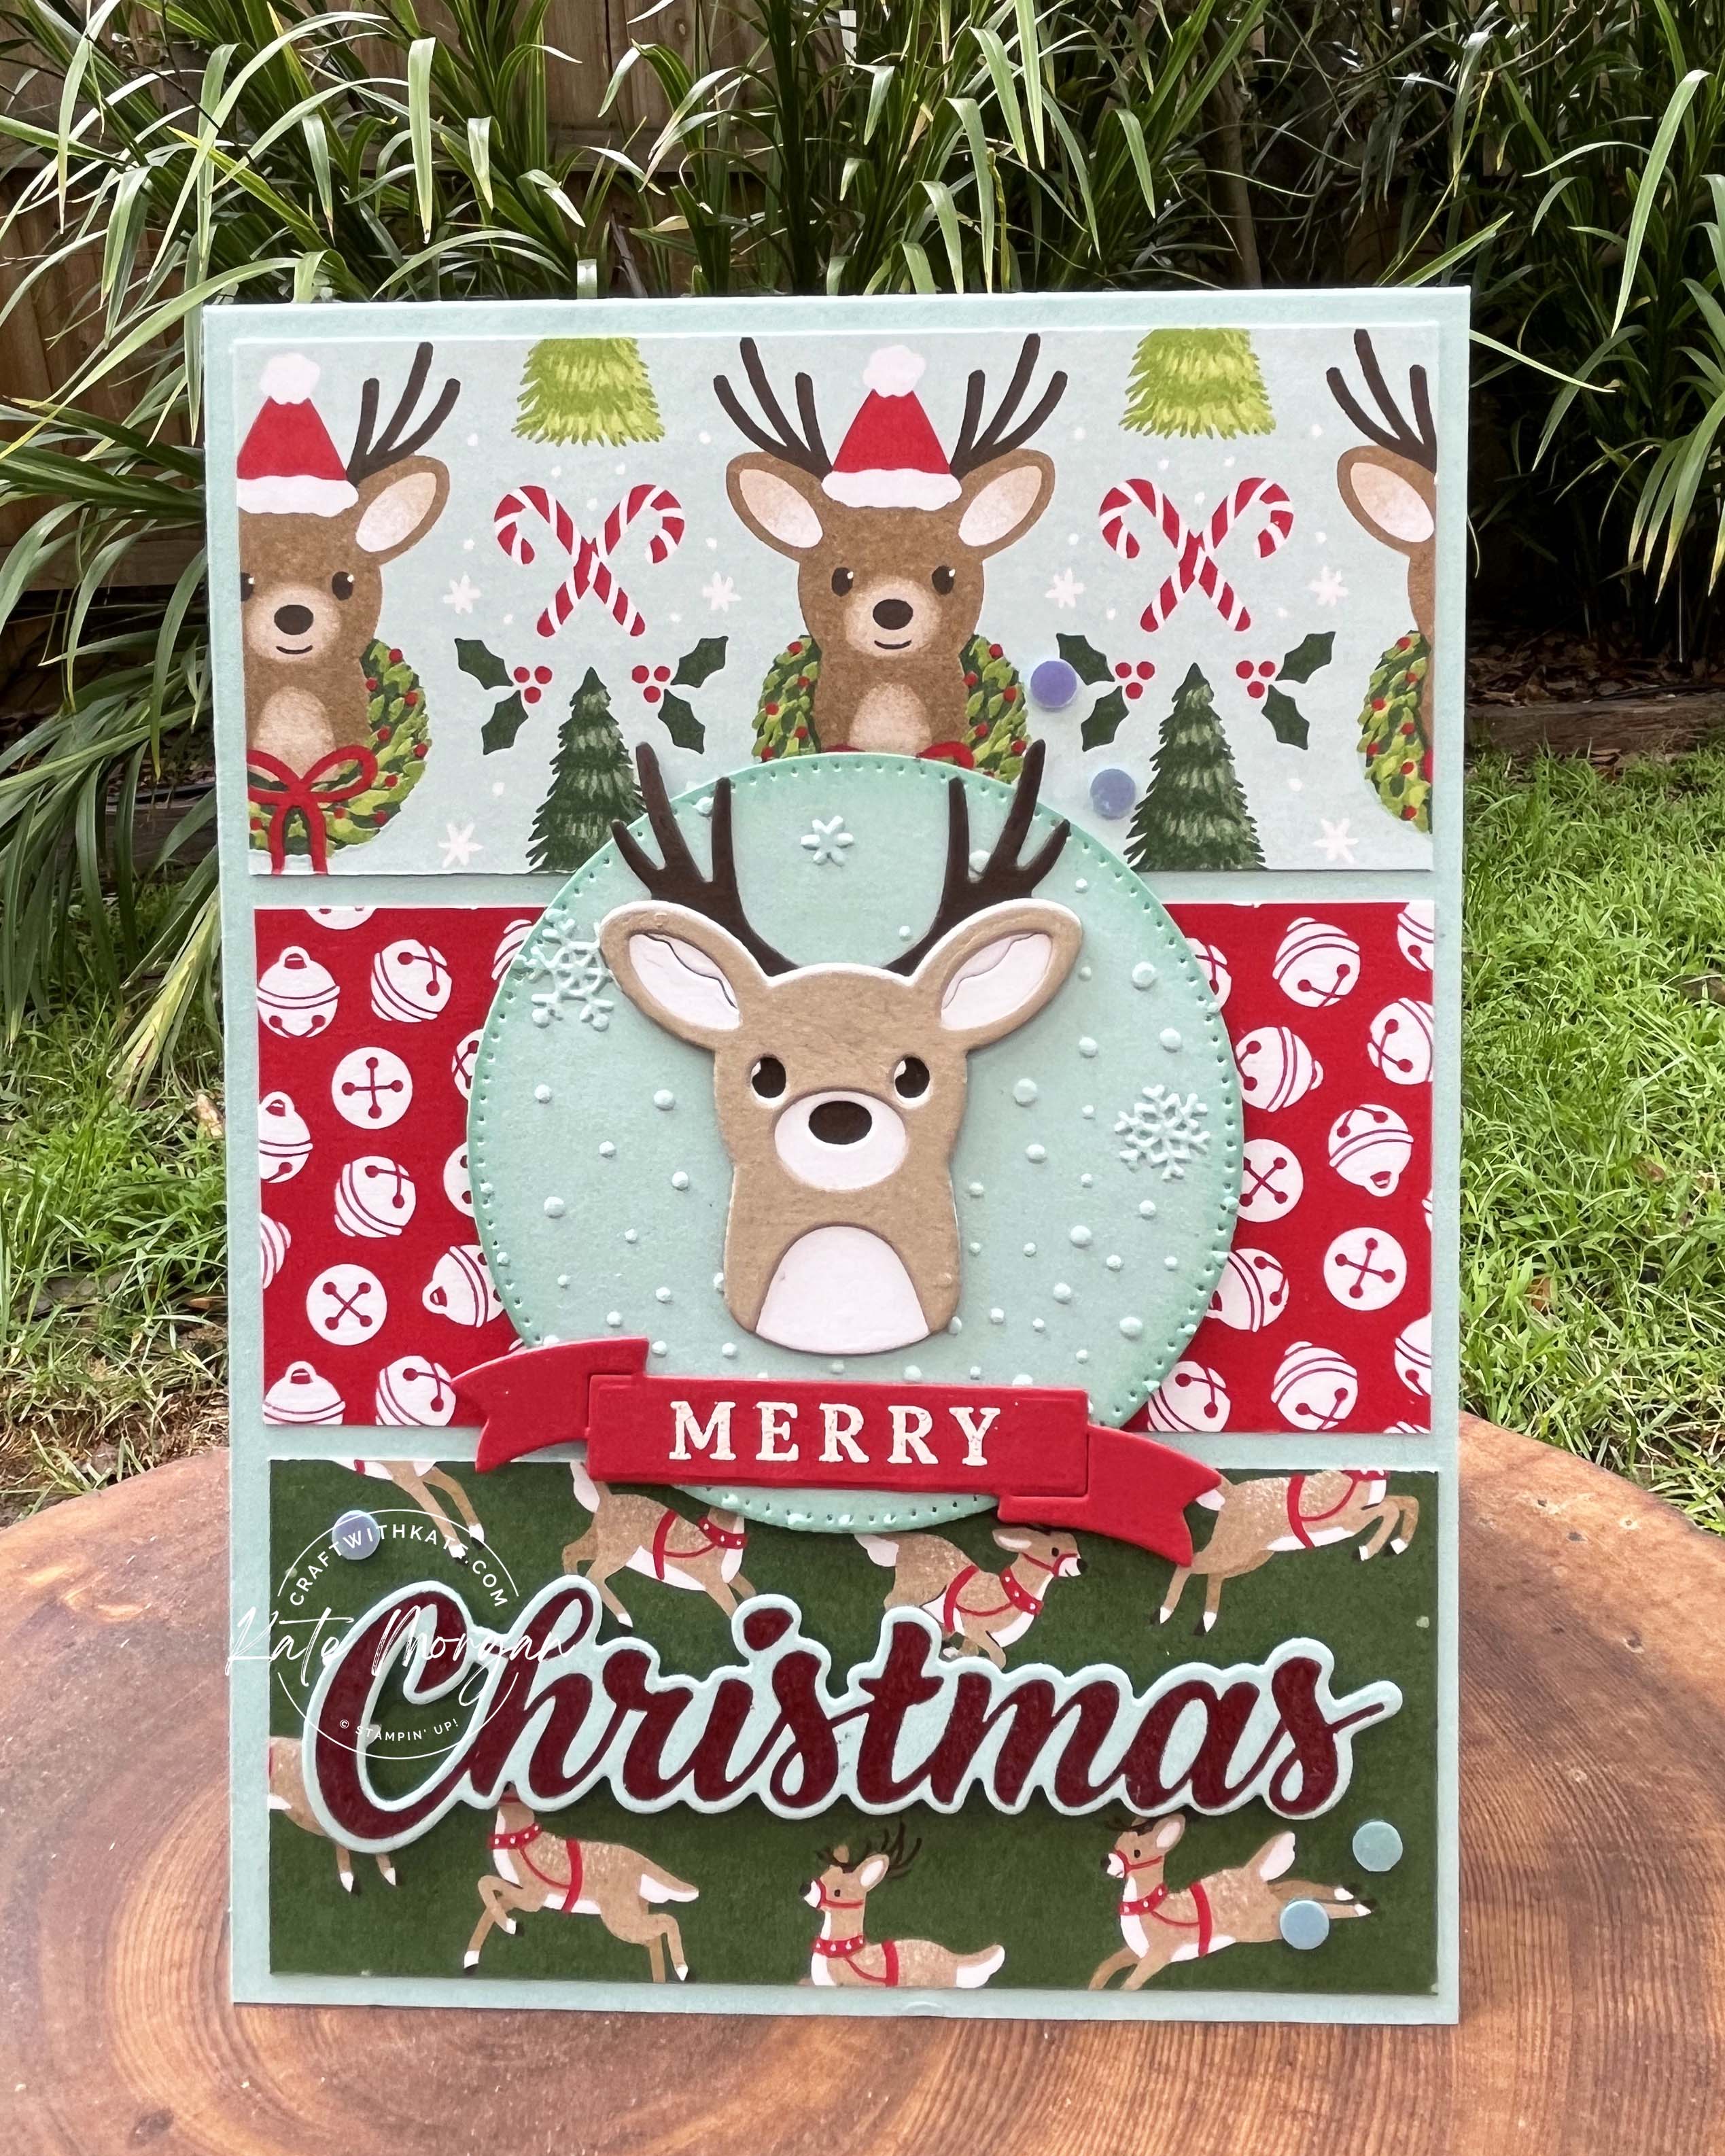
- Begin with a sheet of Real Red cardstock cut to 29cm x 10.5cm, score @ 14.5cm to create a top folding portrait orientation standard sized card.
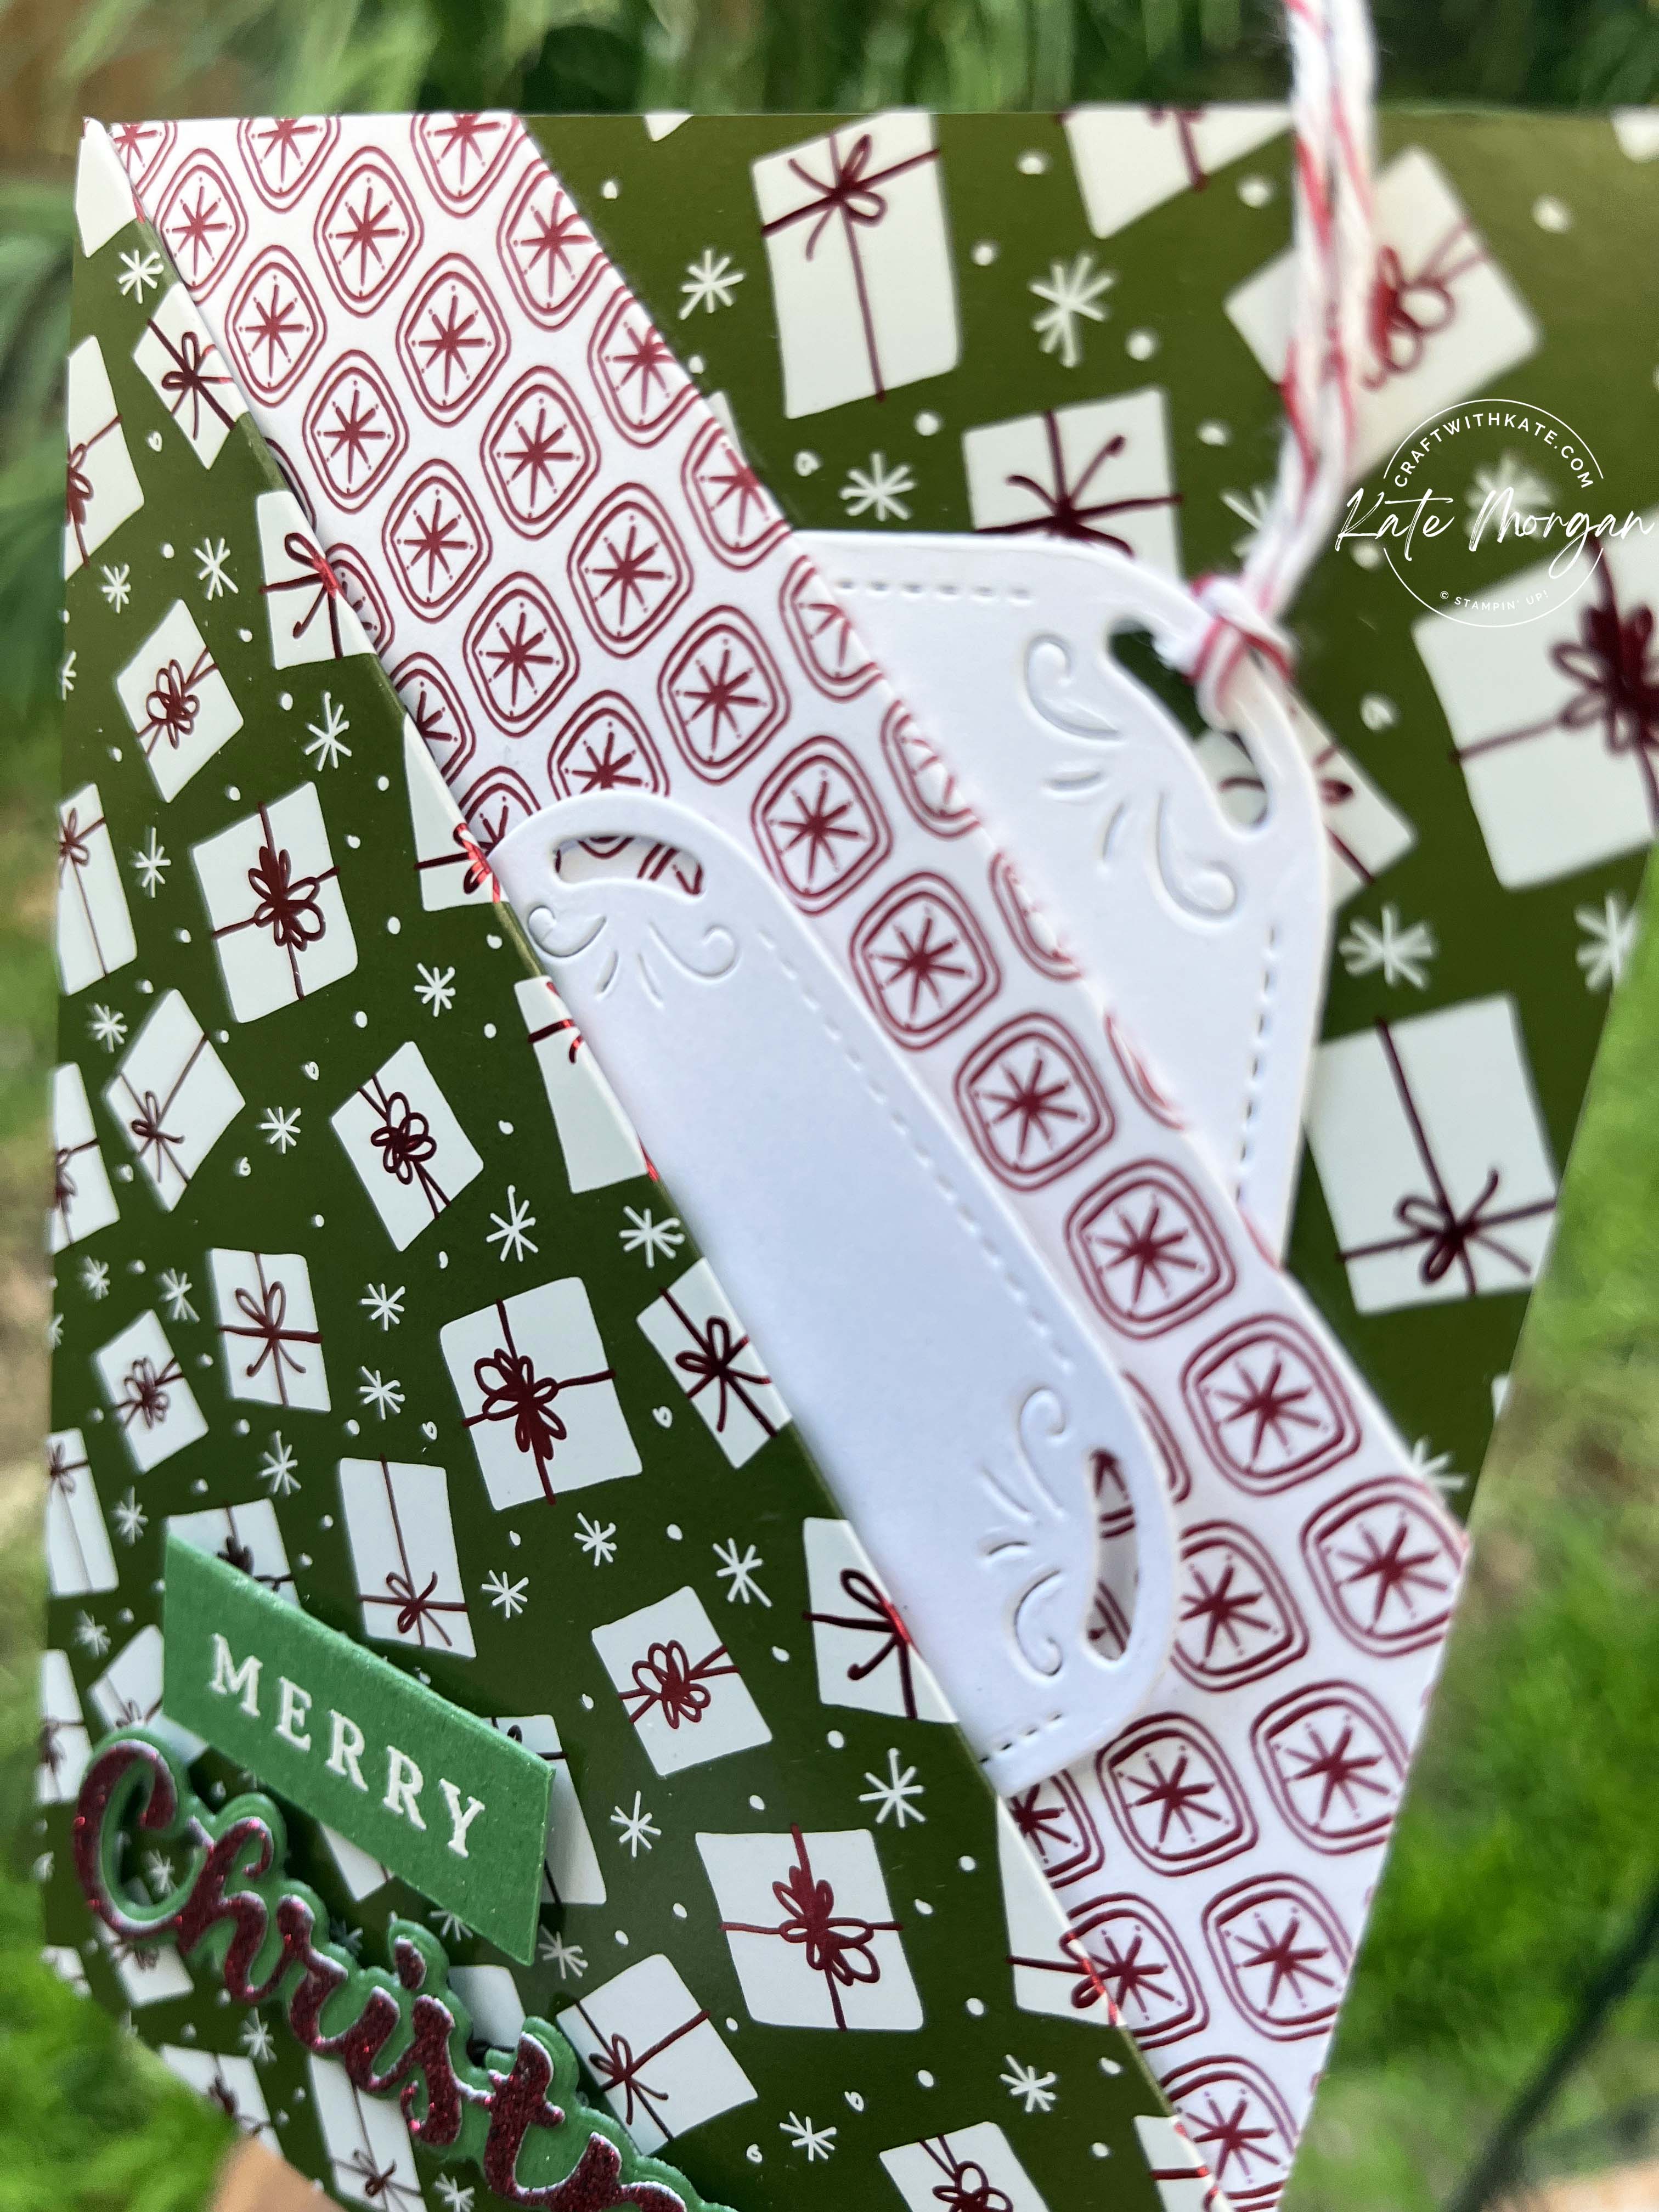
- Cut three pieces of Take a Bow DSP 10cm x 7.5cm, 10cm x 3.2cm, 10cm x 3.2cm. Glue these to the card base.
- Take a piece of Granny Apple Green cardstock and the larger decorative square die from Peaceful Seasons bundle and run through your cut & emboss machine. Adhere this to the lower section of the card on Dimensionals.
- Die cut the reindeer from the DSP with the coordinating die. Glue this to the feature die cut.
- From the Peaceful Season bundle, stamp ‘merry’ in Versamark ink onto Real Red cardstock, add White WOW Emboss Powder and melt it with your Heat Tool. Cut it using your Trimmer and add it on Dimensionals.
- Diecut both of the ‘christmas’ dies, the word in Real Red and the shadow in Basic White. Glue them together then adhere to the card on Dimensionals.
- Finish off by adding some Drusy Adhesive-backed Embellishments.
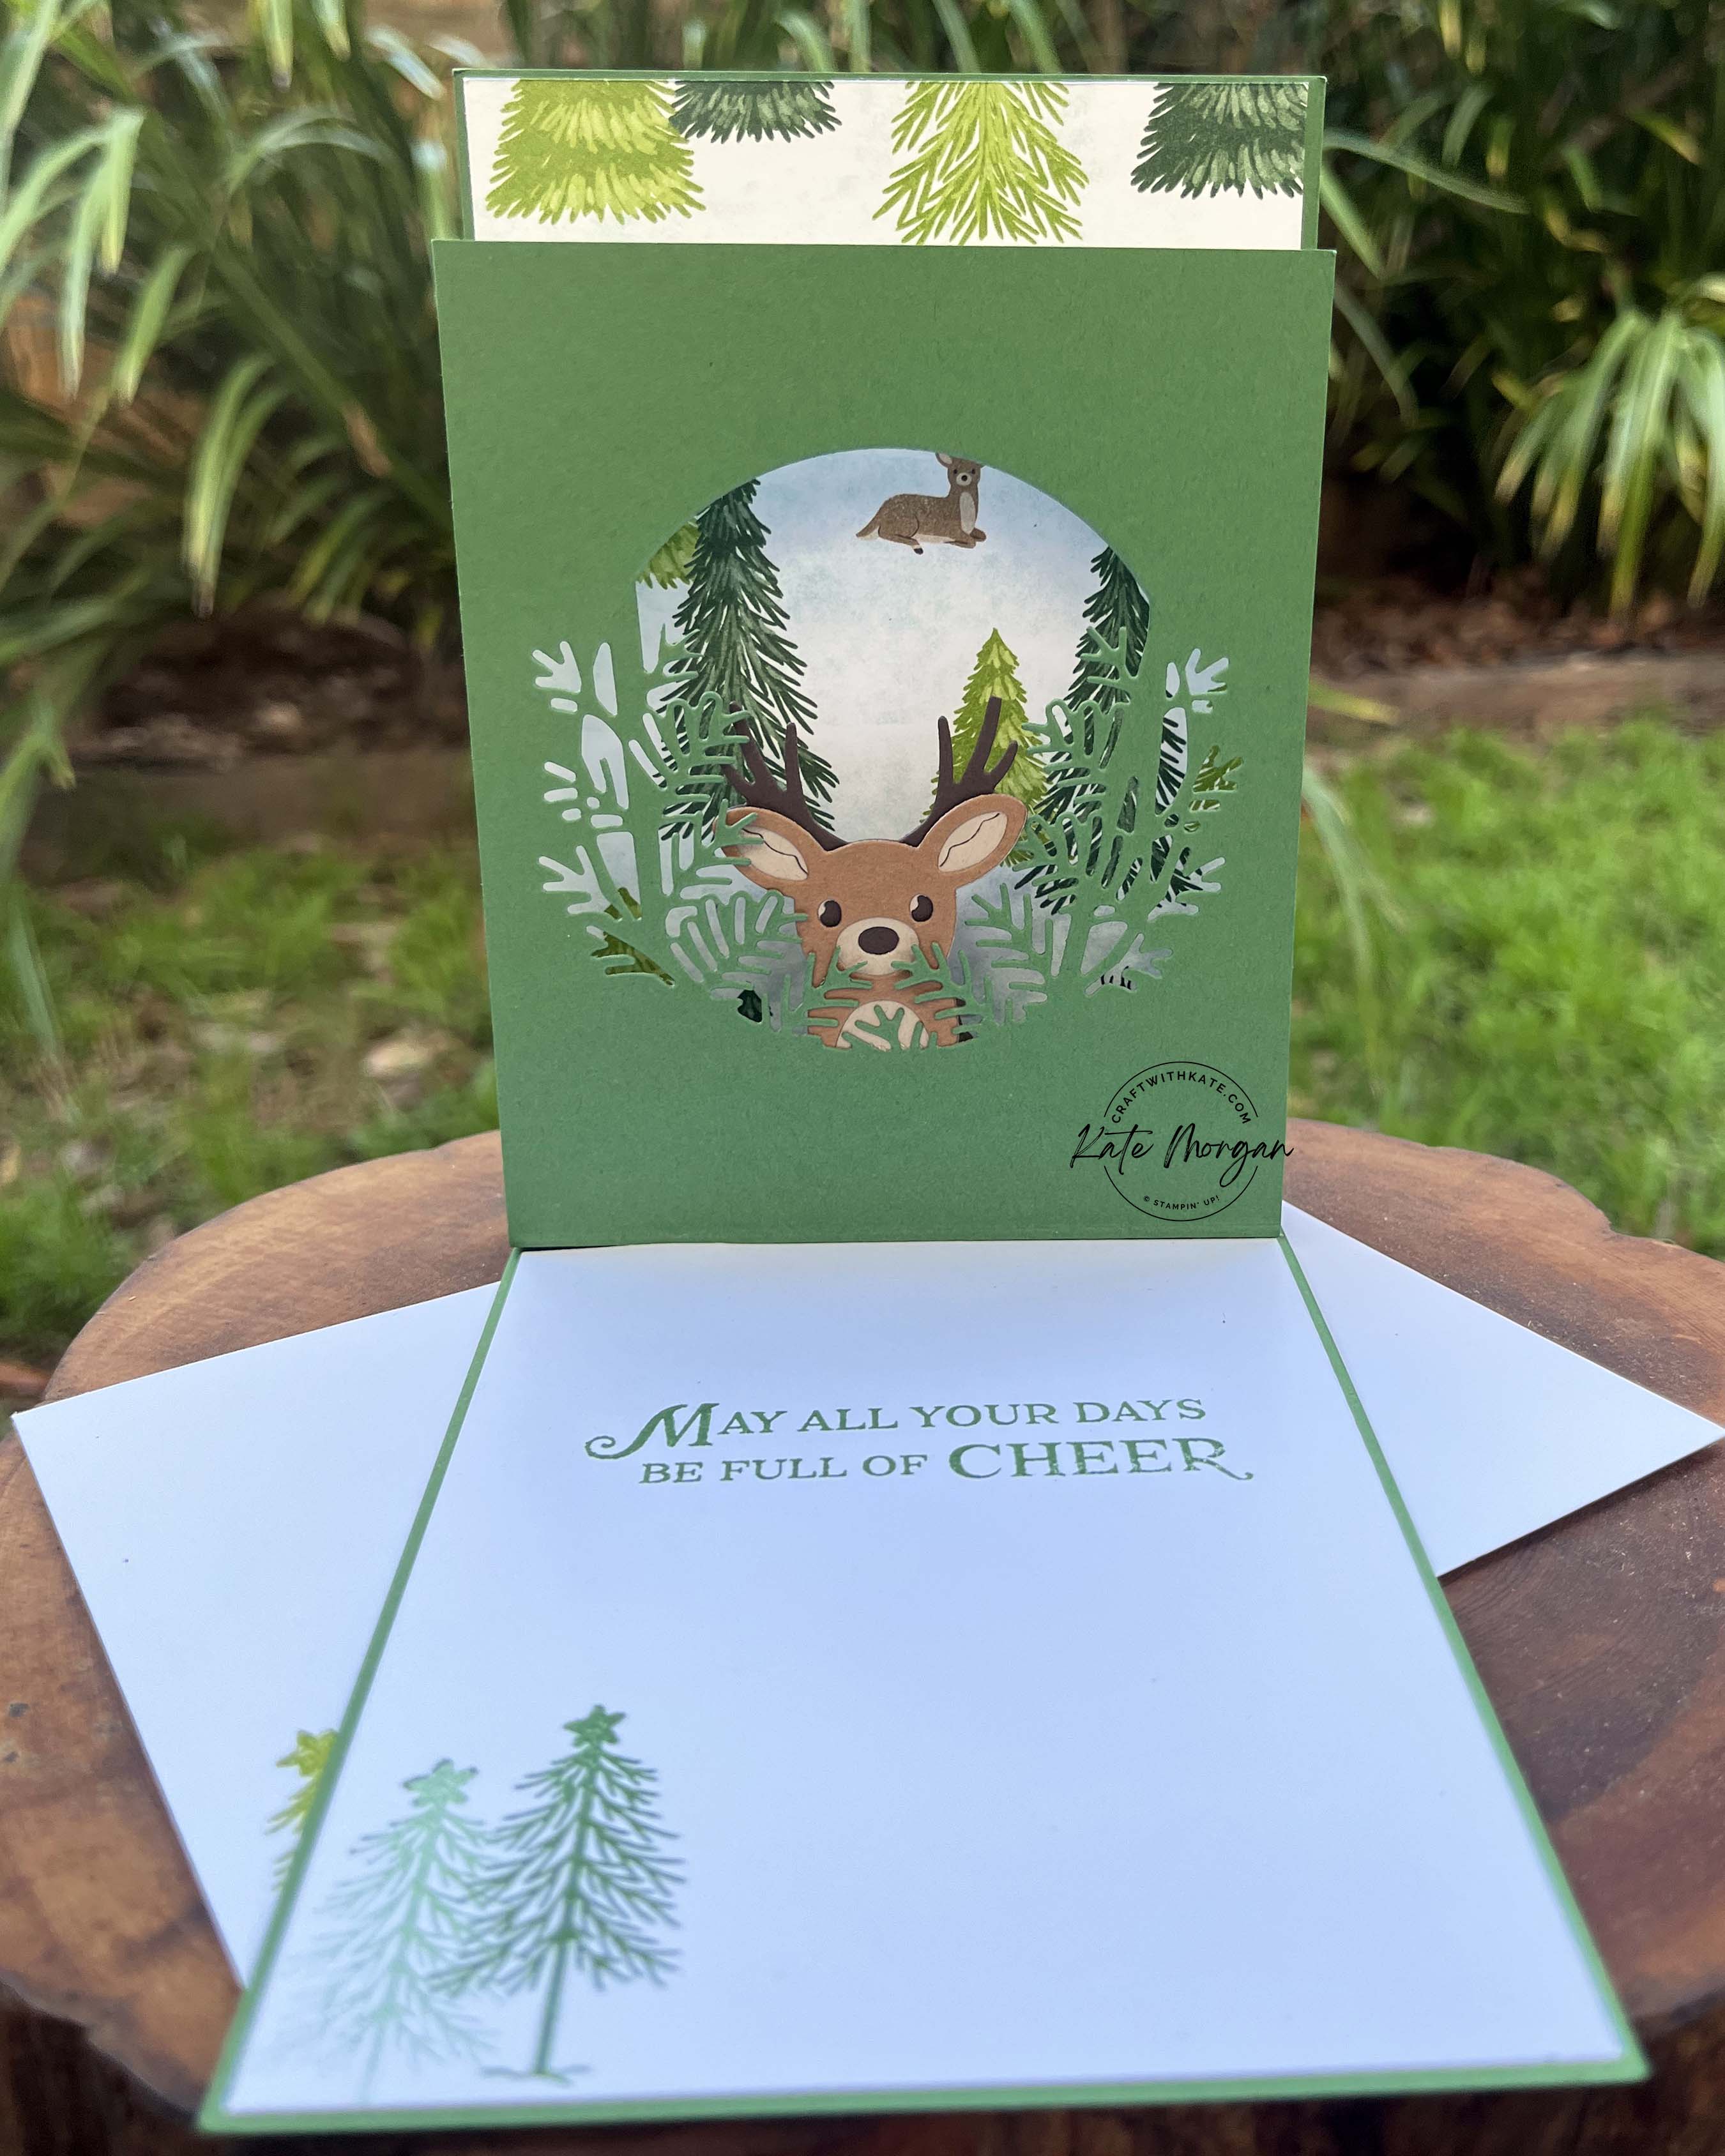
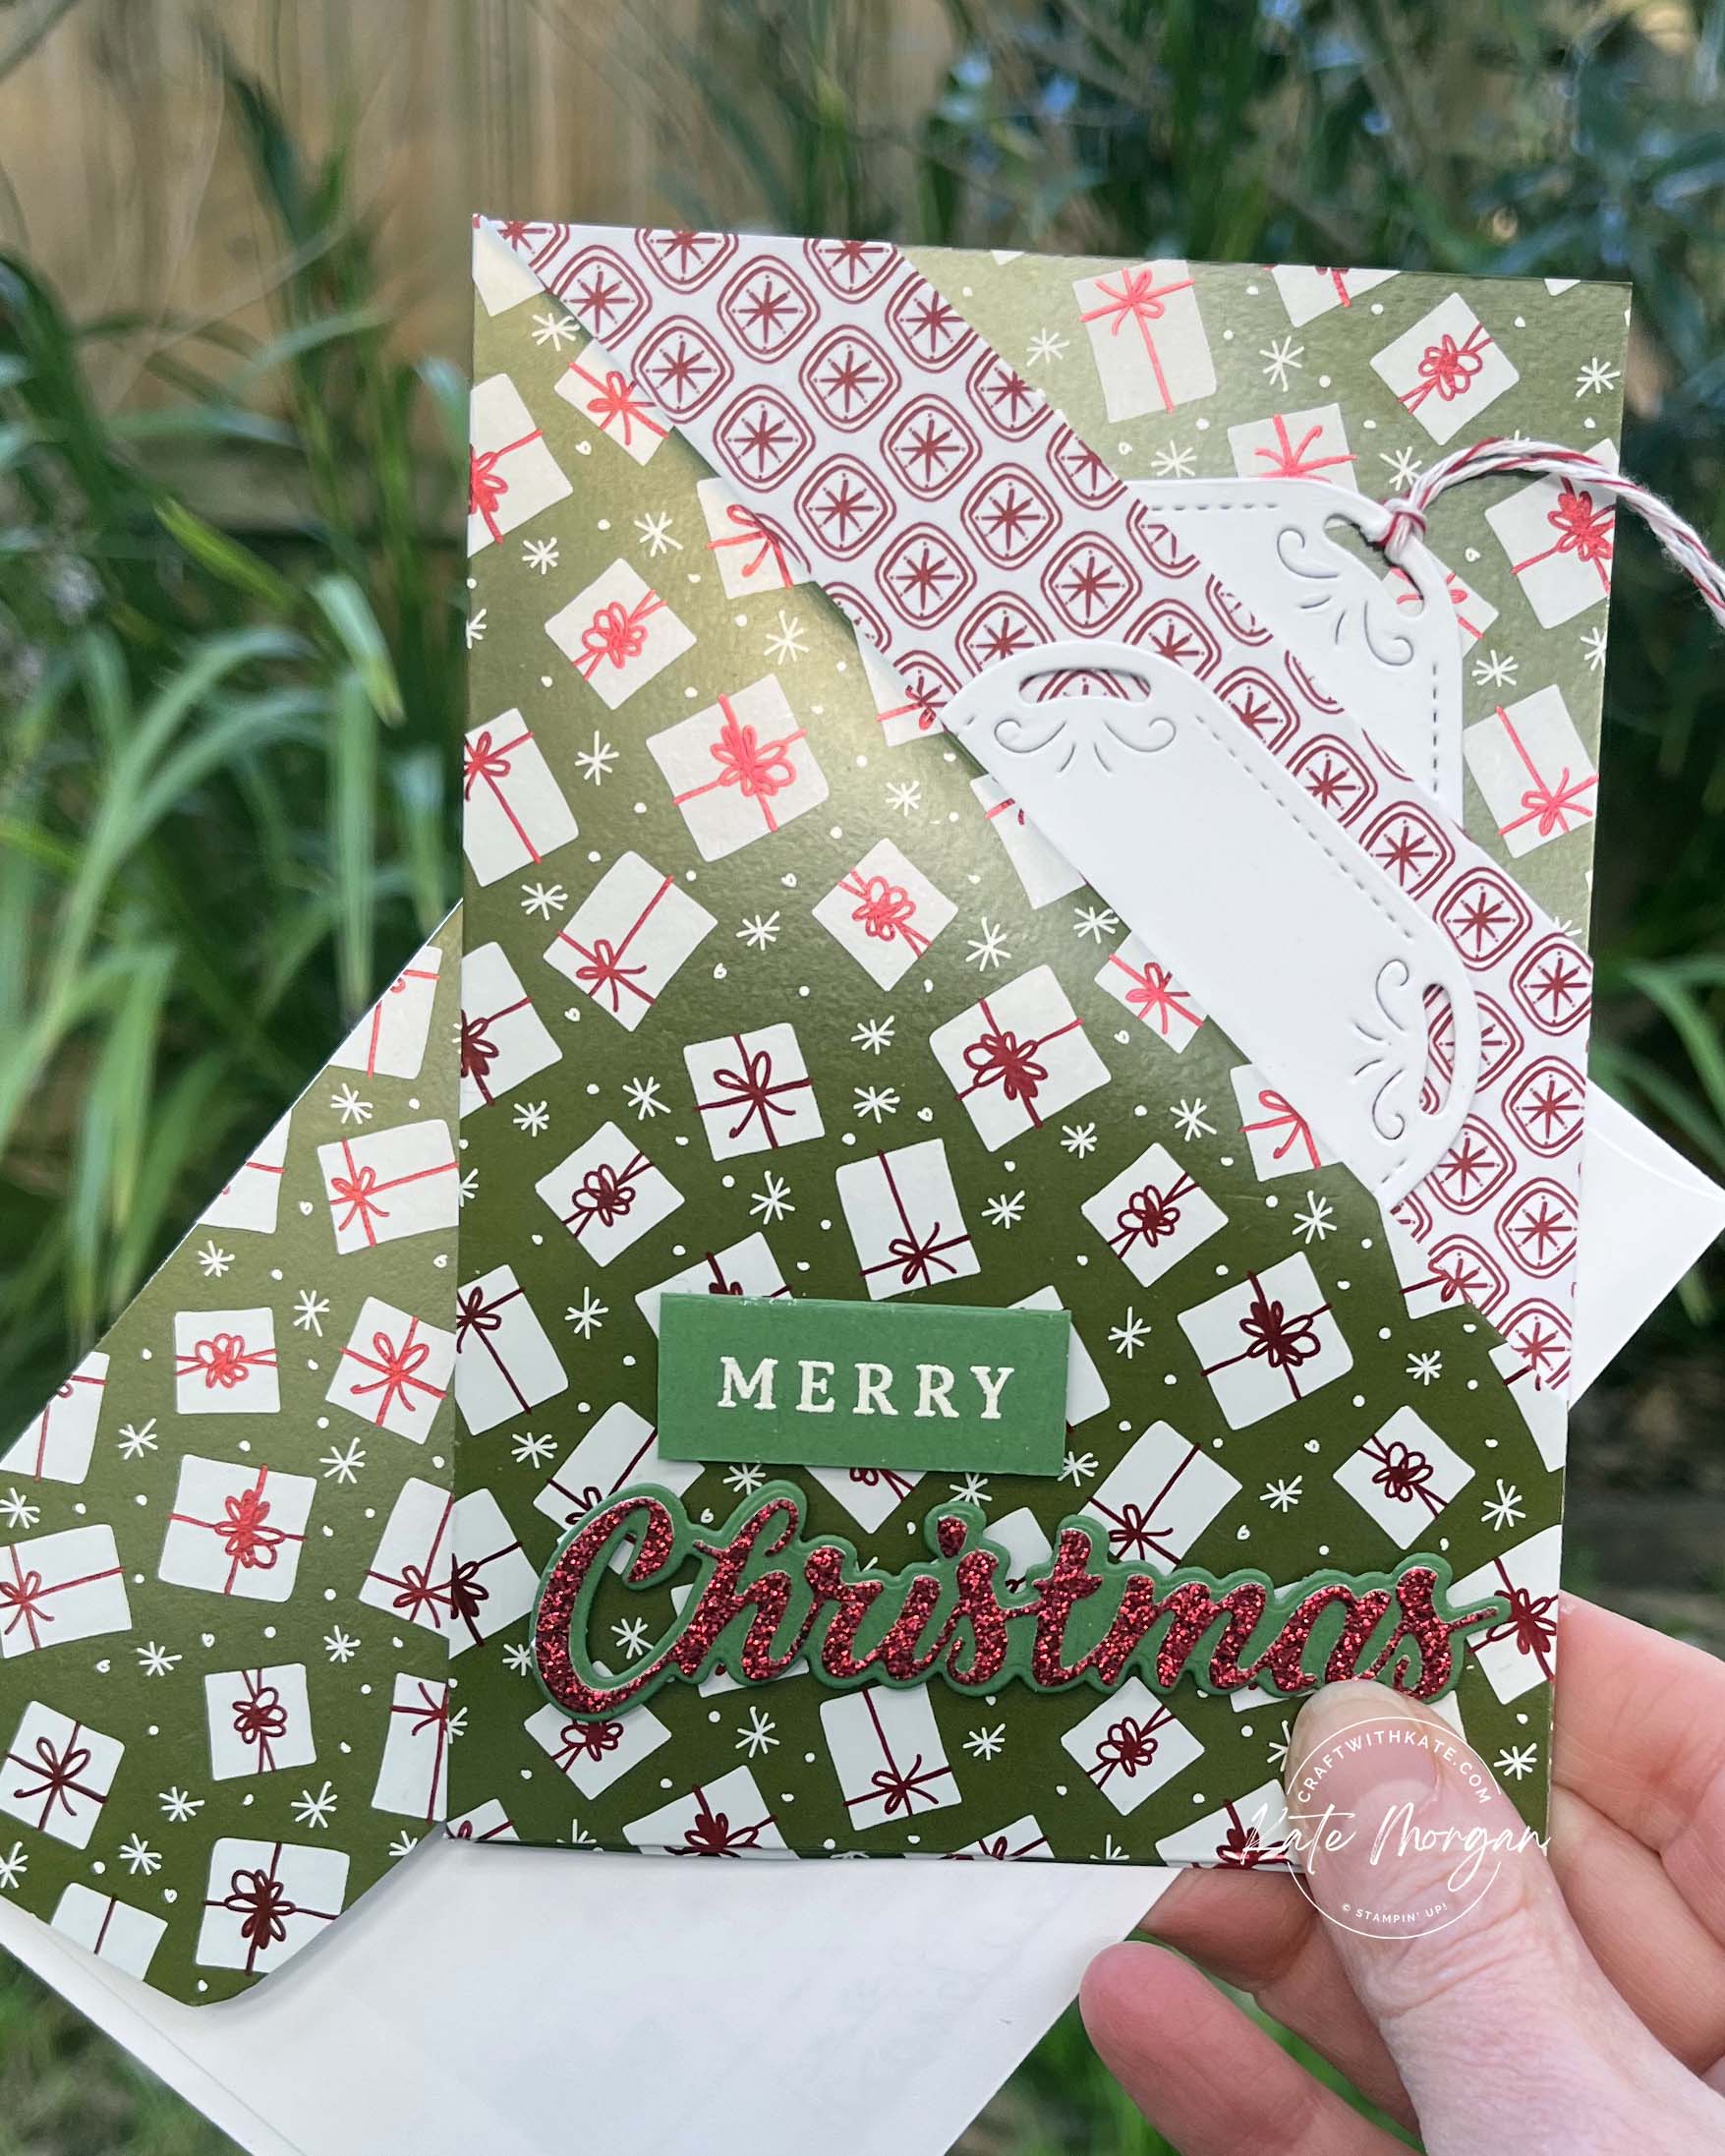
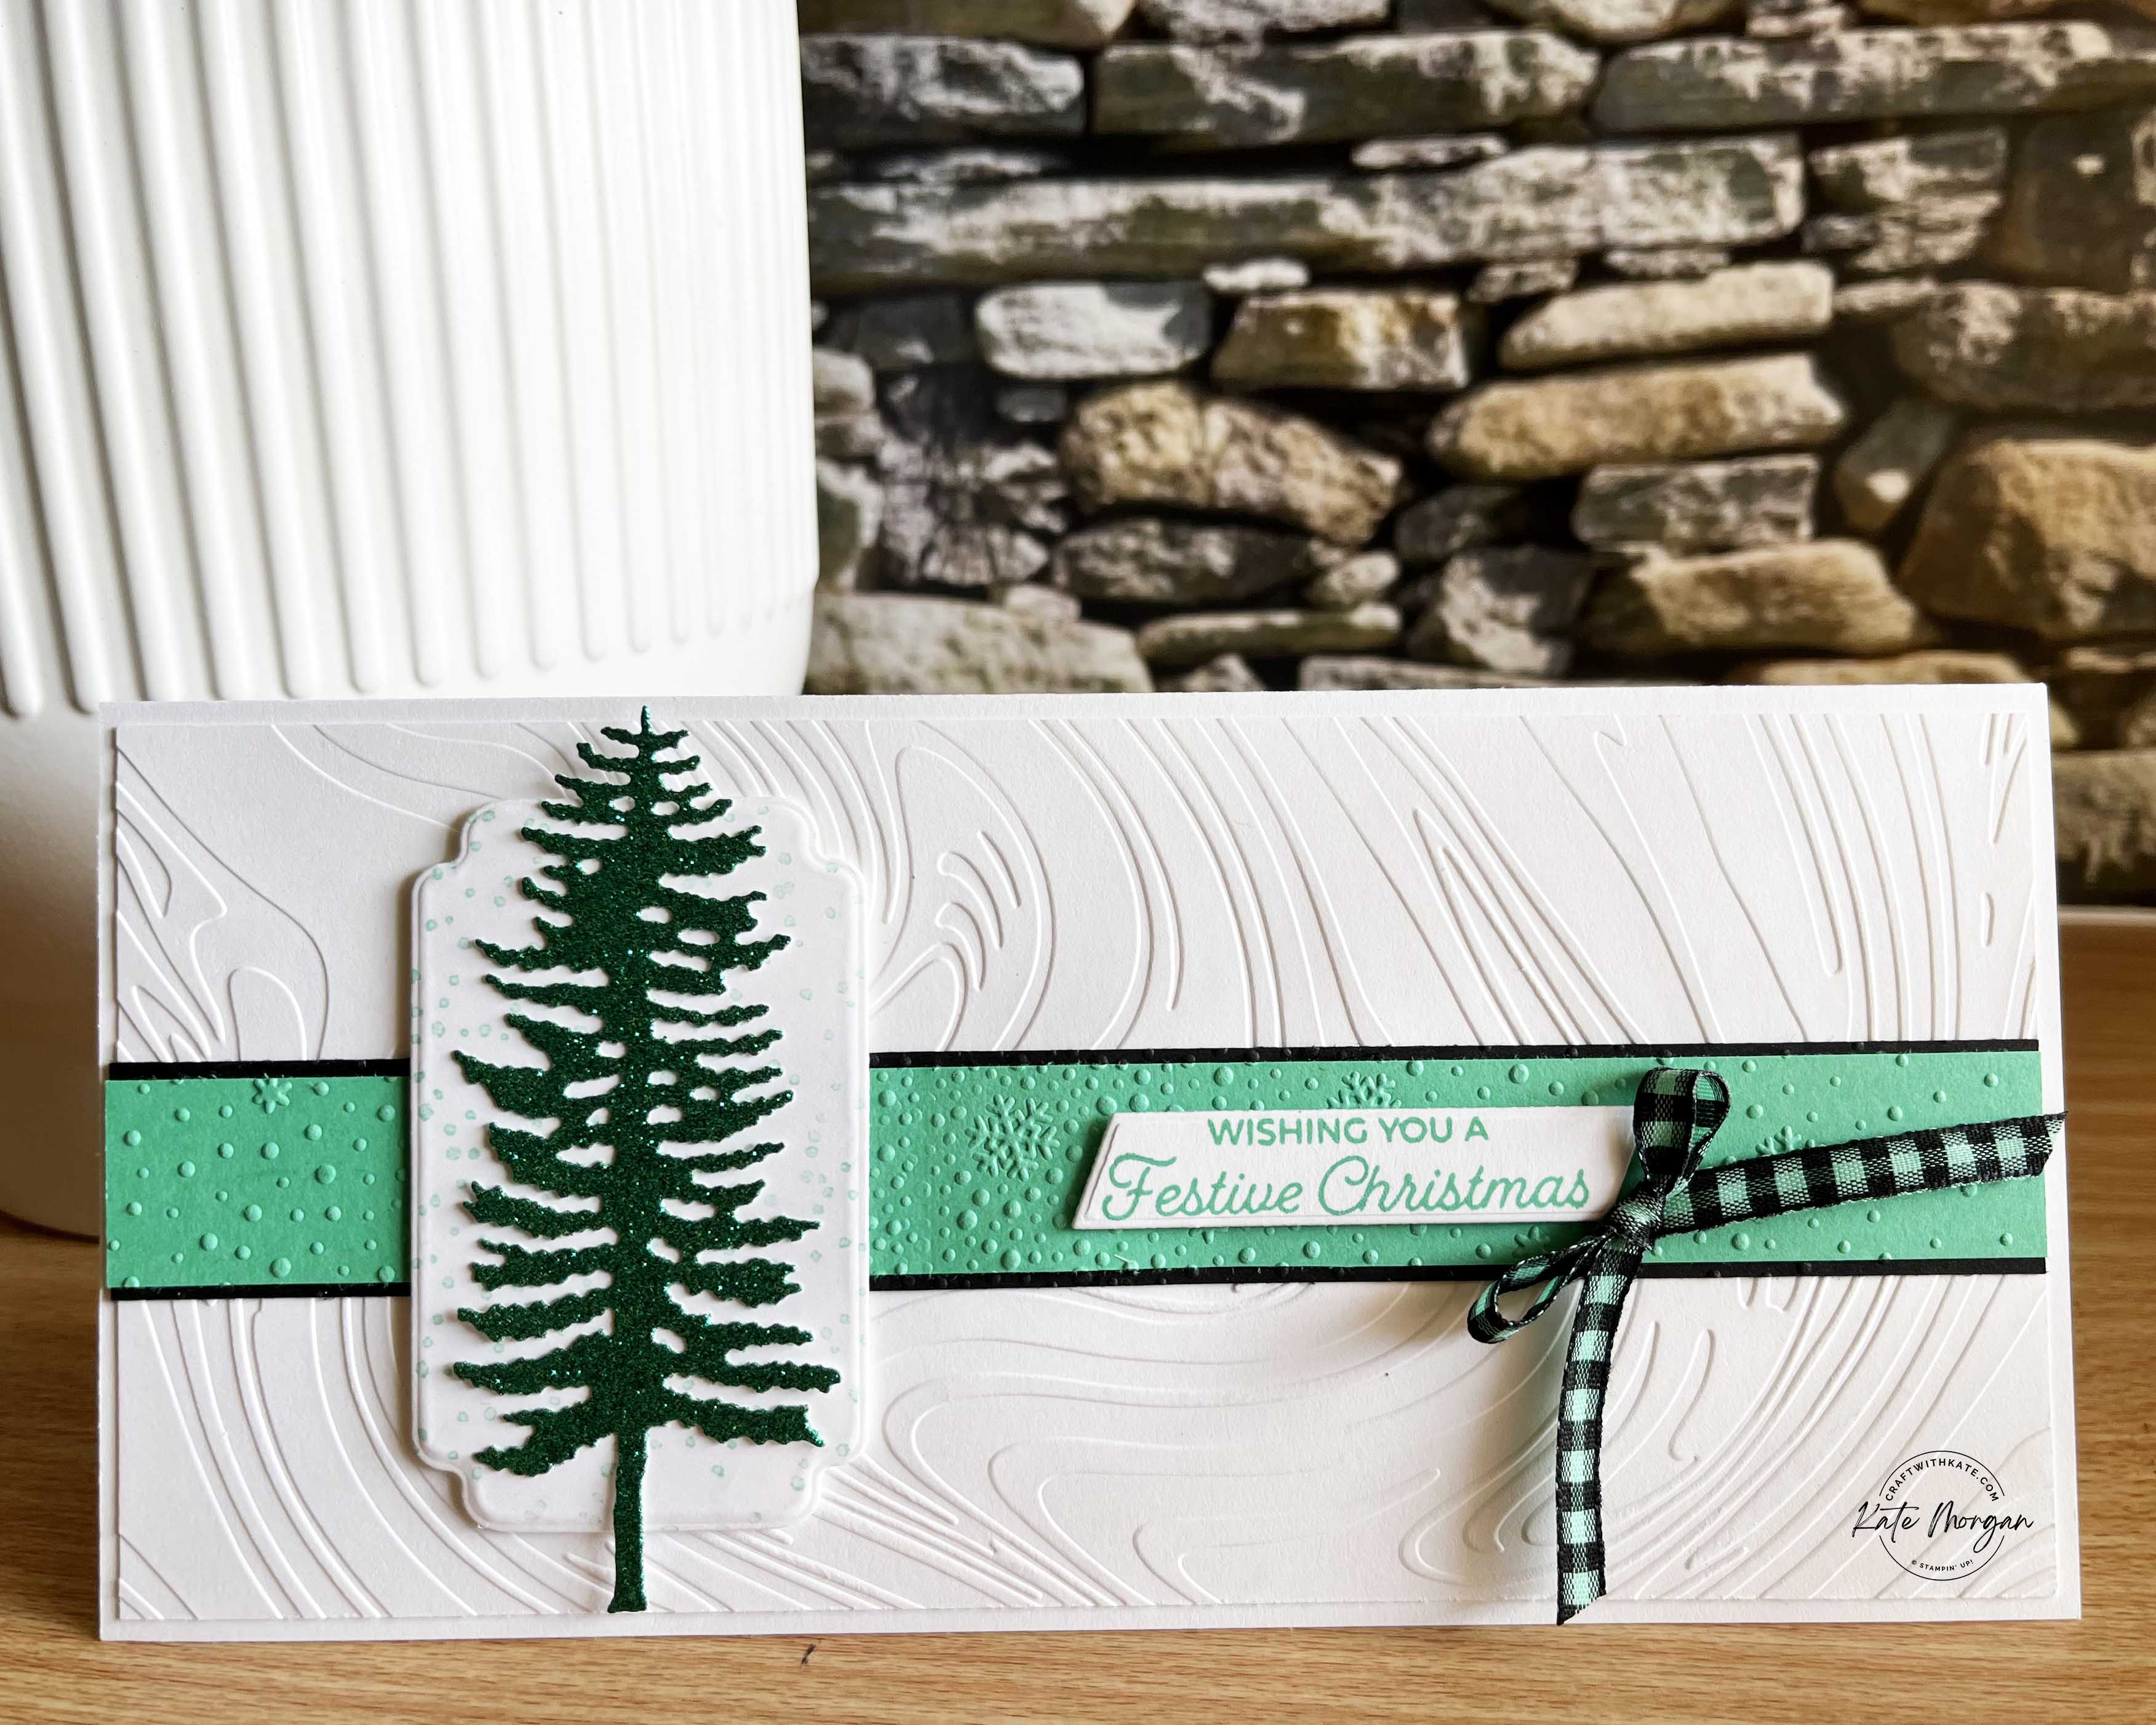
Card 2

- On the same size card base as above, cut two pieces of designer paper 10cm x 9cm and 10cm x 6cm. Place a piece of Tear & Tape to the bottom edge of the larger piece and adhere them together so the total lenth is 14cm.
- Wrap some Cherry Cobbler & Gold Satin Ribbon around the card adhering the ends on the reverse with Stampin’ Seal. Glue this to the card base.
- Tie a bow and add it with Glue Dots.
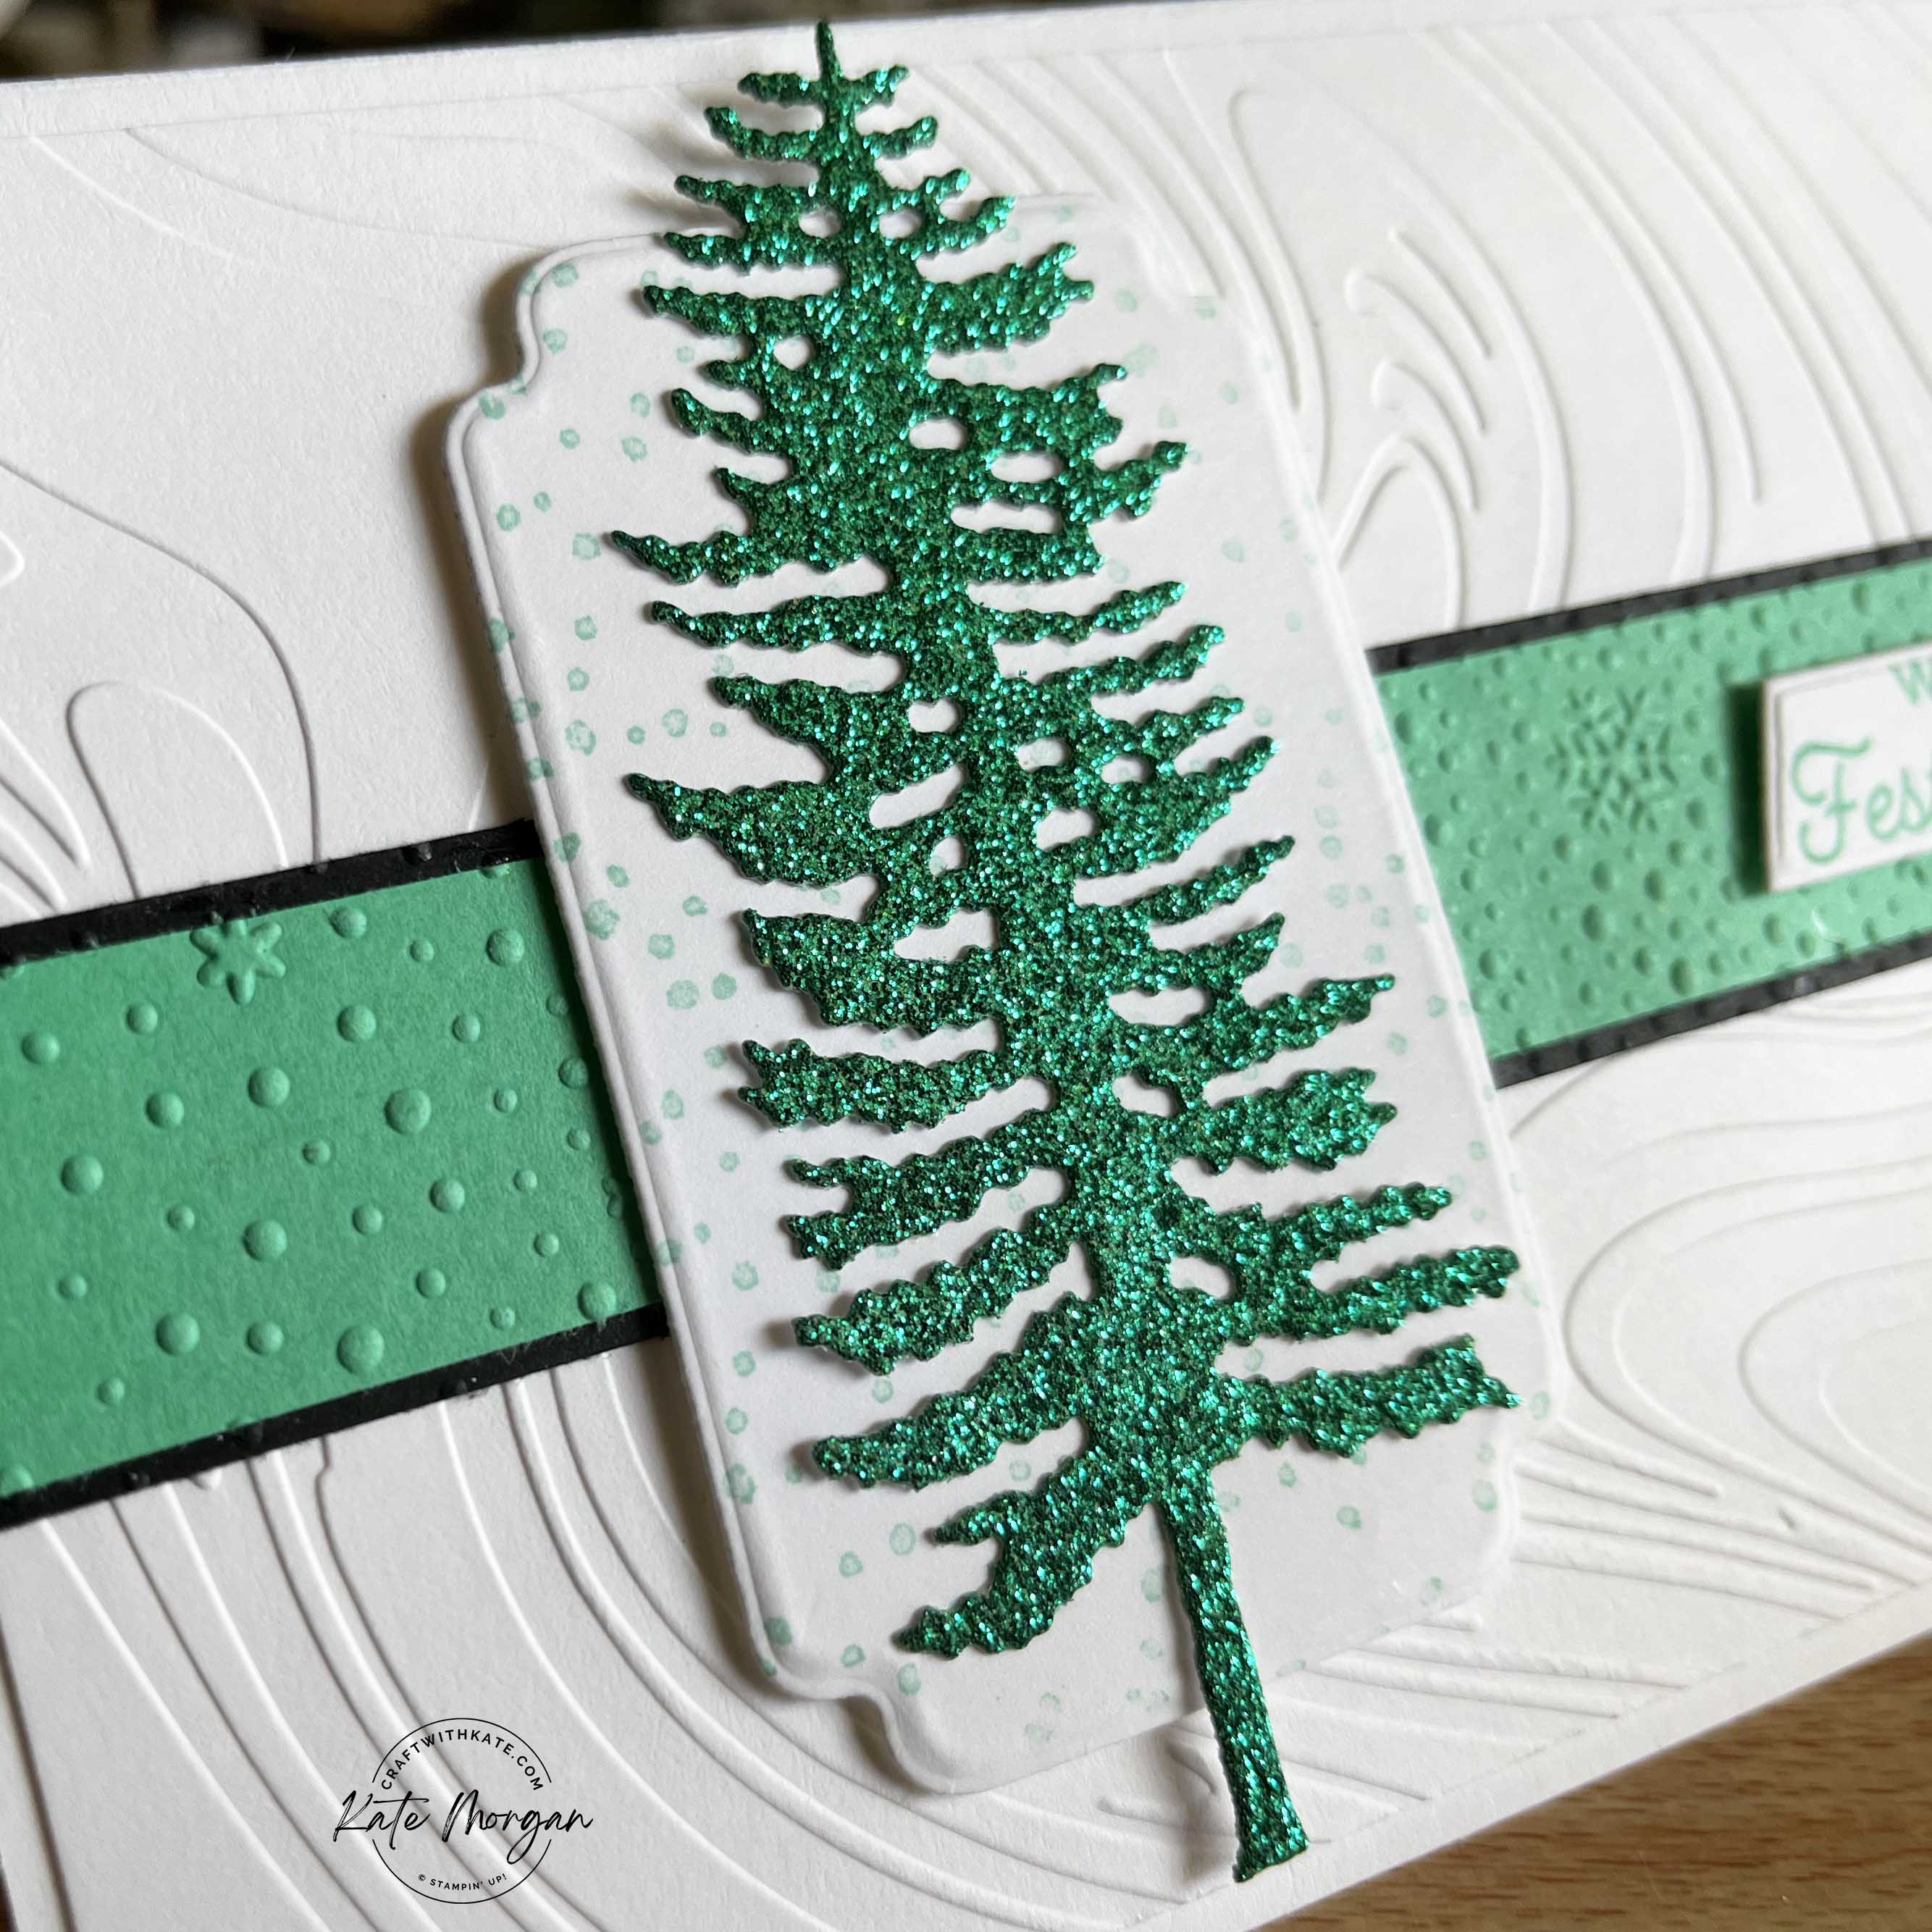
- Die cut the presents [Reindeer Fun dies] in Garden Green cardstock and the bows in Festive Glimmer Paper and glue together. Adhere these to the card on Dimensionals.
- Die cut the piece for the sentiment in Basic White using the smaller decorative square die and stamp the sentiment in Garden Green ink. Add to the card on Dimensionals.
- Finish off by adding some Adhesive-backed Shiny Sequins.
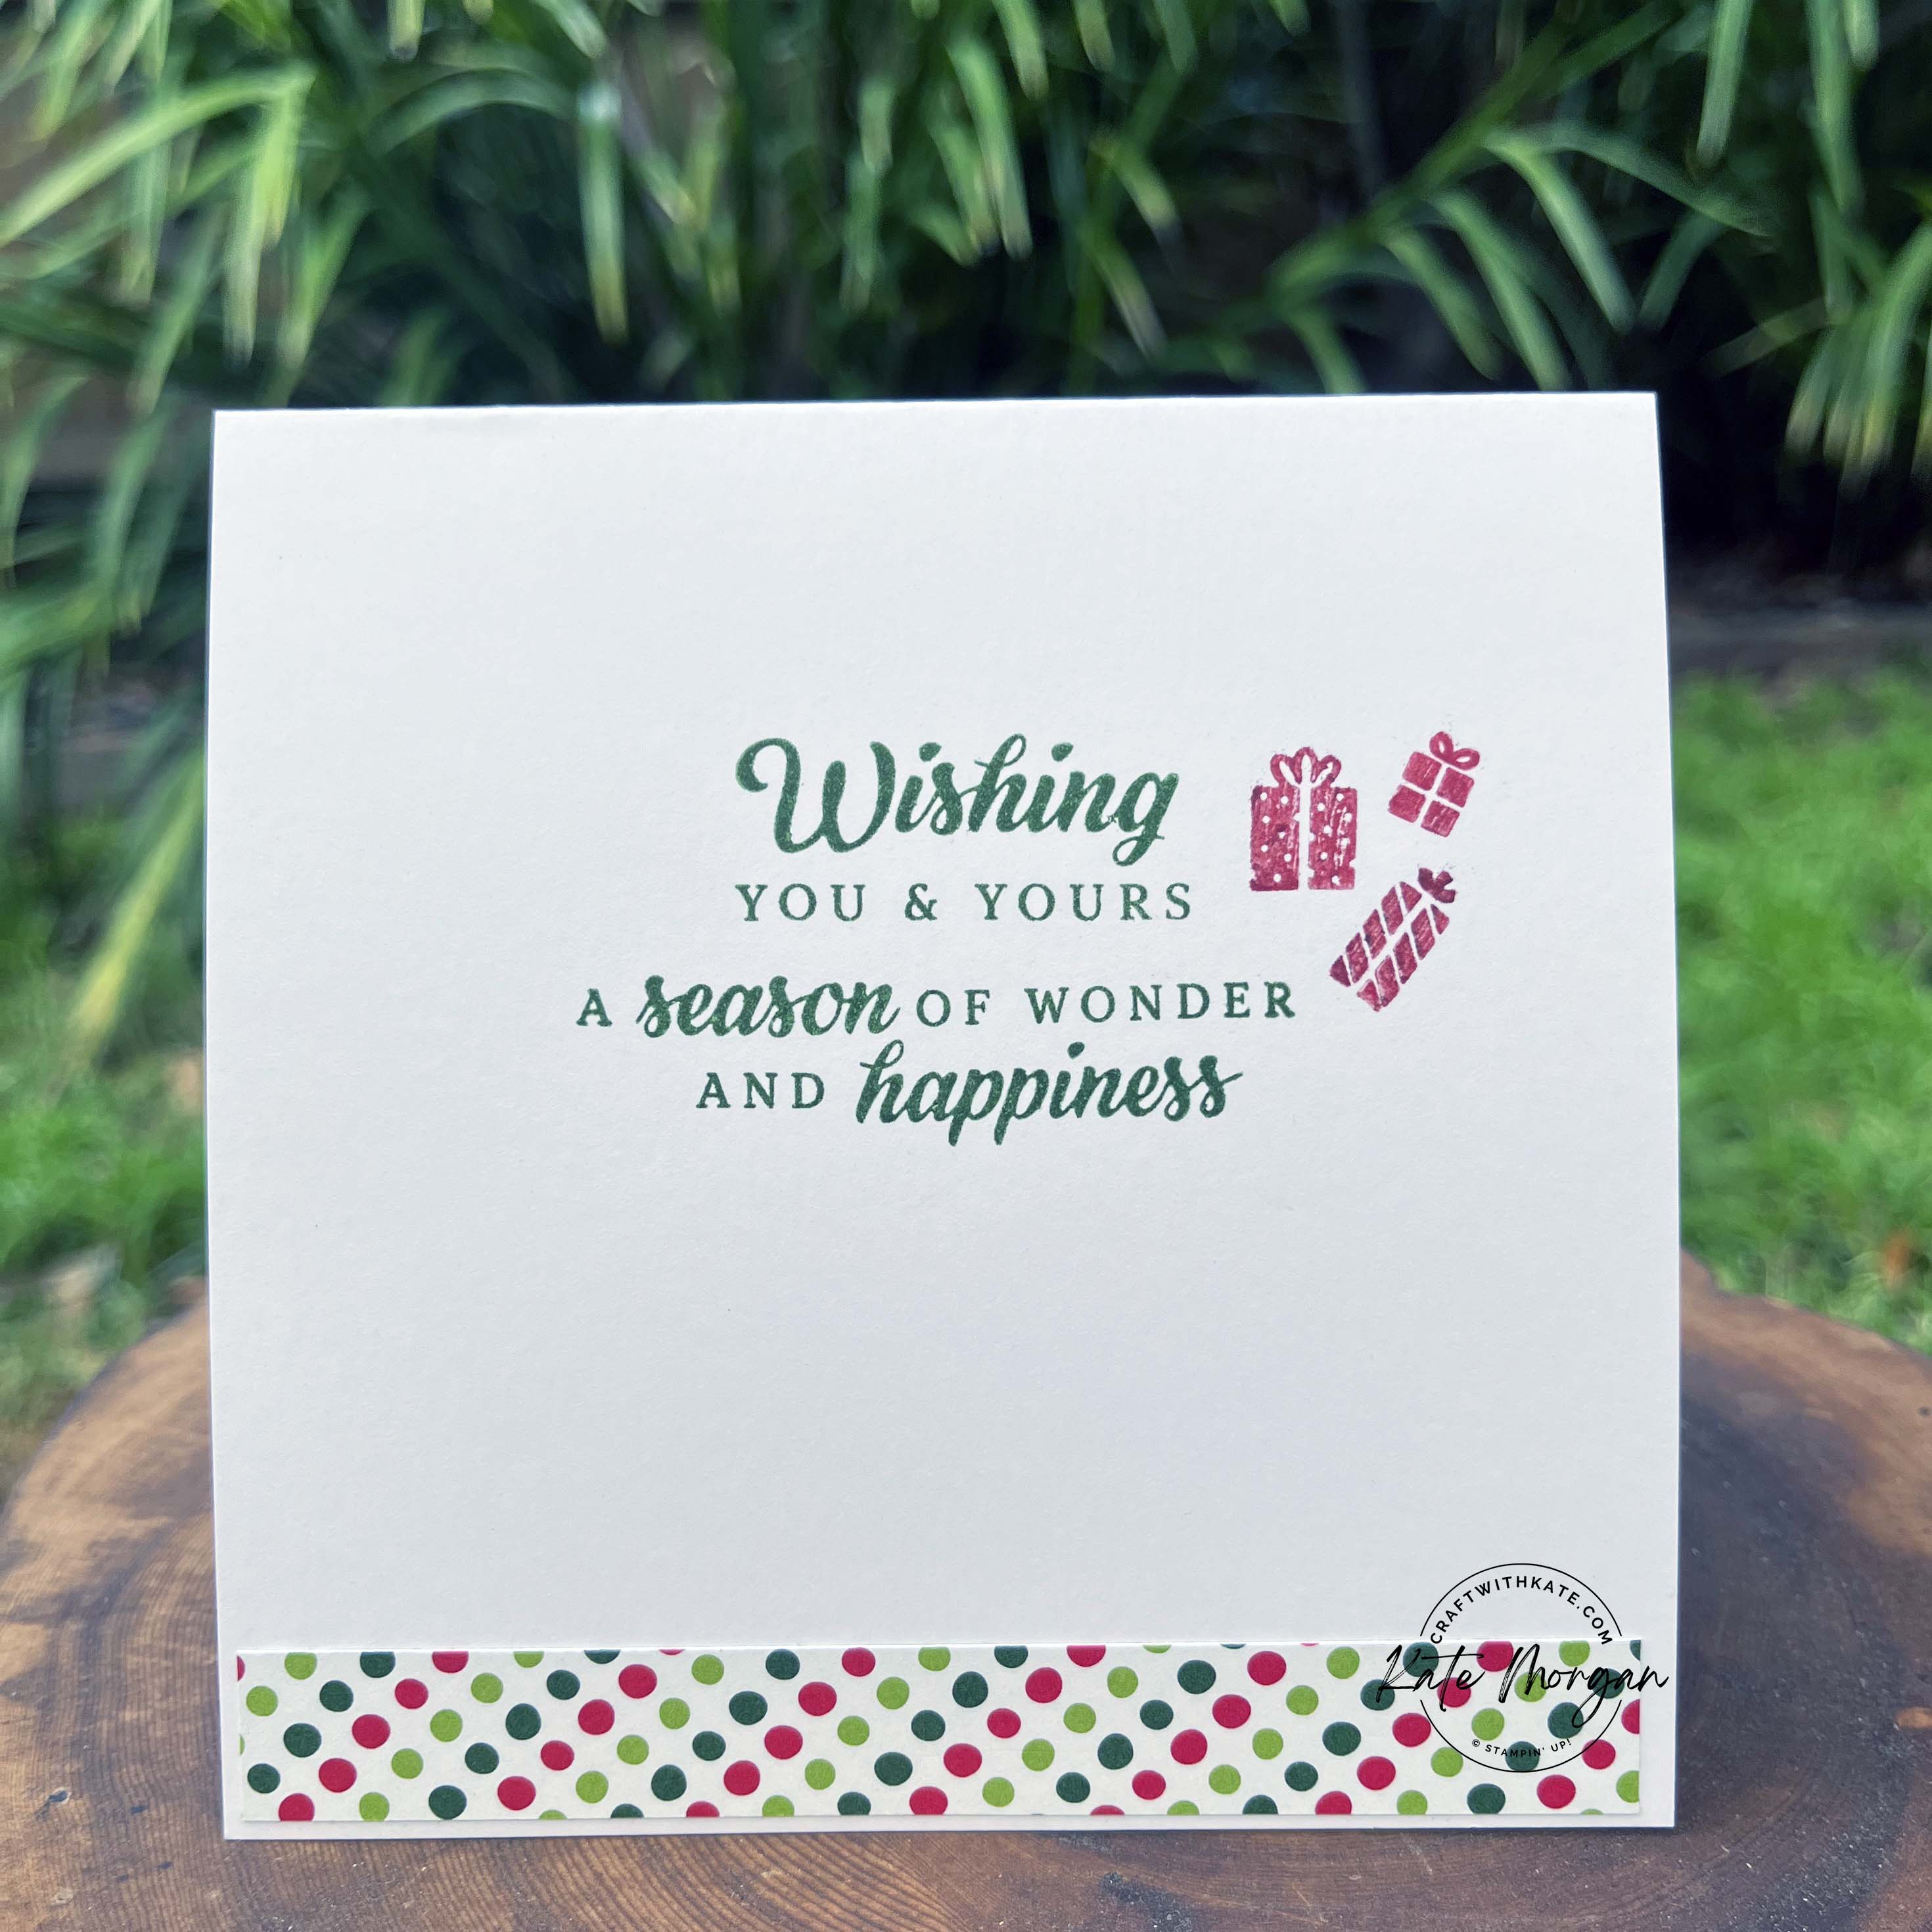
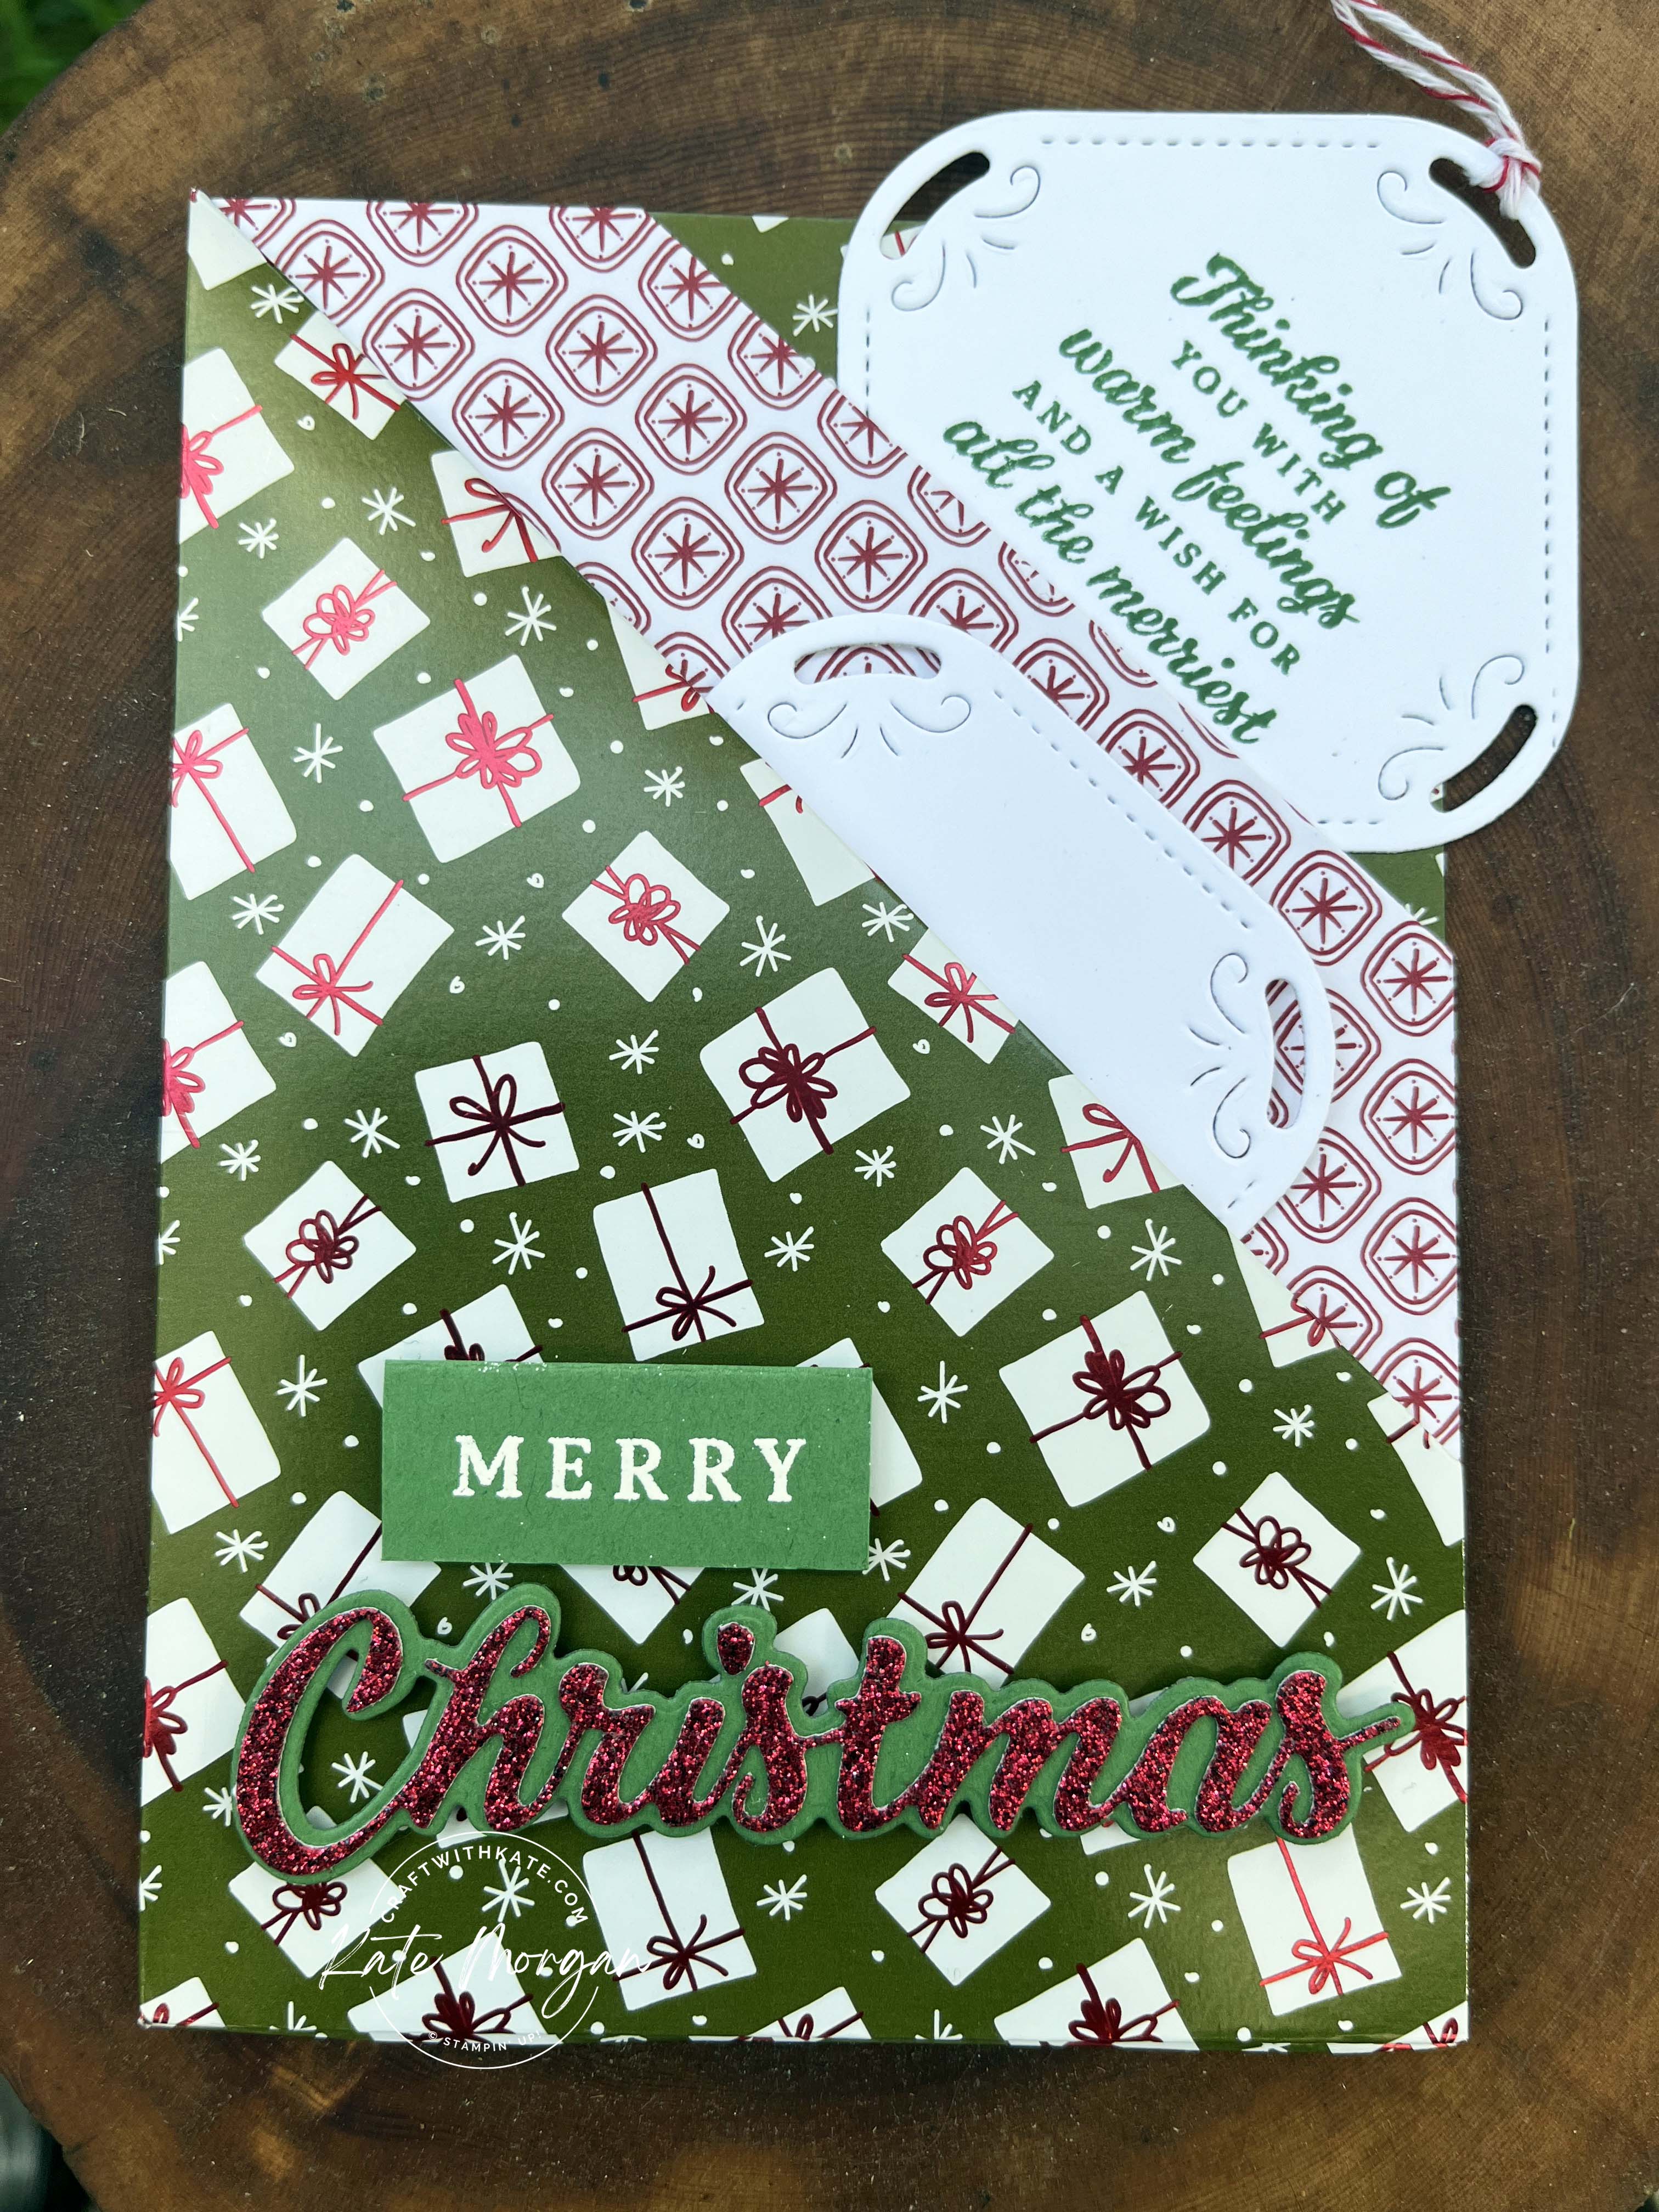
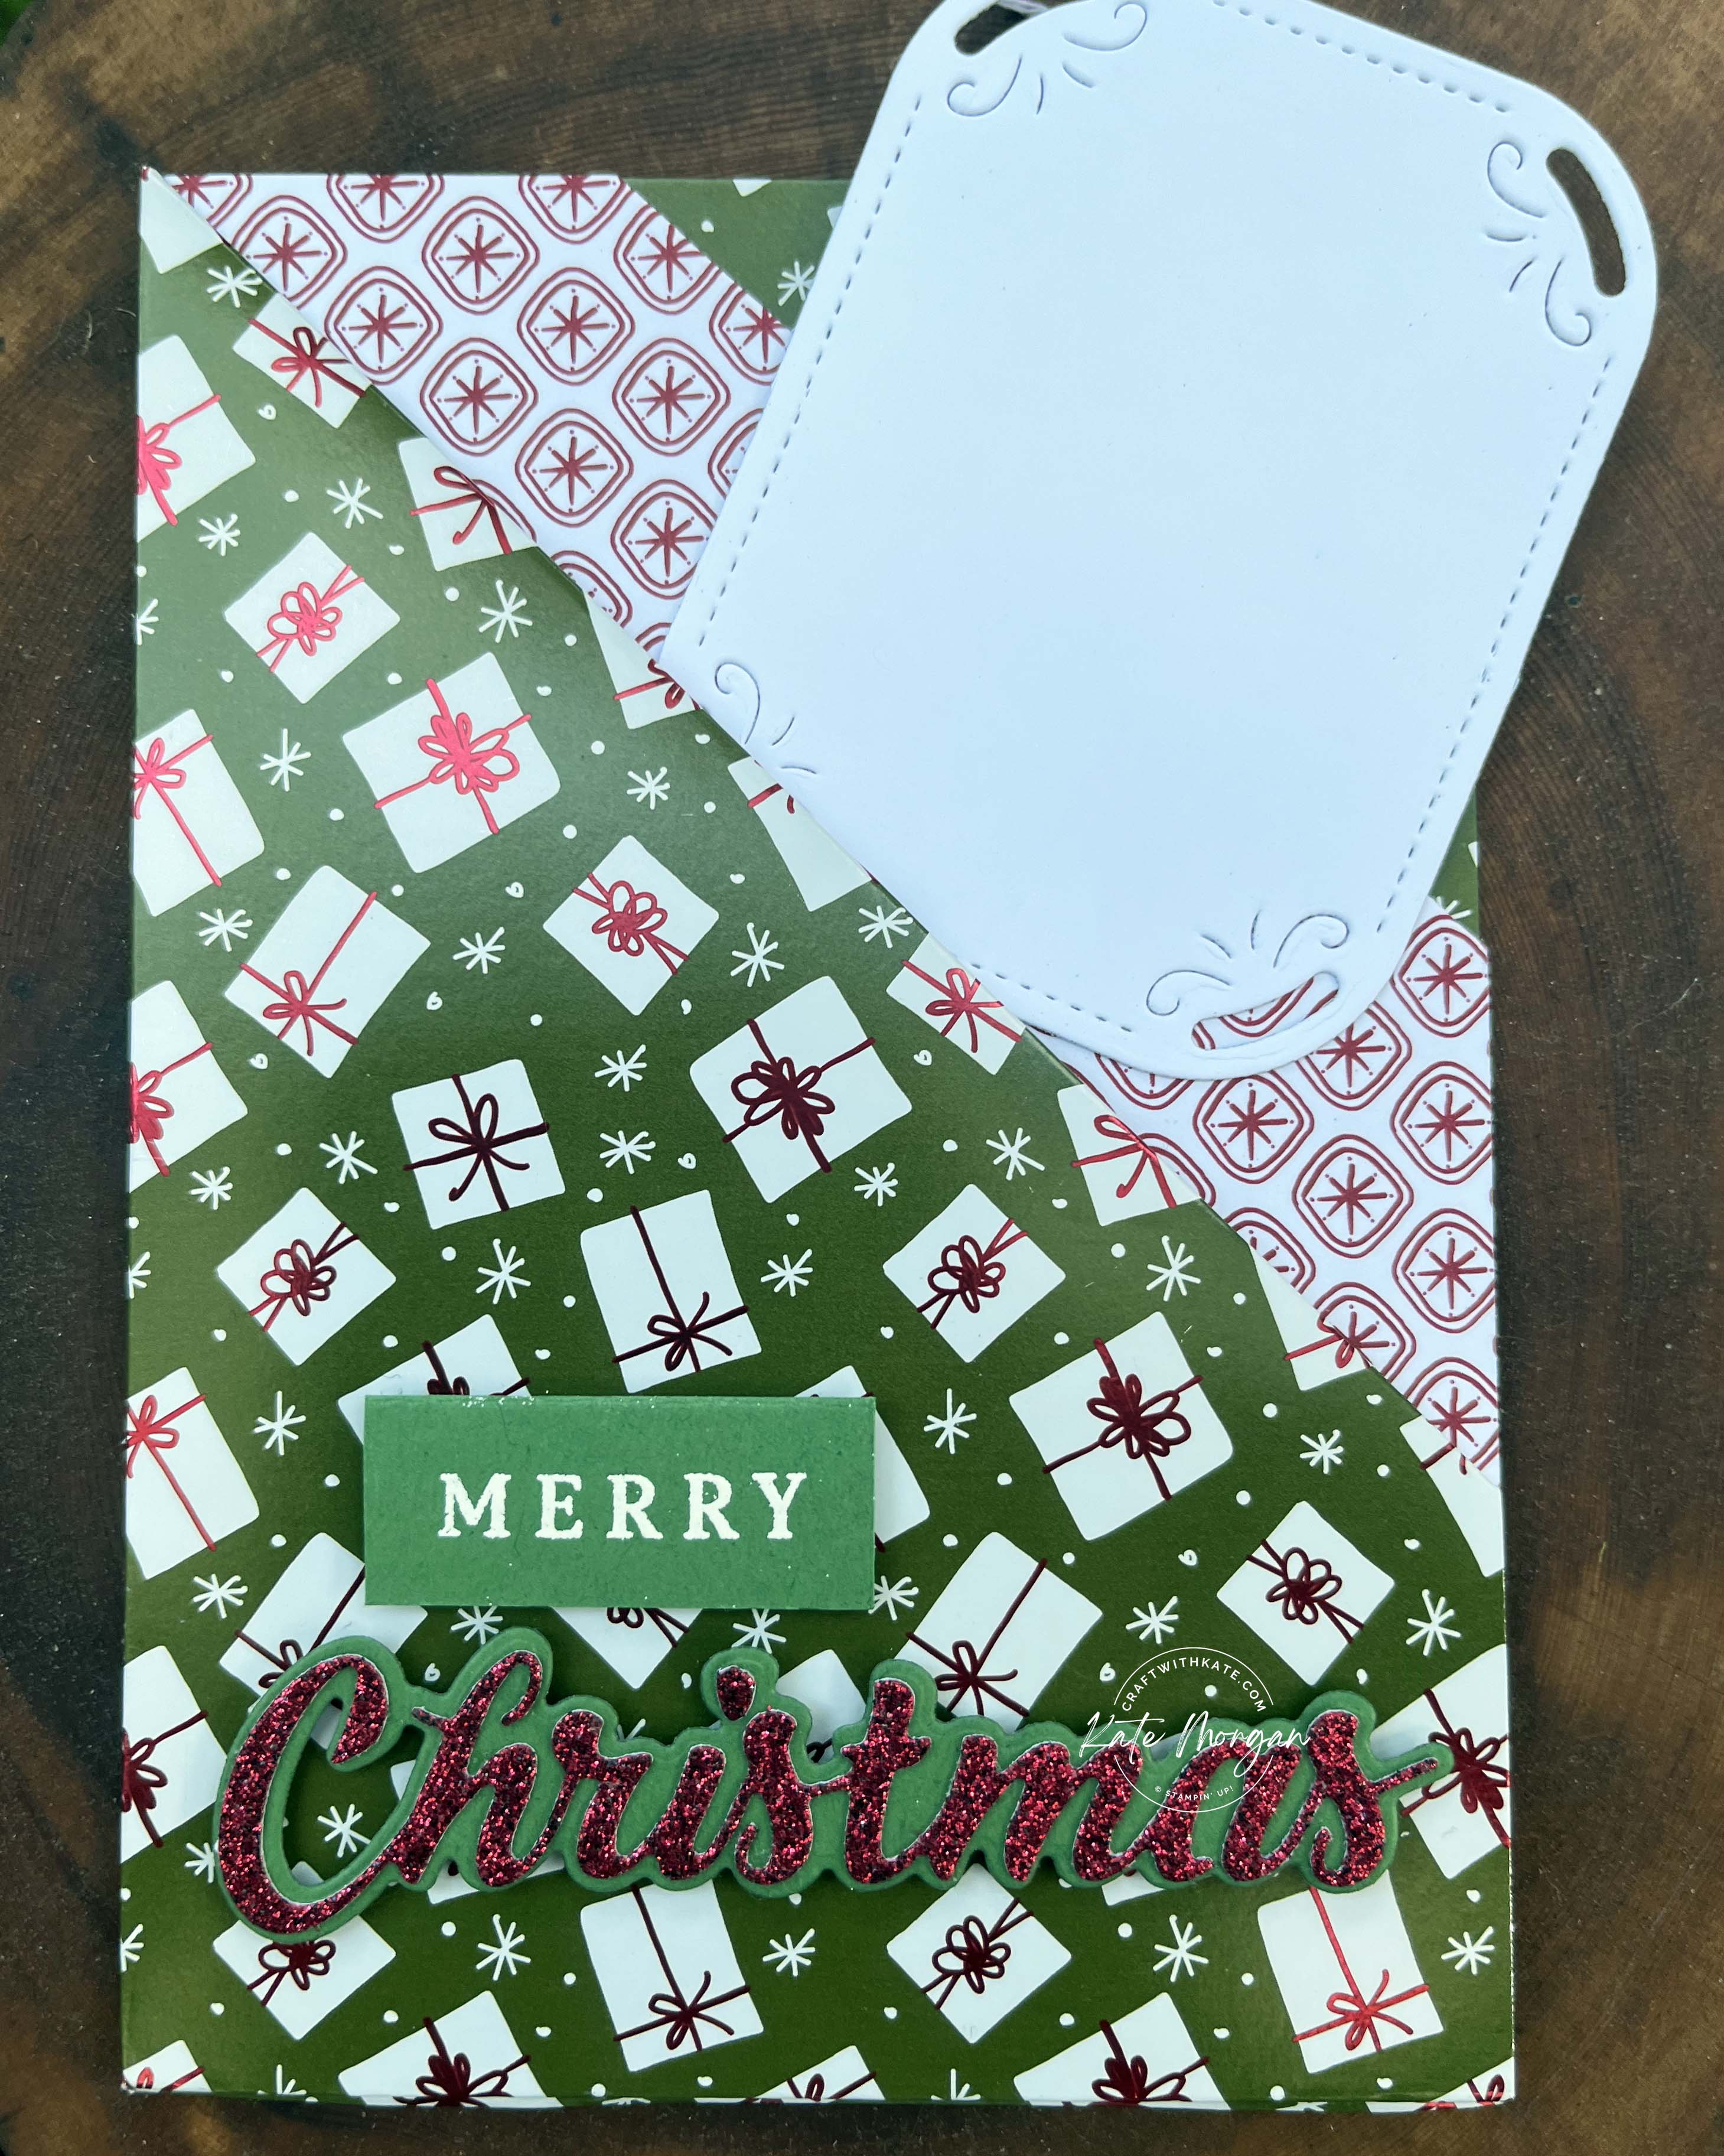
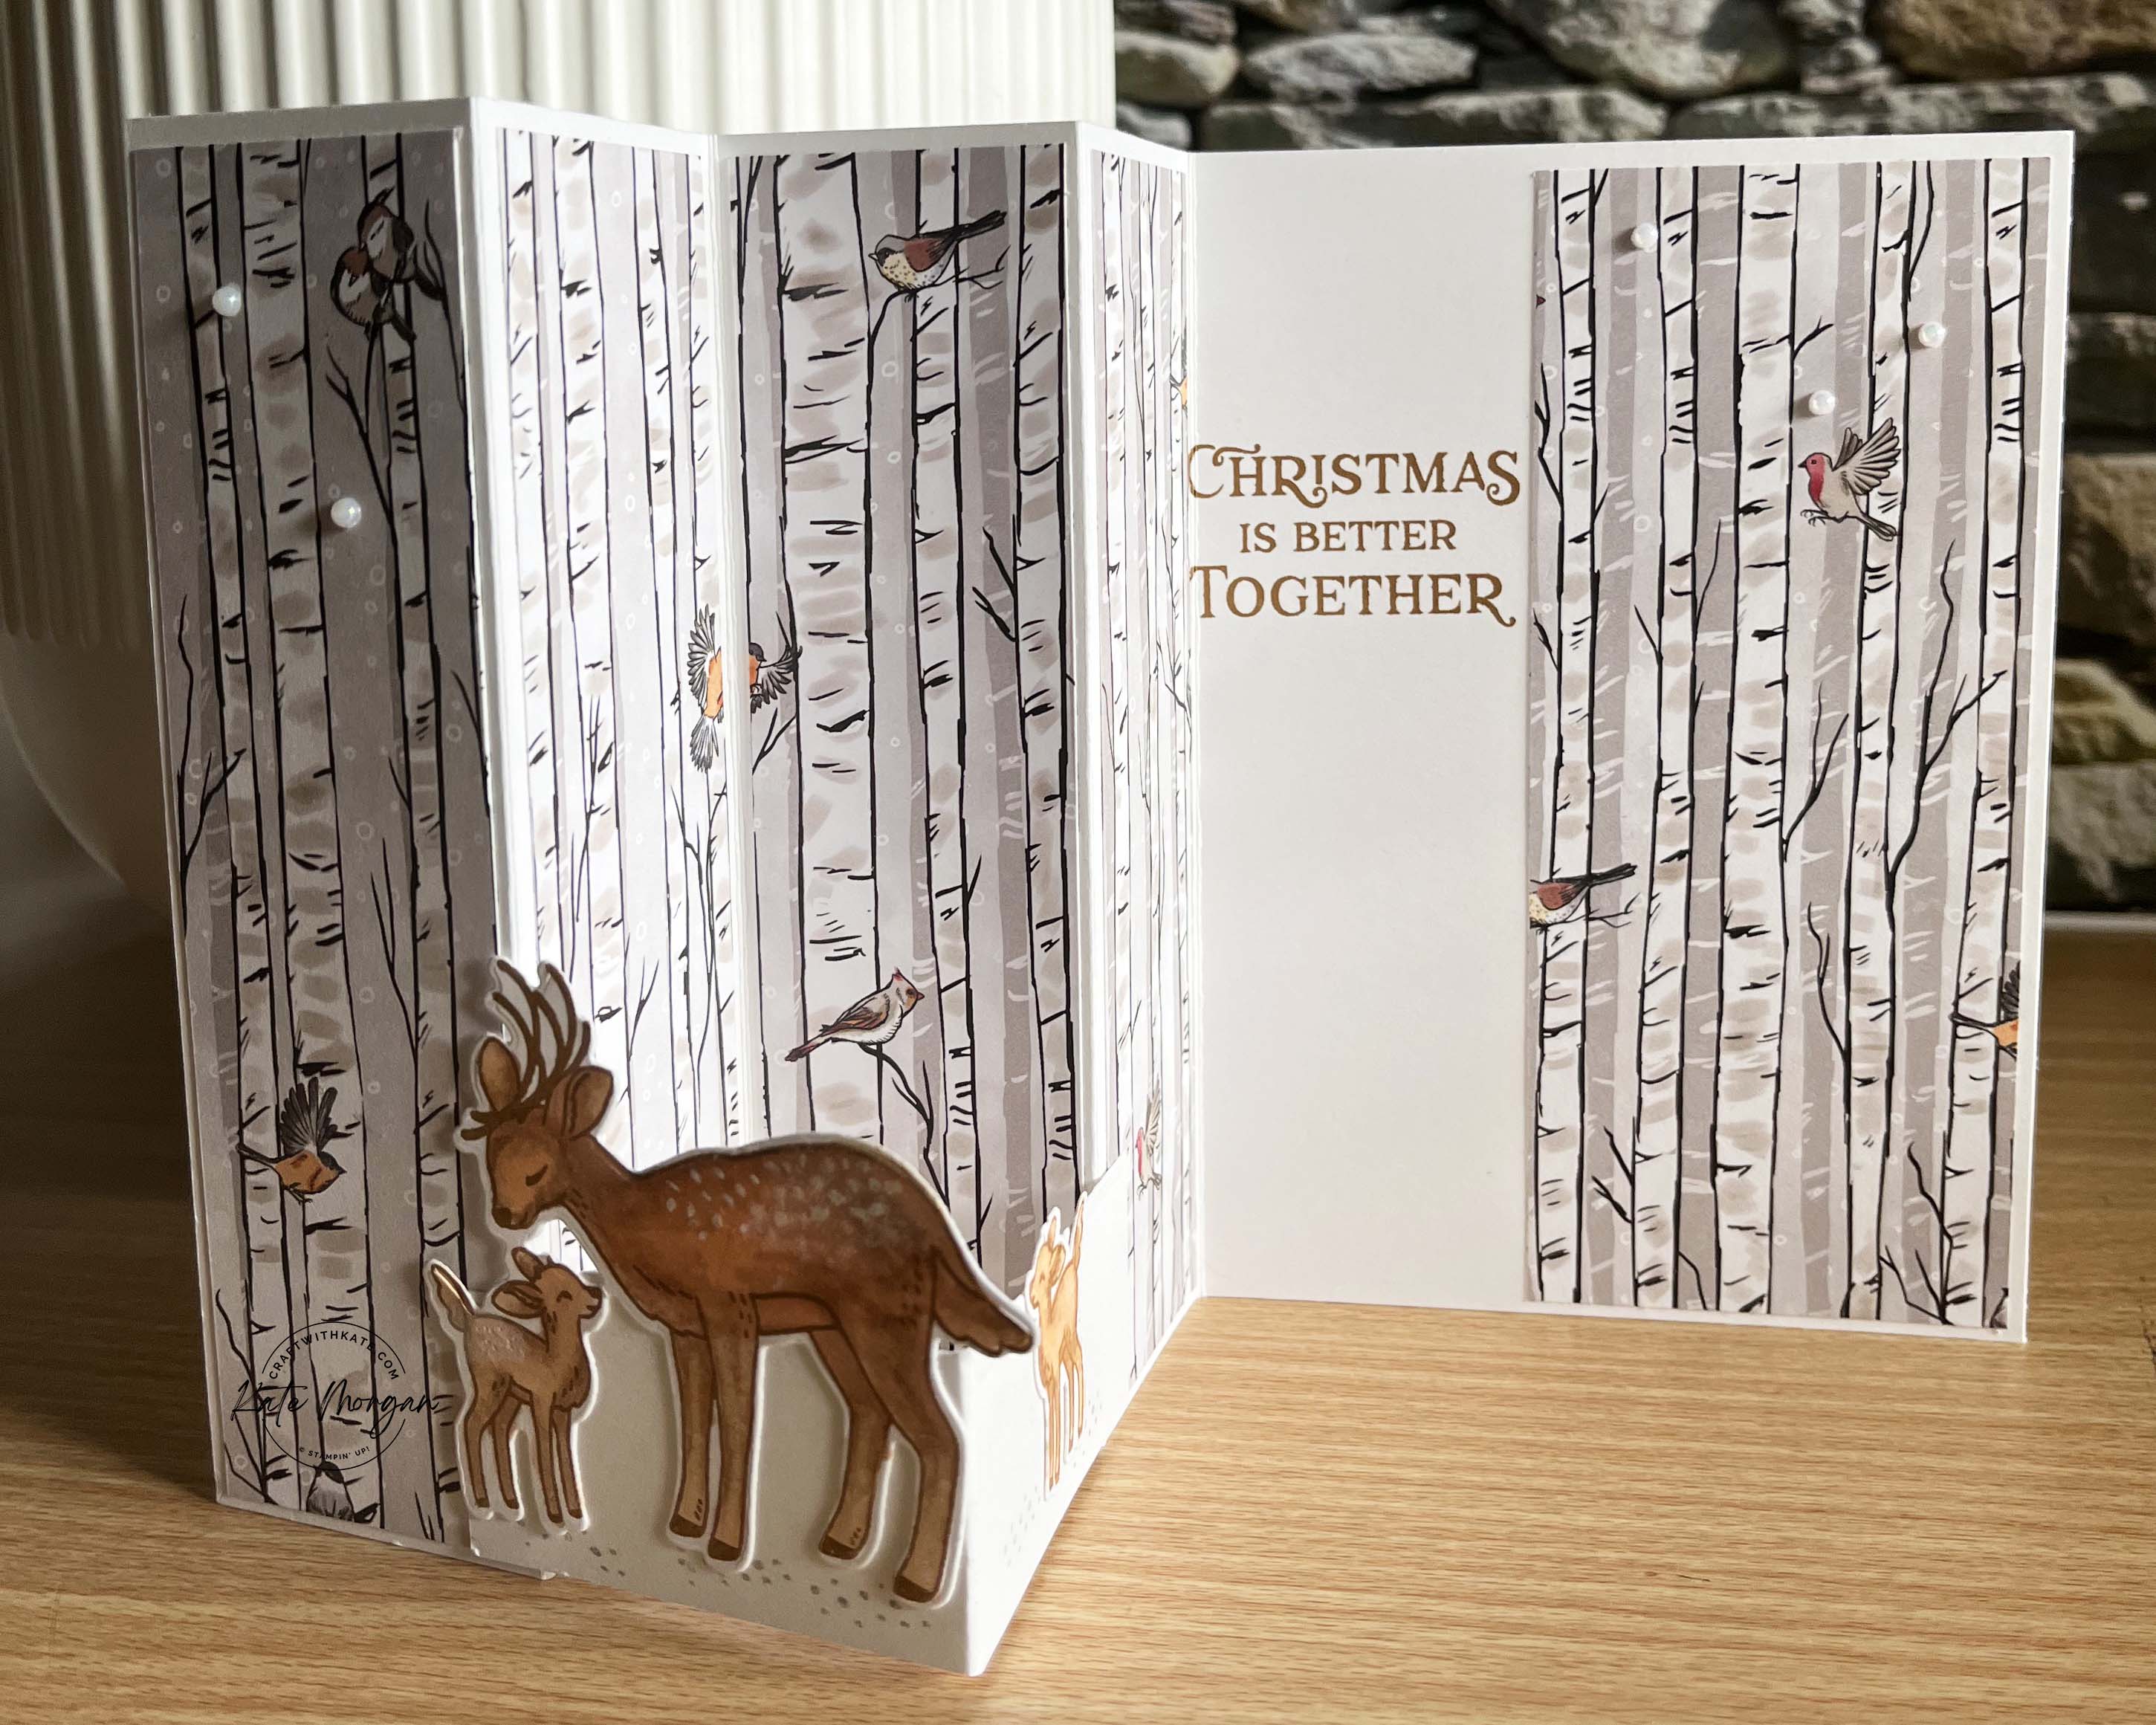
On the inside of both cards, a simple Basic White insert 10.5cm x 7.4cm is stamped and glued to the centre.
TIP: I cut a sheet of A4 cardstock down the centre at 10.5cm, then cut each of these into 7.4cm pieces, so I can get 8 inserts from one sheet of cardstock!

Thanks for dropping by. I hope you join me next Monday for more Christmas inspiration!
Please enjoy the wonderful inspiration of our next team member, Catherine Proctor.

The full list of participants for this week can be viewed on Sharon Davern’s blog.

Product List
Stamps: Peaceful Seasons*, Reindeer Fun*
Dies: Peaceful Seasons*, Reindeer Fun*
Card/DSP/Specialty Paper: Basic White, Garden Green, Granny Apple Green, Real Red, Reindeer Ddays DSP, ake a Bow 6″x 6″ DSP, Festive Glimmer Paper, Basic White C6 Envelopes
Inks: Garden Green, Versamark
Embellishments: Cherry Cobbler & Gold Satin Ribbon, Drusy Adhesive-backed Embellishments, Adhesive-backed Shiny Sequins
Accesories/Adhesives/Tools: White WOW Emboss Powder, Heat Tool, Paper Snips, Bone Folder, Paper Trimmer, Multipurpose Glue, Glue Dots, Stampin’ Dimensionals, Stampin’ Cut & Emboss Machine, Take Your Pick Tool, Simply Shammy
* can be purchased together as a bundle to save 10%

Don’t forget to Follow My Blog to receive blog updates and all the latest news and specials!