
Hello Stampers,
Well, I have been a little “under the weather” with this silly cold this past week, but wanted to share this cute little paper mug with you!
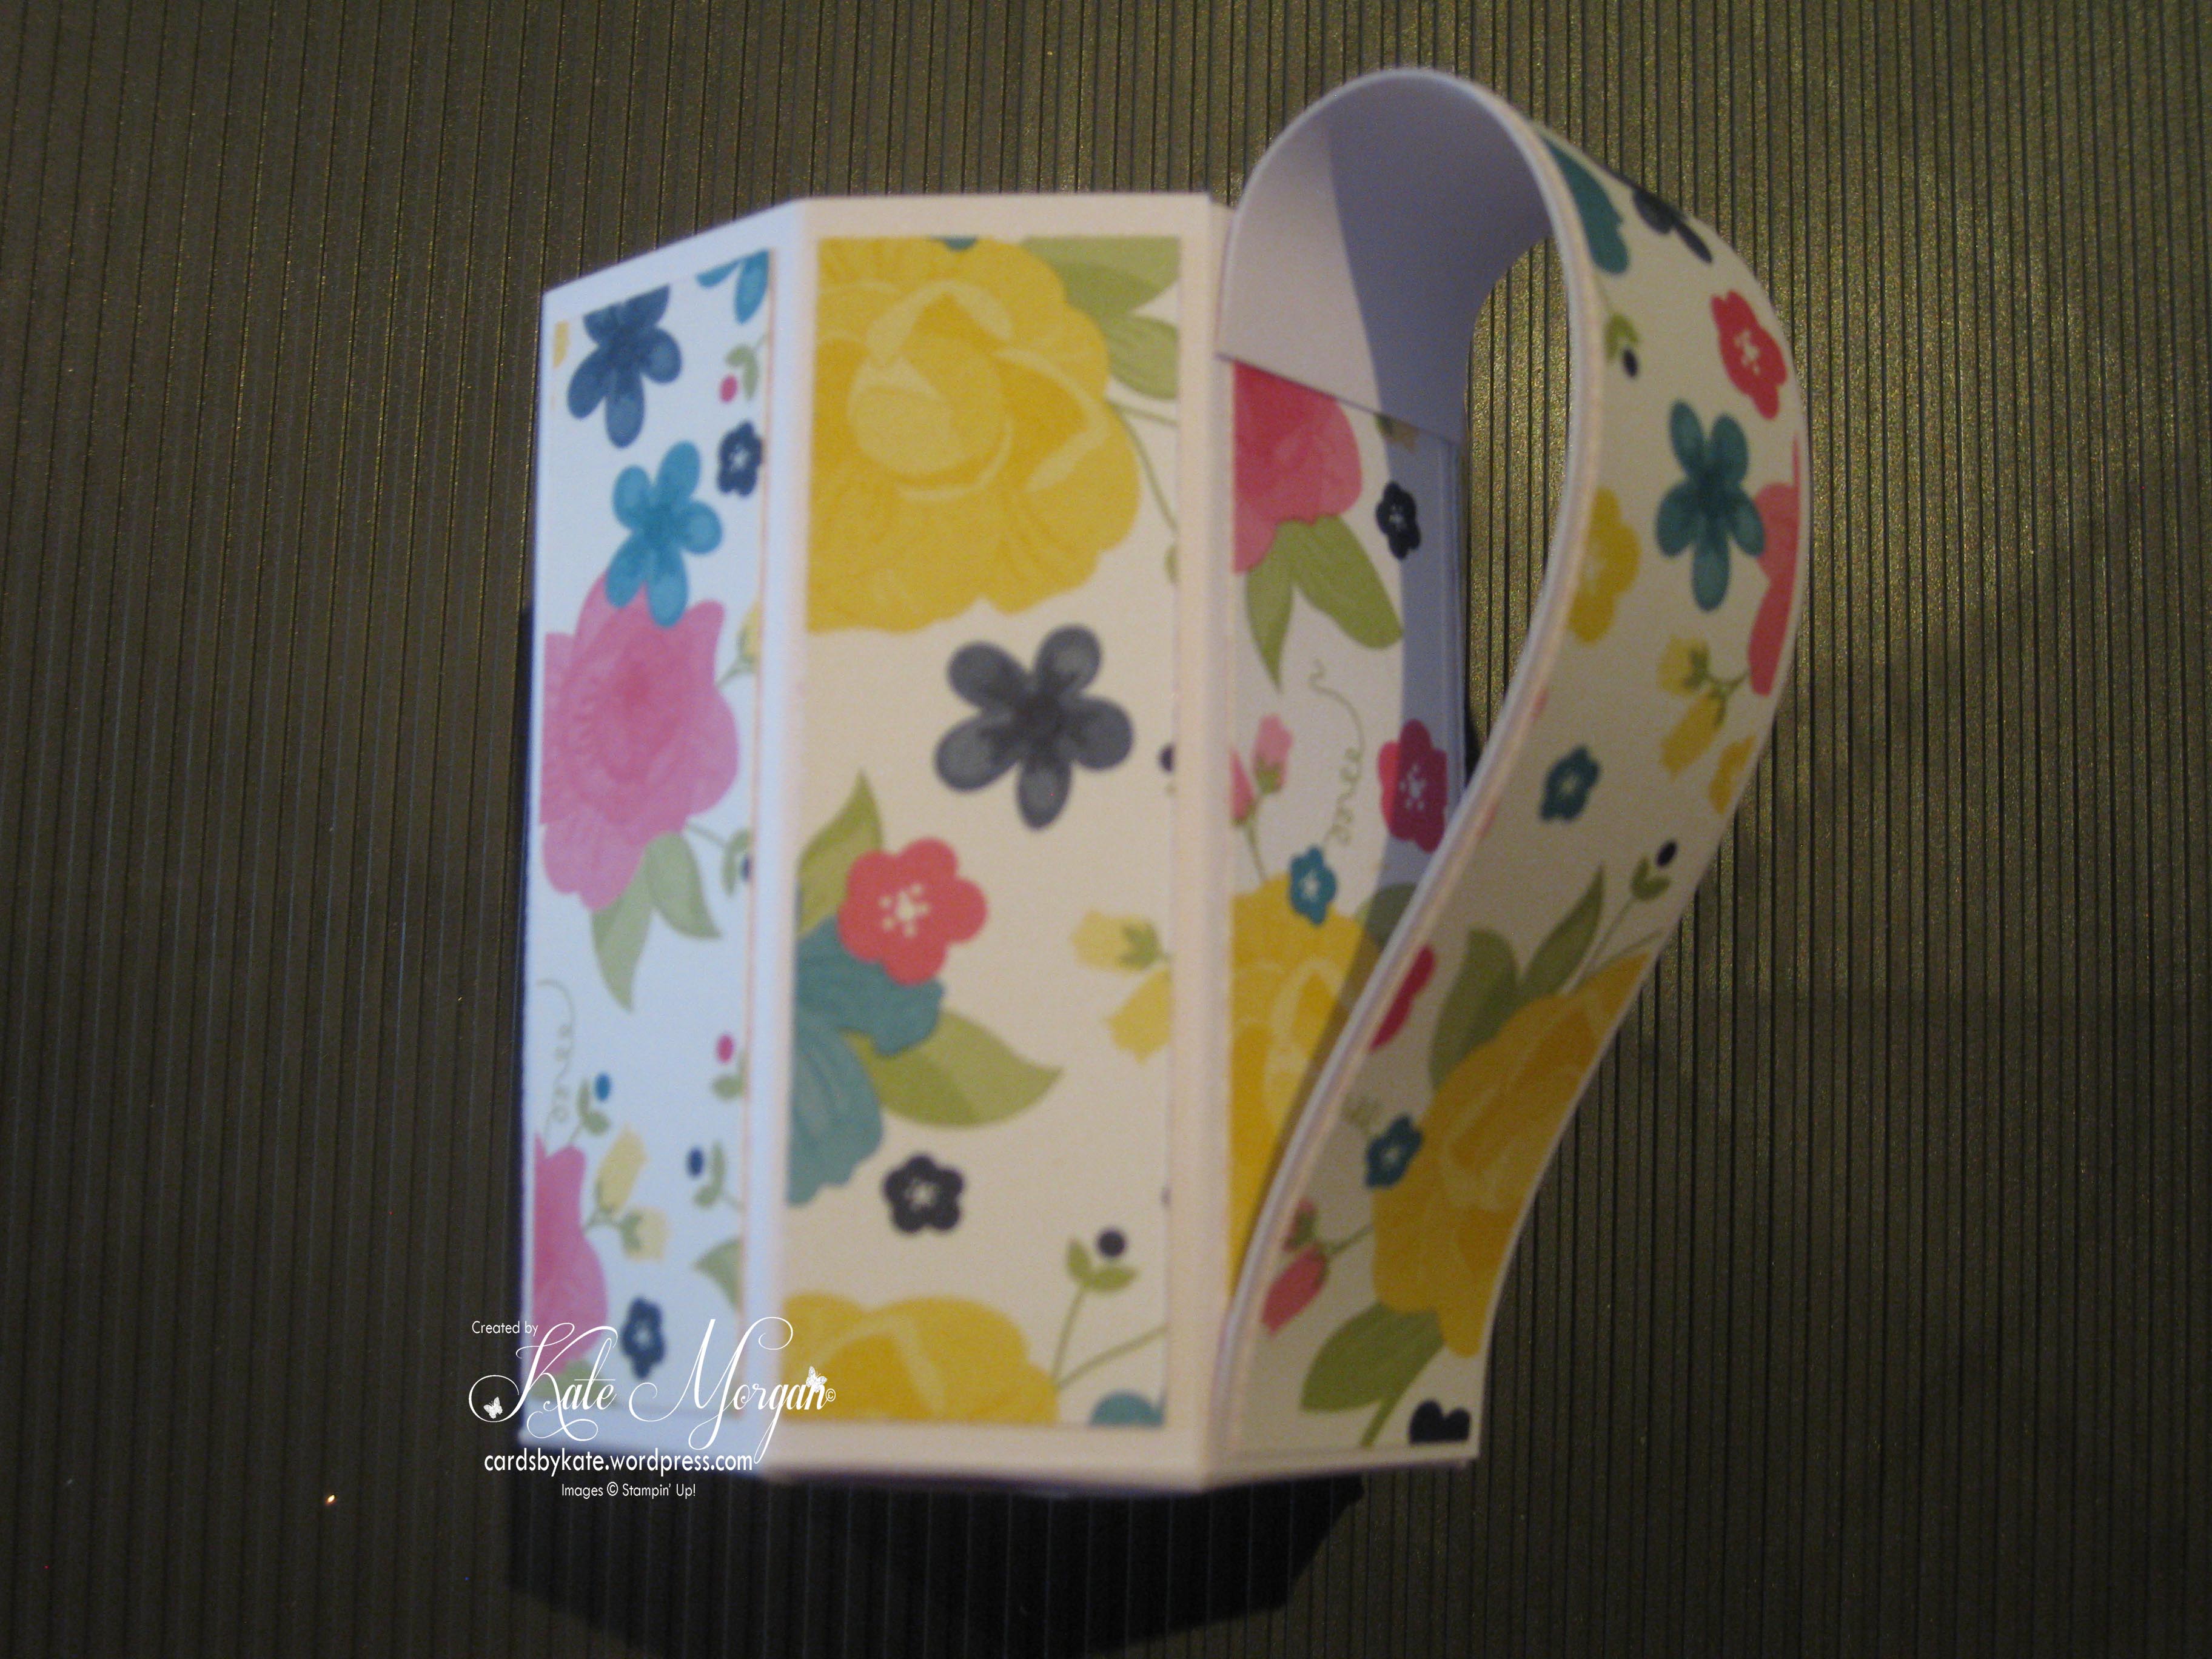

Isn’t it cute?!!!!
I used the Gingham Garden Designer Series Paper to decorate it.

It is even strong enough to hold pens and scissors, just a pity it doesn’t hold my coffee!!!! hehe
If anyone is interested in how this is made, I will be putting together some instructions soon.
Just leave a comment so I know who would like them!
Happy Stamping,
Kate


Hi Kate I would love the instructions for your mug if possible. I think it looks terrific.
Mary
LikeLike
I will try to explain how I created it for you! You can make 2 mugs from 1 piece of A4 card stock – place long edge in trimmer and cut at 4 1/2″. Cut again at 4 1/2″ for your second mug!
Cut two pieces 1″ x 4 1/2″ for the handles.
Place short edge to top of scoreboard, score at 1 1/2″.
Turn card stock 90 degrees and score at every inch, 1, 2, 3, 4, 5, 6, 7, 8″
Cut out the smallest section.
Cut up the score lines to the horizontal line to create the bottom of the mug.
Place sticky strip on the long edge and the first 4 flaps (tape on both sides).
Remove tape backing from two opposite flaps and join without squashing or mis-shaping the mug.
Repeat with the remaining flaps, but the last one, put the sticky strip down first then the plain one so the bottom of the mug isn’t sticky.
The handle – place sticky strip to each end but on opposite sides. Place the bottom of the handle flush with the bottom of the mug, then fold over the top to adhere to the top of the mug and shape with your fingers.
Decorate as desired. I hope this makes sense, as I haven’t written these up as a tutorial as yet with step by step pictures.
Cheers, Kate
LikeLike